
Free Crochet Mesh Shrug Pattern That’s Perfect for Any Outfit
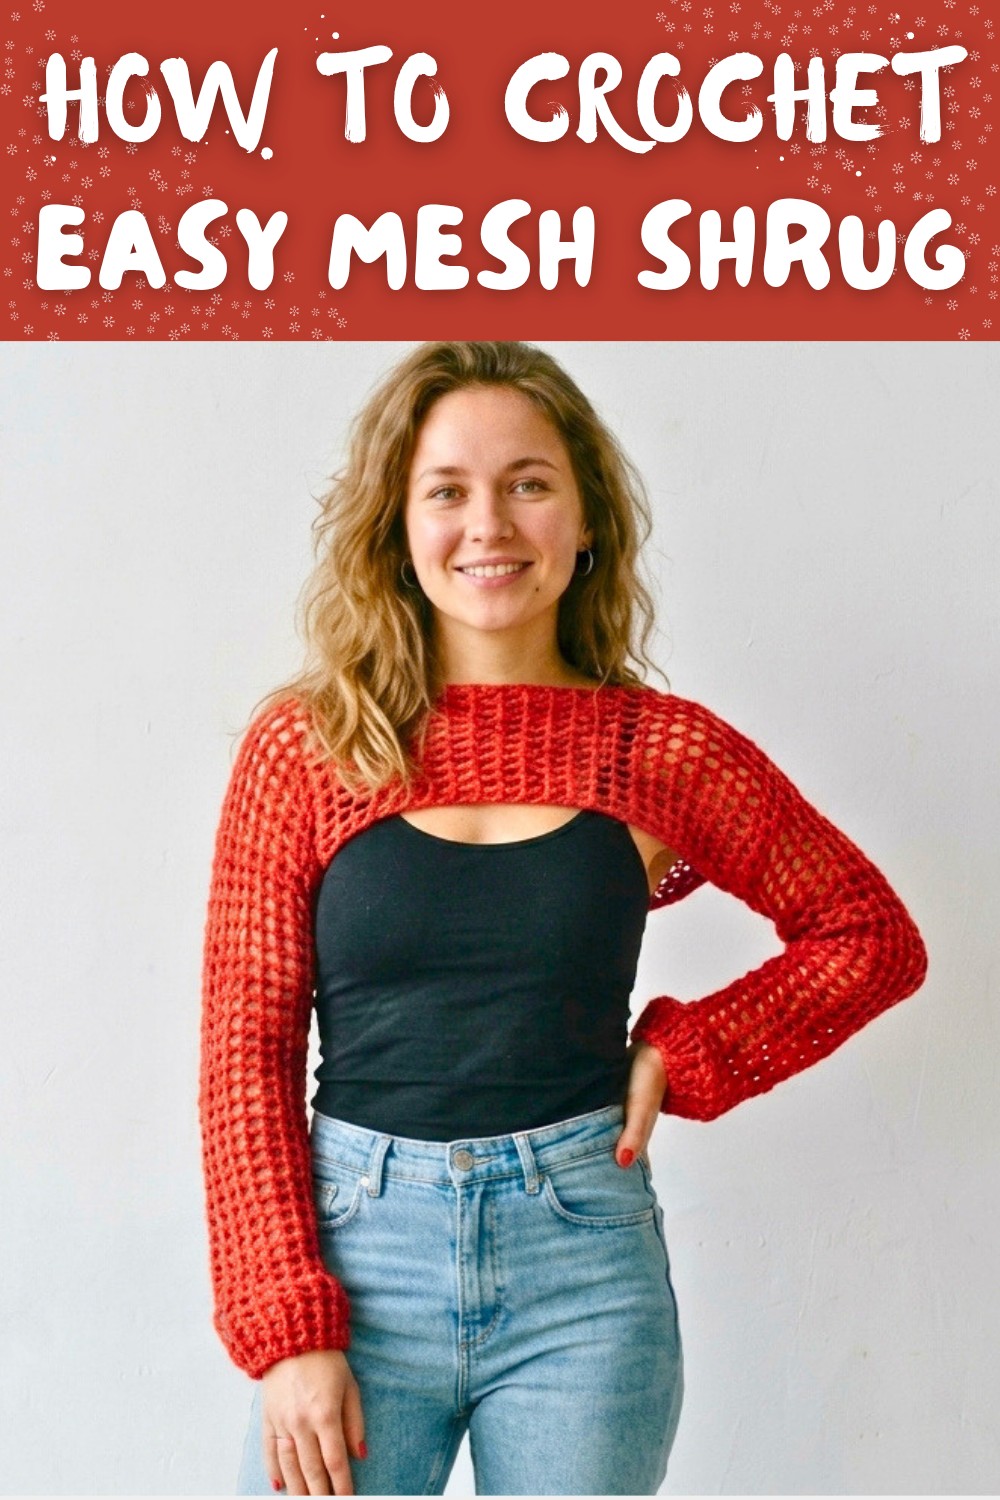
Light and stylish to wear, this free crochet mesh shrug pattern adds a charming layer to your outfits, making it ideal for warm days and cozy cool evenings.
A crochet mesh shrug is not just a beautiful piece of clothing but also a fun project to make. It is lightweight, stylish, and perfect for wearing over casual outfits, party dresses, or everyday wear. The Free Crochet Mesh Shrug Pattern is beginner friendly and works well for people of all skill levels, especially if you want to learn new crochet techniques.
This mesh shrug looks delicate and elegant thanks to its unique openwork design. It is made up of simple stitches like chains and double crochet, which create its airy and breathable texture. What makes it exciting is the ease of customization. You can make this shrug in different sizes for small, medium, large, and extra large. Whether you want a snug fit or a flowy, off shoulder look, this design can easily be tailored to suit your needs.
Fabulous Free Crochet Mesh Shrug Pattern for Every Season
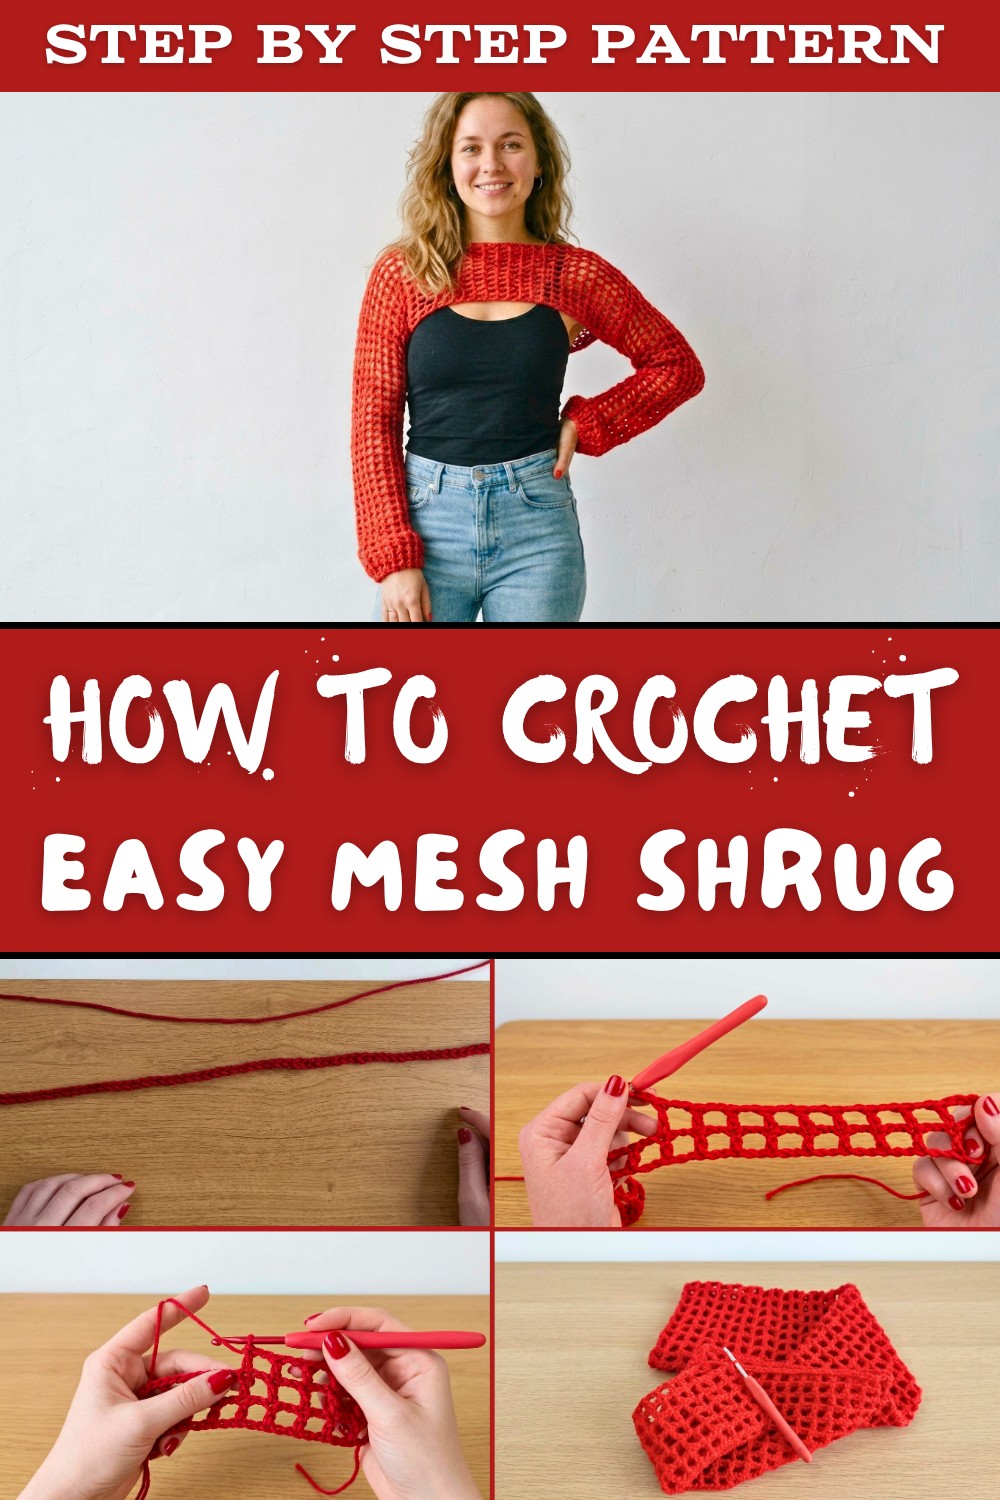
One of the standout features is its versatility in color and yarn choice. Chunky yarn works well for this project, ensuring the shrug is sturdy yet comfortable. The shrug's pattern appears neat and clean, making it a classy addition to your wardrobe. You can pair it with jeans, dresses, or skirts, adding a stylish layer for any occasion.
Essential Tools for Easy Crocheting
With nothing more than basic tools like a crochet hook, chunky yarn, scissors, and stitch markers, this project is straightforward to start. The process involves repetitive rows of chains and double crochet, making it relaxing to work on while also being quick to complete.
This shrug is not only fun to make but can also become a unique handmade gift. Its elegant pattern and comfortable design make it perfect for anyone who wants something lightweight yet eye catching. Try this pattern and enjoy crafting a shrug that is both chic and functional.

Crochet Mesh Shrug Pattern
Materials Required
- Yarn: Robin 100% Acrylic Chunky yarn (or any chunky yarn of your choice).
- Crochet Hook: 4.5mm hook.
- Tape Measure: For accurate measurements.
- Scissors: To cut the yarn.
- Tapestry/Darning Needle: For weaving ends.
- Stitch Markers: To mark spaces for accuracy.
Step by Step Instructions
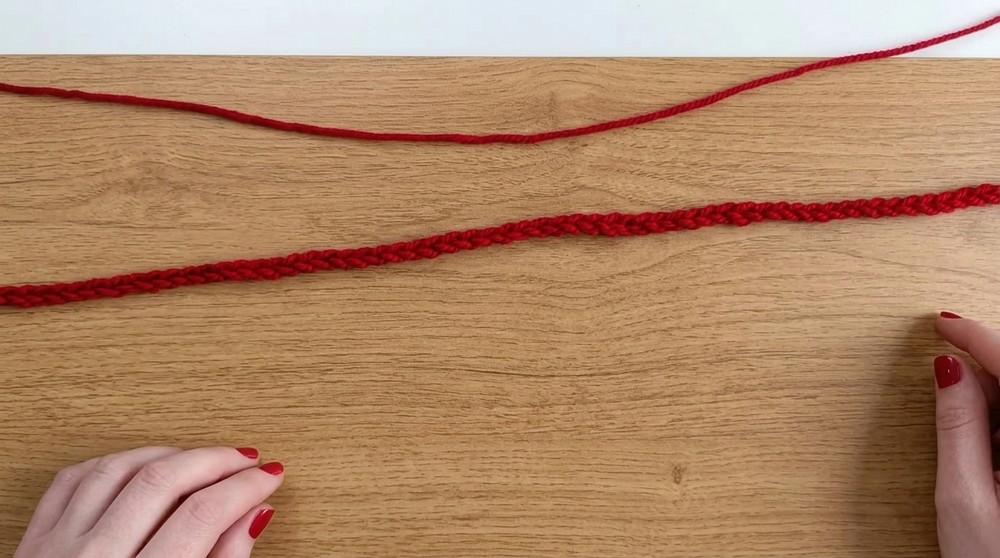
Step 1: Foundation Chain
- Begin with a slip knot:
- Loop the yarn twice, pull one loop through the other, and insert your hook.
- Create a chain that measures your shoulder to shoulder width:
- Example for medium size: Chain 72 stitches for 18 inches.
- Use a multiple of 3 chains.
- Maintain loose stitches, as tight chains may reduce stretchability. Measure the chain and ensure the length matches your requirement.
Step 2: First Row (Double Crochet with Mesh Pattern)
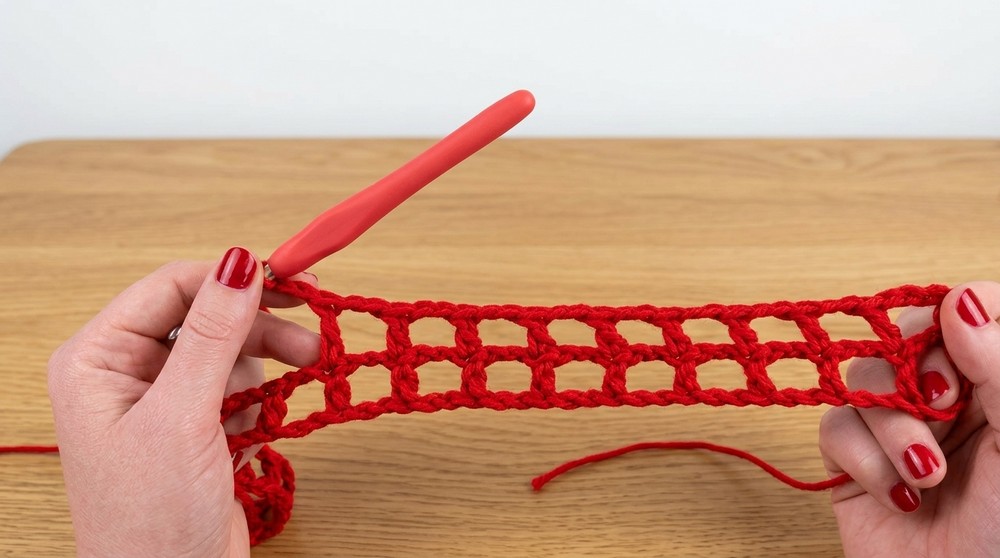
- Skip the first 6 chains from the hook to begin working in the back loops:
- Yarn over and work 1 double crochet (DC) into the 6th chain.
- Chain 2, skip 2 chains, and make a DC in the next chain.
- Repeat: Chain 2, skip 2 chains, DC, until reaching the end of the row.
- Measure the row width. For a medium size, it should measure approximately 18 inches.
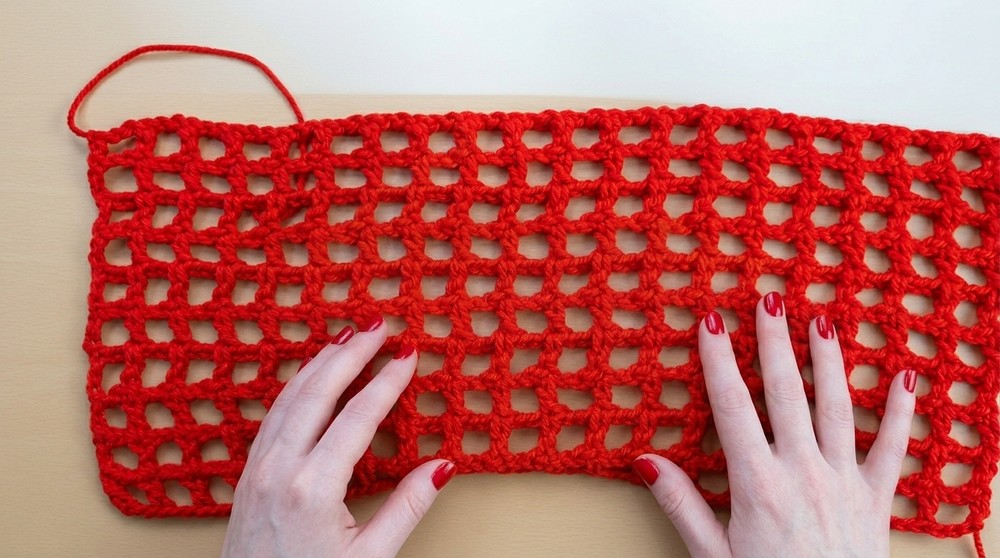
Step 3: Front Panel
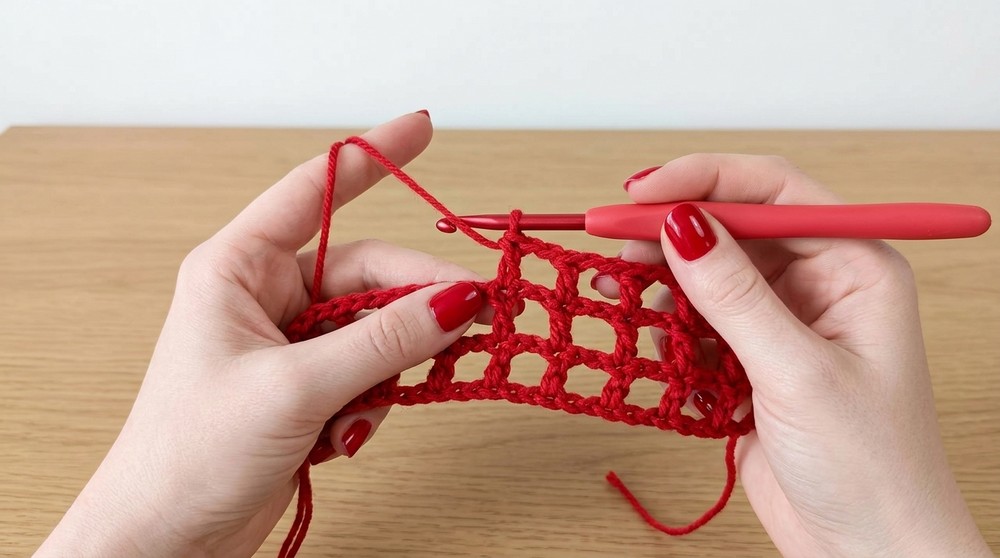
- At the end of the first row, chain 5, turn your work, and start the next row.
- Work DC stitches into the previous row's DCs, separated by chain 2 spaces.
- Repeat this process until completing 11 rows for the front panel:
- Adjust the number of rows based on your preferred length.
- Recommended row count for medium size is approximately 7 inches.
Step 4: Adding the Neckline
- Determine the neckline:
- For an off-shoulder style, leave fewer spaces between stitch markers.
- For a regular neckline, leave 3 or 4 spaces.
- Place stitch markers at measurements corresponding to the neck width.
- Count spaces between the markers and calculate the number of chains for the neckline:
- Formula: Multiply spaces by 3, then subtract 1 (e.g., 19 spaces × 3 − 1 = 56 chains).
- Chain the calculated number of stitches (e.g., 56 chains) and connect the neckline:
- Attach the chain to the marked DCs on either side of the neckline.
Step 5: Back Panel
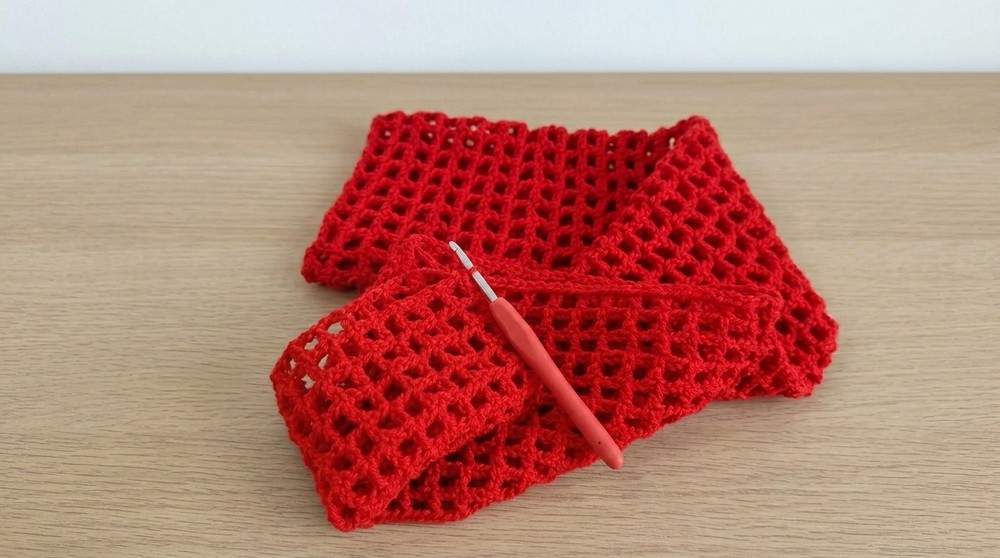
- Begin the back panel using the same technique as the front panel.
- Follow the double crochet mesh pattern and ensure that rows match the front panel:
- For medium size, work 11 rows, identical to the front panel.
Step 6: Sleeves
Joining the Panels for Sleeves
- Measure the desired sleeve width:
- Small sleeve: 5-5.5 inches.
- Medium sleeve: 6 inches.
- Large sleeve: 6.5-7 inches.
- Slip stitch to join the front and back panels along the armhole:
- Example: For a medium sleeve, leave 6" of fabric (approximately 2 spaces).
Crocheting the Sleeve
- Begin crochet in the round for the sleeve:
- Chain 5 and work DC with chain 2 spaces in the established pattern.
- Skip turning your work during the first row.
- For subsequent rows, turn your work after chaining 5 and continue crocheting:
- DC into previous row's DCs and separate with chain 2 spaces.
- Continue crocheting until the sleeve length matches your requirement:
- Example for medium size: Work 20-22 inches or 29 rows.
Finishing the Sleeves
- End the final sleeve row by slip stitching into the third chain of your starting 5 chains.
- Chain 1, pull the yarn through, and cut to secure.
- Seal the ends using the tapestry needle:
- Weave in the ends opposite to the direction of your stitches for a clean finish.
Step 7: Repeat Second Sleeve
- Attach yarn for the second sleeve:
- Insert your hook into the third chain of the armhole.
- Pull the yarn through and make a slip stitch to secure.
- Follow the same crochet pattern used for the first sleeve:
- Chain 5, crochet in the round without turning for the first row.
- Turn your work for subsequent rows and follow the established mesh pattern.
- Complete the second sleeve, ensuring it has the same row count and length as the first sleeve.
Step 8: Finishing the Shrug
- Turn the shrug right-side-out, ensuring the wrong side is now hidden inside.
- Carefully inspect all seams and stitches to ensure uniformity.
- Use the tapestry needle to weave in any remaining loose ends.
Final Measurements
- Verify the measurements of the shrug once completed:
- Width: 18 inches for medium size shoulder-to-shoulder.
- Front panel length: 7 inches.
- Back panel length: 7 inches.
- Sleeve length: 20-22 inches.
Final Words
This crochet shrug combines functionality and style. It is customizable to different sizes, and the lightweight mesh pattern makes it ideal for wearing over casual or formal outfits.
Tips to Maintain the Shrug
- Washing: Hand wash with mild soap to maintain the yarn's integrity. Avoid bleach or harsh detergents.
- Drying: Lay flat to dry, avoiding direct sunlight to prevent color fading.
- Storage: Fold neatly and keep it in a breathable storage bag to prevent snags or stretching. Avoid hanging it, as this may distort its shape.
- Stretch Prevention: Keep the stitches loose while crocheting to allow the shrug to retain its shape over time.
Enjoy Your New Shrug
Whether you're crocheting this crochet shrug for yourself or gifting it to someone special, its versatility and charm will make it a cherished addition to any wardrobe. Keep experimenting with yarn colors, adding embellishments, or adjusting the fit to match your style.