
Free Crochet Picnic Tote Bag pattern You'll Use All Season
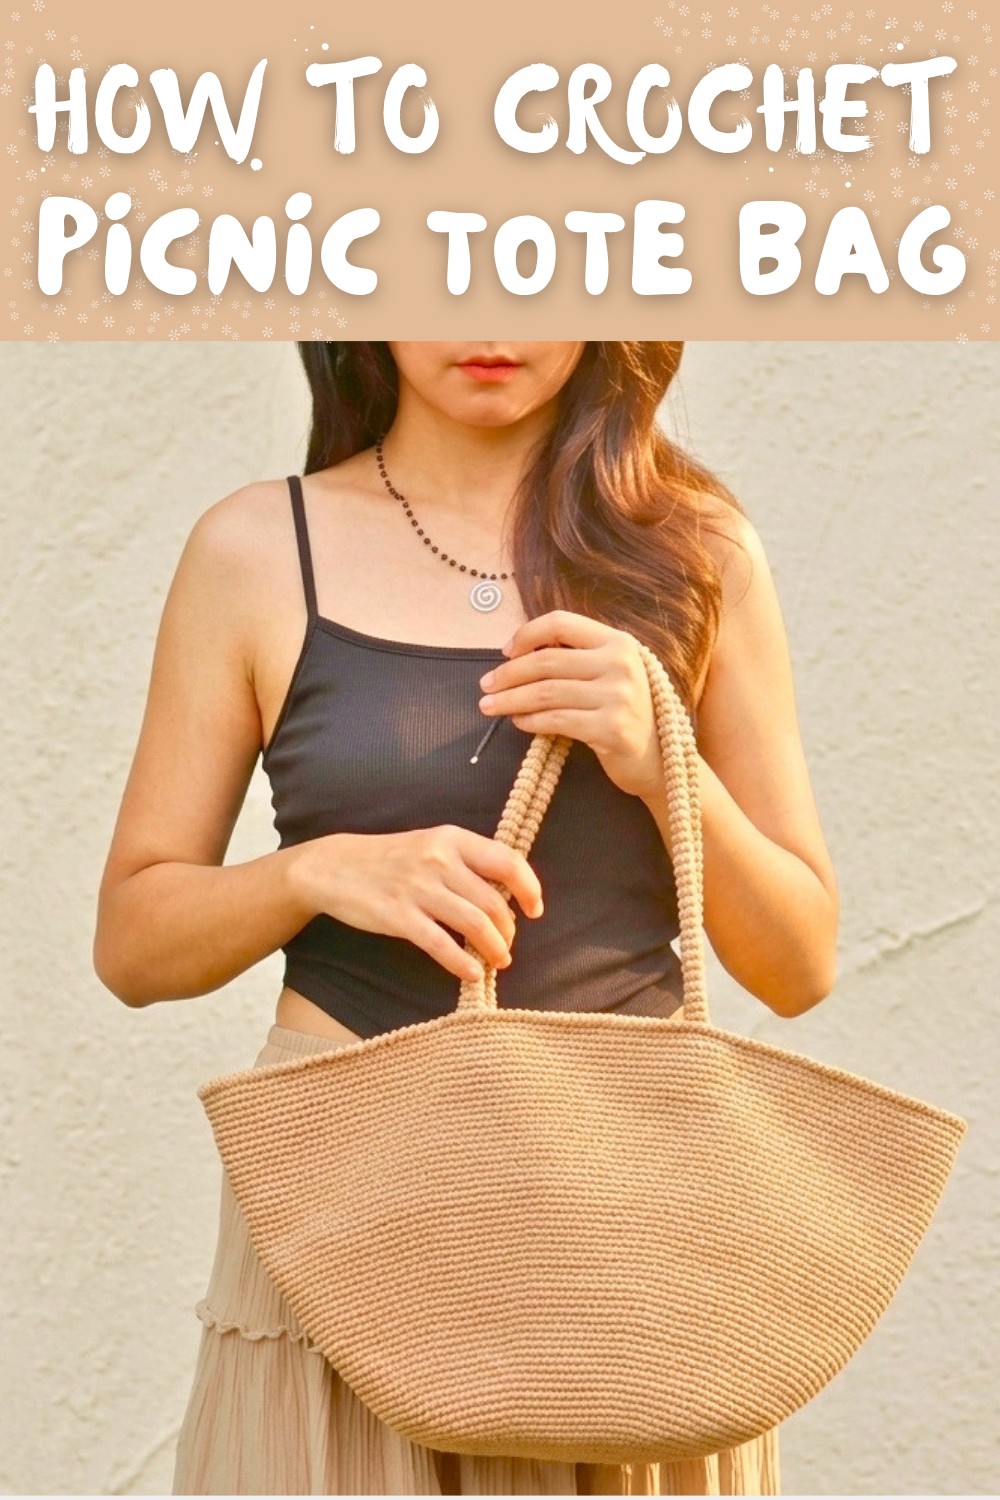
Pack picnic essentials with Free Crochet Picnic Tote Bag Pattern featuring roomy storage sturdy texture and charming outdoor style for trips.
Carrying your things in a bag can be simple and fun. A good bag helps you keep everything together when you go out. One wonderful project to make is a tote bag that looks great and works well. The crochet picnic tote bag pattern is an easy way to create a stylish and strong bag. This pattern uses a special crochet design that makes the bag sturdy but still soft to the touch. It is perfect for holding picnic snacks, books, or groceries. The size is just right to fit what you need without being too heavy or bulky.

Free Crochet Picnic Tote Bag pattern for Sunny Day Adventures
This handmade bag feels comfortable on your shoulder and brings a personal touch to your look. You can use it for many different things like a beach day, a trip to the market, or even everyday errands. The crochet pattern lets you use your favorite colors, so your bag can be unique and fun. Beginners will enjoy making this bag because the instructions are clear and the stitches repeat nicely.
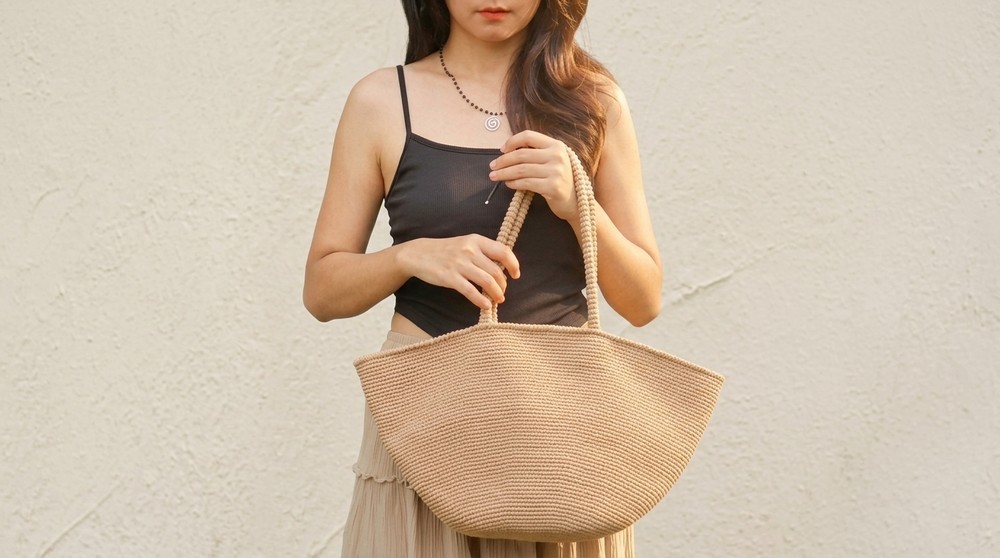
Plus you can add small touches like buttons or a lining to make it stronger and more stylish. Wearing this bag with casual outfits like shorts and a tee or a summer dress gives a fresh and cheerful vibe. The crochet picnic tote bag pattern combines usefulness and charm, making it a great choice for anyone who loves practical and pretty handmade items. It invites you to create something beautiful that works well in daily life and outdoor fun.
Elegant Spiral Crochet Bag Pattern
Create a stylish and versatile bag that pairs perfectly with any outfit! This beginner-friendly crochet pattern builds a beautiful spiral bag with neat finishing and sturdy handles.
Preparation & Materials Guide
- Choose a quality cotton or cotton-blend yarn, light to medium weight, for durability and softness.
- Suggested hook size: 3.5 mm (E/4) for consistent tight stitches.
- Prepare a long cotton cord or durable fabric string to mark your rows and for edge finishing.
- Yarn needle and scissors for weaving in ends and seaming.
- Pins or stitch markers for securing handles during sewing.
- Sewing needle with matching thread for attaching handles securely.
- Familiarize yourself with reading crochet charts and spiral work basics before starting.
Important Pattern Insights
- The bag body is worked in a continuous spiral without joining rounds, creating a seamless, shell-like texture.
- Increases are applied to expand the circle's diameter evenly using standard stitch combinations (X = single crochet, V = increase).
- Color or cord markers help track round beginnings and adjust stitch counts accurately.
- Handles are worked as rectangular strips then sewn securely in place.
- Edging around bag opening includes a decorative whipstitch technique using the cord.
- Stitch count accuracy at each row is crucial to maintain shape and avoid warping.
Brief Overview of Construction
- Begin with a 6-stitch magic ring base.
- Increase stitches following the spiral increase pattern with "XV" stitch sets expanding every row.
- Work up to row 67 for the full bag body size.
- Finish the top edge with a cord whipstitch technique for neat structure.
- Crochet two 8-stitch by 10-row rectangular pieces for handles; finish each with a pointed end row.
- Sew handles evenly onto the bag with matching sewing thread for a clean, secure finish.
Level of Difficulty
- Designed for confident beginners comfortable with single crochet and simple increases.
- Pattern clarity and row markings help track progress.
Finished Size Information
- Approximate bag diameter after 67 rows: 35 cm (14 inches).
- Handle length: approx. 58 cm (22.8 inches).
- Adjust rows to modify bag size as desired.
Required Tools and Materials
- 1 skein medium-weight cotton yarn (color choice your own).
- Crochet hook size 3.5 mm (E/4).
- Cotton cord approx. 1.5 mm thick for edging (length as needed).
- Yarn needle, scissors, sewing needle, matching thread.
- Stitch markers or pins.
Gauge Information
- Approximately 14 single crochet stitches = 10 cm (4 inches).
- Gauge is flexible but important to maintain tension for smooth shape.
Stitch Abbreviations Used
- ch = chain
- sc = single crochet (denoted "X" in chart)
- inc = increase (2 sc in one stitch, "V" in chart)
- sl st = slip stitch
- rep = repeat
- st = stitch
Defined Special Techniques
Magic Ring:
Creates a tight closed loop to begin spiral work without gaps.
Spiral Working:
Crochet continuously around without slip-stitch joining rounds; mark round start to keep count.
Cord Whipstitch Edging:
Use the cotton cord to whipstitch the bag's top edge for firmness and neat finish.
Handle "Pointed Row" Shaping:
At the handle's end, decrease row with single crochet increases to create a pointed shape for easy sewing.
Detailed Crochet Instructions
Body of Bag: Foundation & Spiral Build
Row 1: Foundation Magic Loop
- Form magic ring.
- Crochet 6 sc into the ring-6 sts total.
- Pull tail tightly, insert marker past last stitch to mark start of spiral.
Row 2: Increase Round 1
- Work 2 sc in each stitch around (6 "V"s)-total 12 sts.

Row 3: Increase Round 2
- 1 sc, 1 increase (2 sc in next st) repeat 6 times - 18 stitches total.
Row 4: Increase Round 3
- 2 sc, 1 increase repeat 6 times - 24 sts total.
Row 5: Increase Round 4
- 3 sc, 1 increase repeat 6 times - 30 sts total.
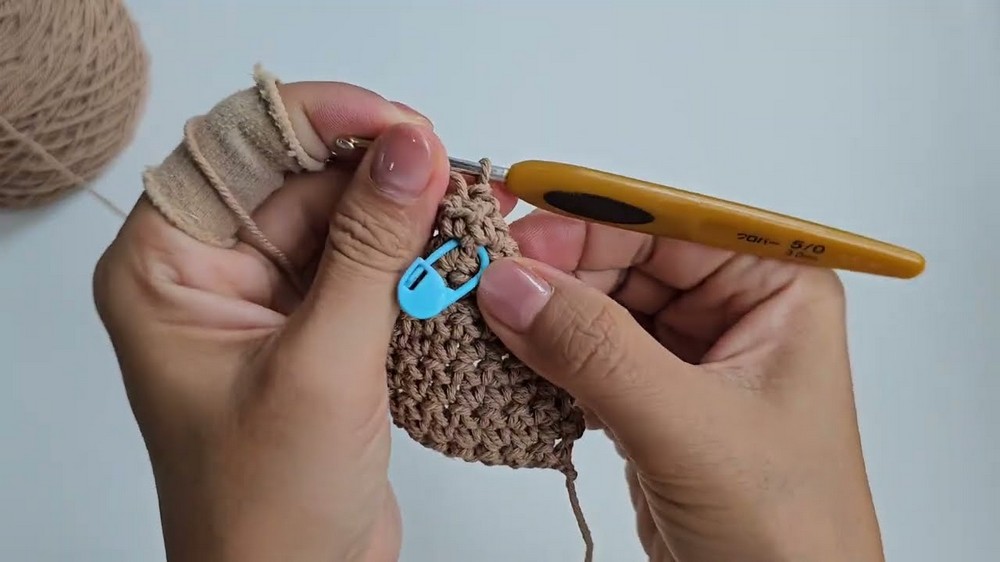
Row 6: Increase Round 5
- 4 sc, 1 increase repeat 6 times - 36 sts total.
Continue Pattern of Increase:
- Each subsequent round increase sc number before 1 increase by 1 until desired diameter.
- Work up to Row 67 or until bag body reaches desired size (~35 cm diameter).
Tip for Beginners: Use the cord to mark each round's start to easily track where increases happen, avoiding stitch miscounts.
Finishing Edge: Cord Whipstitch
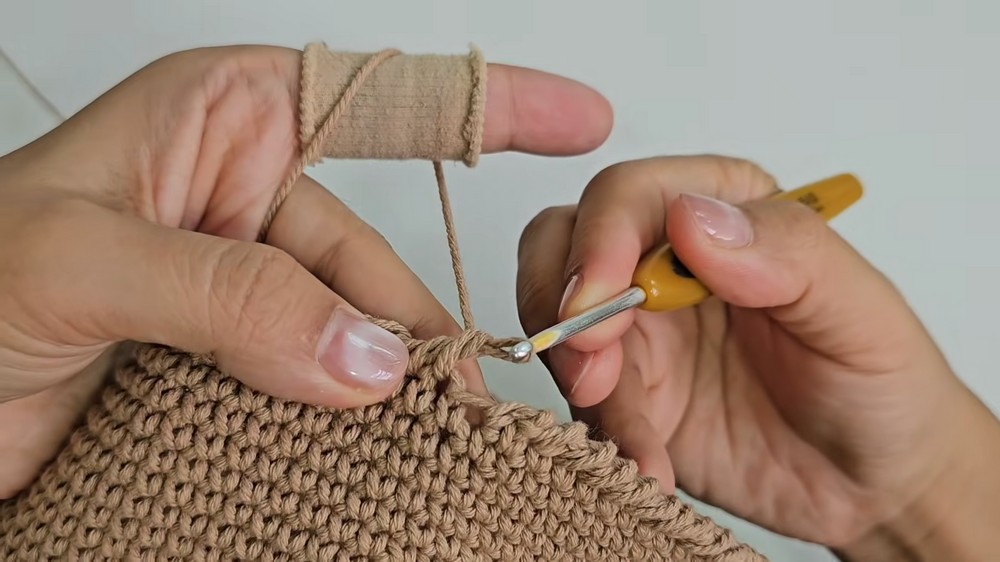
- Pull bag top edge loop slightly higher for easier whipstitching with cord.
- Using the cord, insert needle through one sc stitch from back to front.
- Pull cord through and repeat inserting the needle behind adjacent stitches, bringing cord loops through each time to create neat "whipstitch" finish.
- Continue around entire bag opening for sturdy edge.
- Secure cord ends by sewing or knotting neatly inside bag.

Handle Construction
Handle Chain:
- Chain 8 stitches.
Row 1:
- Starting in second chain from hook, sc across all 8 stitches.
- Ch 1 and turn.
Rows 2-6:
- Sc across each row (8 stitches).
- Ch 1, turn.
Row 7 (Pointed End):
- Sc in first 3 stitches, then sc2tog (single crochet 2 stitches together) to decrease, sc in remaining stitches (4 sts total).
- Ch 1, turn.
Rows 8-10:
- Sc across all stitches (4 stitches).
- Ch 1, turn.
Finish Handle:
- Bind off, leaving tails for sewing.
- Repeat to make 2 handles.

Attaching Handles to Bag
- Fold bag top edge in half, pin markings at 14 cm from each side to place handles evenly.
- Align handle pointed end to pin markings; pin securely inside bag top edge.
- Sew handles firmly into place using sewing needle and matching thread, stitching through handle ends and bag surface several times for durability.
- Repeat for second handle opposite first.


Beginner-Friendly Recap
Start your bag in a small magic ring, then work in a continuous spiral increasing evenly every round to get a flat large circle. Finish the opening edge with a strong whipstitch using the cord. Crochet two rectangular handles and sew them evenly on the bag sides for comfortable carrying.
Finishing & Care Tips
- Weave in all yarn ends securely inside bag.
- Trim cord ends neatly after whipstitch finishing.
- Gently block completed bag to shape if desired.
- Hand wash with mild detergent; lay flat to dry.
Help with Challenges
Uneven Spiral Growth:
- Ensure row increases are consistent and correctly counted. Use a marker for spiral entry point.
Loose Edging:
- Maintain tension on cord whipstitch to keep edge firm and neat.
Handle Misalignment:
- Accurately measure and pin before sewing. Double-check placement for symmetry.
Additional Project Inspirations
- Vary yarn textures or colors for unique bags.
- Use the spiral pattern to make coasters or placemats.
- Crochet matching small wallets with spiral bases.
- Embellish bag edges with beads worked on during whipstitch.
- Create a coordinating pouch using same stitch pattern.