
Free Crochet Poncho Pattern Perfect for Any Season
Create your own cozy and colorful poncho with free crochet pattern that are super easy and fun, perfect for staying warm and showing off your style.
A poncho is a stylish and cozy piece of clothing that adds charm to any outfit. A free crochet poncho pattern is an easy way to create something beautiful and unique. Soft yarn wraps gently around the body in a flowing style, offering warmth and comfort on chilly days.
Beautiful Free Crochet Poncho Pattern for Every Occasion
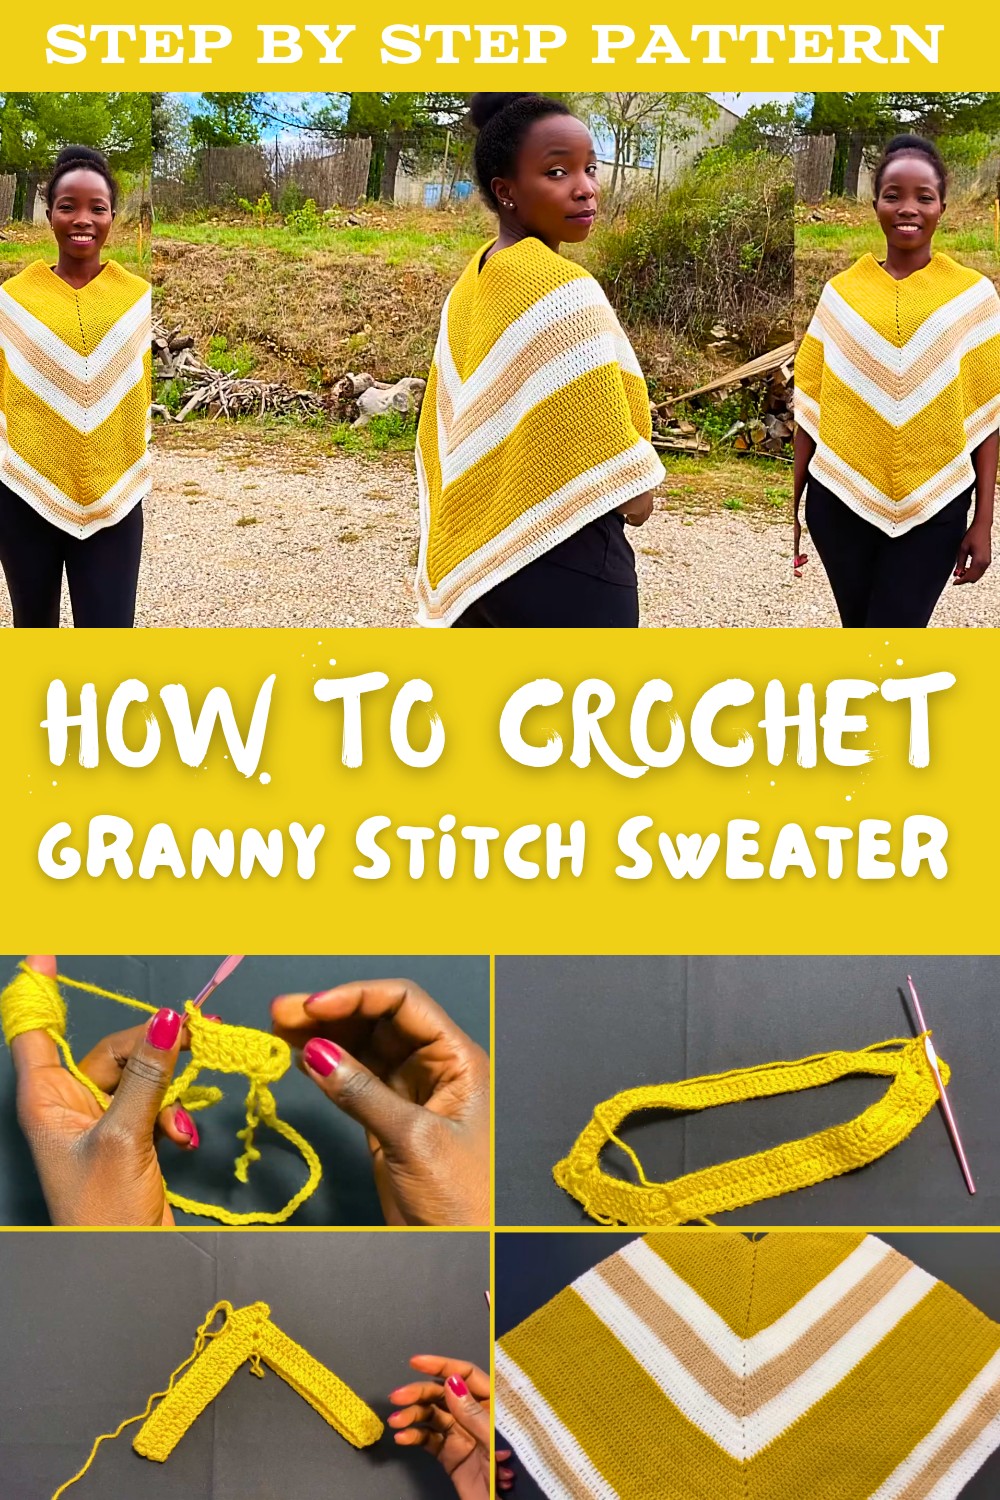
With its incredible textures and vibrant colors, it catches the eye and stands out in the crowd. A crochet poncho is perfect for staying comfortable indoors or layering outdoors when the weather is cool. Its loose and relaxed shape makes it easy for anyone to wear while feeling snug and free to move. Whether casual or dressed up, a poncho brings a touch of elegance and practicality to your wardrobe. It's not just clothing; it's a creative and charming accessory that you'll love to keep or gift to someone special.

Crochet Poncho Pattern - Step-by-Step Guide
Materials List
Yarn
- 3 colors of medium-weight yarn (DK-weight), 100% acrylic:
- Color A (Mustard): 2 skeins (50g each, 140m per skein).
- Color B (Off-White): 1 skein (50g).
- Color C (Beige): Less than 1 skein (approximately 25g).
Alternative Yarn: Substitute with any soft acrylic or light worsted-weight yarn for similar results.
Crochet Hook
- 3.5 mm crochet hook, intended for DK-weight yarn to achieve a slightly tighter stitch suitable for intermediate tension.
Optional Materials
- Stitch Markers: To mark corners and critical stitch points.
- Scissors: To cut excess yarn.
- Yarn Needle: For weaving in ends.
Skill Level
Intermediate: Requires familiarity with double crochet (DC), working in the round, increasing stitches, and maintaining consistent tension.
Key Abbreviations
All stitches are written in US crochet terminology:
- Ch: Chain
- Sl st: Slip Stitch
- DC: Double Crochet
- St(s): Stitch(es)
- Rep: Repeat
Special Notes
- Sizing: This pattern provides instructions for a small-medium size. Adjust the foundation chain in multiples of 4 stitches to create larger or smaller sizes.
- Gauge and Tension: The project will shrink slightly after working the first row-ensure the foundation chain fits loosely around your neck.
- Color Changes: Transition seamlessly between colors by completing the final slip stitch of the row with the new yarn color.
Pattern Instructions
Step 1: Foundation Chain
- Begin with Color A (Mustard).
- Create a slip knot and then chain 90 (adjust for size if needed):
- For smaller sizes: Chain 70-80.
- For larger sizes: Chain 100-110.
- Ensure your chain fits loosely around your neck.

Step 2: Joining in the Round
- Ensure your chain is straight and untwisted.
- Insert your hook into the first chain and join with a sl st to form a ring.
Step 3: First Round - Create Corners
- Ch 2 (counts as first DC).
- Work the following into the first chain to create a corner:
- 2 DC, Ch 2, 2 DC.
- Work 1 DC into each of the next 44 stitches.
- In the 45th stitch, create another corner:
- 2 DC, Ch 2, 2 DC.
- Continue working 1 DC into the next 44 stitches.
- Join the round with a sl st into the top of the first Ch 2.

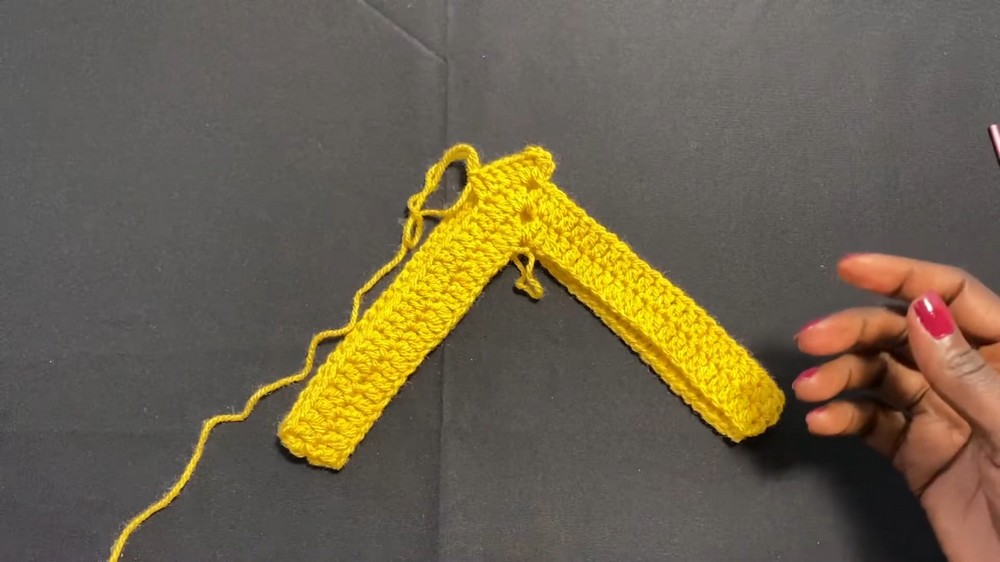
Step 4: Repeat Rows
Repeat the following for each subsequent round until the desired length:
- Corners: Work 2 DC, Ch 2, 2 DC into each corner space from the previous row.
- Straight Edges: Work 1 DC into each stitch along the straight edges.
- Joining: At the end of the round, join with a sl st into the top of the Ch 2.
Each round will increase by 8 stitches overall (4 added at each corner).
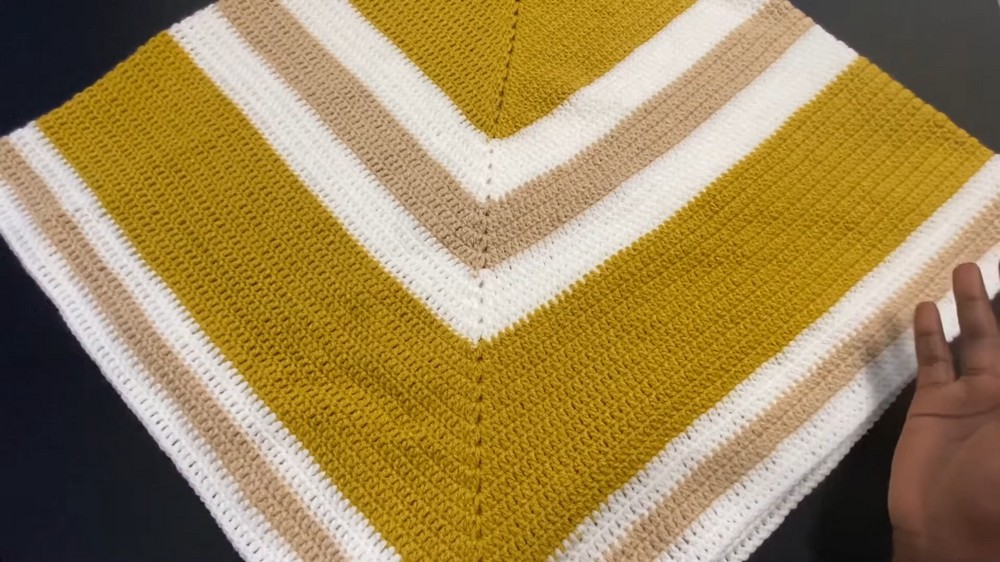
Step 5: Color Changes
Modify colors as follows (or customize using your own palette):
- Rows 1-12: Color A (Mustard).
- Rows 13-16: Color B (Off-White).
- Rows 17-20: Color C (Beige).
- Rows 21-24: Return to Color A (Mustard).
- Rows 25-30: Alternate shorter sections: 2 rows Color B, 2 rows Color C, and 2 rows Color B.
Step 6: Final Rounds
- Finish your poncho after 42 rows (adjust for longer or shorter lengths).
- Complete the final slip stitch, cut yarn, and pull through to secure your work.
Step 7: Finishing Touches
- Use your yarn needle to weave in all loose ends neatly.
- Steam block or lightly stretch your poncho to shape, ensuring consistent corners and edges.
Conclusion
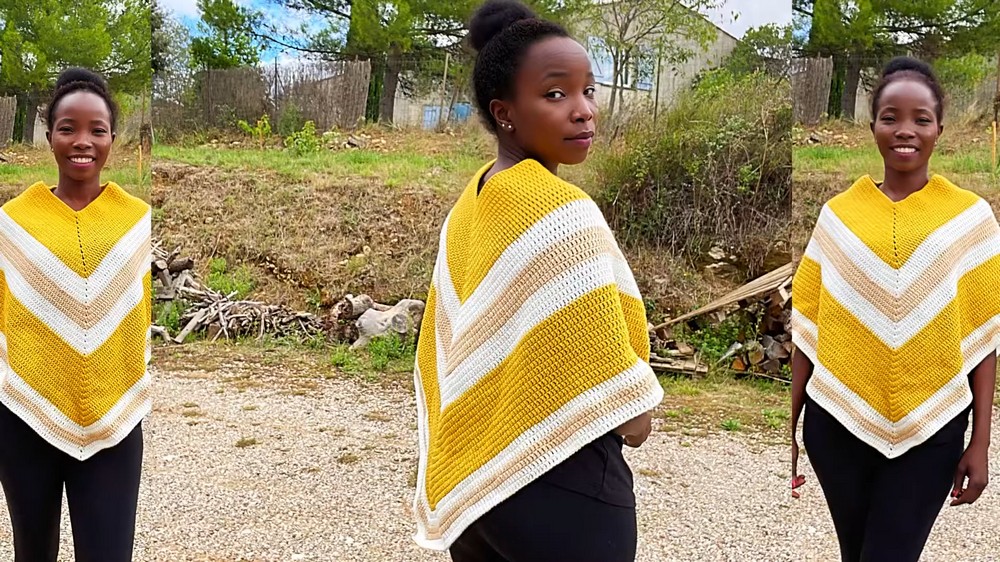
Congratulations! You've completed this cozy fall-themed poncho using a simple yet elegant pattern. This versatile garment can be styled up or down and is perfect for layering during cooler months. The bold color-blocked design creates a beautiful rhythm while staying lightweight and comfortable.

Pattern Corrections
Make sure not to miss hidden stitches near each corner as they can lead to inconsistent increases. If your stitch count seems off, recount carefully and correct before continuing.
Tips for Success
- Fit Adjustments: For larger sizes, simply increase the foundation chain in multiples of 4 stitches and continue working evenly on both sides.
- Consistent Color Changes: To avoid color join lines, tighten the tension slightly when slip stitching with the new yarn color.
- Alternate Design Ideas: Add embellishments such as tassels, fringe, or a decorative crochet edging for a unique flair.