
Free Crochet Pot Holder Pattern For Safe Meal Prep
Protect your hands in handmade style with this free crochet pot holder pattern, a useful kitchen helper for everyday cooking tasks.
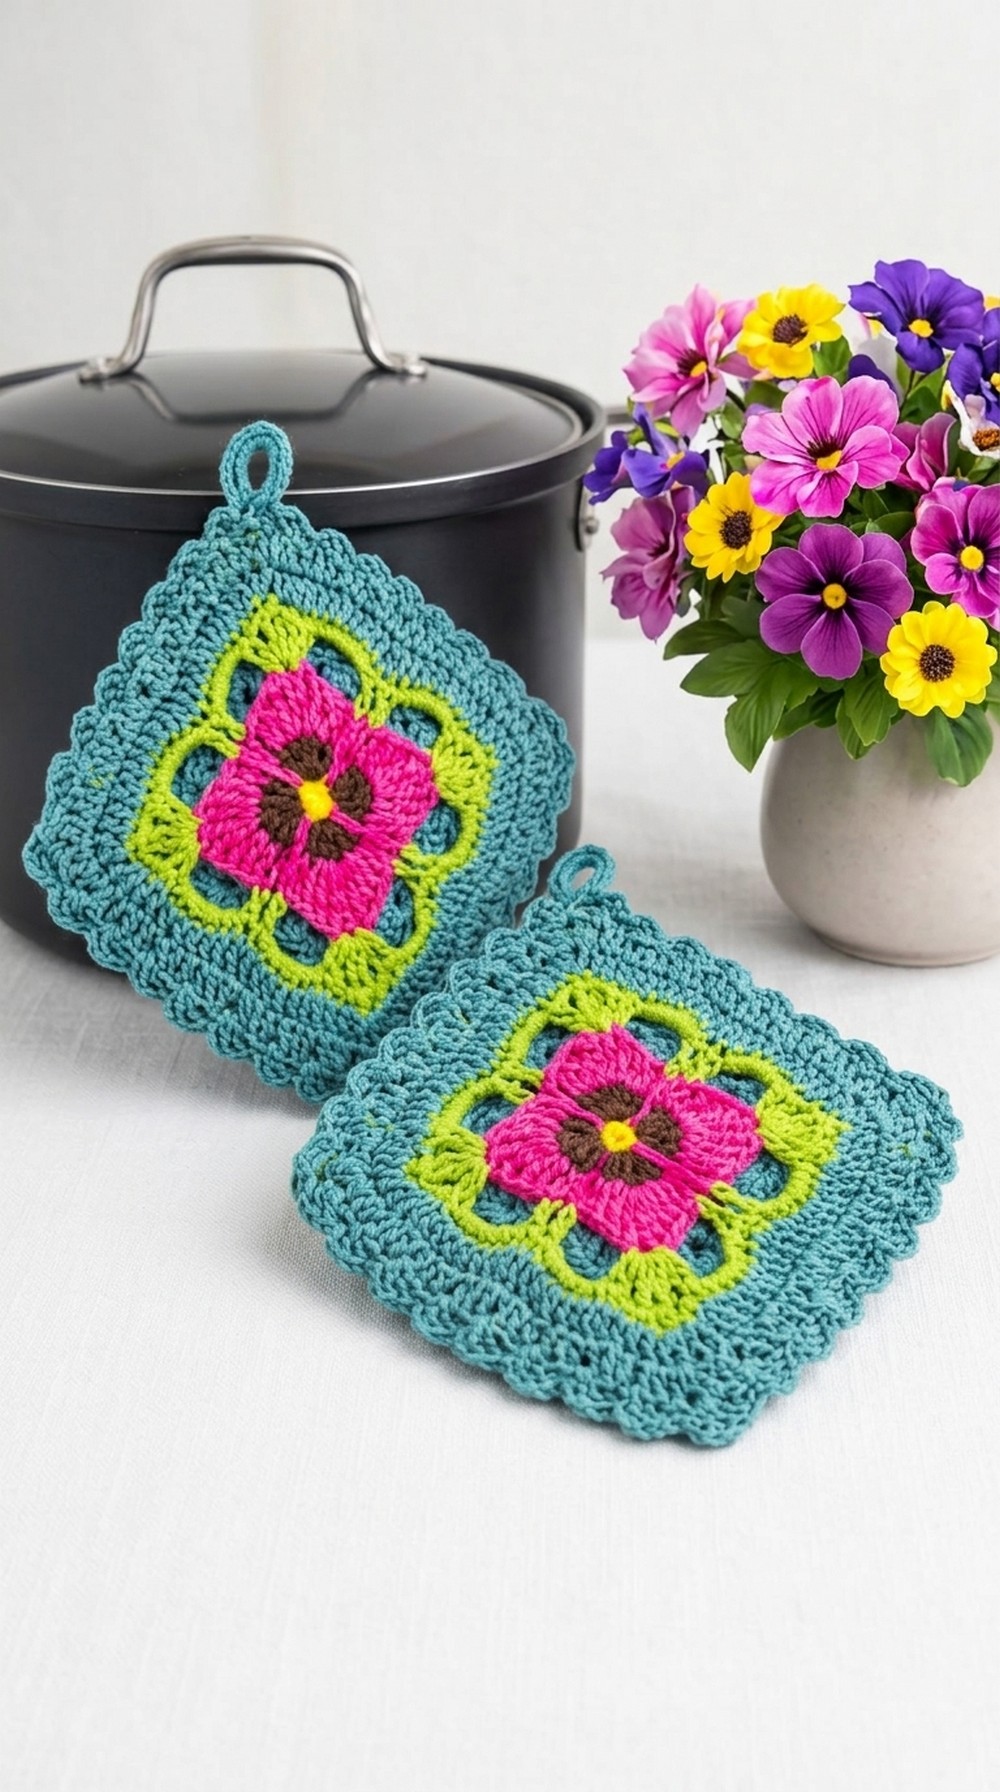
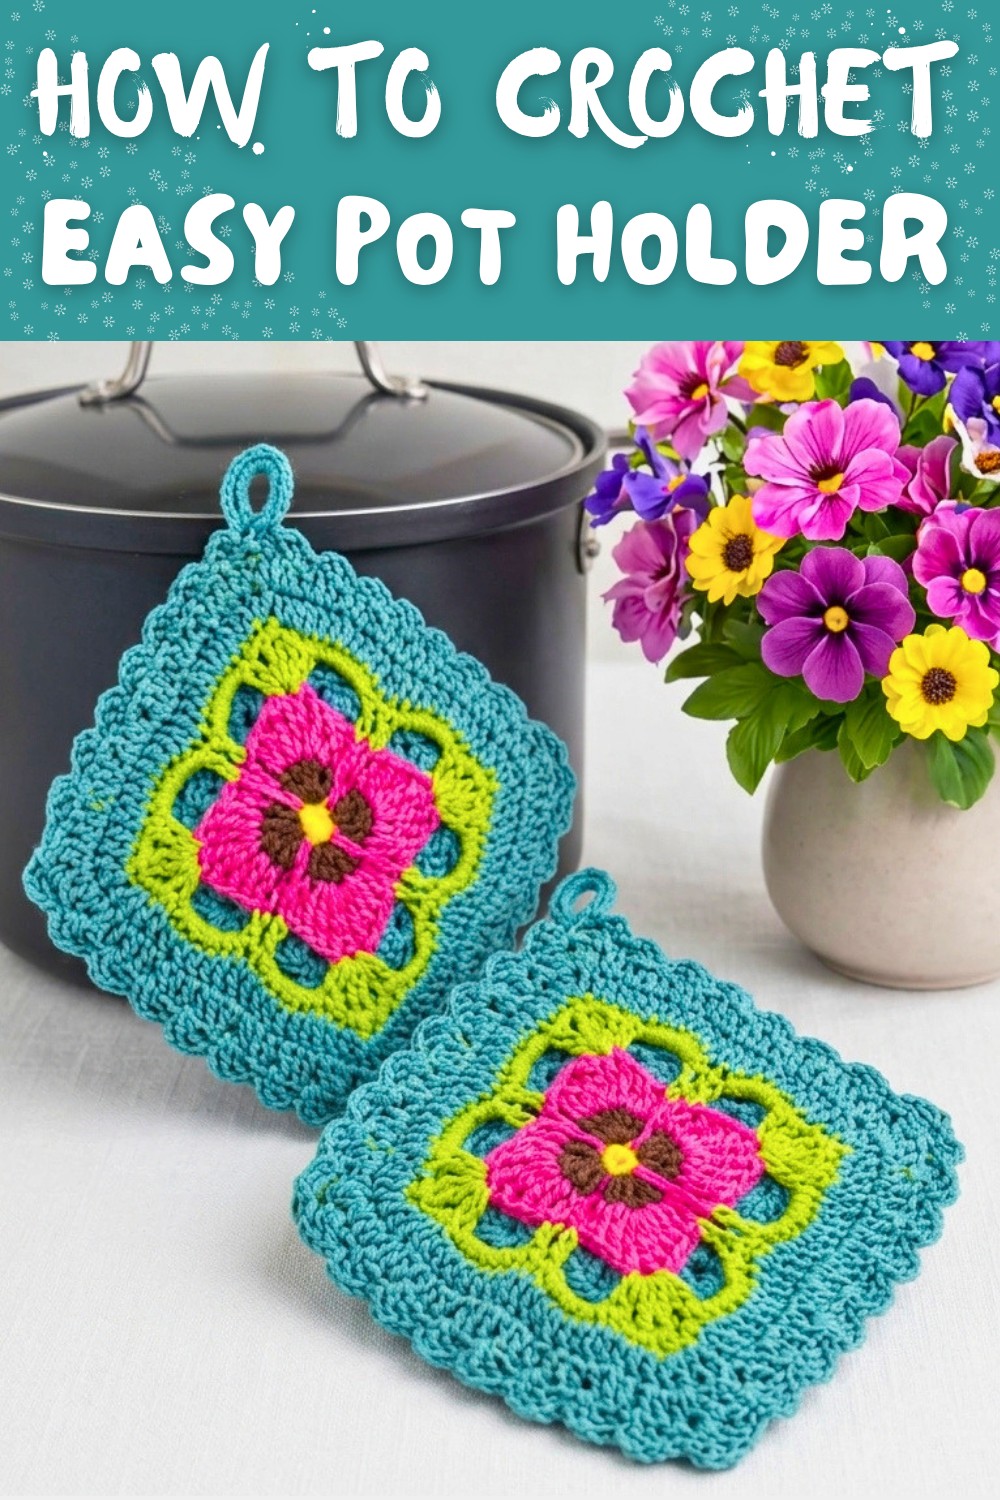
Crochet potholders are not just practical tools for your kitchen-they are small pieces of art that showcase creativity, color, and beauty. This pattern for Crochet Pot Holder Pattern lets you crochet something warm, bright, and lovely for your home or for gifting purposes. The main highlight of this potholder is its floral design, inspired by the charming violet flower. The vibrant petals and subtle green leaves make it stand out, giving it the look of nature in your kitchen. The flower, crocheted with layers of textured crochet, looks soft yet structured, making it both pretty and durable. The base is designed in a neat square shape with a border that adds stability to the potholder.
Colorful Free Crochet Pot Holder Pattern Perfect For Housewarming Gifts

What makes this potholder extra fun is how customizable it is. You can easily choose your favorite colors and make it bright or pastel, bold or soft. Try combinations like yellow and pink, blue and purple, or even glowing shades like orange and green. This freedom to match the potholder to your style is what makes it unique and personalized.
Crochet potholders like this don't just brighten your kitchen-they also protect your hands when handling hot pots and pans. The design ensures sturdiness, and you can even make it double layered for extra safety. Plus, the looped handle at the top makes it easy to hang up neatly when not in use.
This potholder isn't just an item-it's a colorful and creative decoration for your kitchen. While making it, you'll enjoy the relaxing rhythm of crochet and the happiness of bringing it to life stitch by stitch. Try this wonderful project, add your favorite colors, and let your crochet skills shine.
Crochet Pot Holder Pattern
Materials Needed
- Yarn: Acrylic yarn or cotton yarn (preferably thick for potholders) in the following colors:
- Yellow (Center of flower)
- Dark Brown or Black (First petal base layer)
- Violet or Purple (Outer petal layer)
- Green (Leaves)
- Another color of your choice for the base.
- Hook: 1.75 mm crochet hook.
- Scissors: For cutting yarn ends.
- Tapestry Needle: To weave in ends and secure the project.

Gauge
- Approximately 4 rows of treble crochet (TR) = 1 inch (2.54 cm).
- The final size of the potholder depends on the number of rows added to the base and edging.
Finished Size
- Width: 7.5 inches (including flower petals and leaves).
- Length: 7.5 to 9 inches, depending on the border size or handle customization.
Special Techniques Used
- Magic Ring: Used to start the central flower motif.
- Treble Crochet (TR): For flower petal texture and height.
- Double Treble Crochet: For leaf and petal accents (optional).
- Layered Assembly: Piecing petals, leaves, and the potholder base together to finalize the design.

Pattern Instructions
Part 1: Creating the Flower Center
- Begin with a magic ring using Yellow yarn.
- Chain 1 (CH 1) to secure the ring.
- Work 8 single crochet (SC) stitches into the ring.
- Pull the tail of the magic ring tightly to close the center.
- Slip Stitch (SL ST) into the first SC to close the round.
- Cut and fasten off the Yellow yarn.
Part 2: Adding the First Layer of Flower Petals
- Join Dark Brown or Black yarn into any SC from the previous round.
- CH 2 (acts as your first stitch) and work 5 DC (Double Crochet) into the same stitch to form the first petal.
- CH 4, skip one SC from the previous round, and repeat:
- In the next SC, work 5 DC followed by CH 4.
- Skip one SC.
- Continue this pattern until you have 4 petals in total.
- Slip Stitch into the starting CH to close the round.
- Cut and fasten off the Dark Brown/Black yarn.
Part 3: Adding the Outer Petal Layer
- Join Violet yarn into the chain space between any of the petals from the previous round.
- CH 3 (acts as your first DC) and work the following into the same space:
- 1 DC, 2 TR (Treble Crochet), 2 Double Treble Crochet (DTR), 2 TR, 1 DC.
- You've now created a large petal.
- CH 4, skip to the next chain space, and repeat the petal pattern.
- Continue around until you have 4 larger petals in total.
- Slip Stitch into the starting CH to finish.
- Fasten off the Violet yarn.

Part 4: Adding the Leaves
- Use Green yarn to create the leaves. Insert the hook into any CH 4 space between petals.
- CH 3 (acts as the first HDC for leaf formation), and into the same space, work:
- 1 HDC (Half Double Crochet), 1 DC, 2 TR, 1 DC, 1 HDC, CH 2, and then SL ST back into the same space.
- Move to the next CH 4 space and repeat the leaf pattern.
- Continue around all 4 spaces to create 4 leaves.
- Slip Stitch into the starting CH to complete the round for the leaves.
- Leave the yarn, as this will be used to attach the flower motif to the base later.

Part 5: Creating the Base
- Use a complementary color yarn for the base. Start with a magic ring.
- CH 3 (acts as the first DC) and work 2 DC stitches into the magic ring.
- CH 3 and work another set of 3 DC stitches.
- Keep repeating until there are 4 groups of 3 DC stitches, with CH 3 corners in between.
- Pull the magic circle closed. SL ST into the top of the starting CH 3 to close the round.
- For additional rounds, continue building a flat square with the following rules:
- Work 3 DC into each CH 3 space along the edges. This will create straight sides.
- At each corner (where there's a CH 3), work: 3 DC, CH 3, 3 DC.
- Continue until the square reaches the desired size for your potholder.
- Fasten off the yarn and weave in ends.

Part 6: Assembly
- Center the flower motif on top of the squared base. Use the leftover Green yarn to sew the flower securely onto the base.
- Use small, neat stitches and sew along the edges of the petals to ensure the flower stays in place.

Tips for Perfect Results
- Secure Your Magic Ring: Always pull the magic circle tightly to ensure the center doesn't unravel.
- Color Variations: Experiment with pastel or vibrant colors for the petals to match your kitchen theme.
- Adding a Handle: CH 10 to 12 to create a hanging loop when finishing the final edge.
- Layer Thickness for Safety: If the potholder will be used with hot pots or pans, ensure it's thick by using double layer squares as the base.

Customizations
- Add More Detail to the Petals: Use slip stitches across the petal edges for added definition.
- Experiment with Yarn Types: Use cotton yarn for a sturdier, heat resistant potholder.
- Size Adjustments: Add or remove rows to the flower's base square to make it smaller or larger.
Special Notes and Final Look
When complete, this Violet Flower Potholder has a lively, floral appearance that adds an elegant, handcrocheted touch to your kitchen. The layered petals, bold colors, and textured leaves create a visually stunning piece that's perfect for display or everyday use.
With its sturdy construction and attractive design, this pattern is not only practical but also a fantastic gift option for housewarmings or birthdays. Whether you're an advanced crocheter or just starting, this guide ensures you'll create something absolutely beautiful.
Conclusion
The Violet Flower Potholder is a project that beautifully combines creativity with functionality. Whether you're making it for your kitchen or as a heartfelt handmade gift, it's sure to earn admiration for its intricate design and usefulness. Follow the steps carefully, have fun experimenting with colors, and enjoy the joy of crocheted something unique and personal.