
Free Crochet Ruffle Hat Pattern That’s Trendy and Fun to Make
Show off your skills with this playful ruffle hat that's both cozy and stylish, making it the perfect choice for everyday fun and special moments.
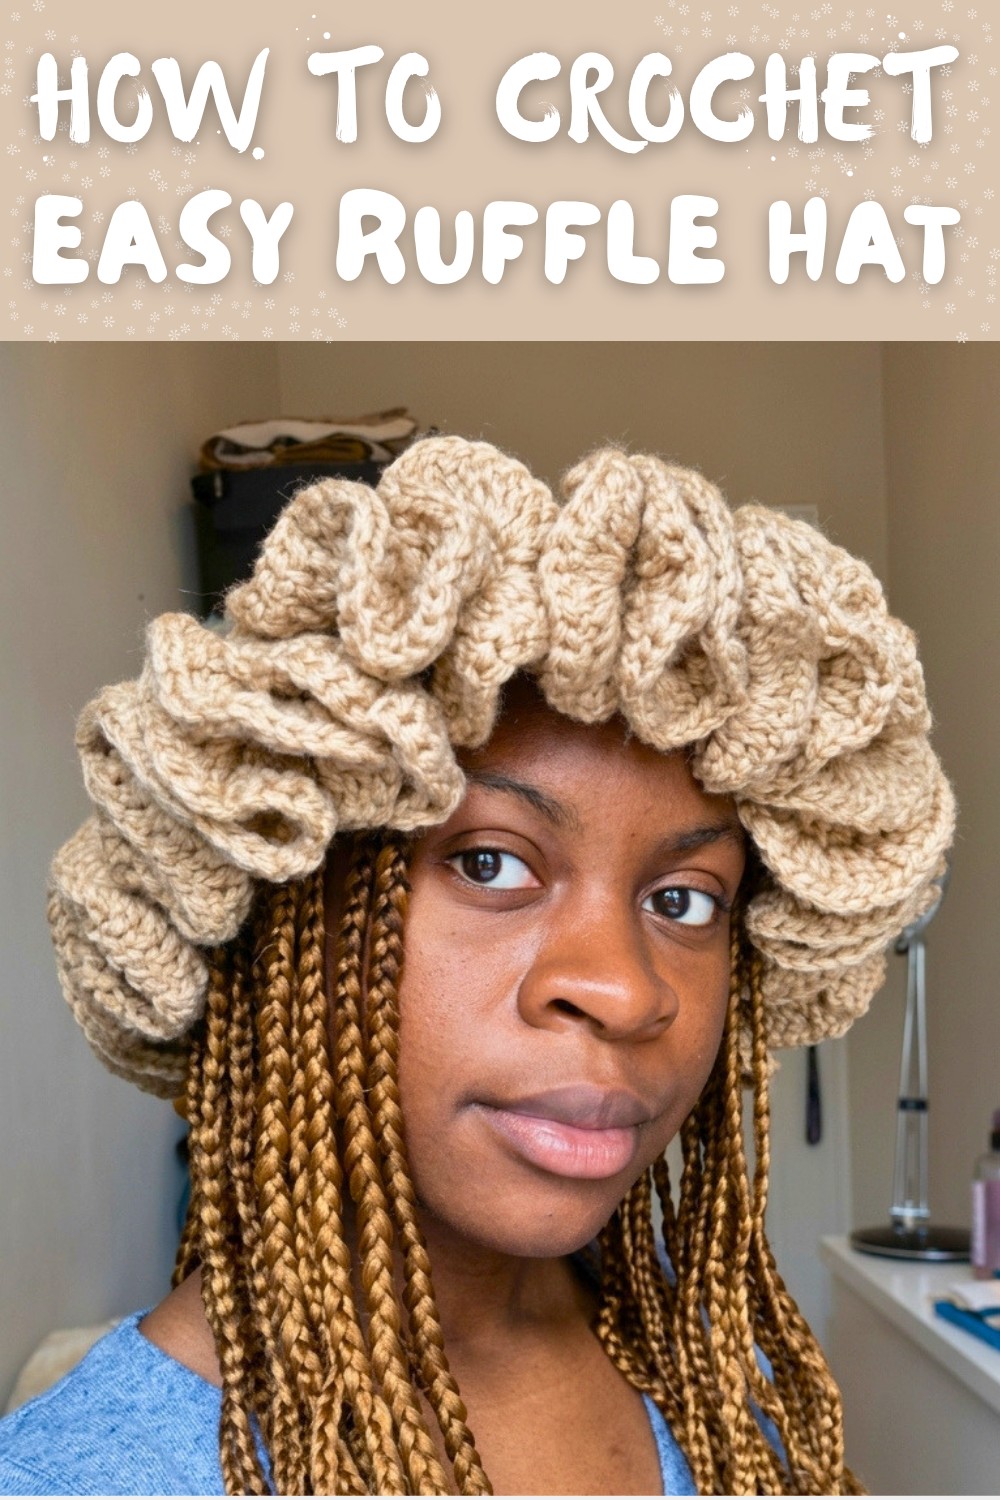
Crocheting a ruffle hat is a fun and creative way to make something beautiful with your hands. Using basic crochet techniques like the magic circle, double crochet stitches, increases, and decreases, you can make a unique and eye catching accessory that will keep you warm and fashionable. The beauty of this pattern lies in its playful ruffle design, which adds a touch of charm to the hat. The ruffles make it stand out and give it a soft and cozy appearance that everyone will love. The way the brim of the hat curls naturally makes it even more special. You can customize it with your favorite yarn color to match your outfits or add extra decorations like pom poms or buttons for a more personal touch.
The Best Free Crochet Ruffle Hat Pattern to Brighten Your Look

The features of this hat include an adjustable size, making it suitable for all ages. It begins with a smart magic circle technique to ensure a smooth and seamless base, followed by carefully crocheted rows that expand into elegant ruffles. The brim gives the hat a comfortable fit while adding flair to its design.
This free crochet pattern makes a perfect project for enthusiasts. Not only is it enjoyable to make, but it is also practical to use in any season. You can wear it to stay warm during chilly days or simply as a stylish accessory. With clear, easy to follow instructions, anyone can crochet this hat successfully.
If you're looking for an exciting and rewarding crochet project, this ruffle hat pattern is the perfect choice. It is beautiful, fun to make, and full of personality.
Crochet Ruffle Hat Pattern
Materials Needed
- Yarn: Medium weight yarn in any desired color (size 4 is recommended).
- Hook Size: Crochet hook compatible with your yarn size (e.g., 5.5mm or 6mm).
- Notions: Scissors, stitch marker, and a yarn needle for finishing.
- Optional Accessories: Pom pom, buttons, or decorative appliqués.
Abbreviation Glossary
- ch: Chain
- sl st: Slip Stitch
- dc: Double Crochet
- st(s): Stitch(es)
- yo: Yarn Over
Special Techniques
- Magic Circle: A starting technique for circular crochet projects, creating an adjustable, seamless center.
- Double Crochet (dc): Basic crochet stitch, forming the foundation of this pattern.
- Increase: Placing two stitches into the same space to expand the circle or shape.
- Decrease: Joining two stitches together for shaping or tapering.
Step by Step Pattern
1. Creating the Magic Circle
- Place the yarn across three fingers and wrap it around, forming an "X" over the back of your hand.
- Hold the tail and working yarn between your thumb and pinky.
- Insert the hook under the first strand, pull the second strand through, and create a loop.
- Yarn over, pull through the loop, and secure the magic circle with one chain.
2. Round 1: Foundation
- Begin by ch 2 (this counts as one dc).
- Work 9 dc into the magic circle.
- Pull the tail gently to close the circle.
- Join with a sl st into the top of the starting chain (total 10 sts).

3. Round 2: Increasing
- Ch 2, then place 2 dc into each st around the circle.
- Ignore the ch 2 at the beginning (it does not count as a st in this round).
- At the end of the round, join with a sl st.
- Check: You should now have 20 sts.
4. Round 3: Increasing
- Ch 2 and place 1 dc in the first st and 2 dc in the next st.
- Follow the pattern: 1 dc in one st, 2 dc in the next st.
- End with a sl st into the top of the starting chain.
- Check: You should have 30 sts.
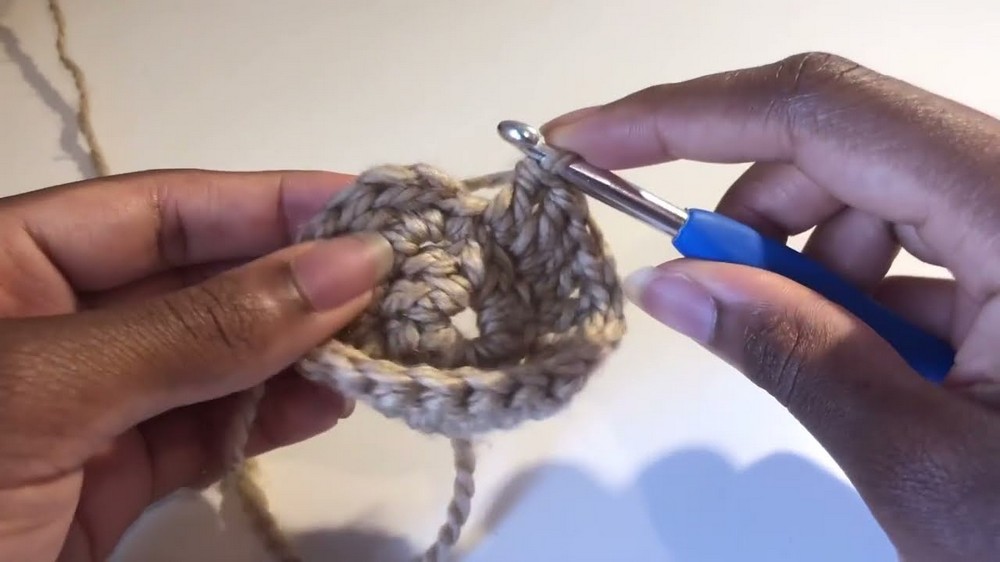
5. Round 4: Increasing (Repeat Process)
- Ch 2 and follow the new pattern:
- Work 1 dc in each of the first 2 sts, followed by 2 dc in the third st.
- Repeat around the circle, ending with a sl st.
- Check: You should have 40 sts.
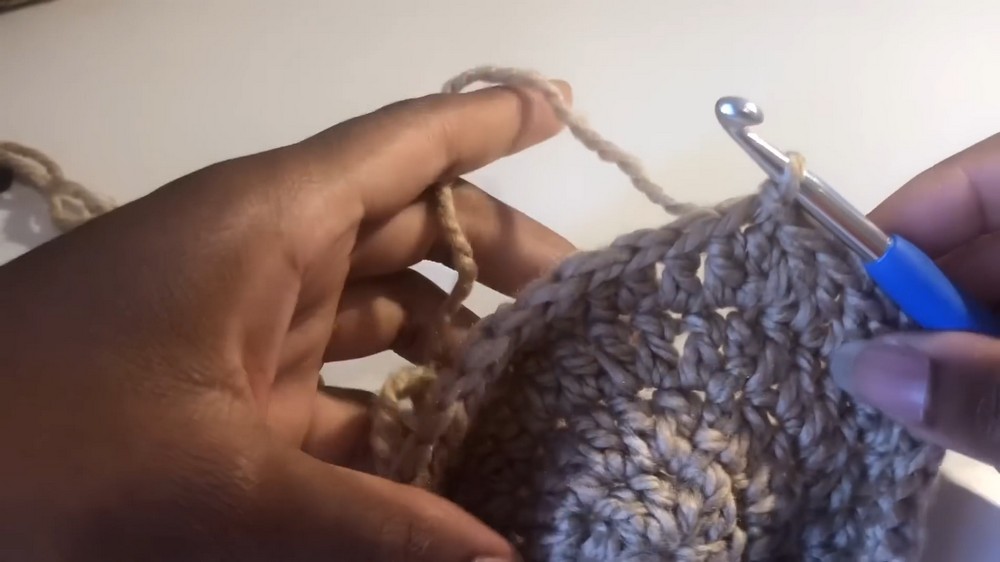
6. Rounds 5-8: Gradual Increases
For each subsequent round, increase the number of singular dc worked between double-crochet pairs:
- Round 5: 3 dc, then 2 dc in the next st (50 sts).
- Round 6: 4 dc, then 2 dc in the next st (60 sts).
- Round 7: 5 dc, then 2 dc in the next st (70 sts).
- Round 8: 6 dc, then 2 dc in the next st (80 sts).

Each increase widens the hat, so adjust the size based on your head measurement. The finished circle in this section should measure around 9.5 inches in diameter.
7. Rounds 9-11: Straight Work (No Increases)
- To create the body of the hat, stop increasing and begin working straight rows.
- Ch 2 and place 1 dc in each st around.
- Repeat for three rows to add approximately 2 inches to the height of the hat.
- If desired, use a stitch marker to indicate the first st of each row for easier counting.
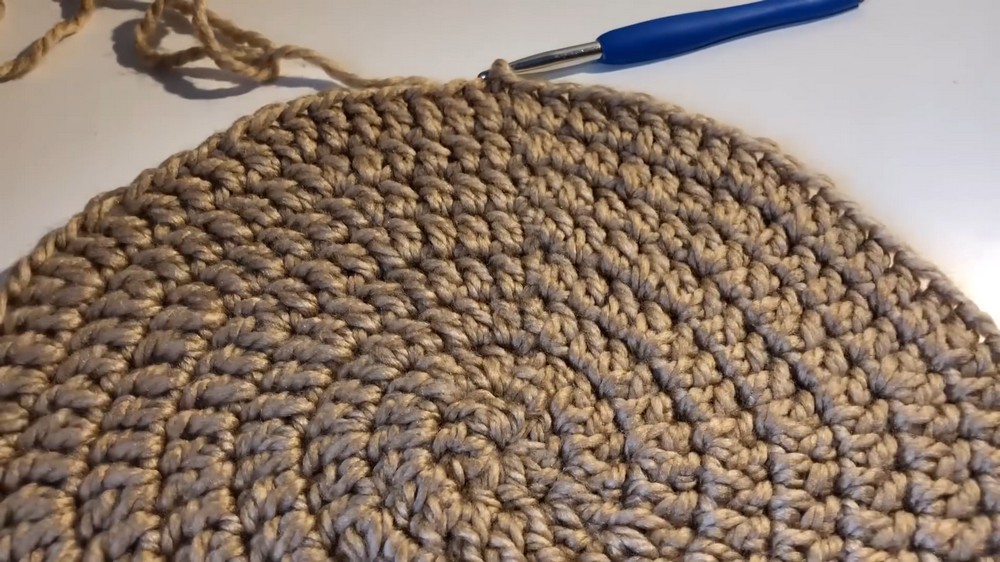
8. Shaping the Crown: Decrease Rows
- Begin with a ch 1 and decrease across the row:
- Insert the hook into the first st, yo and pull up a loop.
- Insert into the second st, yo and pull up another loop.
- Yo and pull through all three loops to complete the decrease.
- Repeat the decrease for the entire row.
- This will cinch the hat slightly to shape the crown.

9. Adding the Brim
- Ch 2 and work 3 dc into each st around for the first row of the brim.
- Repeat this for two additional rows.
- Note: The brim will naturally curl as rows are added, giving the hat a polished and snug fit.
- Adjust the number of rows for a wider or narrower brim as desired.
10. Final Rows and Slip Stitch
- In the final row, reduce down to just 2 dc in one st (instead of 3) to close the brim decoratively.
- Finish with a sl st, ch 1, and pull the yarn through snugly.
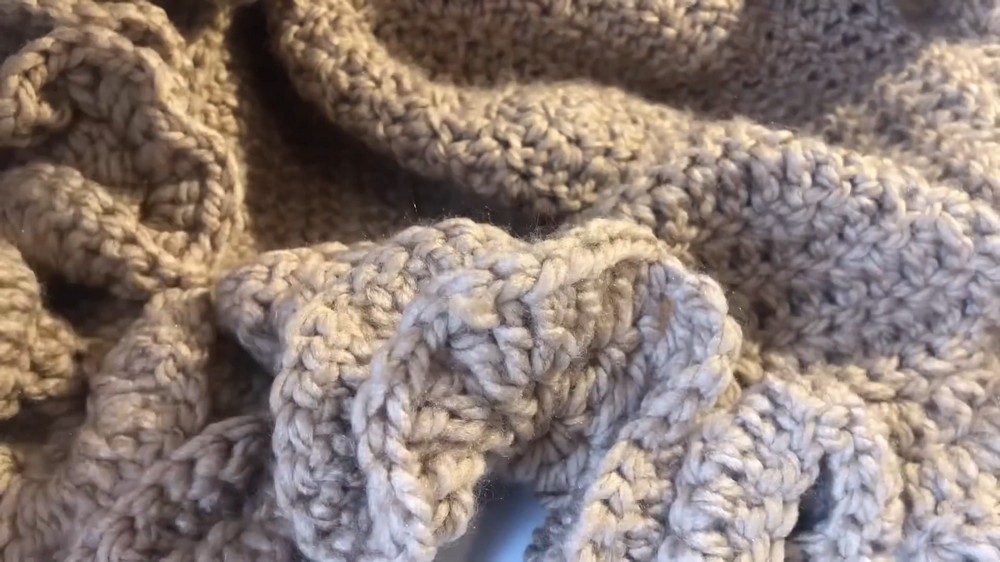
Finishing the Hat
- Turn the hat inside out to access the loose ends.
- Use a yarn needle to weave in the tails securely. Trim any excess.
- Flip the hat right side out to admire your work.
Final Words
Congratulations, You've completed your handcrocheted hat. The combination of gradual increases, straight stitches, and a curling brim creates a well fitted and stylish design suitable for all occasions. This pattern is beginner friendly yet yields a professional finish.
Tips for Maintaining Your Crochet Hat
- Washing: Handwash gently with cold water and mild soap. Lay flat to dry to retain the shape.
- Storage: Store in a cool, dry place to avoid stretching.
- Customizing: Experiment with colors, yarn types, or add embellishments for unique designs.
This timeless crochet hat pattern offers the perfect blend of warmth, texture, and craftsmanship. Whether making one for yourself or gifting it to a loved one, it's a versatile design that stands out in any wardrobe.