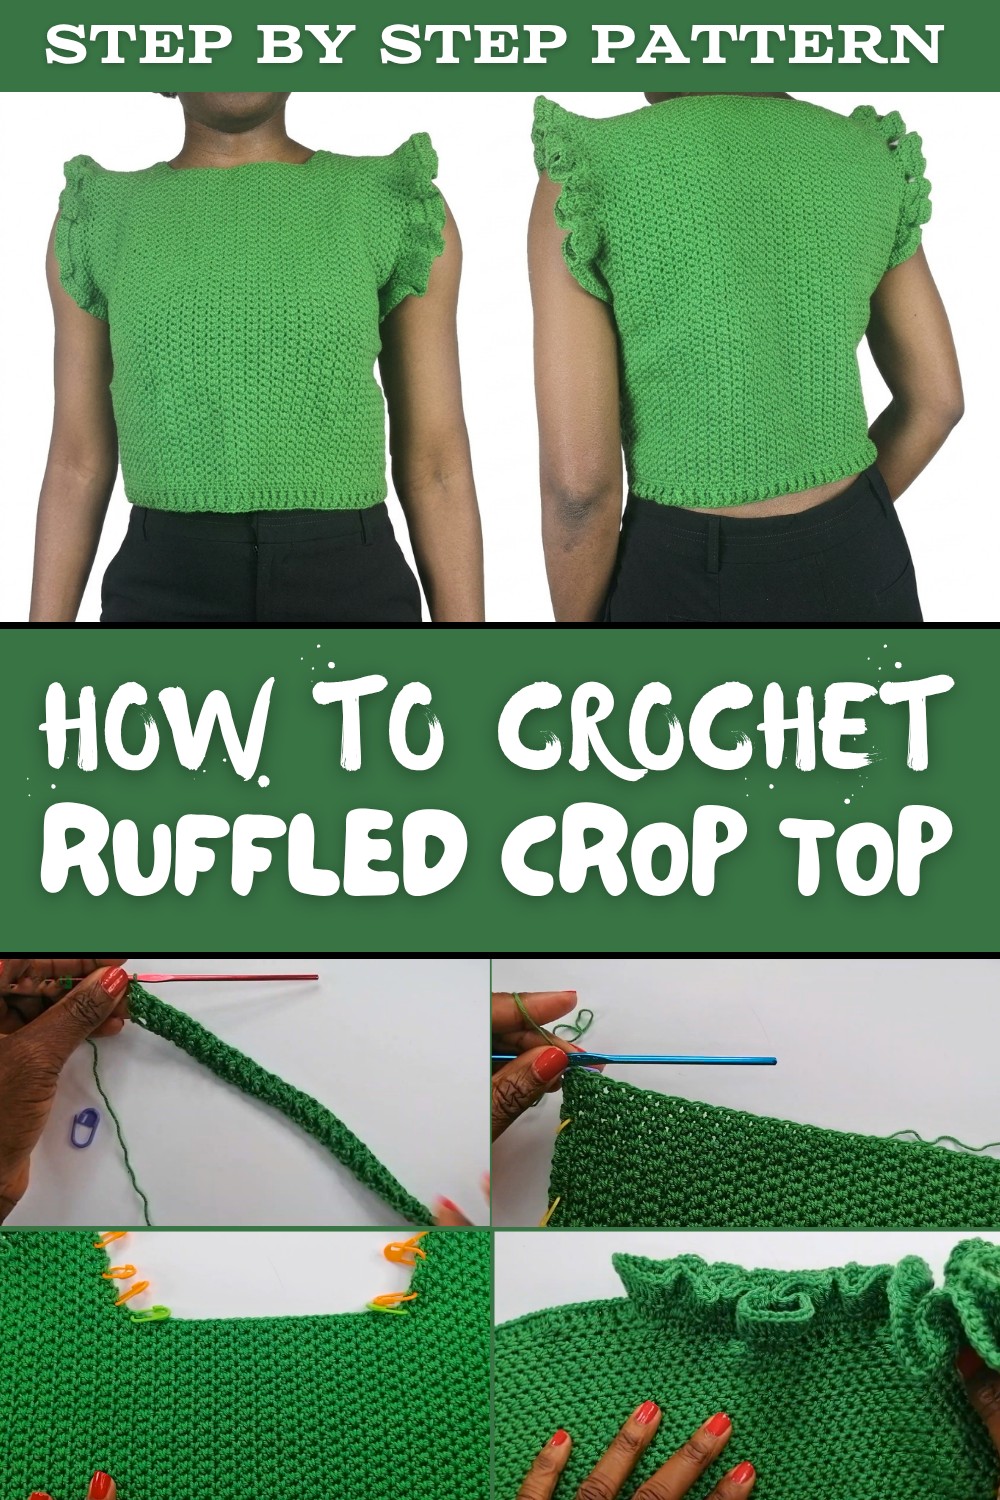
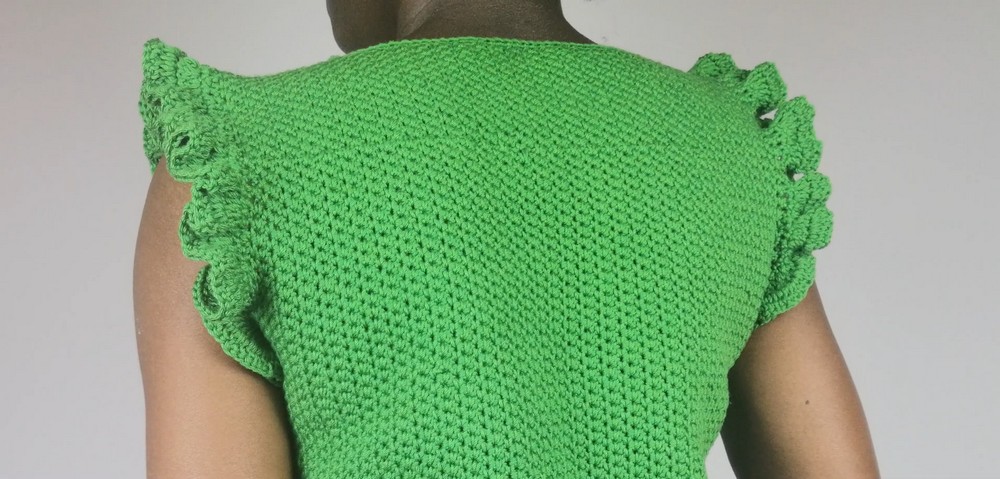
Free Crochet Ruffled Crop Top Pattern Featuring Flirty Sleeves
Not every crochet top feels unique or comfortable, but this free crochet ruffled crop top pattern truly stands out. Too often, store-bought styles lack that special handmade touch and personal fit you can get with this kind of project. With its soft, ruffled sleeves and flattering, fitted shape, this crop top brings together style and comfort in a way you don't always find on the racks. Made with cotton yarn, it's breathable and gentle on the skin, making it a great choice for warm weather or layering throughout the year.
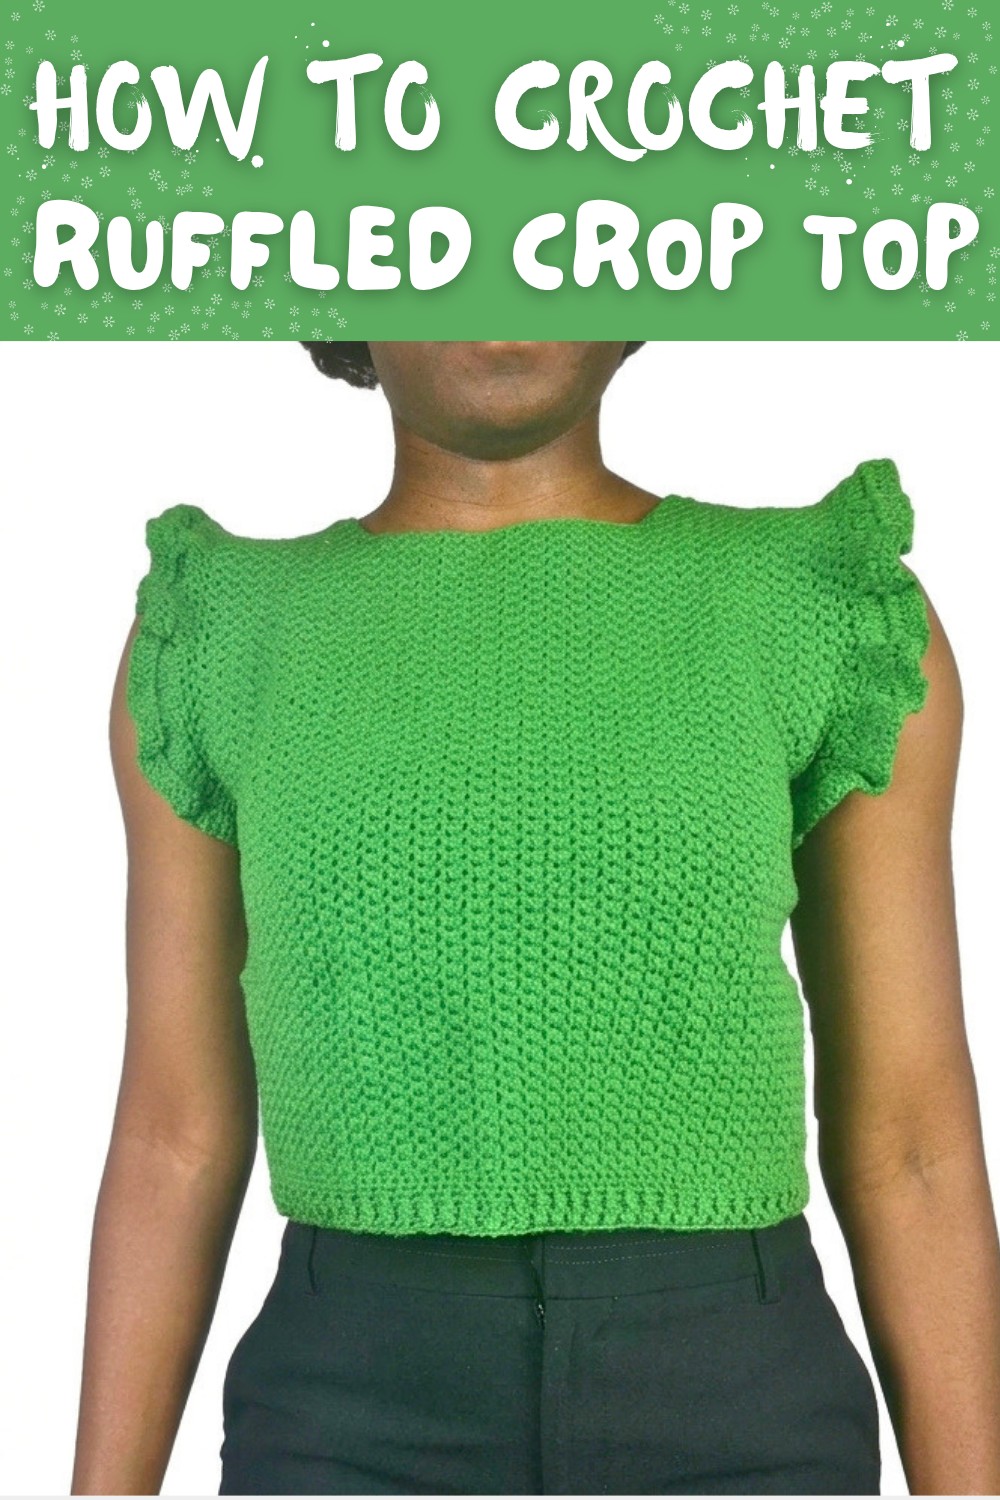
Free Crochet Ruffled Crop Top Pattern for Summer Outfits
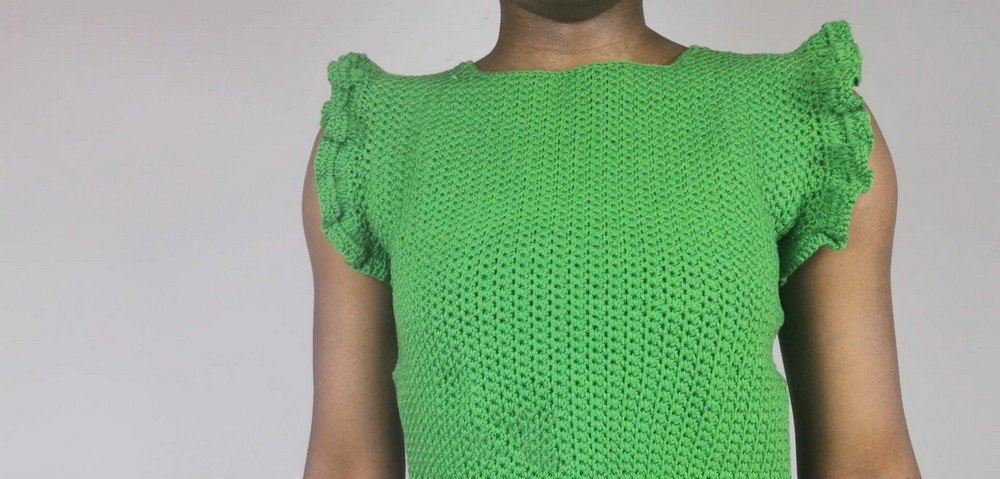
The ruffles add just enough flair to make any outfit pop-whether you're pairing it with high-waisted jeans, a flowing skirt, or shorts for a casual day out. The best part is you can easily adjust the size, length, and fit to suit your personal style, so the final piece always feels custom-made for you.
Making this ruffled crop top is not only satisfying but also a fantastic way to build your crochet skills. Even if you're new to clothing projects, the pattern guides you through each step, from simple double crochets and working with front and back posts, to shaping the ruffles and measuring for a great fit.
What you Gain
You'll learn how to create both the basic body of the top and the decorative edges, and these techniques can be used again and again in future projects. Once you finish this top, you'll be inspired to try other wearable pieces-like cardigans, summer tanks, or even matching accessories. With just a few skeins of yarn and a bit of patience, you'll come away with a beautiful, versatile garment and a whole new level of crochet confidence.
Custom-Fit Long Sleeve Crochet Crop Top
Skill Level & Terminology
Skill Level: Confident Beginner
Terminology: US crochet terms
Materials & Tools
- 100% cotton DK (light worsted) weight yarn
- 4 mm crochet hook (main fabric)
- 3 mm crochet hook (for ribbons/details)
- Stitch markers
- Measuring tape
- Scissors
- Yarn/tapestry needle
Gauge
- 18 sts x 14 rows (in stitch pattern) = 4" x 4" (10 cm x 10 cm)
Check gauge after working at least 10 rows in pattern for best fit.
Finished Size
- Fully customizable!
- Required starting values:
- B: Bust circumference ÷ 2 (cm or in)
- L: Desired finished length from shoulder to hem
- A: Armhole width (shoulder circumference ÷ 2)
- N: Neck circumference (tight)
- SA: Shoulder to start of armpit
Abbreviations
- ch: chain
- sc: single crochet
- dc: double crochet
- sl st: slip stitch
- st(s): stitch(es)
- FPdc: front post double crochet
- BPdc: back post double crochet
- inc: increase
Special Stitch Instructions
- FPdc (Front Post Double Crochet): Yarn over, insert hook from front to back to front around post of next dc, yarn over and pull up a loop, finish as dc.
- BPdc (Back Post Double Crochet): Yarn over, insert hook from back to front to back around post of next dc, yarn over and pull up a loop, finish as dc.
- Alternate sc "V" row: Work sc alternately into the top of the next st, then into the "leg" or base (bottom) of the following st (this creates a faux-knit textured V row).
The Pattern
1. Measurements & Foundation
Take the following body measurements:
- B: Bust circumference ÷ 2
- L: Finished vertical length from shoulder to hem
- A: Armhole opening (shoulder circumference ÷ 2)
- N: Neck opening (tight neck circumference)
- SA: Shoulder to top of armpit (÷ 2 if given whole value)
Example:
Bust = 90 cm, so B = 45 cm for starting chain
Step:
With 4 mm hook, ch a length equal to B
After completing your chain, check against your body-it should lay flat and match half your bust comfortably.
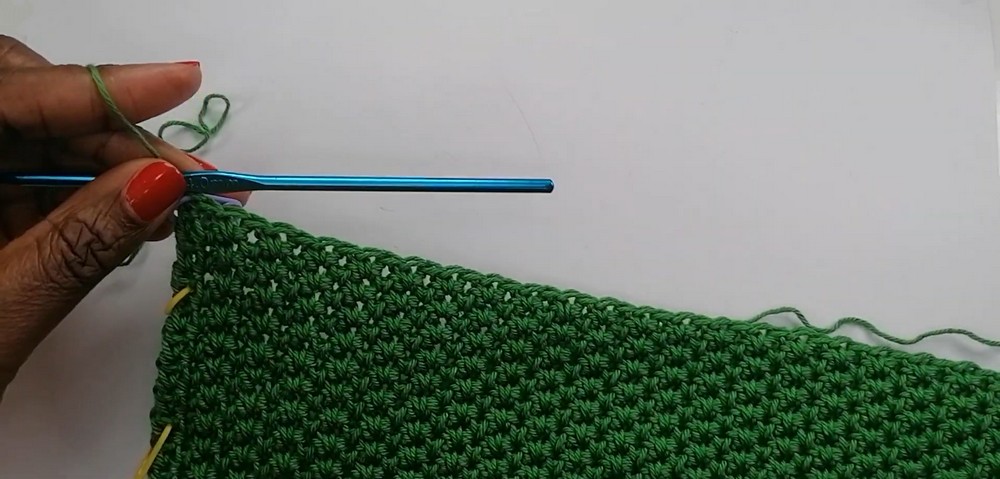
2. Main Panel
Row 1: Double Crochet Base
- Switch to 3 mm hook.
- Dc in 3rd ch from hook and in each ch across.
- Those first 2 skipped ch count as your first dc.
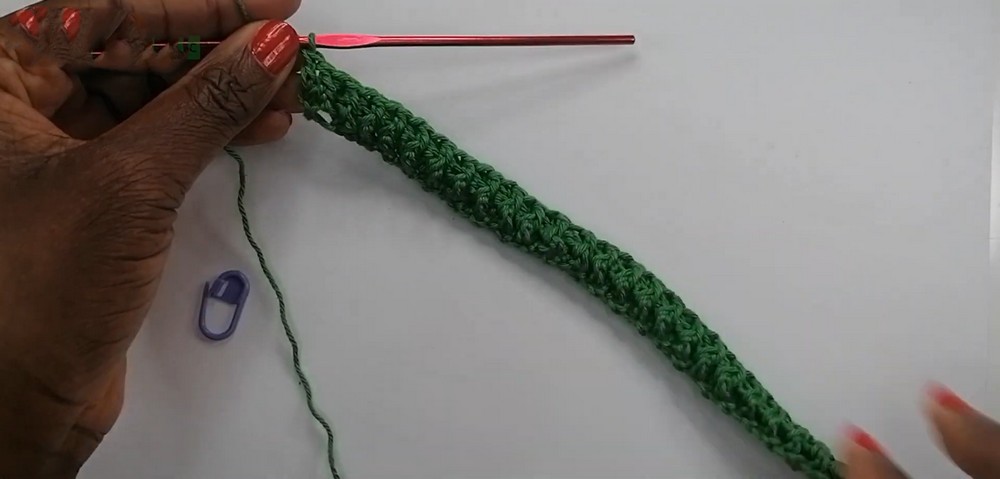
This creates a solid, stretchy base. The smaller hook gives stability to the ribbed pattern to follow.
Row 2: Begin Ribbing with Post Stitches
- Ch 2, turn (counts as first dc).
- [FPdc, BPdc] (alternating) across the row.
- End with a dc in the turning ch at end.
This ribbing technique creates dimension and stretch. Alternate each post stitch as set in the row-do a FPdc where you see a "ridge" and a BPdc on a "valley."
Row 3: Continue Ribbing
- Ch 2, turn.
- For each st: make a FPdc where there's a FPdc, a BPdc where there's a BPdc.
- Repeat to end, finishing with a dc.

You are now setting the ribbed texture that forms the body.
Row 4: All Single Crochet Row
- Ch 1, turn.
- Sc in each st across.
Adds a neat, firm edge and helps the structure.
Row 5: All Single Crochet Row
- Ch 1, turn; switch to 4 mm hook.
- Sc in each st across.
The larger hook will give the main body some softness and drape.
Row 6: Textured "V" Row
- Ch 1, turn.
- Sc in first st.
- Alternately sc in top of next st, then sc into "base" or bottom (leg) of following st, repeat across to last st.
- End with a sc in top of last st.
This creates little "V" textures-crochet one stitch in the usual place, then the next sc around the vertical bar (leg) below, alternating for a faux-knit look.
Row 7: "V" Texture Row
- Ch 1, turn.
- Sc in first st.
- When you see a "V" check below-if it's a faux V (vertical bar), work a top sc; if it's a normal sc, insert into the bar below.
- Repeat to end.
Repeat Row 7 until the panel reaches a height of [L − (A ÷ 2)].
Your panel will have vertical ribbed texture, with a soft drape and stretch. Keep checking length against your measurement as you go!
3. Armhole and Shaping
- At L − (A ÷ 2), mark with stitch markers.
Armhole Decreases
- Row 1 (Decrease Row):
- Sc2tog (decrease) at both beginning and end of row.
- Work as previously, keeping the sc "V" alternation.
- Row 2-4:
- Sc across row with no decrease (keep alternation as set).
- Repeat: Every 4th row is a decrease row at both ends.
- Continue until height from bottom equals (L − SA).
You're gently shaping inward for your armhole. Mark your first decrease on each side for later sleeve placement.
4. Neckline Shaping (Front)
When you reach (L − SA) tall:
- Measure your panel's width.
- Subtract N ÷ 2 to find center neck width.
- Mark space with stitch markers at each "shoulder" edge for symmetry.

Working Shoulders
- Begin at shoulder edge and sc across to neck marker.
- Ch 1, turn.
- Next row, decrease at neck edge only (sc2tog at neckline).
- Repeat: every 4th row decrease at neck edge only (no decrease at shoulder edge).
- Continue until work reaches total desired length L.
Repeat neckline shaping for the other shoulder after rejoining yarn at armhole edge.
5. Back Panel
Work exactly as front panel, but skip neckline shaping.
- Once you've finished the armhole shaping, just sc evenly to top.
- No neck opening: makes a classic crew back.
This gives a fitted body with a solid comfortable back. Count rows in each section as you go for even size.
6. Joining Panels
- With wrong sides together, pin at each strap/shoulder edge.
- Join front and back shoulders with sc seam, using 4 mm hook, working into both panels at once.
- Fasten off and repeat for other shoulder.
Your crop top should now look like a T-shape, leaving side seams open.
7. Neckline Finishing
- With working yarn at neckline, sc evenly around neck opening.
- If desired, add a row of sl st for a firmer edge.
- Fasten off and weave in ends.
This gives your neckline a professionally finished look!
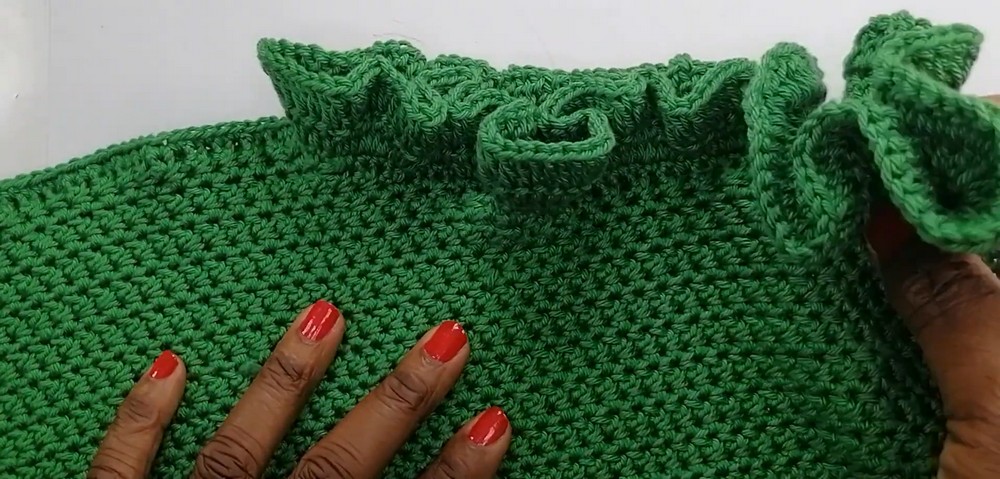
8. Sleeves (Ruffled Arm Ruffles)
- With both panels opened, identify the decrease markers-these are the start and end of your sleeve seam.
- With 4mm hook, rejoin yarn at first underarm decrease marker.
- Sc evenly along armhole opening to the next decrease marker.
Ruffle Increases
- Ch 3, turn (counts as dc).
- 2 dc in same st as ch-3.
- 2 dc in every st across (so you double the stitch count).
- Repeat for three rows or until desired ruffle length is reached.
Increases every stitch create a dramatic, soft ruffle at each sleeve.
9. Side Seam Assembly
- With wrong sides together, sew side seam from underarm (bottom of ruffle) to hem using sc or a mattress stitch for invisibility.
- Fasten off and weave in ends.
- Repeat ruffle and seam for other sleeve.
Your top is now fully assembled and ready to try on!
Assembly & Finishing
- Weave in any remaining tails.
- Gently block to shape, if desired.