
Free Crochet Short Bag Pattern for Summer Outfits & Fun
Boost your everyday style with this free crochet short bag pattern, a beautiful and cheerful handmade accessory full of charm and creative flair.
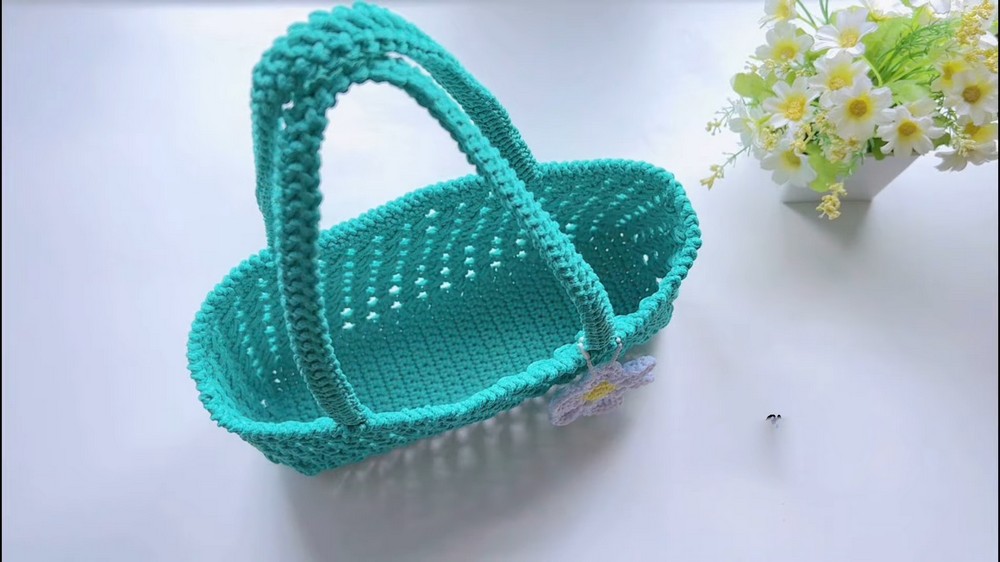
There's something special about a small, handmade bag that's both practical and stylish. It's a mini project that perfectly combine practicality with style, featuring a clean rectangular base, textured body, and sturdy straps. The bag's shape is compact yet roomy enough to store your daily essentials-think wallet, phone, keys, and even a surprise crocheted lip balm holder if you're feeling creative, The texture shines with a raised stitch pattern that adds depth and visual interest, making it look completely handmade-but in the most polished way.
Free Crochet Short Bag Pattern for Minimalist Street Style
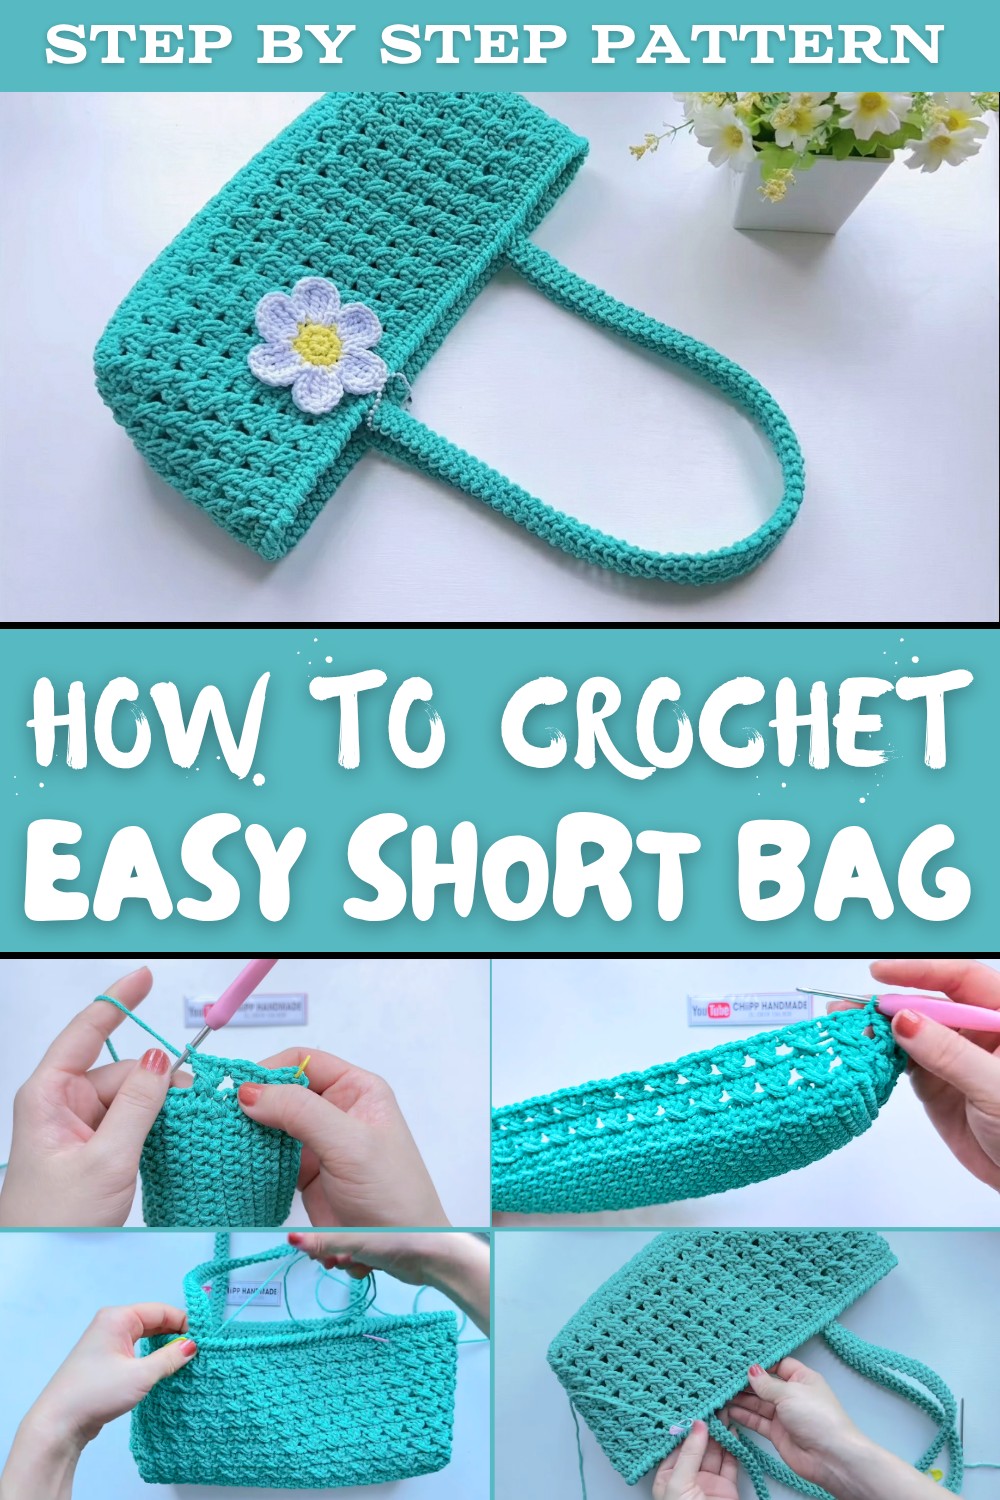
This pattern is ideal for anyone, from beginners seeking a rewarding project to experienced crocheters wanting a versatile piece they can finish quickly. It works up beautiful in neutral tones for everyday use, but bright and bold colors turn it into a statement piece that complements outfits or even home décor. Plus, its size is highly customizable-you can adjust the height, strap length, or even give it a funky twist with embellishments like buttons or tassels.
The beauty of the design comes alive in the stitches, especially when paired with smooth, tightly spun yarns. These enhance the crispness of the raised textures and ensure the bag retains its shape. I was inspired to design this after spotting similar short bags during quaint boutique visits, realizing they can be elevated through crochet's handmade beauty.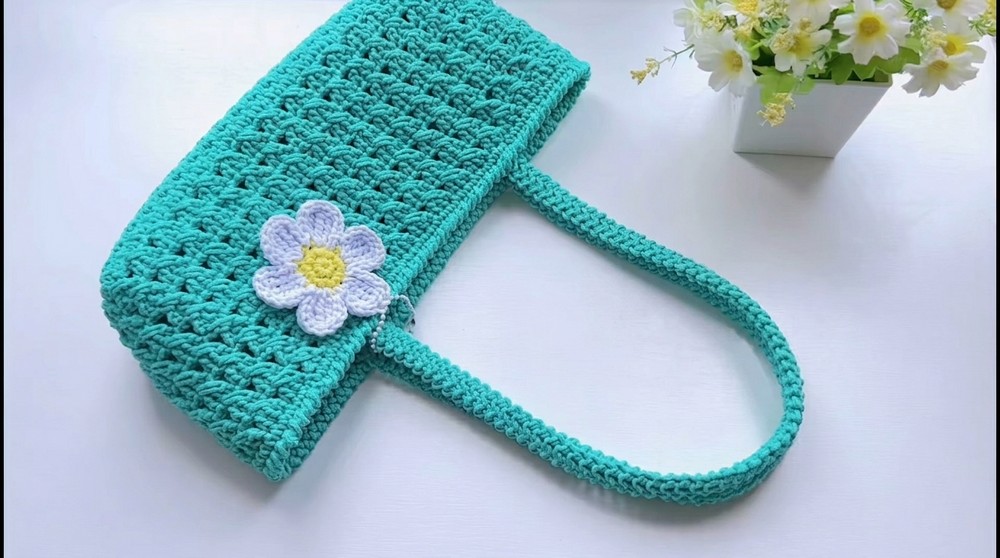
This bag makes for an excellent gift-compact, useful, and bound to charm anyone receiving it. Whether you add a gift tag or customize the colors for them, it's a project brimming with creativity.
Crochet Pattern: Elegant Bag with Strap
Materials Needed
- Yarn: 2.2 mm thick yarn (choose colors based on preference).
- Crochet Hook: 2.5 mm hook.
- Other Tools:
- Scissors
- Stitch markers
- Darning needle (to weave in ends)
- Measuring tape (optional)
Gauge
- Gauge: 12 single crochets (sc) and 14 rows = 4" (10 cm).
- Tip: Adjust your tension or hook size if your gauge varies significantly to ensure the finished size is correct.

Finished Size
- Bag dimensions: 9 cm x 28 cm for the base, 12 cm height for the strap area.
- Adjustable Customization: Extend or shorten the height or strap size based on personal preference.
Step by Step Pattern Instructions
Base (Flat Rectangle)
- Starting the Base:
- Create a slip knot and place it on your 2.5mm crochet hook.
- Chain 13 stitches to form the base chain.
- Foundation Row:
- Skip the first chain nearest to the hook and insert the hook into the second chain from the hook (the 12th chain of the base chain when counted backward).
- Work 1 single crochet (sc) into this stitch.
- Continue the Row:
- Work 1 single crochet into each of the next 11 chains, ensuring you have 12 single crochets in total in this row.
- Turn and Repeat:
- At the end of the row, chain 1, turn your work, and work 1 single crochet into each stitch across. You should still have 12 single crochets in this row.
- Repeat Rows for the Base:
- Continue repeating this method for 43 rows, resulting in a sturdy rectangular base.
- Finishing the Base:
- Ensure symmetry. The base should measure approximately 9 cm x 28 cm.


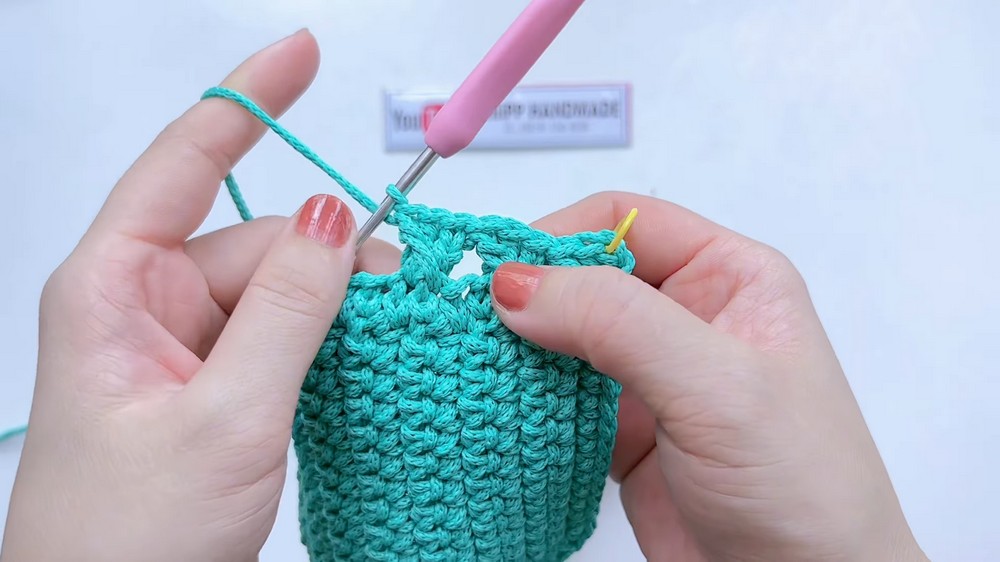
Body Edge (Creating Edging Around the Rectangle)
- Starting Edge Work:
- Begin at one corner of the rectangle, where you ended the last row.
- Work 1 single crochet into each row stitch along the long sides (totaling 43 single crochets) and 12 single crochets along the short sides.
- Corners:
- For each corner, create a "increase stitch" by working 2 single crochets into one stitch to maintain smooth turning and shaping.
- Repeat:
- Work around all sides, ensuring smooth edges, and finish with a slip stitch at the starting point of the edge.
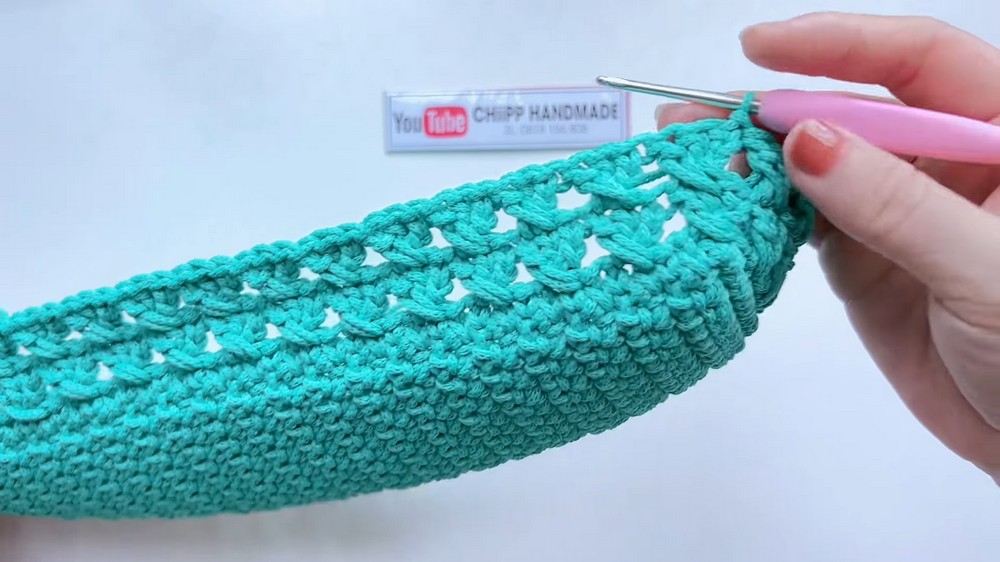
Body Pattern (Textured Design)
- Foundation:
- For the first row of the textured body, begin with 3 chain stitches. This will count as the first double crochet (dc).
- Creating Pattern:
- In the next stitch, work 1 double crochet (dc) into the same space.
- Skip 2 stitches, then in the next stitch, create a repeat pattern:
- Work 2 double crochets into the same stitch.
- Immediately return to the previous skipped stitch and work 1 double crochet (dc) into the skipped space.
- Repeat:
- Continue this pattern across the row. At the end, join the row with a slip stitch into the 3rd chain from the starting chain to connect.
- Subsequent Rows:
- Move up by slip stitching into the next single crochet to position correctly.
- Repeat the textured stitch pattern from row one, ensuring all "skipped stitches" align to create vertical textured shapes.
- Continue this for 8 rows (or more for desired bag height).
Strap
- Foundation:
- Using yarn, leave a 30 cm tail for sewing later, and form a slip knot loosely on the hook.
- Strap Base:
- Chain three stitches. Skip the first chain.
- In the second chain, insert the hook and pull yarn through. Insert the hook into the first chain (slip knot), pull yarn through; now there are 3 loops on the hook.
- Yarn over and pull through all 3 loops.
- Subsequent Strap Rows:
- Rotate the strap slightly. Pull yarn through the next stitch closest to the hook.
- Work consistently by pulling yarn through adjacent stitches until desired strap length is reached.
- Finishing Strap:
- Secure the last stitch with a slip stitch to finish. Leave a long tail for sewing.
- Strap Attachment:
- Use stitch markers on the bag opening edges and align both straps. Sew the straps evenly to the marked points for balance.


Final Edge Work (Bag Opening Border)
- Single Crochet Border:
- Use single crochet stitches around the entire bag opening to create a clean edge.
- Reverse Single Crochet:
- Work reverse single crochet stitches (crab stitch) back around the edge for a polished, twisted effect.
Tips & Customization Ideas
- Color Variations: Combine contrasting or complementary colors for a modern effect. Consider alternating each row for stylish stripes on your bag.
- Strap Length: Increase or decrease strap length to convert the bag into a handbag, shoulder bag, or crossbody bag.
- Add Accessories:
- Attach decorative buttons or patches.
- Create a flap closure or zipper for extra security.
- Lining: Sew fabric lining inside the bag for added durability and style.
Special Techniques
- Reverse Single Crochet:
- This technique involves crocheting backward and provides a unique twisted finish on edges. Use when creating a border for added elegance.
- Increase Stitches (Mũi Tăng):
- Place two stitches into one base stitch to ensure corner shaping.
Conclusion
This elegant crochet bag pattern combines functionality with style, offering a highly customizable structure perfect for everyday use. Whether as a gift or a personal project, the design emphasizes neat edges, textural elegance, and practicality.
Be sure to adjust the dimensions and features of the bag to meet your preferences-experiment with colors, decorative elements, and stitch combinations. With this pattern, you're creating not just a bag but an item of handmade artistry.

Important Remarks
- Final Look: The finished bag boasts a compact, textured body with clean edges and balanced straps.
- Durability Tip: For long lasting use, reinforce straps with extra stitching or lining.
- Care: Handwash gently and dry flat to maintain shape.
Whether you're a beginner or an experienced crocheter, this step by step pattern ensures a delightful crocheting experience that results in a useful and stylish piece.