
Free Crochet Star Headband Pattern for Stylish Accessories
Charm your style with a crochet star headband pattern that's fun, easy to personalize, and perfect for crafting a unique accessory for any occasion.
Ever wondered how to add a touch of playful charm to your everyday hairstyles or seasonal looks? A crochet star headband pattern might be just what you need. This delightful project combines creativity and function, offering both style and practicality in a single accessory. With its whimsical star motifs, it's perfect for crocheters who enjoy experimenting with unique designs while making something that's easy to wear.
Crochet Star Headband Pattern: Perfect for Gifting

Whether you prefer soft pastel hues or bold, glittery yarn, the pattern is versatile enough to suit your personal style. It's also a great way to use up leftover yarn from previous projects. Best of all, it works up quickly, making it a fantastic option for last-minute handmade gifts or themed looks for special events.
By mixing colors or playing with different yarn textures, you can make each headband truly one of a kind. A crochet star headband is more than just a hair accessory-it's a fun blend of creativity and customization that brings a little extra sparkle to your day.

Starry Sweatband - Step-by-Step Crochet Pattern
Skill Level
Intermediate to Advanced: This pattern requires an understanding of color changes, tapestry crochet (carrying unused yarn), single crochet, and seaming techniques.
Materials
- Yarn:
- Sport Weight Yarn (following the video recommendation).
- Two contrasting colors:
- A Color (Background Color): Used for the base fabric.
- B Color (Star Color): Used for the star motif.
- Crochet Hook:
- 3.0 mm Hook: For the foundation and the main body of the project.
- Additional Tools:
- Scissors.
- Darning Needle: For weaving in ends and seaming.
- Stitch Markers: Optional, to mark pattern repeats.
- Measuring Tape: To measure the sweatband for a proper fit.
Key Abbreviations (US Terminology)
- ch: Chain.
- sc: Single Crochet.
- st: Stitch.
- sl st: Slip Stitch.
- (A / B Color): The working color for a section (A = background; B = star).
Special Notes
- Gauge: 21 stitches x 21 rows = 10 x 9 cm (4 x 3½ inches).
- Tension Tips:
- Alternate between floating the unused yarn and working over it for a clean look and reduced bulk.
- Keep an even tension to prevent puckering or tightness.
- Customizing Size:
- Adjust the length of the foundation chain in multiples of 21 to fit your desired head circumference.
Sweatband Construction
The sweatband consists of a rectangular panel incorporating a star motif using tapestry crochet. Once the base fabric is complete, the edges are folded, seamed, and joined to create a circular band.
Step-by-Step Pattern
Foundation and Base Fabric
- Foundation Chain:
- With A Color, chain a multiple of 21 to fit your head circumference. In the video, the example uses 42 chains (for 2 pattern repeats).
- Rows 1-12:
- Work 1 sc into each ch, turn.
- Continue working 1 sc in each st (no increases or decreases) for 12 rows to establish the base of the fabric.
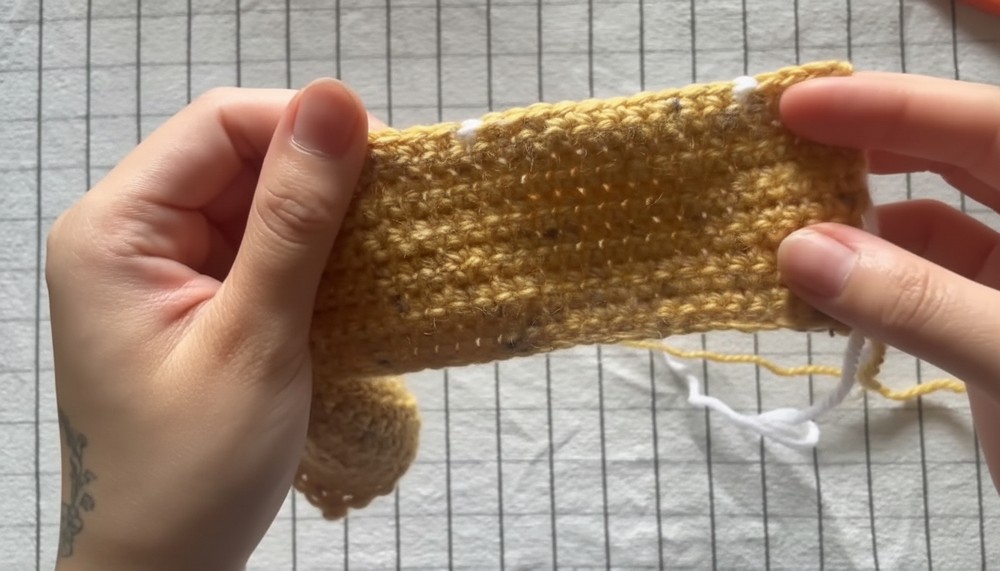
Row 13: Introducing the Star
- Switching Colors:
- Carry the B Color behind your work, alternating between floating the yarn and working over it for a seamless effect.
- Start the Row:
- Work 4 sc in A Color.
- Change to B Color on the last pull-through of the 4th sc, working 1 sc in B Color.
- Then switch back to A Color and complete 11 sc in A Color.
- Repeat:
- Follow the pattern's stitch distribution for alternating sections of A and B Colors, repeating as needed across the row.
- End the row with 4 sc in A.
- Row Finish:
- Turn your work and chain 1 to maintain height.
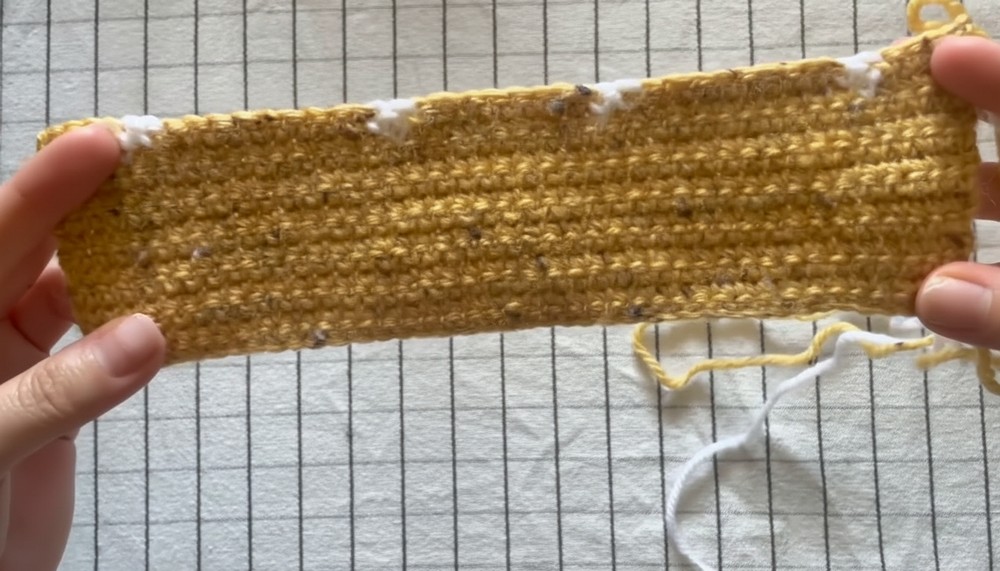

Row 14: Working the Wrong Side
- Switch Colors with Care:
- Work 4 sc in A Color first. As you move into B Color, remember this is the wrong side of your work, so carry and work over the unused yarn on this side.
- Stitch Distribution:
- Work 2 sc in B Color, then switch to A Color and crochet 9 sc.
- Alternate back to B Color for 2 sc in B Color, then finish the row with 4 sc in A Color.

Rows 15-31: Continuing the Star
- Follow this row-by-row guide to create the star motif (A = background, B = star color):
- Row 15: 4 A, 4 B, 5 A, 4 B, 4 A.
- Row 16: 5 A, 4 B, 3 A, 4 B, 5 A.
- Row 17: 5 A, 5 B, 1 A, 5 B, 5 A.
- Rows 18 & 19: 6 A, 9 B, 6 A.
- Row 20: 7 A, 7 B, 7 A.
- Row 21: 5 A, 11 B, 5 A.
- Row 22: 4 A, 13 B, 4 A.
- Row 23: 3 A, 15 B, 3 A.
- Row 24: 1 A, 19 B, 1 A.
- Rows 25 & 26: 8 A, 5 B, 8 A.
- Rows 27 & 28: 9 A, 3 B, 9 A.
- Rows 29-31: 10 A, 1 B, 10 A.
- Tidy Ends:
- By Row 31, the star should be complete. Cut off B Color and weave in the tail. Ensure the edges are tidy and yarn ends are secured on the wrong side.


Rows 32-43: Completing the Base Fabric
- Solid Rectangle:
- Work 12 rows of sc in A Color (rows 32-43) to create the upper section of the sweatband.
- Do not cut off the working yarn at the end of Row 43, as it will be used for seaming.
Assembly
- Short Edge Seam (Join the Rectangle):
- Fold the base fabric into a loop, matching the short edges together.
- Measure a tail of working yarn three times the length of the seam.
- Use a darning needle and seam the short edges together with an invisible weave. Secure the yarn tail.
- Long Edge Seam (Create the Sweatband):
- Fold the top and bottom edges of the rectangular fabric inward to meet in the middle.
- Use a mattress stitch to seam the top and bottom edges together securely, ensuring the seams align neatly.
- Weave in any remaining ends inside the sweatband and trim excess yarn.

Conclusion
Congratulations on completing your Starry Sweatband! This versatile and functional accessory combines comfort with striking design. The jacquard technique ensures a seamless look on the right side and a tidy wrong side, making it perfect for everyday use.

Final Tips
- Keep Your Yarn Tangle-Free: Frequently untangle your yarn as you work to avoid tension issues.
- Maintain Consistent Tension: Especially during color changes, ensure yarn floats are neither too tight nor too loose.
- Wash and Block: Before wearing, follow the washing instructions provided on your yarn label to soften the fabric and ensure a polished finish.
- Customization: Experiment with colors or adjust the number of repeats to create your desired circumference.