
Free Crochet Strawberry Beanie Pattern – Cute and Easy Hat
Turn your yarn into an adorable strawberry beanie with this free crochet pattern, ideal for keeping cozy while showcasing your creative flair.
When you're looking for a fun and fresh way to cozy up, a cute strawberry-themed hat can be just the thing. This free crochet strawberry beanie pattern brings a splash of sweetness to any outfit, making it a delightful project for crocheters of all levels. It's a wearable piece that combines charm and comfort, perfect for adding a playful twist to your wardrobe or gifting to someone special.
Crochet Strawberry Beanie - Free Pattern for Kids
The beanie itself features a snug, rounded shape that fits comfortably over the head, accented by the vivid red body speckled with tiny yellow "seeds," just like a real strawberry. The lush green "leaf" trim at the brim adds a standout whimsical touch, completing the look with a natural flare.

The texture balances softness with a subtle stitch pattern that gives a nice bit of dimension without being bulky. It's perfect for cooler days when you want to stay warm yet stylish. Sizes typically range from baby to adult, and the pattern is easy to customize by adjusting the stitch count or yarn weight to fit your needs.
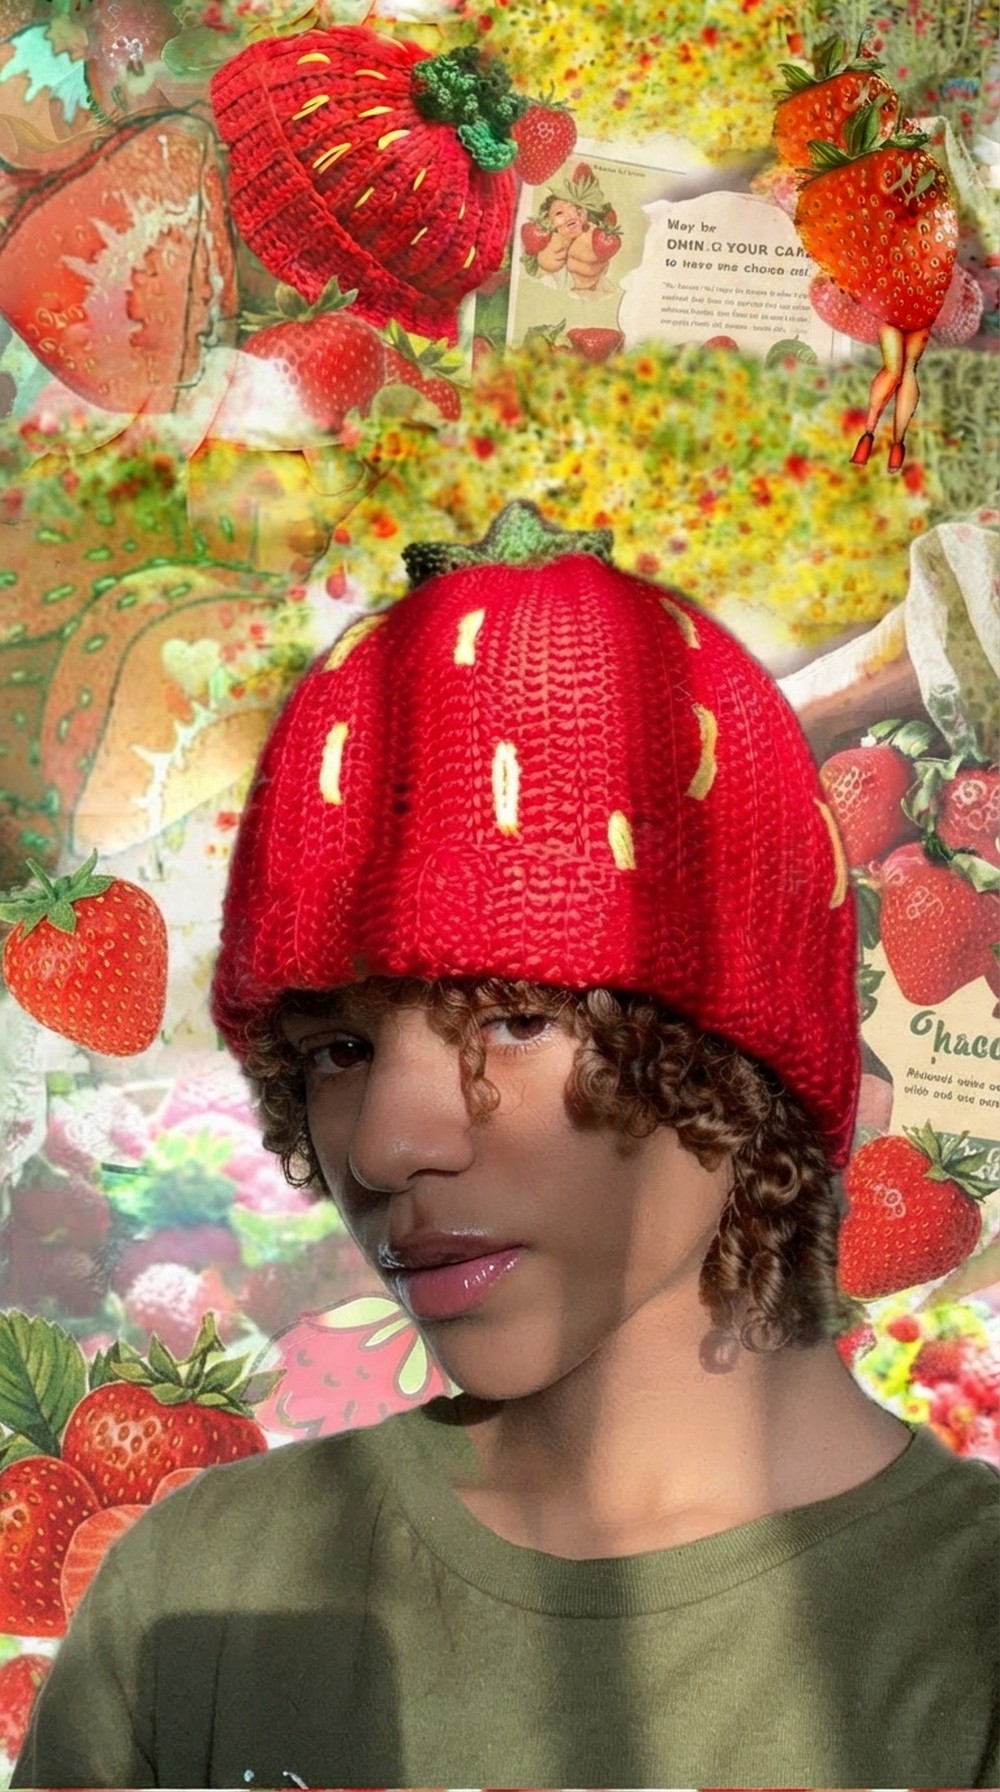
Constructed mainly using basic crochet stitches worked in rounds, this beanie is approachable for intermediate beginners, and the video tutorials linked often provide handy insights on shaping and finishing off cleanly. Using a soft, breathable yarn like cotton or a cotton blend really enhances the hat's springy texture and ensures comfortable wear. The inspiration comes from the simple beauty of fresh strawberries and the desire to create a cheerful, nature-inspired accessory.

This strawberry beanie makes a lovely gift for birthdays, baby showers, or just a thoughtful surprise for a friend who loves playful style. Plus, it's a great way to spark creativity-try experimenting with different colors or adding your own twist to make the design truly yours.
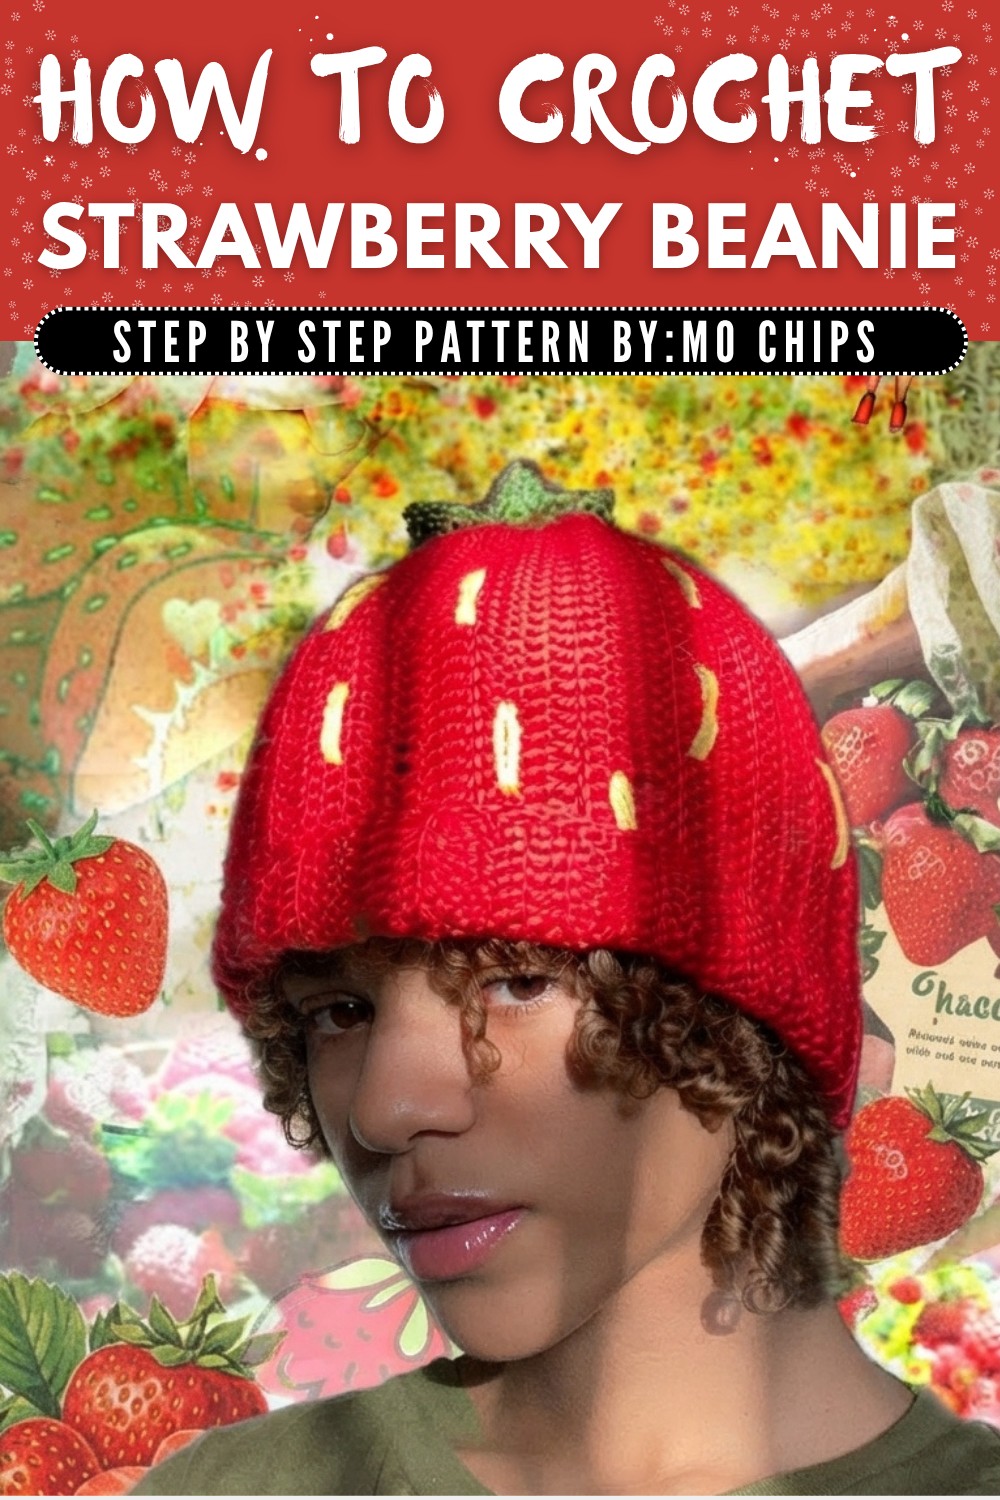
Strawberry Beanie Crochet Pattern
Hello, it's your girl! Welcome back to my page. Today, you clicked on this video to make a Strawberry Beanie-and that's exactly what we're going to do. I'll be showing you every step: from constructing the body to adding the stem and strawberry "seeds." Let's jump right in!
Quick Overview Of Pattern
- Creates a beanie from a long rectangle, seamed into a tube and gathered at the top.
- Stitches are all worked in double crochet, worked into the back loop for ribbing effect.
- Finishes with a crocheted green leafy top (stem) and yellow embroidered "seed" details.
- Pattern is easily adjustable in length and circumference.
Notes
- This project is worked flat as a rectangle, then seamed at the sides and gathered at the top.
- Be sure to measure the initial chain to fit your/recipient's head before moving to the next step.
- The stem is worked separately in the round and then sewn to the hat.
- Take care to keep your edges straight by consistently working into the back loop of each double crochet.
Skill Level
Confident Beginner
You should know basic stitches and simple shaping techniques. Minimal sewing is involved.
Materials
- Main Color: Red, medium (4) weight yarn (Yarn Bee Soft Secret in "Red" recommended)
- Leaf/Stem Color: Green, medium (4) weight yarn (Yarn Bee Soft Secret in "Olive")
- Seed Detail Color: Yellow, medium (4) weight yarn (Big Twist Value from Joann's, or similar)
- Crochet Hook: Size G (4.25 mm), or size H (5 mm) or F (4 mm) if preferred
- Yarn needle (for seaming and embroidery)
- Scissors
- Measuring tape
- Tapestry needle
- Optional: Stitch markers
Measurements / Sizing
- Hat Height: 10 inches (25 cm), but adjustable by adding/removing starting chains
- Circumference: Adjustable; in sample, 43 rows were sufficient to wrap around head
- Stem and Leaf: Flexible size, but fits proportionally atop beanie
(Schematic: Rectangle roughly 10 inches wide x sufficient length to wrap around head.)
Gauge
- Stitch gauge: 46 foundation chains = approx. 11" (28 cm)
- Row gauge: 43 rows = wraps comfortably around average adult head
- Double crochet in back loops only (dc BLO); measure early to ensure fit.
Stitch Abbreviations
- ch: chain
- sl st: slip stitch
- sc: single crochet
- hdc: half double crochet
- dc: double crochet
- YO: yarn over
- rep: repeat
- BLO: back loop only
- st(s): stitch(es)
Special Stitches
- Double Crochet in Back Loop Only (dc BLO): Work double crochet in only the back loop of the stitch.
- Single Crochet Decrease (sc2tog): Insert hook in next st, YO, pull through, insert into next st, YO, pull through, YO, pull through all loops.
- Running Stitch: For gathering crown, thread yarn through every few stitches and pull tight.
The Crochet Pattern
1. Hat Body (Rectangle)
- Foundation:
With red yarn, make a slip knot.
Chain enough chains to measure about 10 inches (sample: 46 chains; check with a measuring tape). - Row 1:
Double crochet in the third chain from hook (counts as first dc), then in each chain across. Turn. (44 dc) - Row 2:
Ch 3 (counts as first dc), turn.
Double crochet in the back loop only (dc BLO) of each stitch across to end. - Rows 3 onward:
Repeat Row 2 throughout, always chaining 3, turning, and working dc BLO to create ribbing. - Continue:
Work until rectangle wraps comfortably around head. In the sample: 43 rows.
Adjust as needed for fit.
2. Seaming
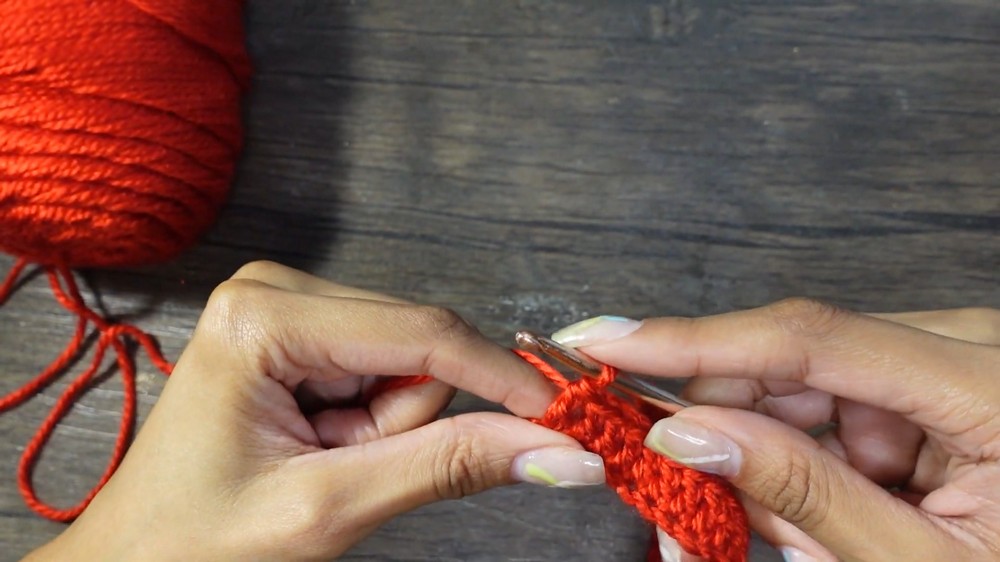
- Form the Tube:
Lay rectangle flat, fold in half so short edges meet. - Join Sides:
Insert hook through both layers at the edge. Work slip stitches or single crochets through both edges together.
Continue to the end, seaming hat into a tube. - Finish Off:
Fasten off, leaving a long tail (for "cinching" the crown closed).

3. Closing the Top
- Gather:
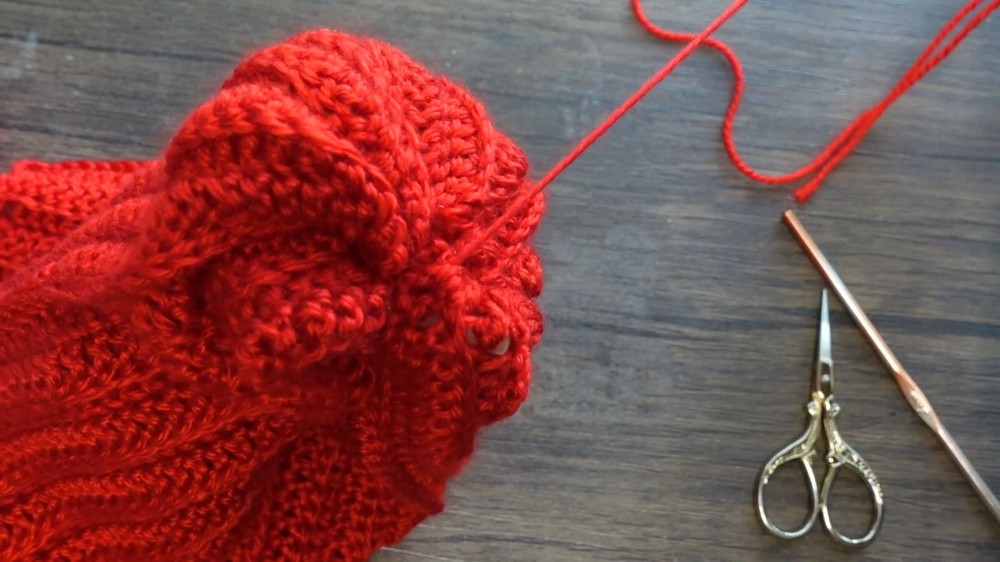
Thread yarn needle with the long tail.
Insert needle in and out (running stitch) around the top edge of the tube. - Tighten:
Gently but firmly pull tail to cinch closed.
Reinforce by weaving needle in and out a second time, then knot securely. - Weave in ends:
Hide tail on inside of hat.
4. Turn & Prepare for Decoration
- Right Side Out:
Turn hat inside out so seam is hidden.
5. Strawberry Leaf Top & Stem
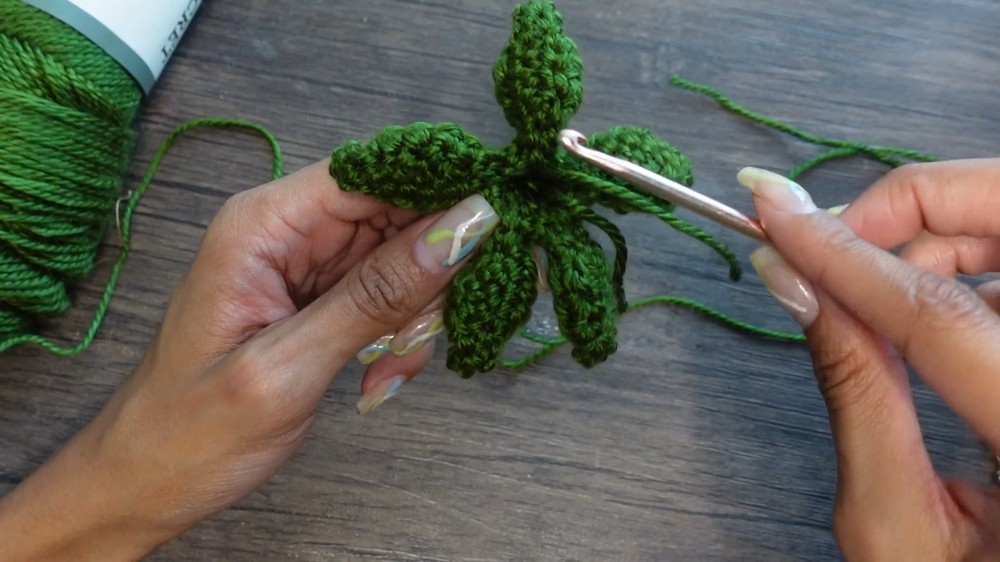
- Start Leaf Band:
With green yarn, make a slip knot.
Ch 10.
Sl st into first ch to form circle. - First Petal:
Ch 8.
Sc in 2nd ch from hook and next ch.
Hdc in next ch.
Dc in next 2 chs.
Sc in next ch.
Sl st in connecting spot at ring base.
Sl st in next two chains of the ring base. - Subsequent Petals:
Repeat step 14 until you have 5 petals (or sufficient amount to decorate top of hat). - Optional:
Adjust number and size of petals as desired for fullness.
6. Leaf Edge Detailing
- Leaf Edge:
At tip of a petal:
Ch 3.
Sl st in 1st ch (picot).
Sl st down the side, work sc, 3 hdc in next sts, sc, and several slip stitches to reach base and next petal.
Continue around the base, working edge stitch into each petal.
7. Stem
- Create Stem:
With green, insert hook into center of leafy top.
Work roughly 10 sc in center ring (crowded, exact number not important).
Continue in rounds, working sc in each stitch around (do not join; spiral as for amigurumi).
When length desired (~1-1.5", or as stubby or long as liked), begin to decrease:- (Sc 3, sc2tog) around, repeat as needed to close.
- Fasten off, use tail to strengthen and close hole.
8. Attach Leaf Top
- Sew Leafy Top/Stem:
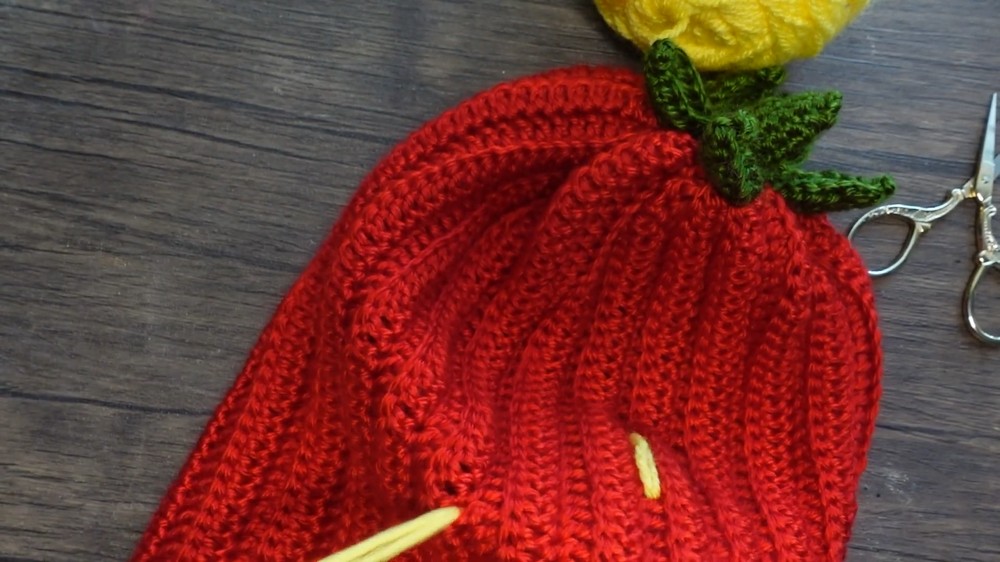
Position leafy top and stem at crown of hat.
Using long green yarn tail and tapestry needle, sew securely to gathered crown of hat.
Weave in all ends.
9. Strawberry Seeds
- Prepare Yellow Yarn:
Thread tapestry needle with yellow yarn (folded in half for thickness if desired; knot end). - Embroider Seeds:
Randomly insert needle from inside to outside, making long visible stitches across hat to mimic strawberry seeds.
Vary length and spacing as desired, working all around hat.
Weave in and secure ends inside the hat at completion.
Assembly & Finished Size
- Carefully check all ends are secured and all embellishments, stem, and top are sewn on firmly.
- Finished hat will fit most adult heads (about 22" circumference) and sit at approximately 10" tall, adjustable with original chain.
- Try on the hat and adjust stem or seeds as preferred.
Conclusion and Ending Words
Congratulations, you have now completed your adorable Strawberry Beanie! With its ribbed texture, leafy stem, and scattered yellow "seeds," this fun and easy project is the perfect introduction to custom hats and embroidered details. Snap a photo, wear your new beanie, and enjoy your sweet new accessory-made entirely by hand.