
Lemon Bucket Hat Crochet Pattern - Free
Keep summer style fresh through Free Crochet Lemon Bucket Hat Pattern with playful citrus charm and light everyday fashion for sunny outings.
Losing a favorite summer hat or struggling to find one that's both cute and practical can be really frustrating. That's why discovering the Free crochet Lemon Bucket Hat Pattern was such a refreshing find for me. This bright, playful accessory is perfect for sunny days and offers a fun twist to your crochet projects. Plus, with just a few simple changes in color or details, you can easily transform it into a lime, an orange, or any other fruity design you like.
The lemon bucket hat stands out with its sunny yellow shade and charming leafy stem on top, giving it a fresh and lively look. Made from soft cotton yarn, it feels comfortable and breathable on your head, ideal for warm weather wear. The hat features a rounded crown and a softly flared brim that provides shade without being bulky. The textured stitches add nice depth, and the little leaf detail brings an extra dose of personality - making it as stylish as it is practical for outdoor activities.
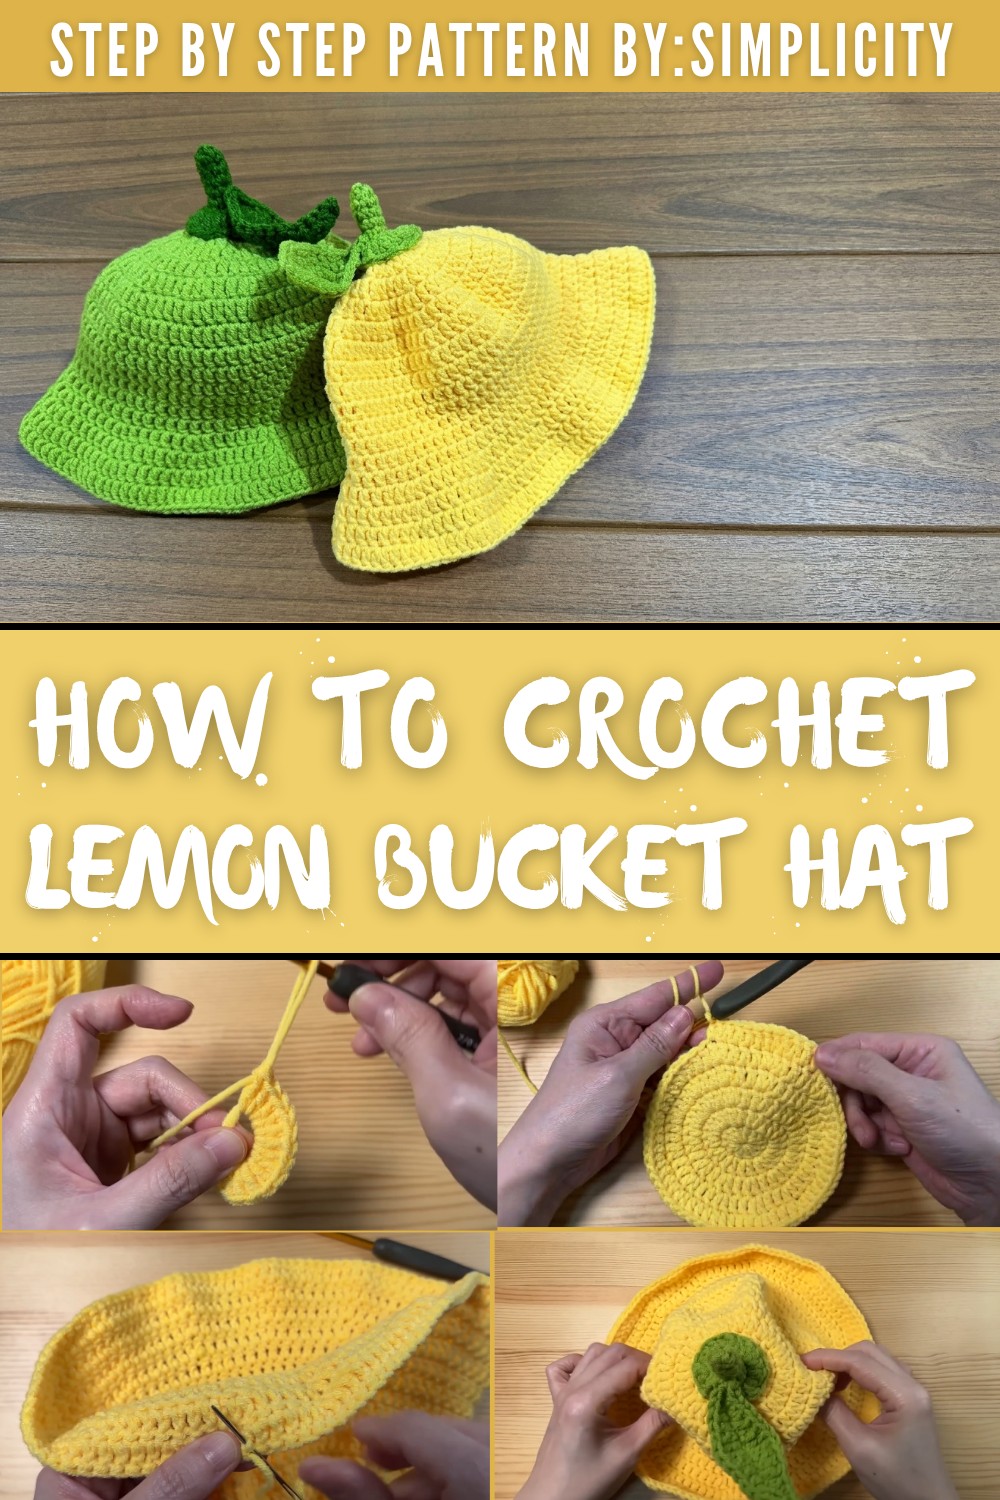
Lemon Bucket Hat Crochet Pattern for Everyday Style
This project suits beginners well, as it mainly employs simple double crochet stitches that are easy to master. The step-by-step instructions walk you through shaping the hat's crown, body, and brim with consistent rounds and increases, helping you create a neat and polished finished piece.
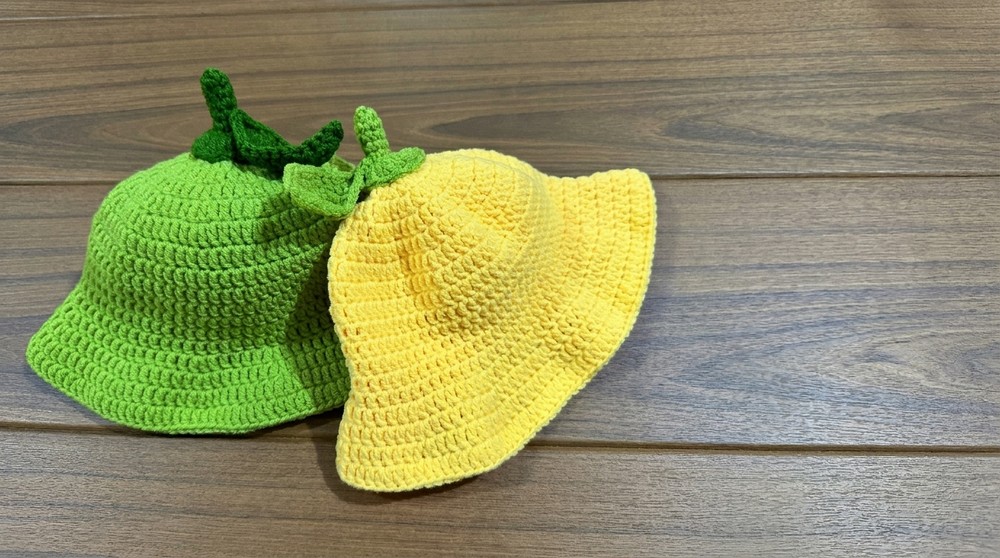
Beyond being a fun and wearable accessory, this lemon bucket hat is also a fantastic handmade gift choice. It brightens up any outfit and doubles as a decorative item when not worn. If you want a project that's simple, cheerful, and rewarding, this pattern is a perfect fit to add a splash of sunshine to your crochet collection!
Lemon-Themed Crochet Bucket Hat Pattern
This bright and cheerful lemon-themed crochet bucket hat is a charming accessory perfect for spring and summer seasons. Featuring vibrant citrus-inspired colors and a leafy detail on top, this hat will brighten any outfit. The pattern uses simple crochet techniques with rounds of increasing stitches to shape the crown and brim. Whether you want a yellow "lemon" or a green "lime" version, this pattern easily adapts with color changes. It's a wonderful way to practice circular increasing and textured stitch patterns while creating a fun, wearable item.
Skill Level & Terminology
Skill Level: Beginner to Intermediate
Terminology: US crochet terms
Materials & Tools
- Medium weight (worsted) cotton yarn in lemon yellow and lime green (or colors of your choice)
- Crochet hooks: 6 mm (main hat), 4 mm (for leaves and finishing details)
- Stitch markers
- Yarn needle
- Scissors
Gauge
While gauge is not critical, aim for a finished crown diameter of about 5.5 in (14 cm) for a small child size. Adjust hook size or rounds to fit desired head circumference.

Abbreviations List
- ch: chain
- dc: double crochet
- sc: single crochet
- hdc: half double crochet
- sl st: slip stitch
- inc: increase (two stitches in the same stitch)
- st(s): stitch(es)
Special Stitch Instructions
- Magic Ring: A method to start crocheting in the round to create a tight closed circle.
- Invisible Join: Used at the end of rounds to create a seamless round join.
- Extended Double Crochet: Yarn over once, insert hook in stitch, yarn over and pull through one loop, yarn over and pull through two loops twice.
Finished Size
- Around 5.5 in (14 cm) crown diameter for small child size, adjustable by adding more increases or rounds.
Pattern Instructions
Part 1: Crown of the Hat
- Round 1:
- Begin with a magic ring.
- Ch 2 (does not count as stitch).
- Work 12 dc into the magic ring.
- Pull tail to close ring tightly.
- Join with sl st into first dc.
- Round 2:
- Ch 2 (does not count).
- Work 2 dc in each stitch around (24 dc).
- Join with sl st to first dc.
- Round 3:
- Ch 2.
- Work 1 dc in first st, 2 dc in next st; repeat around (36 dc).
- Join with sl st.
- Round 4:
- Ch 2.
- 1 dc in each of next 2 sts, 2 dc in next st; repeat around (48 dc).
- Join with sl st.
- Round 5:
- Ch 2.
- 1 dc in each of next 3 sts, 2 dc in next st; repeat (60 dc).
- Join with sl st.
- Round 6:
- Ch 2.
- 1 dc in each of next 4 sts, 2 dc in next st; repeat (72 dc).
- Join with sl st.
- At this point, measure your crown diameter; it should be about 5.5 in (14 cm) for a small child. For larger sizes, continue the increasing rounds by working 1 dc in next N sts, 2 dc in next stitch pattern increasing N as you go.


Part 2: Hat Body (Sides)
- Rounds 7 to 13:
- Ch 2.
- Work 1 dc in each stitch around (no increases).
- Join with sl st at the end of each round.
- This forms the height of the bucket hat. Do not cut yarn here as you will continue to work the brim next.
Part 3: Brim of the Hat
- Round 14 (First Brim Round):
- Ch 2.
- 1 dc in each of next 5 sts, 2 dc in next st; repeat around.
- Join with sl st.
- Place a marker to note this is the start of the brim.
- Round 15 and onward:
- Increase the spacing between increases by 1 stitch every round (e.g., every 6 stitches, every 7 stitches...), continuing to work dc in other sts.
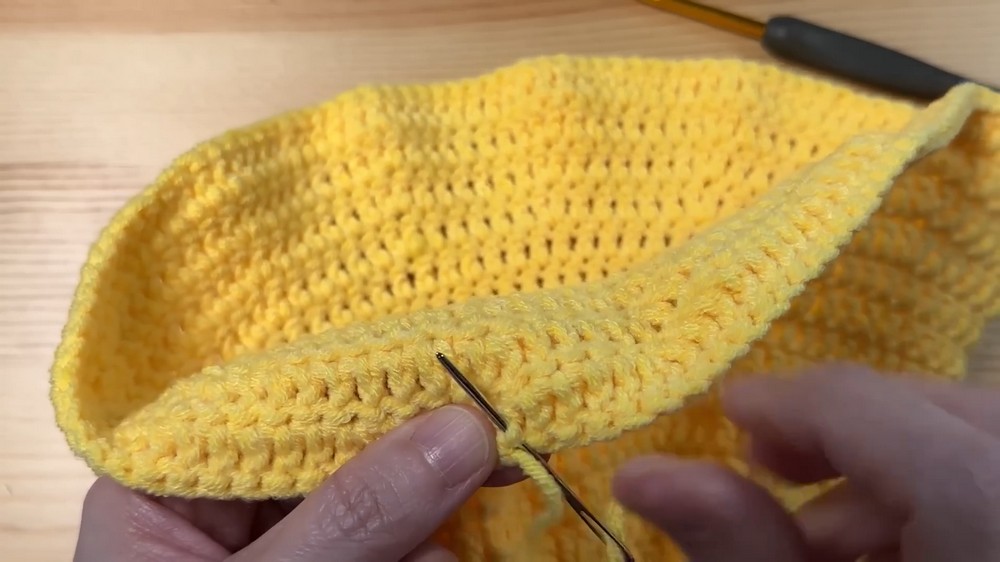
- For the last brim round, smooth the edge by evenly spacing increases instead of bunching them, so brim lies flat and neat.
- Join with an invisible join to finish.
- Tie a knot and secure the yarn tail.
Part 4: Stem
- Magic ring, then ch 1.
- Work 6 sc in the magic ring, close tightly with a pull of the tail.
- Join with sl st to the first sc.
- Work continuously in rounds, working 2 sc in each stitch (12 sc).
- Join with sl st.
- Chain 2, then work pattern of:
- 1 dc in first stitch, 2 dc in next stitch; repeat to create stem height (18 dc).
- Join and leave a long tail for sewing.

Part 5: Leaf (Make 1 or more)
- Chain 16.
- Skip first chain, slip stitch in second chain from hook.
- Work across the chain the following stitches:
- Single crochet, half double crochet, 2 double crochet, extended double crochet, 2 treble crochet, extended double crochet, double crochet, half double crochet, single crochet, slip stitch to finish leaf edge.
- Work back over the other side of chains repeating similar stitches to shape leaf.
- Finish and fasten off leaving a tail for sewing.
Assembly & Finishing
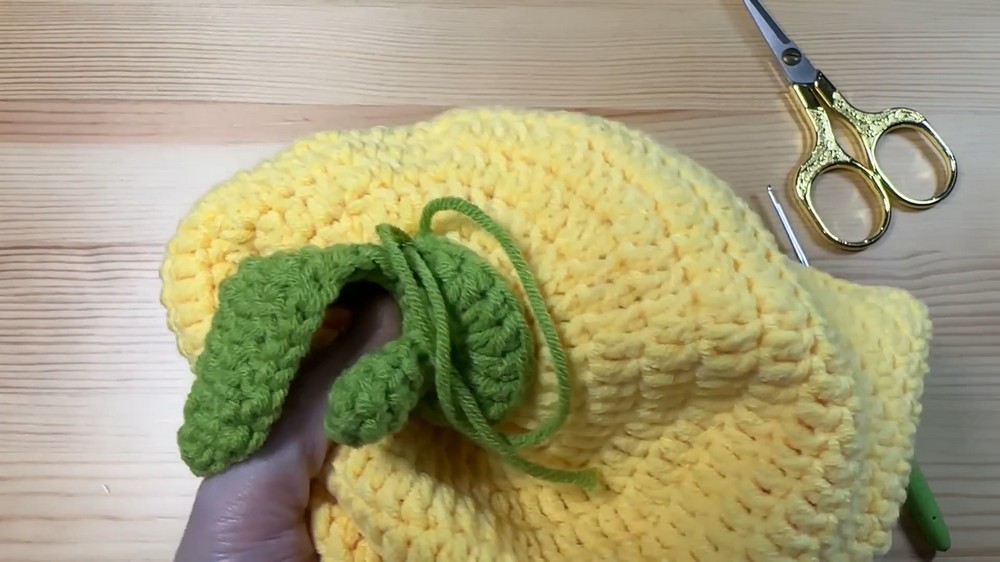
- Sew the stem to the center top of the hat using the long tail.
- Attach the leaf next to the stem, arranging as desired.
- Weave in all remaining yarn tails securely.
- Block lightly if desired to shape the brim.

Stitches Used Throughout Pattern
- Magic Ring: For tight circular starts.
- Chain (ch): Foundation and transitions.
- Double Crochet (dc): Main stitch for shaping crown, body, and brim.
- Single Crochet (sc): Used for the stem and leaf details.
- Half Double Crochet (hdc): Used in shaping leaf edges.
- Slip Stitch (sl st): Joining rounds and finishing.
- Extended Double Crochet: Used in leaf for texture.
- Treble Crochet: Used in leaf shaping for extra height.
- Invisible Join: For seamless round endings.
Notes for Beginner-Friendly Understanding
- The hat starts by crocheting in rounds, increasing each round to shape the crown.
- After shaping the crown, rounds proceed evenly to build the hat's height before flaring the brim with spaced increases.
- The stem and leaf are worked separately and sewn on for detail.
- Take care to keep stitch counts consistent and use markers to track rounds and increases.
- Customize size by adding or reducing increase rounds at the beginning.
Final Thoughts
This lemon-themed bucket hat is a joyful, wearable project that adds a splash of sunshine to your crochet collection. Its bright colors, playful leaf and stem detail, and roomy shape make it a perfect accessory for little ones or anyone young at heart. Whether you're gifting it or keeping it, this pattern allows you to hone your round increasing and shaping skills while creating something totally fun and practical.
