
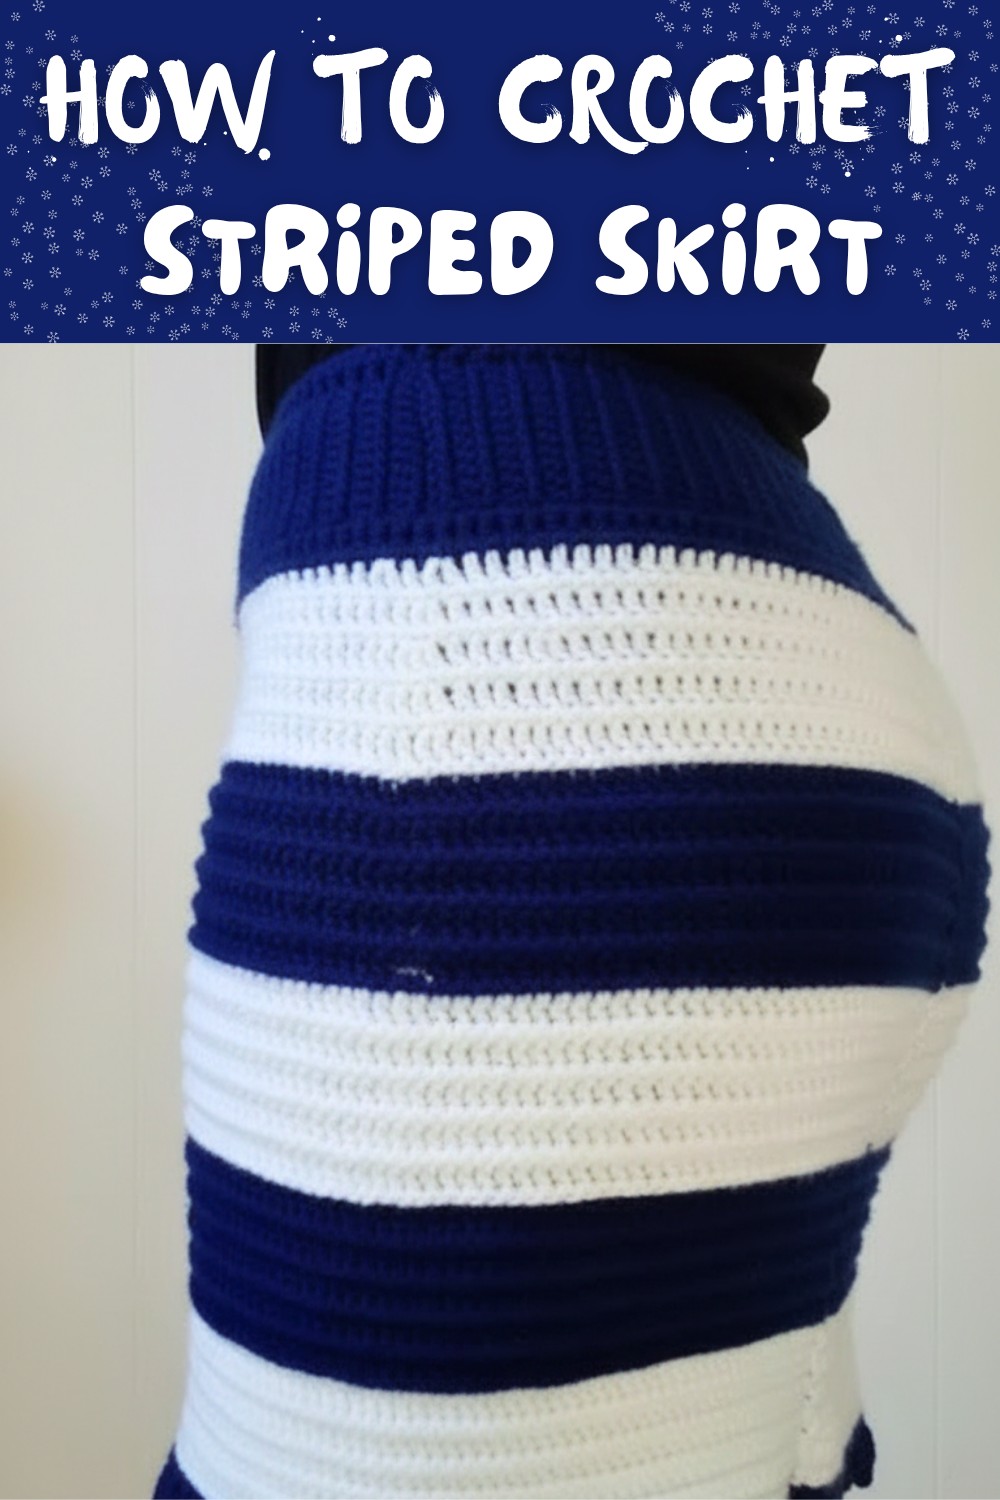
Free Crochet Striped Skirt Pattern with Repeat Rows

It feels comfortable on the body and allows free movement during daily tasks or casual outings. The smooth finish gives a clean and tidy appearance that looks nice from every angle. It can be worn for small gatherings relaxed days or simple daily wear. The light feel makes it easy to manage all day without any trouble. This lovely skirt offers a mix of comfort style and grace that fits naturally into everyday life and adds a soft charming touch to any look.

Striped Crochet Skirt Pattern
Materials
- Yarn: Medium weight (#3 or #4) acrylic or cotton yarn in at least two colors for stripes
- Hook: 3.0 mm crochet hook
- Tapestry/Yarn Needle (for sewing ends and seam)
- Scissors
- Stitch Markers
- Measuring Tape
Key Abbreviations (US Terminology)
- ch = chain
- sl st = slip stitch
- sc = single crochet
- hdc = half double crochet
- dc = double crochet
- tr = treble crochet
- st(s) = stitch(es)
- BL = back loop only
- RS = right side
Special Notes
- Turning chains do not count as a stitch unless indicated.
- The pattern is given for a 30-32 inch waist/hip and 16 inch length (approx. Medium); adjust the starting chain/row count for different sizes.
- Work all stitches through the back loop only as indicated for extra texture.
- Stripe the skirt as desired, alternating colors.
- Use a cross stitch and shell stitch for the finishing edging.
Pattern
1. Waistband (Ribbed)
- Ch 17.
- Beginning in 3rd ch from hook, dc in each st across. (15 dc)
- Ch 2, turn.
- Dc in back loop only (BL) of each st across. (15 dc)
- Repeat Step 3-4 until waistband fits your waist when slightly stretched. (For 30-32" waist, approx. 70-74 rows.)
- Fold band in half, join the ends with slip stitches or sc through both layers to form a ring.

2. Body of the Skirt
Set Up
- With RS facing, ch 1.
- Sc evenly along one edge of the waistband-work 1 sc in the end of each row. Join with sl st.

Main Skirt
- Ch 2, turn.
- Hdc in each st around. Join with sl st. (This makes Row 1 below the waistband.)
- Ch 2, turn.
- Work hdc in the back loop only (BL) for each st around. Repeat for each row.
- Continue in this pattern (hdc BL only, joining and turning each row) until you reach your desired stripe count or length.

Increasing for Hips
- Work 3 rows straight.
- On the 4th row and every other row (alternating), place 2 hdc in one st at the marked sides (hips) for increases-one on each hip.
- Next row: Work straight (no increase).
- Repeat: Alternate increase and no-increase rows until you have five rows of increases (total 10 rows after this section).
Body Length
- After the last increase section, work 24 rows straight (no increase), changing colors in stripes as desired (e.g., 10 rows navy, 10 rows cream, 4 rows navy).
- (Check fit, add extra rows if needed.)
Decrease for Hem Shaping (Optional)
- Next section: 6 rows finishing the skirt:
- Row 1: Work 6 hdc decreases spaced as follows: 2 in back, 2 at sides, 2 in front.
- Row 2: Work straight.
- Row 3: Work 5 hdc decreases evenly spaced.
- Row 4: Work straight.
- Row 5: Work 4 hdc decreases evenly spaced.
- Row 6-10: Work straight (no decrease)-suggested cream color.
- Adjust decrease or rows based on your shape.

3. Hem Edging (Three Rows)
Row 1 (With Navy Blue):
- Join color. Ch 2, sc in each st around. Join.
Row 2 (Cross Stitch Round):
- Ch 3, turn.
- Dc in same st.
- Skip 1 st, dc in next st. Working behind the last dc, dc in skipped st (crossed dc made).
- Repeat around. Join.
Row 3 (Shell/Scallop Edge):
- Ch 4 (counts as tr), turn.
- Next st: tr in next st.
- Next st: dc.
- Next st: hdc.
- Next st: sc.
- Next st: sl st.
- Repeat:* Ch 4, tr in next st, dc in next, hdc in next, sc in next, sl st in next.**
- Continue in this pattern around to create shell/curved hem effect.
- Fasten off and weave in ends.

4. Waist Tie (Drawstring)
- Ch 300 (or as long as needed for your waist plus ties).
- Fasten off.
- Weave through waistband (between stitches).
Finishing
- Sew in all ends with the yarn needle.
- Steam block or wet block lightly for best drape and appearance.

Conclusion
This skirt pattern creates a stylish, textured garment with a comfortable ribbed waistband and a beautiful shell hem. The simple striping and hip shaping provide a flattering fit for many body types.
Pattern Correction & Tips
- Pattern Correction: In the video, "back loop" refers specifically to the third loop behind the "V" of each stitch-ensure you're working in the correct loop for the defined texture.
- Tip:
- Try on as you work to ensure a good fit, especially after each increase and decrease section.
- For easier color changes, fasten off and join new yarn at the start of the next round.
- Block the skirt for the best finish.
- Adjust the starting chain, waistband rows, or skirt length for custom sizing.
- Use stitch markers to easily identify the hip edges for increases/decreases.