Free Crochet Teddy Bear Pattern Perfect for Gifts or Kids
Enjoy making a soft and cuddly teddy bear with this easy crochet idea that's perfect for kids, gifts, or a cute decoration everyone will love.
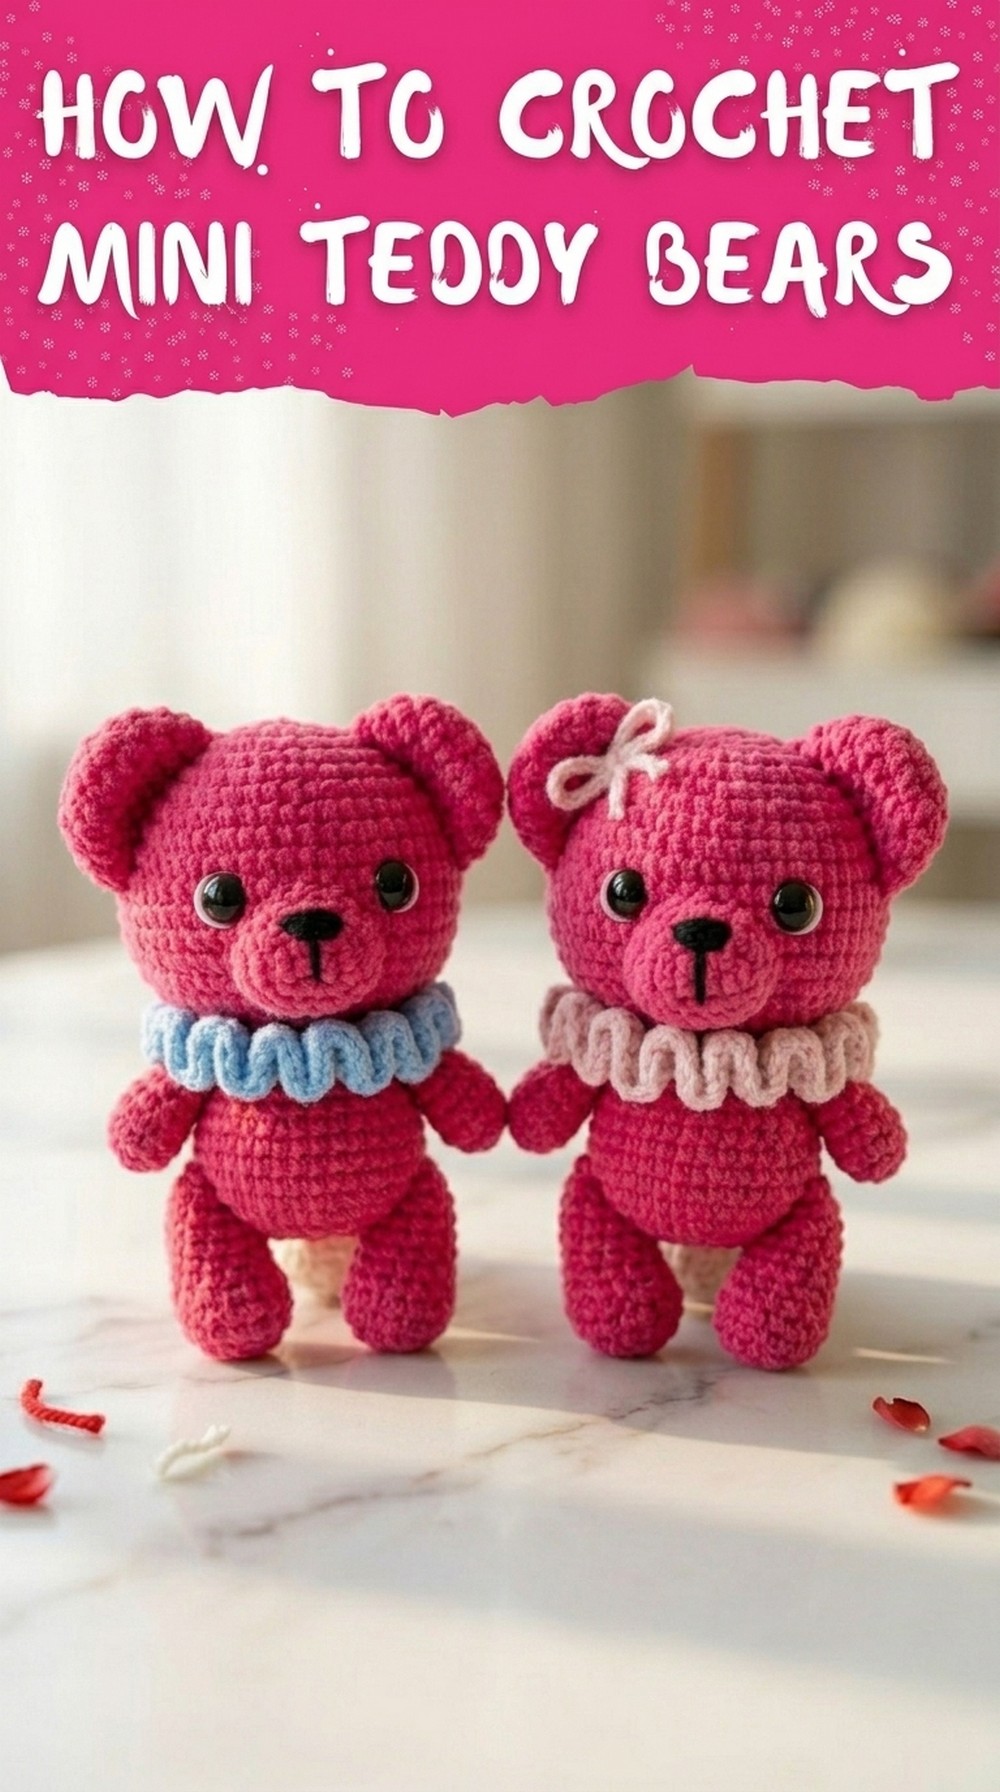
Making a teddy bear has never been so fun and exciting! This crochet teddy bear is soft, cuddly, and full of charm, making it a perfect companion for kids or a sweet gift for someone special. With its cute little face, round ears, and tiny arms and legs, it's hard not to fall in love with this adorable creation.
Adorable Free Crochet Teddy Bear Pattern for Huggable Results

You can choose your favorite colors to give it a personality of its own, making each teddy bear totally unique. It's small enough to carry around, join tea parties, or decorate your favorite spot at home. This teddy bear isn't just a toy, it's a bundle of joy that's handmade with love. Creating it is simple and fun, and the end result will bring smiles to anyone's face.

Adorable Crochet Teddy Bear with Accessories
Materials Required
- Yarn: Chanel yarn in brown (body), additional yarn in white, black, pink, and Shocking Pink (accessories and details). You may use soft plush yarn for a similar texture.
- Hook: 5 mm crochet hook (adjust size based on your yarn).
- Safety Eyes: 16 mm safety eyes.
- Fiberfill/Stuffing: For the teddy bear stuffing.
- Darning Needle: For sewing and finishing parts.
- Stitch Markers: Recommended for absolute beginners.
- Scissors: To cut yarn tails.
- Pins: Optional, for positioning parts before sewing.
Abbreviations
- MR: Magic Ring
- SC: Single Crochet
- BLO: Back Loop Only
- HDC: Half Double Crochet
- DC: Double Crochet
- Inc: Increase (two stitches in one)
- Dec: Decrease (combine two stitches into one)
- Ch: Chain Stitch
- Sl St: Slip Stitch
Special Techniques
- Magic Ring (MR): Creates a tight, adjustable center for circular pieces.
- Crocheting in BLO: Used to add texture or shaping.
- Invisible Decrease: Crocheting through the front loops only for neat decreases.
- Sewing Components: Using yarn tails and a darning needle to attach parts securely.
Pattern Instructions
Head and Body
- Round 1: Begin with a magic ring using brown yarn. Make 8 SC into the ring. Pull yarn tight to close the ring. Use a stitch marker to mark the first stitch. (8 SC)
- Round 2: Make 8 increases (2 SC in each stitch). (16 SC)
- Round 3: Alternate 1 SC and 1 Inc 8 times. (24 SC)
- Round 4: Alternate 1 SC, 1 Inc, 1 SC for 8 sets. (32 SC)
- Round 5: Alternate 3 SC and 1 Inc for 8 sets. (40 SC)
- Round 6: Work 1 SC in each stitch around. (40 SC)
- Round 7: Alternate 2 SC, 1 Inc, 2 SC for 8 sets. (48 SC)
- Round 8: Work 1 SC in each stitch around. (48 SC)
- Round 9: Alternate 5 SC and 1 Inc for 8 sets. (56 SC)
- Round 10-15: Work 1 SC in each stitch around. (56 SC per round)


Stuff the Head
- Attach 16 mm safety eyes between rounds 11 & 12, spaced 7 stitches apart. Stuff the head firmly.
- Round 16: Alternate 5 SC and 1 Dec for 8 sets. (48 SC)
- Round 17: Alternate 4 SC and 1 Dec for 8 sets. (40 SC)
- Round 18: Alternate 3 SC and 1 Dec for 8 sets. (32 SC)
- Round 19: Alternate 2 SC and 1 Dec for 8 sets. (24 SC)
- Round 20: BLO: Alternate 2 SC and 1 Inc for 8 sets. (32 SC)
- Round 21-22: Work 1 SC in each stitch around. (32 SC per round)
- Round 23: Alternate 7 SC and 1 Inc for 4 sets. (36 SC)
- Round 24: Work 1 SC in each stitch around. (36 SC)
- Round 25: Alternate 8 SC and 1 Inc for 4 sets. (40 SC)
- Round 26: Work 1 SC in each stitch around. (40 SC)
- Round 27: Alternate 3 SC and 1 Dec for 8 sets. (32 SC)
- Round 28: Alternate 2 SC and 1 Dec for 8 sets. (24 SC)
- Round 29: Alternate 1 SC and 1 Dec for 8 sets. (16 SC)
Stuff the body, then Round 30: Make 8 decreases (Dec in each stitch). Finish by sewing the opening closed as described below.

Legs
- Round 1: MR. 8 SC into the ring. (8 SC)
- Round 2: 8 Inc. (16 SC)
- Round 3: BLO: Work 1 SC in each stitch around. (16 SC)
- Rounds 4-6: Work 1 SC in each stitch around. (16 SC per round)
- Round 7: Alternate 2 SC and 1 Dec for 4 sets. (12 SC)
- Rounds 8-9: Work 1 SC in each stitch around. (12 SC)
Finish
- Stuff lightly. Close the top using single crochet at two opposite sides of the leg as demonstrated. Leave a long tail for sewing the legs between rounds 26 and 27 of the body. Position with around 14 stitches between legs.
Hands
- Round 1: MR. 10 SC into the ring. (10 SC)
- Round 2: BLO: Work 1 SC in each stitch around. (10 SC)
- Rounds 3-6: Work 1 SC in each round. (10 SC per round)
Finish
- Stuff lightly and close the hands similarly to the legs. Sew hands between rounds 20 and 21, spaced 11 stitches apart.
Ears
- Foundation Chain: Make 4 chains.
- Work around the chain: 2 SC along one side, 4 SC into the last chain space, 3 SC along the opposite side, and 3 SC into the first chain space. (12 SC total)
- Round 2: Add increases: 4 Inc at 4 stitches (top edge), work the rest around evenly. (18 SC total)
- Rounds 3-5: Work 1 SC evenly per round. (18 SC per round)
Finish
Sew ears between rounds 4 and 11, spaced 9 stitches apart.

Snout
- Foundation Chain: Make 6 chains.
- Work around the chain: 4 SC along one side, 5 SC into the last chain space, 3 HDC along the opposite edge, and 4 SC into the last chain. (16 stitches total)
- Round 2: Add shaping with 9 SC, 1 HDC, 2 DC, 1 HDC, finish with 4 SC.
Detail
- Embroider the nose with black yarn over the center stitches.
- Sew the snout between rounds 12 and 15 of the head.
Ruffle Collar
- Start with 61 chains using pink yarn.
- Work 14 Sl St along the chain, then proceed with 3 DC in the next stitch for 30 times.
- Finish with 14 Sl St.
Finish
Wrap the removable collar around the bear.
Scarf
- Make 62 chains using yellow yarn.
- Work 59 DC across the length.
Finish
Tie the scarf loosely around the bear's neck.
Finishing
- Stuffing: Adjust stuffing firmness as you assemble the components.
- Join Pieces: Use pins before sewing to position snugly.
- Weaving Ends: Secure loose yarn tails neatly by weaving them into stitches.
Final Words and Maintenance Tips
Congratulations on finishing your adorable teddy bear with accessories! This project makes a perfect gift or decor item thanks to its soft texture and detailed features.
Tips
- Adjust Size: Use thinner yarn and smaller hooks for a compact version.
- Color Variation: Customize colors to make themed bears (e.g., pastel shades).
- Care: Spot clean gently and keep away from sharp or abrasive objects.