
Free Crochet Pattern for a Simple Water Bottle Holder
Hold your water bottle with ease using this free crochet design, made for convenience, comfort, and a vibrant touch that's ideal for daily use or outdoor activities.
Carrying your water bottle can be fun and stylish with this unique handmade holder. This carefully designed piece is not just useful but also adds a touch of creativity to your everyday routine. Made with soft and durable yarn, it comes with an easy-to-carry strap, making it comfortable to take your bottle wherever you go.
Free Crochet Water Bottle Holder Pattern
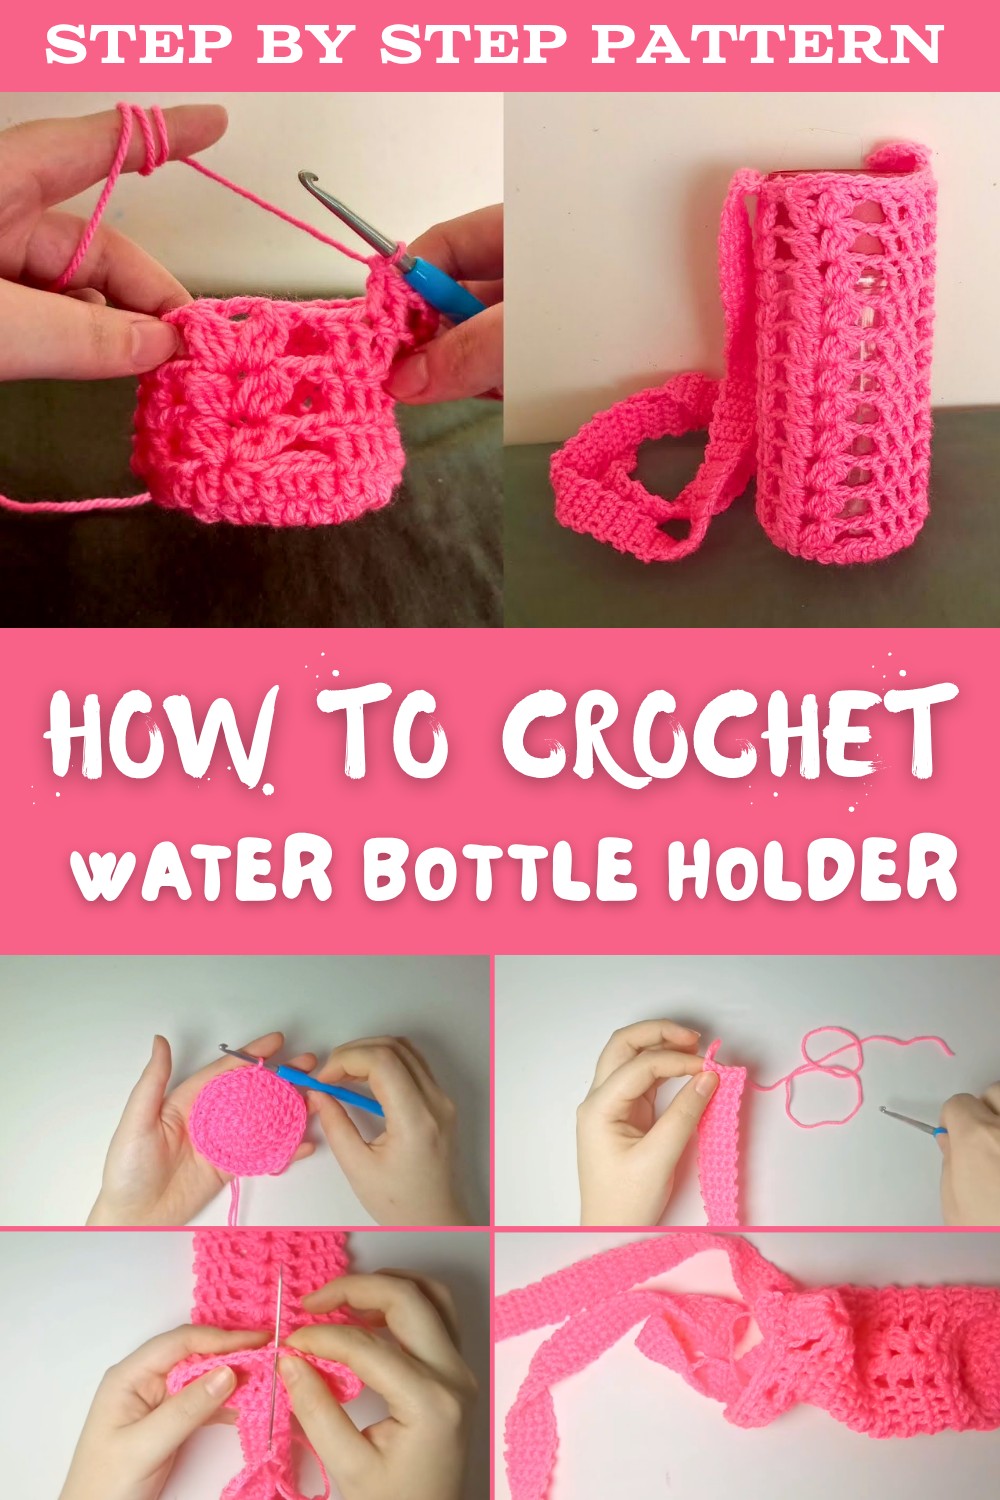
Its snug fit keeps your bottle secure while the lightweight design makes it perfect for school, sports, or quick outdoor trips. You can customize it with your favorite colors, giving it a personal and colorful look. The neat design makes it a great option for protecting your bottle from scratches and keeping it cool on warm days.
It's easy to make, doesn't need expensive materials, and anyone can try it at home with simple steps. This adorable and practical holder is not just useful for you but can also be a thoughtful gift for your friends or family.

Handy Crochet Water Bottle Holder - Step-by-Step Pattern
Materials
- Yarn: Approximately 20g Double Knit (DK/8 ply) yarn (cotton recommended for durability and washability - color of your choice)
- Crochet Hook: 4 mm
- Tapestry or Darning Needle: For sewing in ends and attaching the strap
- Scissors
Abbreviations & Special Techniques
- MR = Magic Ring (see special instructions)
- ch = chain
- sl st = slip stitch
- sc = single crochet
- hdc = half double crochet
- dc = double crochet
- inc = increase (two stitches in same stitch)
- st(s) = stitch(es)
Special Techniques:
- Magic Ring: Wrap yarn around your fingers to create a loop, insert your hook, pull up a loop, and work the required stitches into this ring. This creates a tightly closed circle at the bottom of your holder.
Water Bottle Holder Pattern
Base (Rounds 1-5; adjust as needed to fit your bottle)
Round 1
- Make a magic ring (see above).
- Ch 1.
- Into the ring, work 6 hdc. Pull the tail to tighten.
- Join with a sl st to the first hdc. (6 sts)
Round 2
- Ch 1.
- Work 2 hdc in each st around (hdc inc in every st). (12 sts)
- Join with a sl st to the first hdc.
Round 3
- Ch 1.
- (1 hdc in next st, 2 hdc in next st); repeat from * around.
- (You alternately do one hdc in one stitch, then two in the next.)
- (18 sts at the end of the round)
- Join with a sl st to the first hdc.
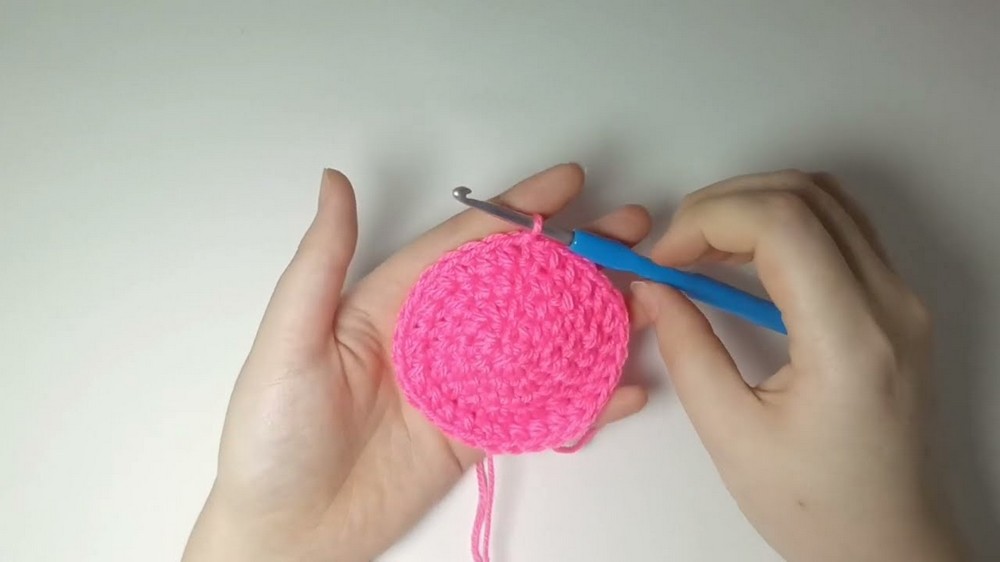
Round 4
- Ch 1.
- (1 hdc in each of next 2 sts, 2 hdc in next st); repeat around.
- (24 sts at end of round)
- Join with a sl st to the first hdc.
Round 5
- Ch 1.
- (1 hdc in each of next 3 sts, 2 hdc in next st); repeat around.
- (30 sts at end of round)
- Join with a sl st to the first hdc.

- Adjust the number of rounds to make the base fit the bottom of your bottle snugly. For wider or narrower bottles, add or omit an increase round, following the logical sequence of increasing.
Body of Holder
Round 6 - Eyelet Mesh Foundation
- Ch 2 (does NOT count as a st), dc in first st and next two sts (3 dc in total).
- Ch 1, skip 4 sts, in 5th st work a "3-dc cluster" as follows:
- Yarn over, insert hook, pull up loop (3 on hook), yarn over, pull through 2.
- Repeat into the same st 2 more times (for 3 partial dc in one st) until you have 4 loops left.
- Yarn over, pull through all 4 loops.
- Ch 2, make another "3-dc cluster" in the same st.
- Ch 2, skip 2 sts, 3 dc in next 3 sts (one in each).
- Repeat steps 2-4 around. At end, after last "cluster" and "ch 2", skip last 2 sts, sl st into first dc.
Rounds 7-11 (or until desired height)
- Ch 2 (does not count as stitch), dc in each of first 3 dc.
- Ch 1, in the next "ch-2 space" between clusters from previous row, make a "3-dc cluster", ch 2, another "3-dc cluster" in same space.
- Ch 2, sk next 2 chs, 3 dc in top of next 3 dc from row below.
- Repeat this mesh pattern around.
- Finish each round with sl st into first dc.

- Tip: Adjust the total number of rounds to match your bottle's length (the sample uses 11 rounds).
Top Edging
Final Round
- Ch 1.
- Work sc evenly in all stitches and chain spaces around the top edge to create a neat and sturdy finish.
- Sl st to first sc. Cut yarn, leaving a tail long enough to weave in securely.

Strap
- Make a slip knot and ch 4 (or desired width of strap; add more chains for a wider strap).
- Ch 1 more (turning chain).
- In second ch from hook, sc, repeat sc across the remaining chains (4 sc total). Turn.
- Ch 1, sc in each st across (4 sc). Turn.
- Repeat the last step until you have 130 rows (or desired strap length for your body height).
- Fasten off, leaving a long tail for sewing.
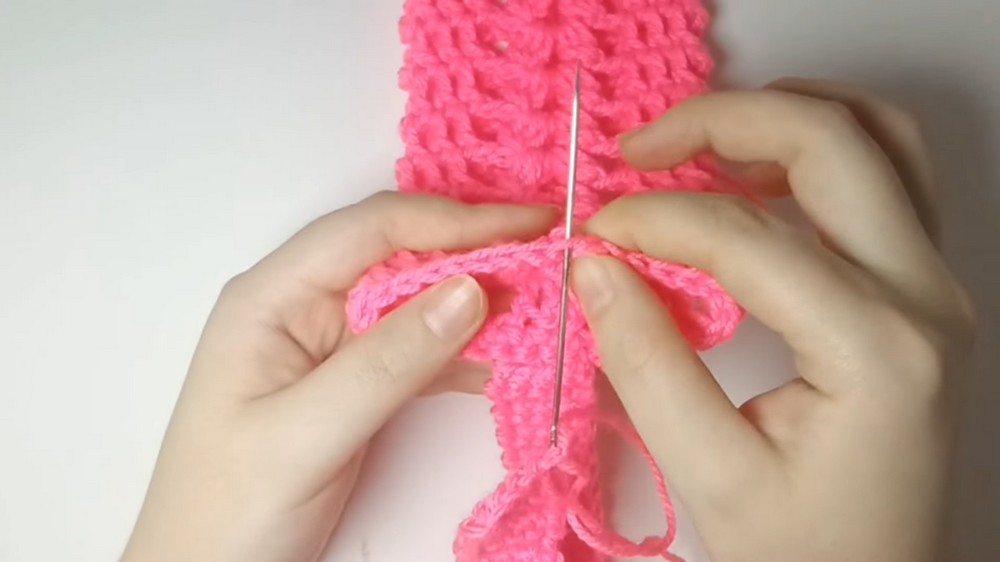
- Tip: Try on your strap before attaching both ends so you can adjust the length if needed.
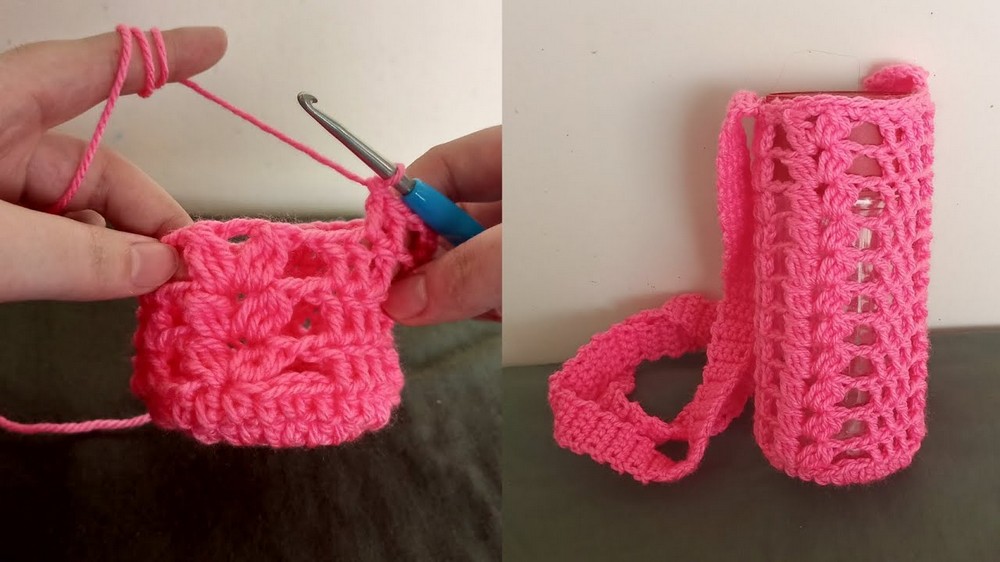
Assembly
- Use the starting and ending tails of the strap and a tapestry/darning needle to sew the strap ends to opposite sides inside the top edge of the holder.
- Attach through the front loops of the edge and the strap for a neat, seamless look.
- Weave in ALL remaining yarn tails - including the magic ring tail at the base - using a darning needle, hiding them securely in the fabric.

Final Words & Tips
- Fit: Always check the fit of the bottom and body against your bottle as you go. Add/remove rounds for width/depth and height.
- Care: Cotton or machine-washable yarn is ideal for cleaning and durability.
- Customization: Add stripes, use variegated yarn, or attach a button and flap for a fun closure. Try a wider or longer strap for crossbody wear.
- Support: The mesh stretches; for heavy bottles, consider a firmer yarn or add more single crochet rounds before starting the mesh.
Congratulations!
Your water bottle holder is complete and ready for adventures. Stay hydrated and hands-free with your custom creation! Feel free to adjust this basic pattern for any bottle size-creativity is encouraged.