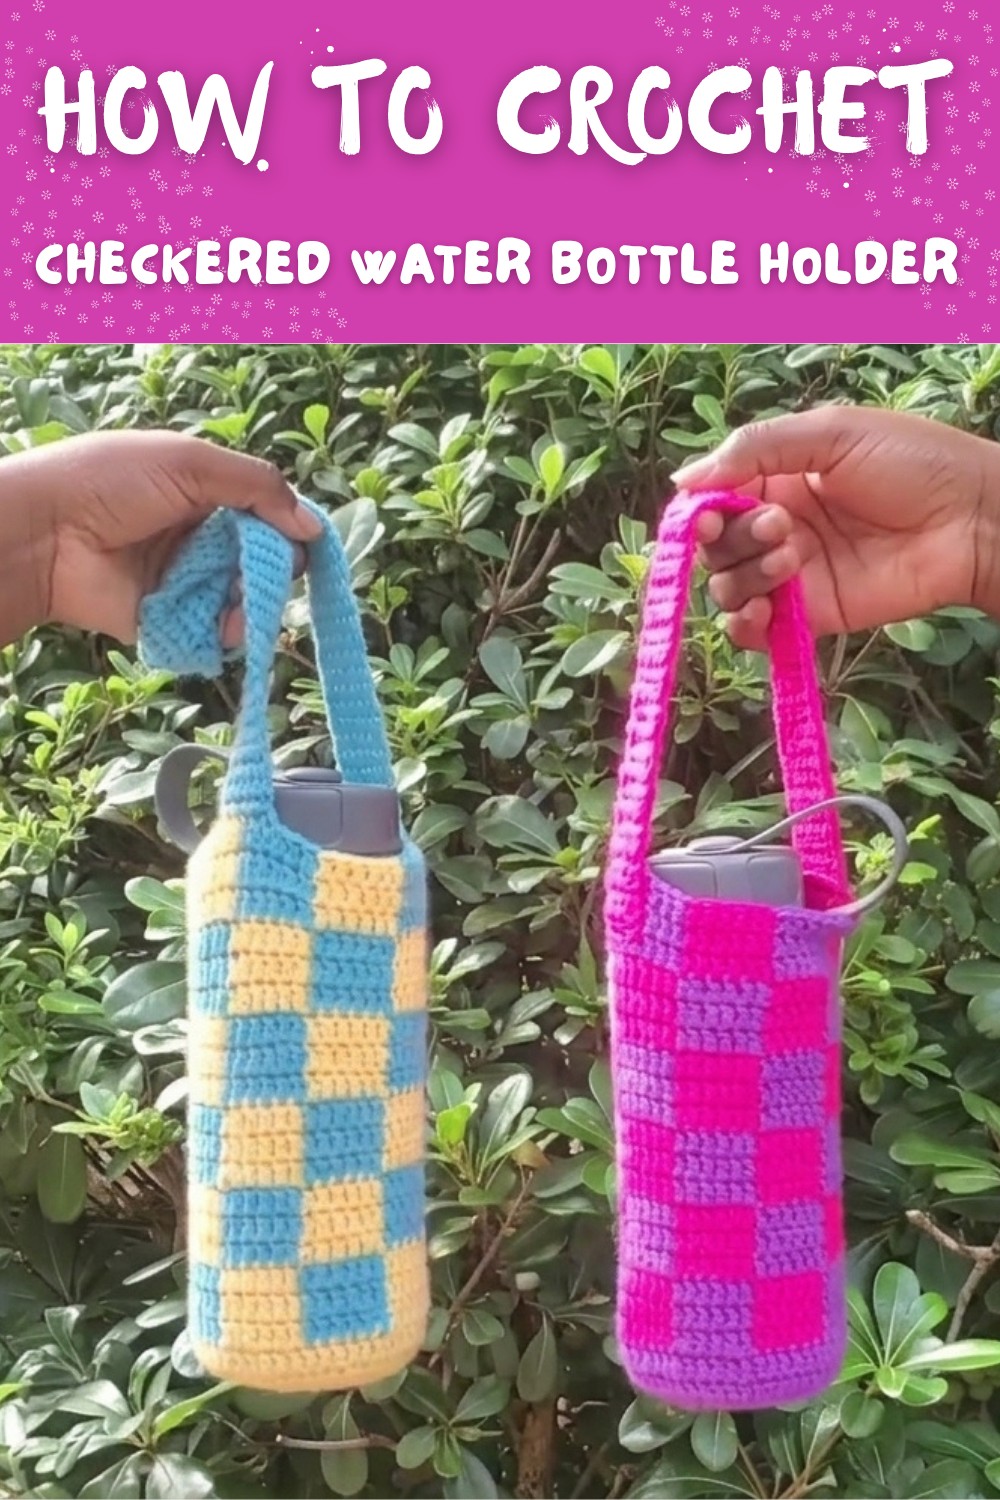
Crochet Checkered Bottle Holder Pattern Free Instructions
Experience fun and function with this free crochet checkered water bottle holder pattern that's for your everyday adventures.
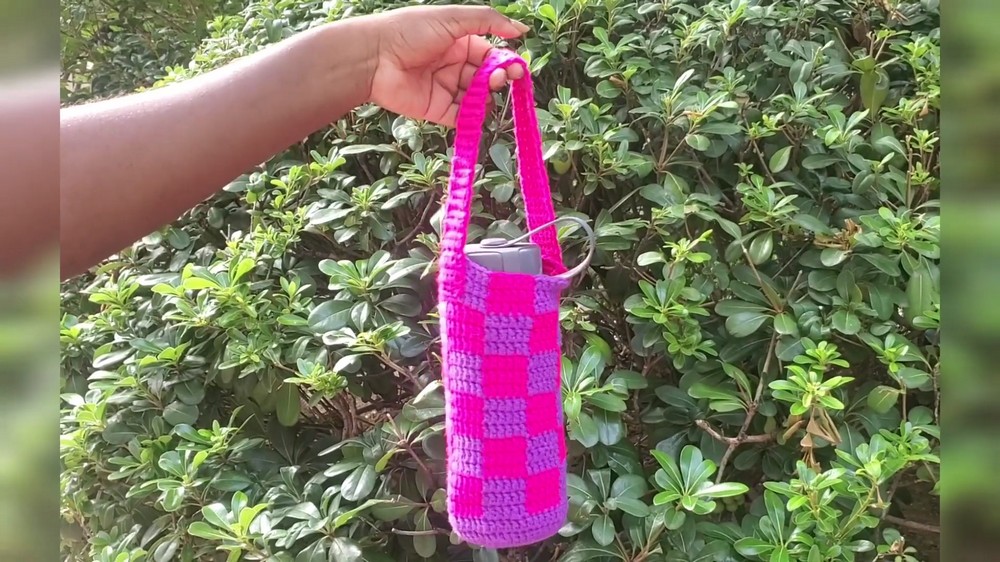
Do you want to carry your water bottle in a way that is both easy and stylish? Making your own holder is possible with just some yarn and a hook, and you can create a colorful square pattern that looks cheerful and fun. The Crochet Checkered Water Bottle Holder pattern shows how to make a strong and pretty bag for your bottle without much effort. This holder is soft and light, so you can bring it with you everywhere-on walks, to work, or to play outside.
Crochet Checkered Bottle Holder Free Pattern Step by Step
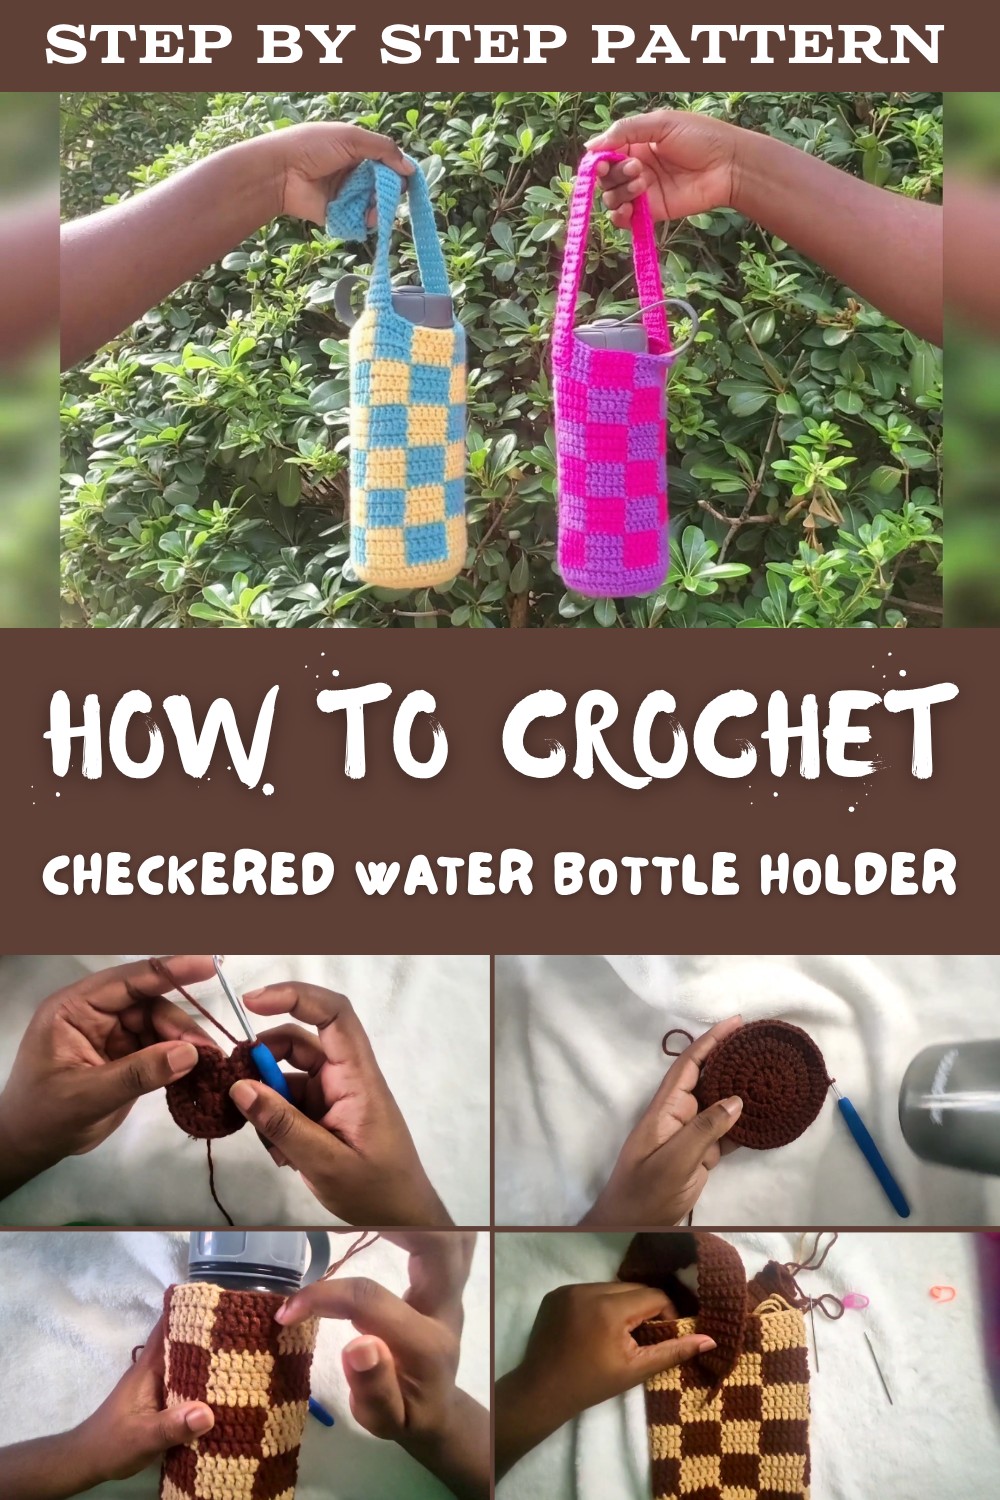
It keeps your bottle safe from scratches and makes it simple to carry, as the long strap sits comfortably on your shoulder. The bright checkered design gives your day extra color and personality. If it gets dirty, you can wash it at home and use it again and again. With this pattern, everyone can make a useful and beautiful holder while showing off their creativity in a simple way.
Checkered Water Bottle Holder Crochet Pattern
Materials Needed
- Worsted weight yarn in two different colors (A & B)
- 4 mm crochet hook
- Yarn needle (for weaving in ends and sewing on strap)
- Stitch markers (optional, for keeping track of rows)
- Scissors
Abbreviations (US Terminology)
| Abbreviation | Meaning |
|---|---|
| ch | chain |
| sl st | slip stitch |
| sc | single crochet |
| dc | double crochet |
| st(s) | stitch(es) |
| inc | increase (2 stitches in 1) |
| MC | magic circle |
Special Notes
- Carry unused yarn color along the inside as you work to avoid loose strands.
- The pattern is written for a standard reusable water bottle-adjust base diameter and height as needed.
- Check fit after making the base: it should gently cup the bottom of your bottle.
- To make color changes: yarn over with new color on the last pull-through of previous stitch.
Pattern Instructions
Base
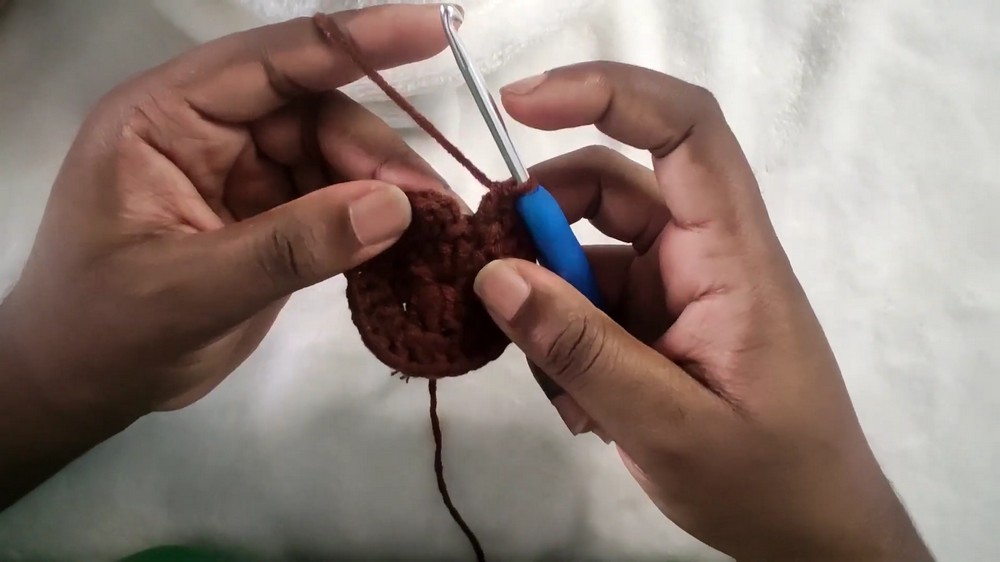
- Magic Circle Base
- Using Color A, make a magic circle (MC).
- Ch 2 (does not count as a stitch).
- 12 dc into MC. Pull tail tight to close circle. Sl st to the first dc to join. (12 sts)
- Round 2:
- Ch 2. 2 dc in each st around (increase in every stitch). Sl st to join. (24 sts)
- Round 3:
- Ch 2. (1 dc in next st, 2 dc in next st), repeat around. Sl st to join. (36 sts)
- Round 4:
- Ch 2. (1 dc in each of next 2 sts, 2 dc in next st), repeat around. Sl st to join. (48 sts)
- Test the fit:
- Place your bottle on the base. If more width is needed, repeat the increase round, adding 12 sts per round as pattern established.
- Final Base Row (No Increases):
- Ch 2. Dc in each st around. Sl st to join.
- At this point, the base should start to fold upward like a shallow bowl. The yarn tail from the MC should be on the inside, facing up.

Body
- Setup Round:
- Ch 2.
- With Color A, dc in next 6 sts.
- Change to Color B, dc in next 6 sts.
- Continue alternating every 6 dc around. Carry the unused color along inside the stitches for neatness.
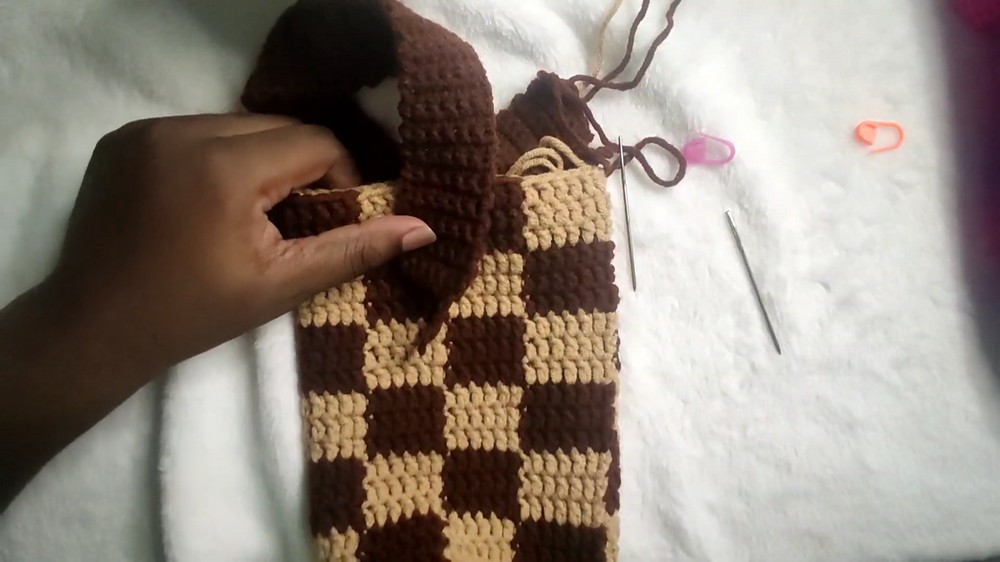
- Subsequent Rounds (Checkered Pattern):
- Ch 2 at the start of each round.
- Dc in each st in established color sequence (change color every 6 dc, carrying unused color).
- At the end of the round, do not finish last dc-yarn over and pull through with new color to ensure smooth transitions.
- Repeat this round for 3 rows (total three rounds of first checkered block).
- Offset Checkered Blocks:
- Begin the next section, shifting color blocks above.
- On the next round, instead of starting with Color A, start by placing Color B above the previous Color A block and vice versa.
- Continue alternating colors every 6 sts, repeating for three more rounds.
- Repeat this alternating sequence until desired height is reached, continuing to alternate and stack the checkered pattern.
- Finish the Body:
- Once your water bottle holder reaches the desired height, sl st to join and fasten off.

Strap
- Foundation:
- With either yarn color (traditionally darker works well), ch 7.
- Row 1:
- Sc in 2nd ch from hook and across (6 sc). Ch 1, turn.
- Rows 2+:
- Sc across (6 sc). Ch 1, turn.
- Repeat until strap reaches desired length (add extra length for sewing onto the body; measure strap against your body or preferred carrying style).
Tip: For a shoulder strap, 20-30 inches is typical; for a short handle, 12-14 inches is sufficient.
Assembly
- Find the midpoint at the back of holder-opposite to the join seam (where ch 2 begins).
- With a yarn needle, sew the strap securely to the body, aligning the 6 sc of the strap to 6 dc on body (top round).
- Sew along the edges of the strap for a secure hold.
- Repeat for the opposite side, ensuring straps are even. Weave in all loose ends.
Conclusion
Your checkered water bottle holder is now complete-practical, secure, and fun to use! The colorwork gives a trendy look, and it's customizable in both hue and size, making it perfect for gifts or everyday use.
Pattern Corrections & Tips
- Normalize your tension so the checkered pattern remains even and boxes look symmetrical.
- Count stitches regularly, especially during increases and color changes, to maintain a neat shape.
- If new to color changes in crochet, practice on a small swatch before starting the project.
- Block the finished holder if needed to smooth and set the shape.