
Fun Free Crochet Bear Pattern That’s Full of Personality
Stitch a cozy and lovable Crochet Bear that's for spreading joy with its charming details and endless possibilities for personalization.
A handmade teddy bear is a charming and rewarding project that combines creativity with coziness. Using simple tools like a crochet hook and yarn, it's possible to shape a lovable companion full of character and warmth. Experimenting with customization options, such as colors, facial expressions, or tiny accessories, adds unique personality to each bear, making it truly one-of-a-kind.
Adorable Crochet Bear Pattern You'll Fall in Love With
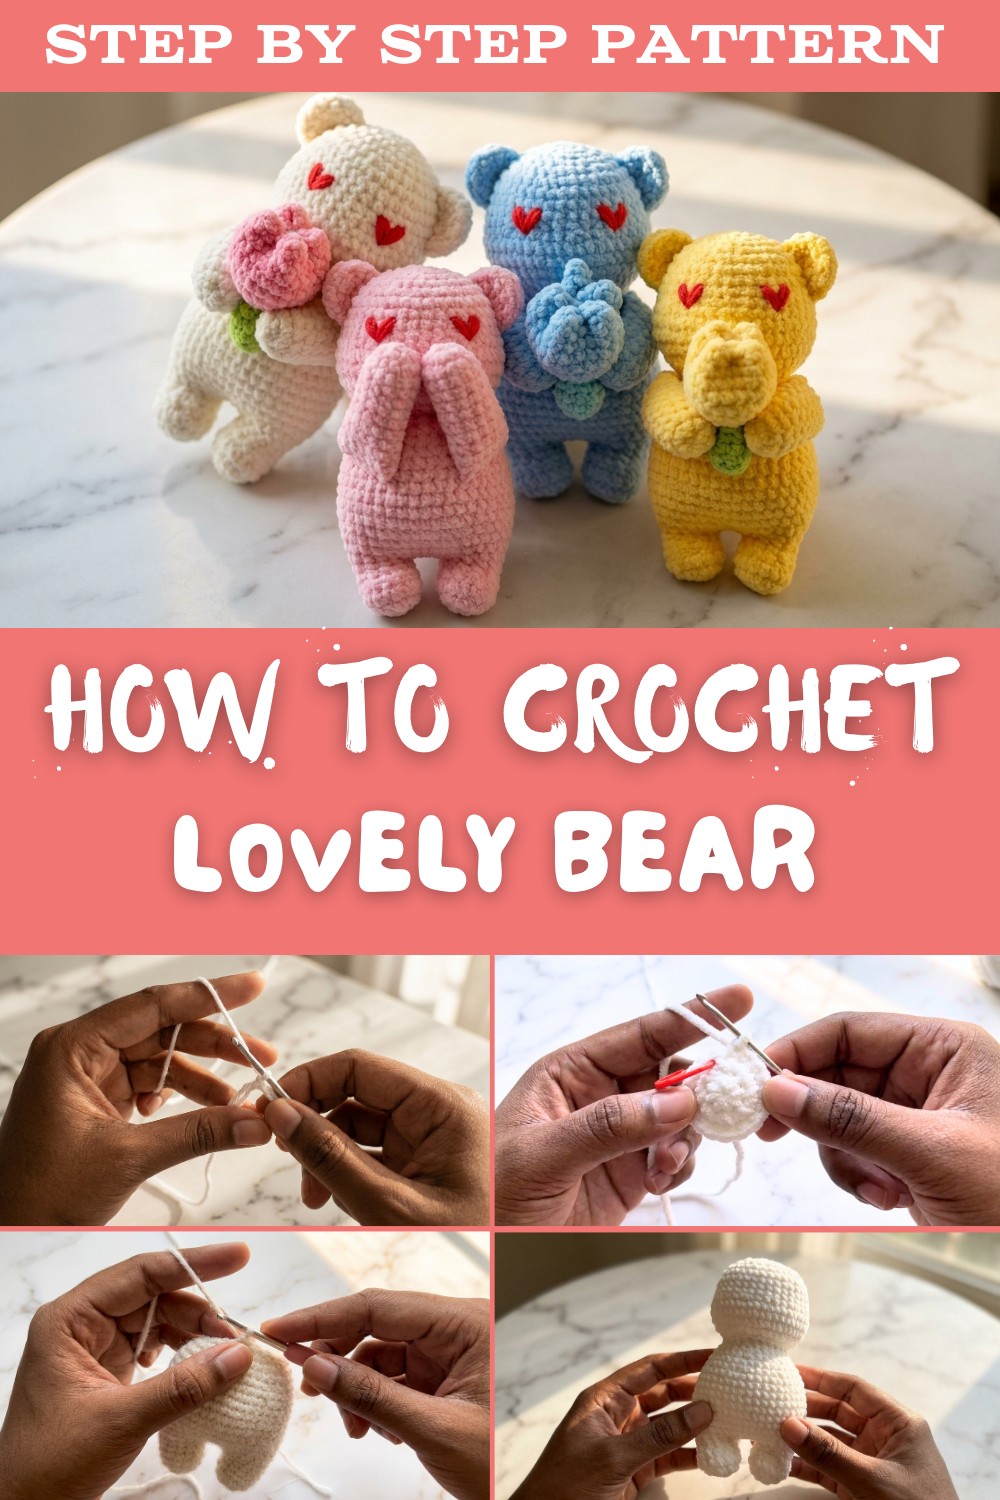
These adorable creations are perfect for heartfelt gifts, nursery decor, or even a timeless keepsake for yourself. The process is simple yet engaging, offering an opportunity to improve your crochet skills while working on something both practical and delightful. A teddy bear is the perfect mix of cute and meaningful, bringing a warm touch to anyone's day.

Materials Required
- Yarn:
Recommended - Chenille yarn for a soft texture.
Suggested Colors - white (bear's body), pink (flower), green (stem), and yellow (flower center). - Crochet Hook:
Size 2.5mm crochet hook. - Stuffing: Polyester fiberfill for stuffing the body, legs, head, and arms.
- Stitch Markers: To mark the beginning of each round.
- Needle:
For sewing parts and embroidery details. - Scissors.
- Pins: To secure parts during assembly.
Abbreviations & Techniques
- SC: Single Crochet.
- INC: Increase (2 single crochet in one stitch).
- DEC: Decrease (crochet two stitches together).
- FLO: Front Loop Only.
- BLO: Back Loop Only.
- Magic Ring: A technique used to start crochet projects to ensure a closed circle.
- Chain (CH): Yarn wrapped to form a foundation stitch.
Suggestions Before Starting
- Ensure you are familiar with the magic ring and decrease techniques.
- Keep all parts symmetrical for better presentation.
- Use a stitch marker to track rounds to avoid losing count.
- Switch the yarn colors properly for the flower and tulip stem for a clean result.
Pattern Instructions
1. Legs
Step-by-Step Instructions
- Round 1: Begin with a magic ring. Crochet 8 SC into the ring. Pull the yarn tail to close.
- Round 2: Remove the stitch marker. Start with 1 SC, mark the first stitch, then create 8 INC throughout the round (total 16 stitches).
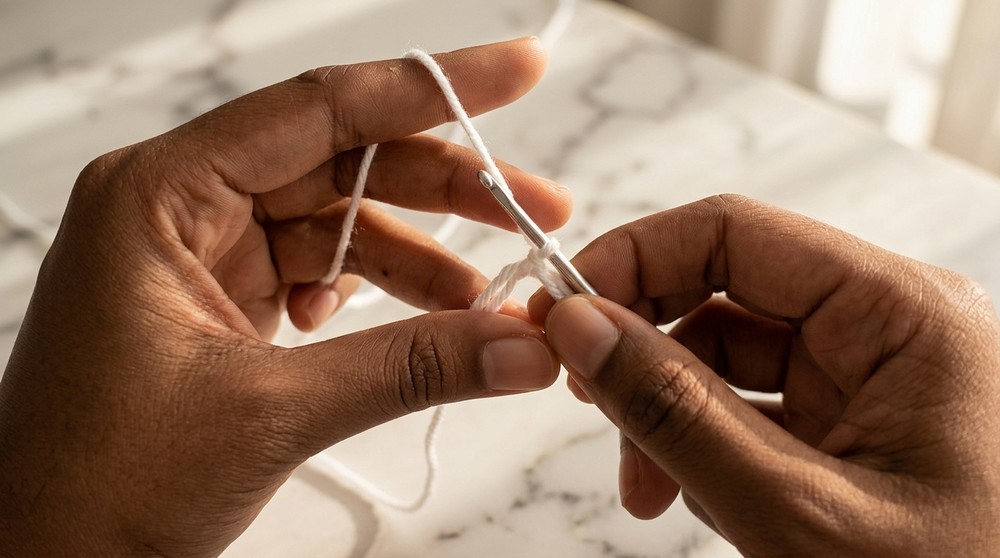
- Round 3: 1 SC in each stitch for 16 SC.
- Round 4:
- Crochet 4 SC.
- Create 4 DEC by crocheting front loop of next two stitches together.
- Finish with 4 SC.

- Round 5: Crochet 12 SC evenly across the round.
- Round 6: Crochet 3 SC evenly then finish the round (not completing the entire loop). Cut yarn for the first leg; leave long ends for sewing.
- Make second leg in the same way, don't cut the yarn at the end. Proceed to join legs.

2. Body
Joining Both Legs
- Chain 3 CH from the second leg and connect with the 6th stitch on the first leg. Be careful not to twist the chains.
- Begin Round 1 of the body:
- Crochet 12 SC around the first leg.
- Make 3 SC into the chains between legs.
- Crochet 12 SC around the second leg.
- Complete 3 SC into the chains again.
(Total: 30 SC).
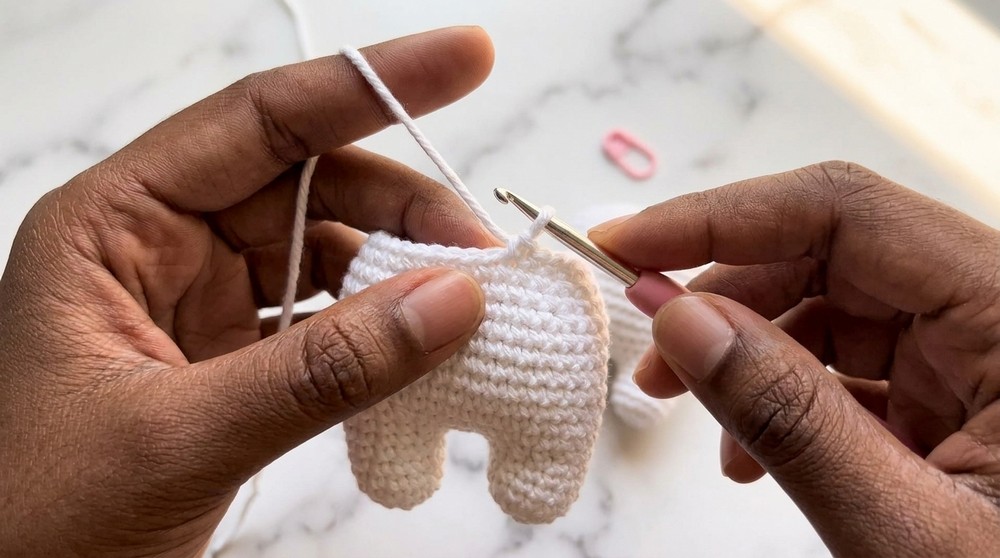
Forming the Body and Head
- Work increases:
- Round 2: [4 SC, 1 INC] repeat 6 times (total: 36 SC).
- Round 3: [5 SC, 1 INC] repeat 6 times (total: 42 SC).
- Rounds 4-11: Crochet 1 SC per stitch, maintaining 42 SC per round.
- Begin shaping the neck:
- Round 12: [5 SC, 1 DEC] repeat 6 times (total: 36 SC).
- Round 13-17: Maintain 36 SC per round.

Head
- Round 18: Work FLO and [1 SC, 1 INC] repeat 12 times (total: 48 SC).
- Round 19: [2 SC, INC] repeat 12 times (total: 60 SC).
- Rounds 20-22: Maintain 60 SC per round.
- Decreases:
- Round 23: [2 SC, DEC] repeat 12 times (total: 48 SC).
- Round 24-27: Maintain 48 SC per round.
- Round 28: [4 SC, DEC] repeat 6 times (total: 36 SC).
- Round 29: [3 SC, DEC] repeat 6 times (total: 30 SC).
- Round 30: [2 SC, DEC] repeat 6 times (total: 24 SC).
- Round 31: [1 SC, DEC] repeat 6 times (total: 18 SC).
- Round 32: 6 DEC to close.

3. Arms
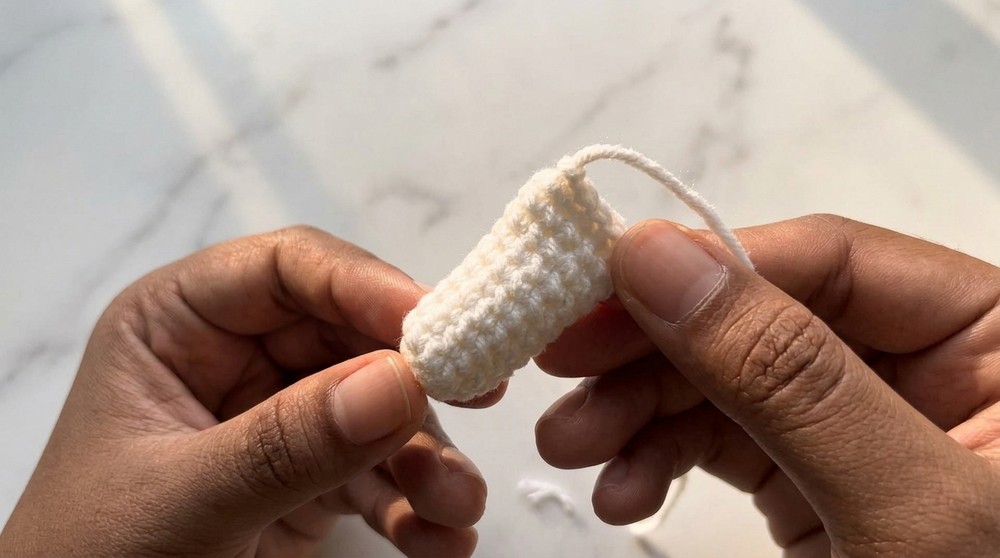
- Round 1: Begin with a magic ring, crochet 6 SC into it.
- Round 2: Create 6 INC throughout the round (total: 12 SC).
- Rounds 3-11: Maintain 12 SC per round.
- Close the arm with 5 SC stitches following skipping alternate stitches, as described in the transcript.
- Make two arms following the same steps.
4. Ears
- Begin with a magic ring. Crochet 5 SC into it.
- Work 5 INC in the next round (total: 10 SC).
- Leave a long yarn tail for sewing and create two ears.
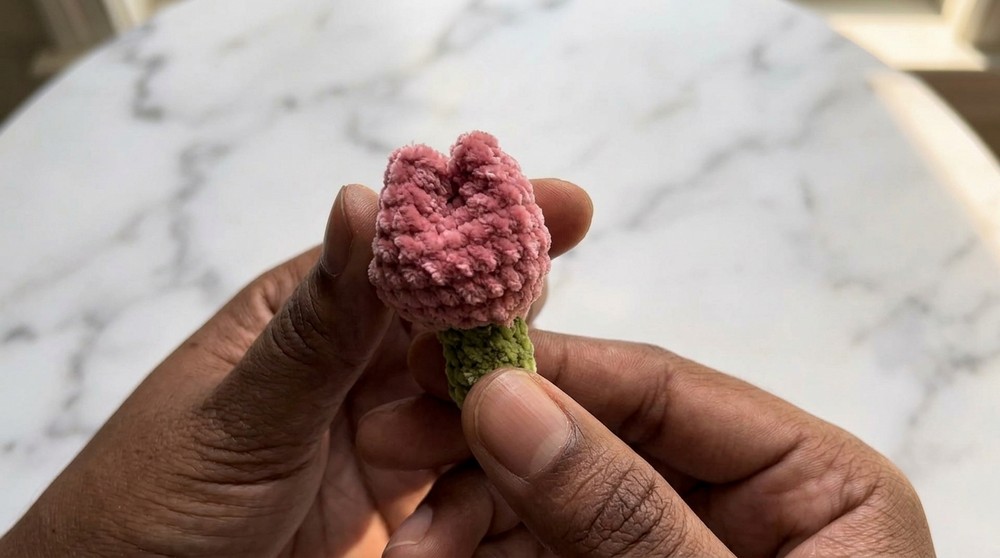
5. Tulip Flower
- Start with green yarn and a magic ring. Crochet 8 SC inside.
- Round 2: Work BLO and complete 8 SC.
- Add pink color starting Round 5, working 8 INC to give a full tulip effect.
- Stuff the flower and sew securely to connect it to the hands or intended position.
Finishing the Pattern
- Sew arms, ears, and flower securely to the respective positions.
- Position Ears between rounds 25-29 on the head.
- Secure Hands between round 12-16 for holding objects or sides.
- Add embroidered eyes using yarn or safety eyes between rounds 24 and 25, leaving 5 stitches apart.
- Hide loose yarn ends and trim carefully.

Final Words
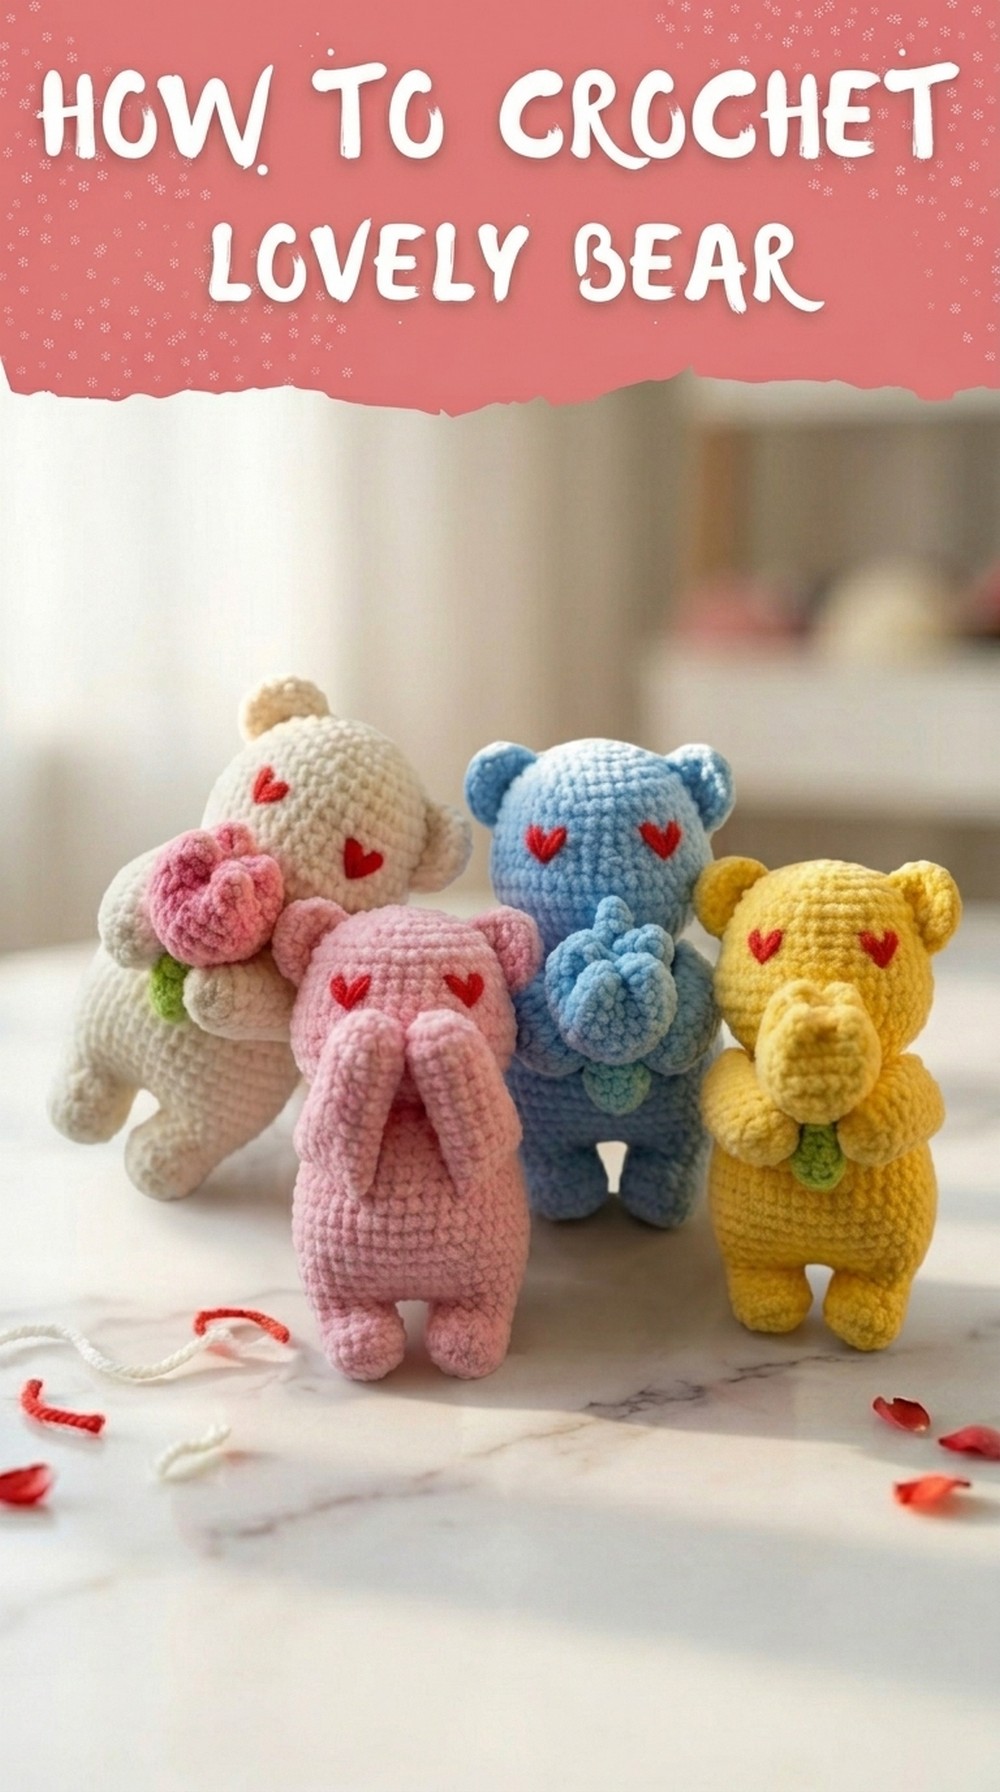
Congratulations on completing your Love Bear with Tulip Flower! This adorable pattern is a perfect gift for loved ones and works wonderfully as a decorative piece.
Tips to Maintain the Pattern
- Consistency: Maintain even tension throughout crochet to ensure uniformity.
- Safety Eyes: If gifting to children, securely attach safety eyes over embroidery for durability.
- Storage: Keep the bear in a cool, dry place to preserve yarn quality.