
Functional Free Crochet Water Bottle Holder Pattern For Hikers
Style your day with a vibrant and colorful crochet water bottle holder that is simple to build, a joy to carry, and perfect for all your adventures.
Lightweight, vibrant, and perfect for everyday use, the Free Crochet Water Bottle Holder Pattern is an exciting and easy project. Using just yarn and a crochet hook, you'll design a bottle holder that is not only functional but also a stylish accessory. It's simple, fun, and a great way to show off your creativity. What makes this project truly special is its lace like design. The net style gives the holder a light and airy look with small openings that ensure your bottle stays cool, especially on warm days. The sturdy bottom adds excellent support for the bottle, while the top border provides a polished finish.
Free Crochet Water Bottle Holder Pattern For Chic And Handy Use

The strap is customizable, letting you choose between a short handle for your wrist or a long crossbody strap to carry comfortably. Whether you're heading to school, on a walk, or going on a picnic, this handy holder keeps your water close while freeing up your hands.
One of the most exciting features of this pattern is how personalized it can be. You can choose soft pastels for a classic look or bright, vibrant colors to make it pop. It fits most water bottles, and you can even adjust the size for smaller or larger ones. Not only is this pattern beautiful, but it also promotes an eco friendly lifestyle, encouraging the use of reusable water bottles while reducing waste.
With this free pattern, you'll create something that's both charming and practical. It's perfect for daily hydration, outdoor adventures, or simply adding a touch of handmade love to your day. Dive into the fun and make yours today-it's free, engaging, and full of creative possibilities.

Free Crochet Water Bottle Holder Pattern
Materials Needed
- Yarn:
- Cotton yarn, approximately 80g (recommendation: light green color or yarn of your choice).
- Hook Size:
- 5mm crochet hook (adjust based on personal tension).
- Additional Supplies:
- Scissors
- Yarn needle (for weaving in ends)
- Gauge: Not essential, but for reference:
- The base of the bottle cover measures approximately 6.5 cm in diameter after the circular base is completed.
Finished Size
- Ideal for 500 to 600ml reusable water bottles.
- Finished height: slightly shorter than the bottle for increased visibility and easy access to the bottle mouth.
Pattern Instructions
Step 1: Create the Base (Flat Circle)
- Start with a magic ring.
- Ensure the tail is long enough for adjustments later.
- Round 1:
- Chain 1 (does NOT count as a stitch).
- Work 10 half double crochets (hdc) into the magic ring.
- Pull the tail to tighten the center.
- Slip stitch into the first hdc. (10 sts)
- Round 2:
- Chain 1.
- Work 2 hdc in each stitch around.
- Slip stitch to join. (20 sts)
- Round 3:
- Chain 1.
- Work 1 hdc in the first stitch, 2 hdc in the next stitch, repeat around.
- Slip stitch to join. (30 sts)
- Round 4:
- Chain 1.
- Work 1 hdc in the first 2 stitches, 2 hdc in the next stitch, repeat around.
- Slip stitch to join. (40 sts)
- If a larger base is desired, continue increasing by following this pattern:
- Each round will add 10 additional stitches by spacing increases further apart (e.g., 1 hdc in 3 stitches, 2 hdc in the next).
- Once the base reaches the desired size (6.5cm in diameter), stop increasing and proceed to form the body.


Step 2: Create the Body
- Round 5:
- Switch to double crochet (dc) for the lattice pattern.
- Chain 3 (counts as the first dc).
- Work 1 dc in every stitch around.
- Slip stitch into the top of the chain 3.
- Round 6 (Lattice Pattern Begins):
- Chain 4 (counts as 1 dc and chain 1 space).
- Skip 2 stitches, dc into the next stitch, chain 1. Repeat from * to * around.
- Slip stitch into the 3rd chain at the start of the round.
- Rounds 7 to 14:
- Chain 1.
- Work 1 dc in the dc of the previous round, chain 1 to maintain the lattice pattern. Repeat as in Round 6.
- Round 15:
- Chain 1.
- Work 1 sc into the chain 1 spaces and 1 sc into each dc from the round below. This creates a more solid edge for durability.


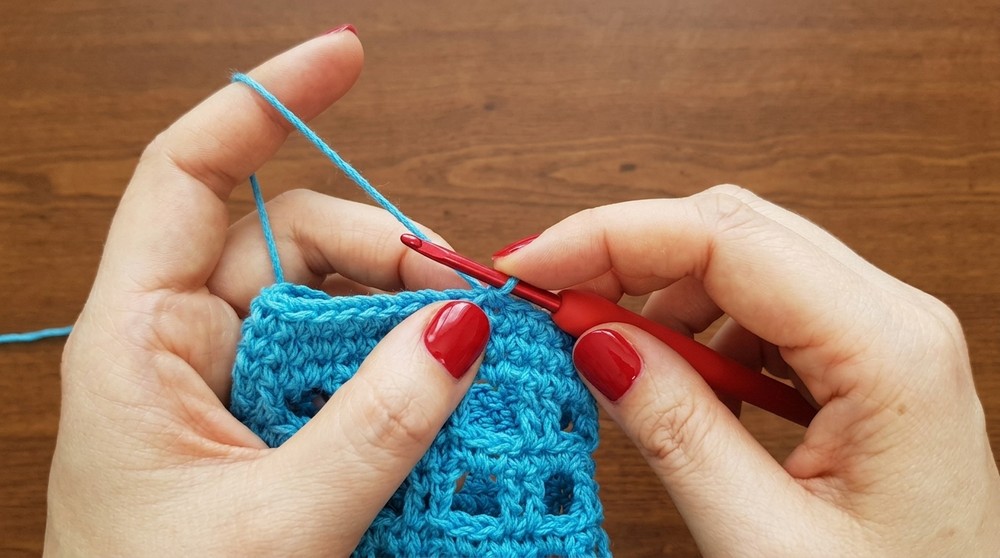
Step 3: Add the Handles
- For a Wrist Strap:
- Chain 40 (or adjust to 30cm desired strap length).
- Join the chain directly to the other side of the rim with a slip stitch.
- Work 2 additional rows of slip stitches or sc across the strap for thickness and durability.
- For a Crossbody Strap:
- Chain to the desired length (adjust for personal height).
- Follow the same method as above for additional rows on the strap to ensure strength.

Tips for Success
- Customization: Vary the yarn color to match your personal style or create seasonal designs.
- Reinforcement: For extended use, consider stitching an extra row of sc at the top and bottom of the cover for added durability.
- Larger Bottle Size: Increase the diameter of the base and add extra lattice rows to accommodate larger bottles.
Special Techniques
- Magic Ring: Creates a tight center for the bottom of the bottle cover.
- Lattice Pattern: Alternating dc and chain stitches create an airy, open work design perfect for summer.
- Finishing Touch: Weave in yarn tails securely to maintain the integrity of the project.
Conclusion and Remarks
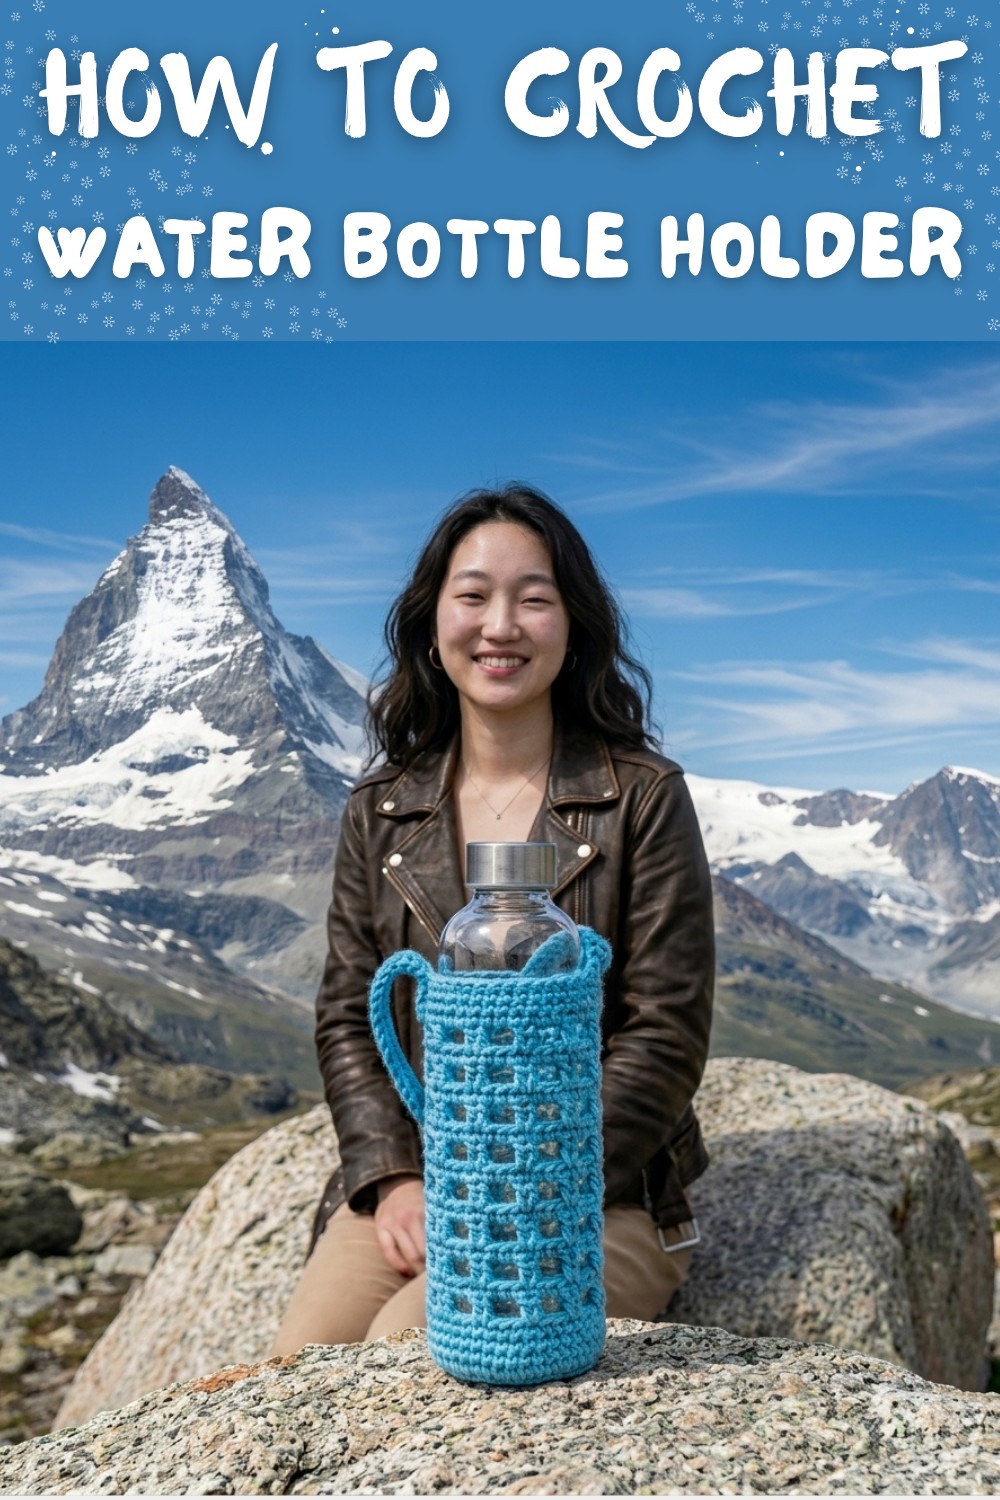
This water bottle cover adds a decorative touch to your reusable bottles and is perfect for gifting or personal use. Its lightweight, breathable design is ideal for summer outings, and the handle options add functionality. Following this tutorial ensures a neat, durable, and stylish result that you'll love. Whether you're a beginner or seasoned crocheter, this project offers an enjoyable challenge with a rewarding outcome.