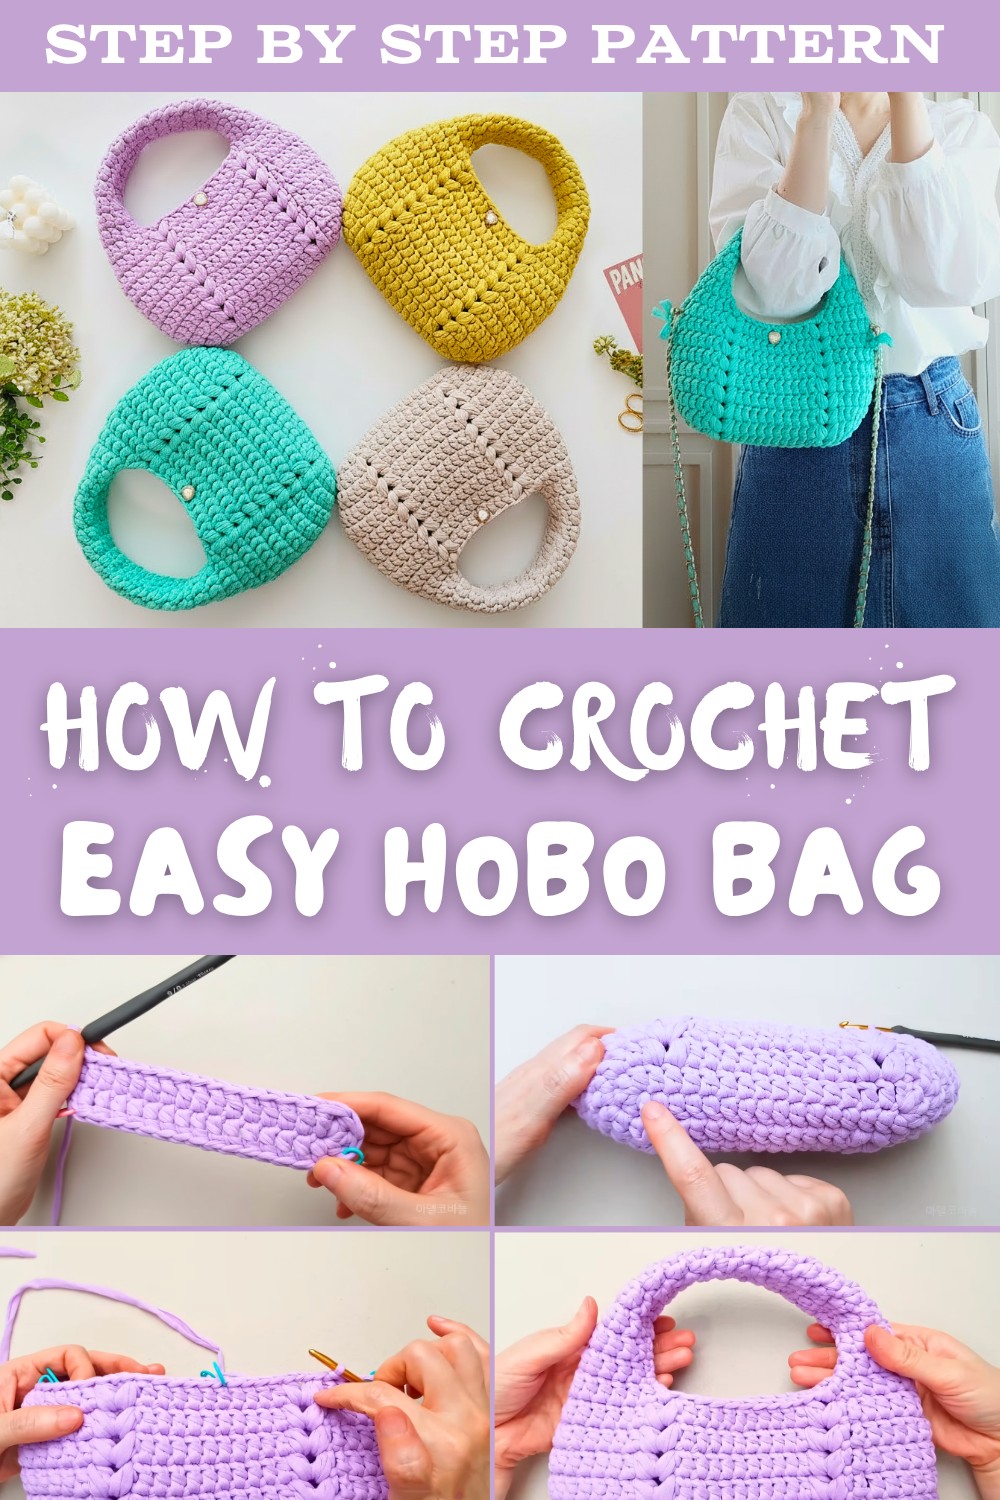
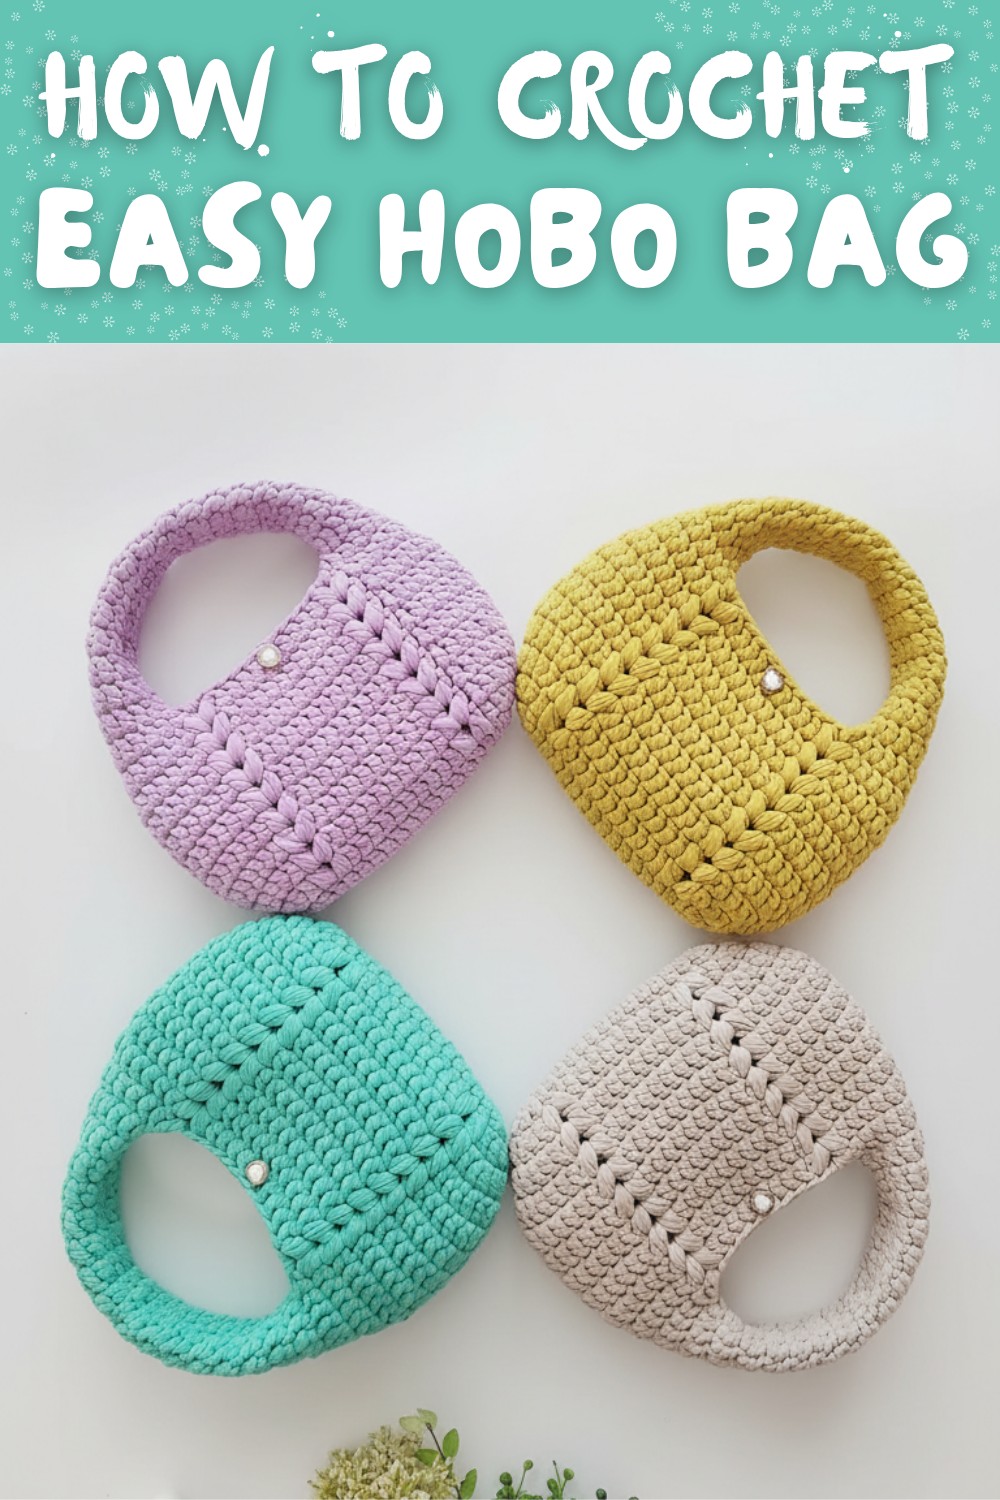
Hobo Bag Free Crochet Pattern with Space & Style
Style your life with a crochet hobo bag pattern that balances charm, practicality, and creativity, offering endless ways to personalize and impress.
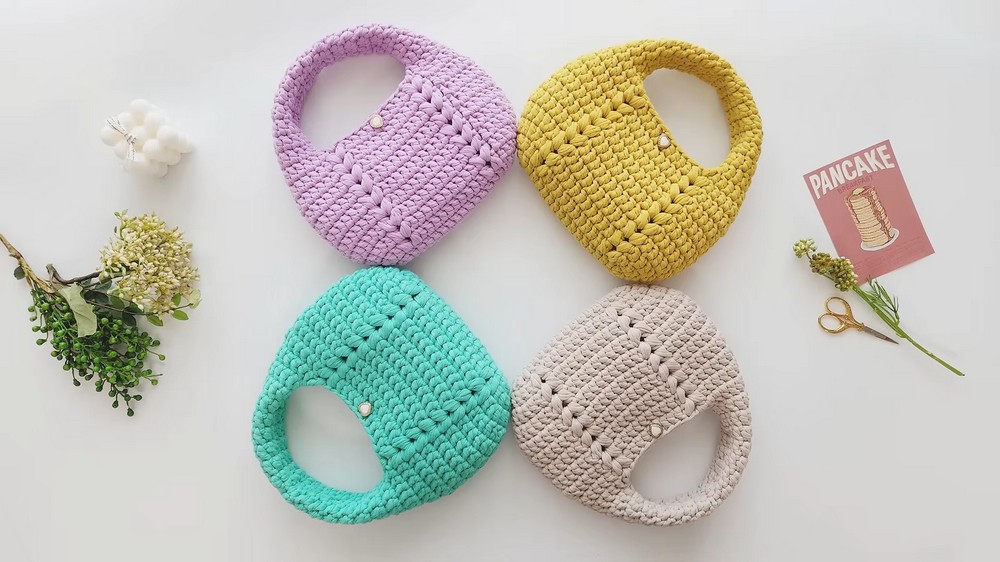
Who says style and practicality can't go hand in hand? A crochet hobo bag pattern proves they can, offering an accessory that's both charming and functional. Famous for its laid-back, slouchy shape, this bag is perfect for carrying essentials while showcasing your creative flair. Unlike store-bought bags, crocheting your own lets you choose colors, textures, and even custom add-ons like tassels or playful appliqués, making your project truly unique.
Free Crochet Hobo Bag Pattern for Chic Storage
It's also a fun way to experiment with techniques like shaping or combining stitches to create texture. Whether you're preparing for a weekend outing, heading to a casual meet-up, or gifting something special, this project delivers versatility and personality all in one. With its spacious design and handmade charm, the crochet hobo bag isn't just a practical everyday companion-it's a creative expression of your personal taste, one stitch at a time.
Round Hobo Egg Bag - Step-by-Step Crochet Pattern
Materials
- Yarn:
- Any durable medium-weight yarn for bags. Refer to the video's fixed comment suggestion for exact materials.
- Suggested Yarn: Light or DK yarn in your preferred color.
- Crochet Hook:
- Size: 4 mm (or size appropriate for your chosen yarn).
- Additional Materials:
- Magnetic Button: For optional closure.
- Decorative Button: For added aesthetic appeal.
- Matting Needle or Tapestry Needle: For sewing and working ends.
- Scissors.
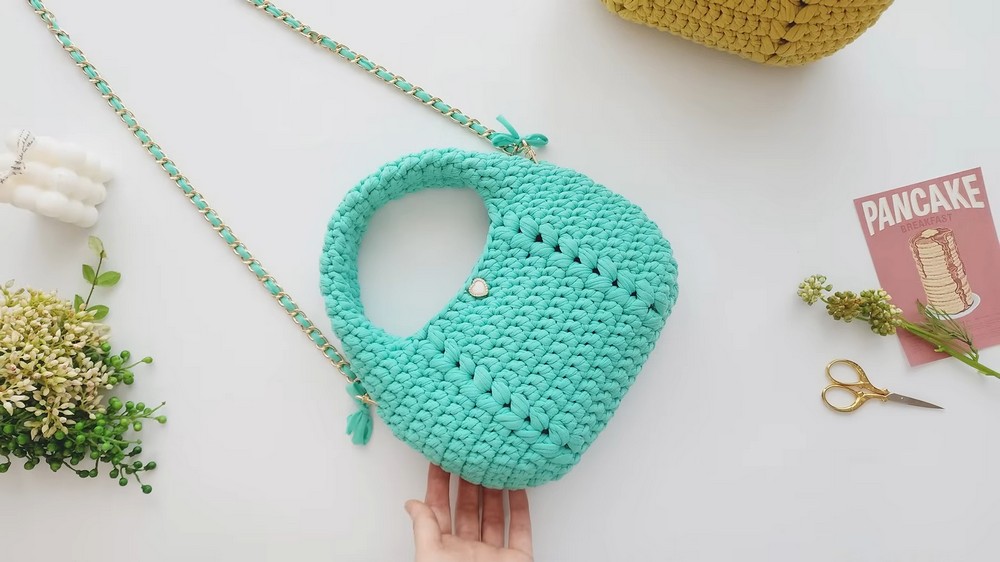
Finished Size
- Width: 26 cm.
- Height: 16 cm (excluding handle).
Skill Level
Intermediate
Requires understanding of basic and intermediate crochet stitches, such as puff stitches, single crochet, long single crochet, and shaping techniques.
Abbreviations
- ch: Chain.
- sl st: Slip Stitch.
- sc: Single Crochet.
- long sc: Long Single Crochet (elongated version of sc).
- puff st: Puff Stitch.
Special Techniques
- Puff Stitch (puff st):
- Yarn over, insert hook into stitch, yarn over and pull up a loop (lengthen loop). Repeat this step until 5 loops are on the hook.
- Yarn over, pull through all 5 loops, and chain 1 to secure.
- Working in Rounds: This pattern uses continuous rounds to form the base and body of the bag.
- Long Single Crochet: A stitch that is stretched to create volume and texture.
Pattern Instructions
Step 1: Make the Base of the Bag
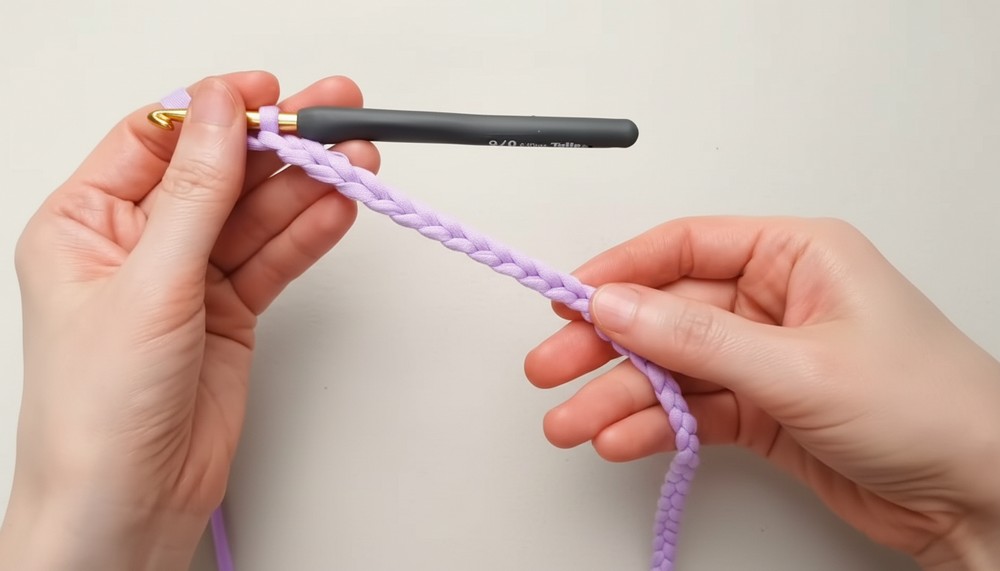
- Foundation Chains:
- Begin by holding the yarn at the back and wrapping it around to form a slip knot.
- Chain 16 (or an even number based on the desired width).
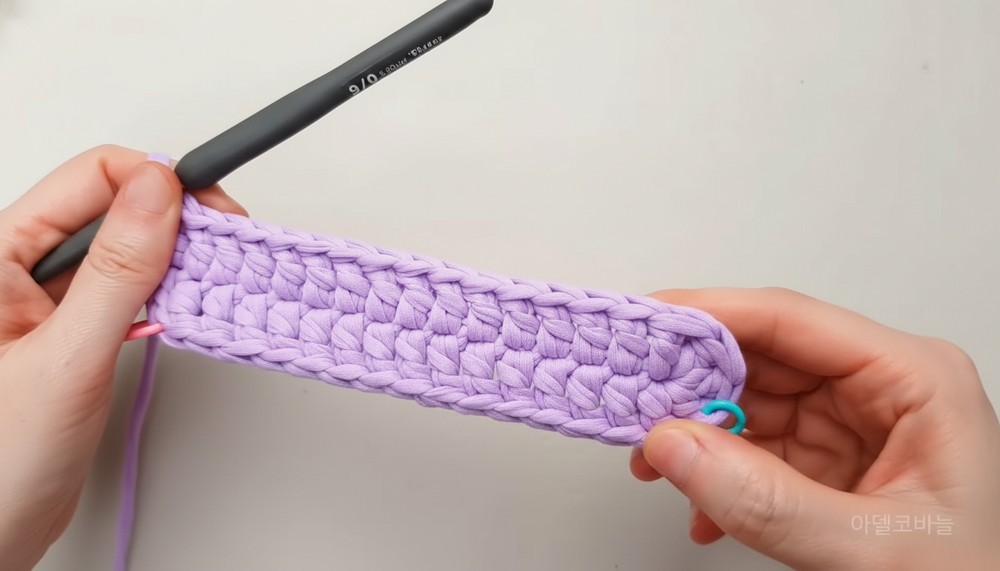
- Row 1:
- Insert the hook into the 5th chain from the hook and make 1 long sc.
- Continue making long sc into each chain across. You should have 16 stitches total.
- Row 2 (Shaping the Round Base):
- Chain 1, turn.
- Work 3 long sc into the last stitch of the previous row to increase (this forms the curve for one side of the round base).
- Place the hook back into the initial stitch and add 3 long sc to create symmetry on the other side.
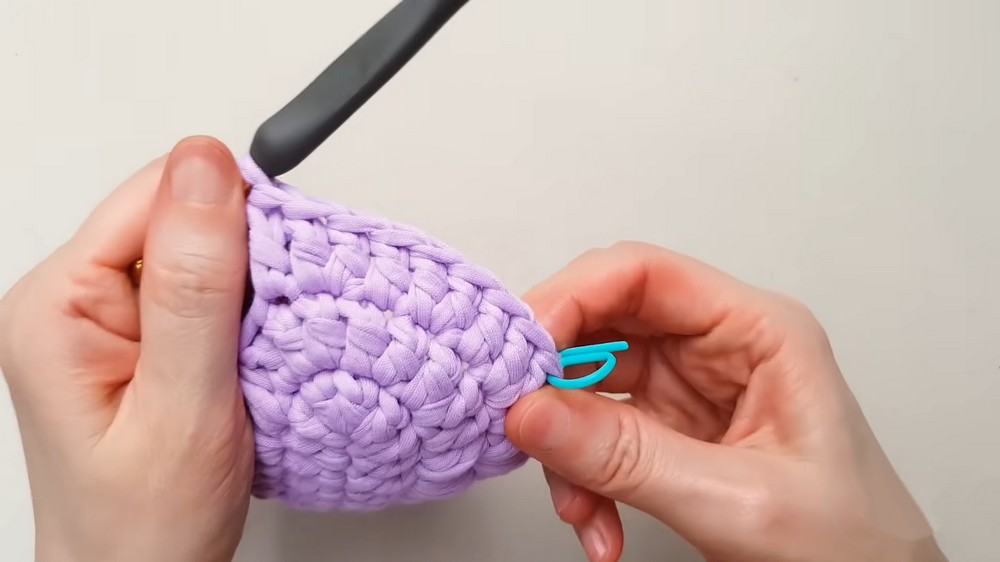
- Mark each increase point with a stitch marker to ensure consistency in subsequent shaping rounds.
- Continue Increasing: Continue adding 3 long sc in the same manner at the marked stitches for symmetry as you work additional rows of the base. Shape the base as needed to form a symmetric oval.
Step 2: Create the Bag Body with Puff Stitches
- Begin the Bag Body:
- After completing the base, begin the body with puff stitches.
- Chain 3 (counts as the first stitch). Place 1 puff st in the marked spaces left by the increases.
- Puff Stitch Rounds:
- Alternate 1 puff st and 1 long sc to give texture.
- Repeat this combination (puff st, long sc) around the oval.
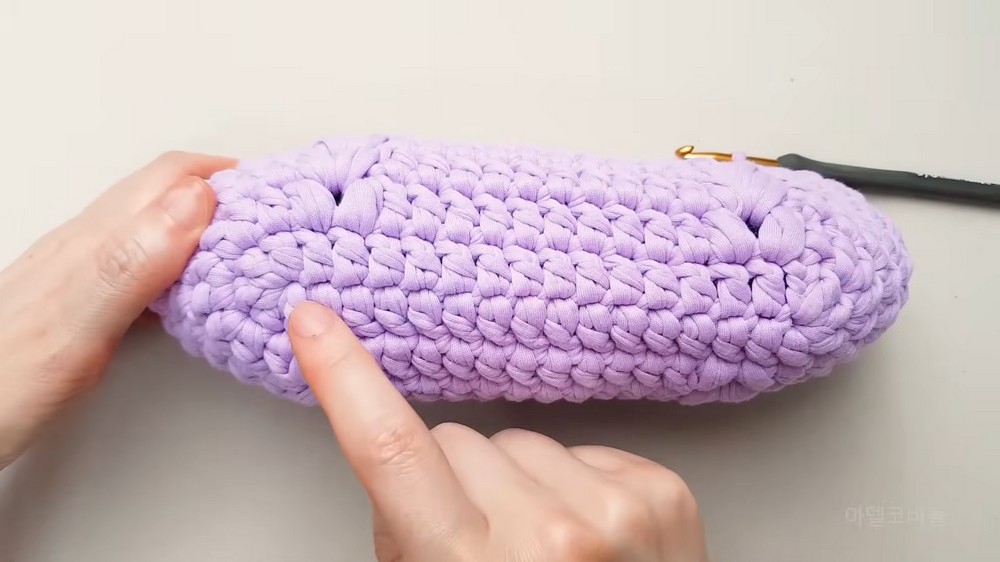
- Shaping Rounds for the Bag Body:
- After a few rounds, stop increasing stitches. Begin working in a consistent number of total stitches to build the height of the bag.
- Continue working puff stitches and long sc stitches alternately.
- Uniform Rows: Once the body shape is achieved, crochet 1 puff st per stitch in the established pattern without extending the base any further.
- Repeat for 8 Total Rounds: Work 4 shaping rounds (with increases) followed by 4 even rounds of puff stitches to complete the bag body.
Step 3: Gradually Decrease for Bag Closure
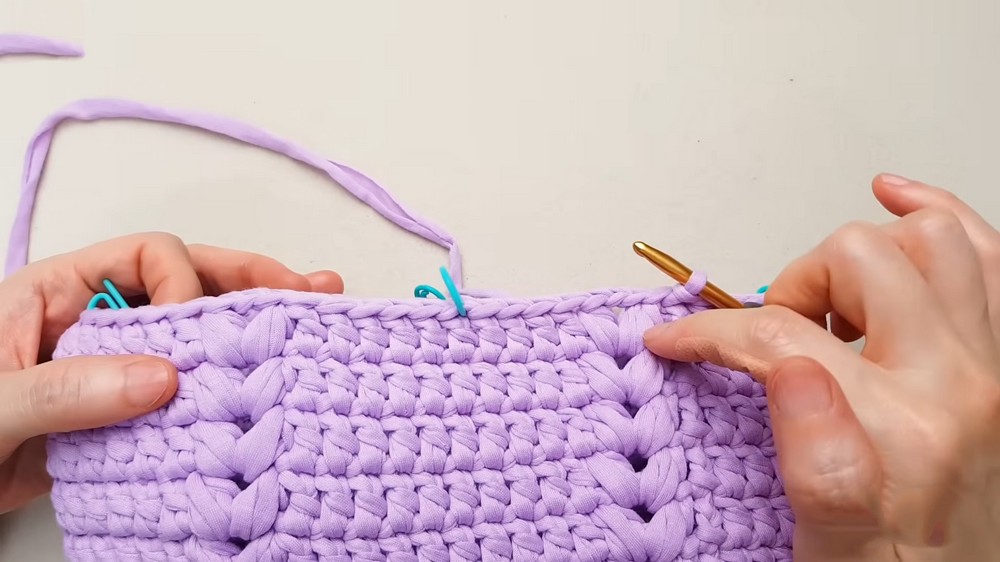
- Decrease Rounds (Rows 9 & 10):
- To create a round, slightly closed top, begin decreasing the puff stitch sections on opposite sides.
- For every puff stitch set, skip 1 stitch in between to achieve a narrow effect and complete the bag's round shape.
- Final Rounds:
- In the last row, decrease by combining every 2 puff stitch sets into one (2 puff sts worked together).
- Finish off by slip stitching into the start stitch.
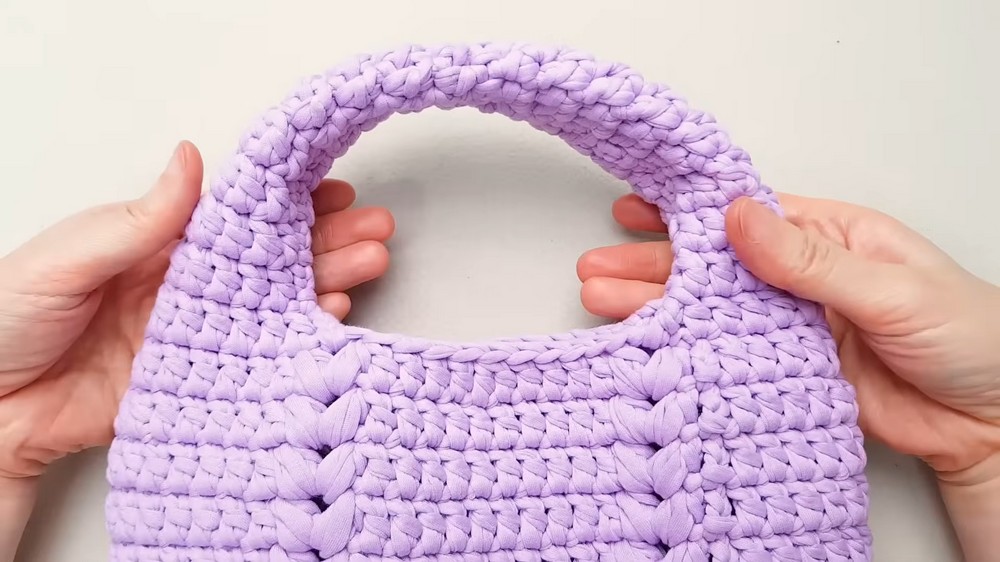
Step 4: Handle Creation
- Handle Anchors:
- Begin the handle by locating 2 opposite points on the bag edge for symmetry.
- Insert hook and secure the yarn with a slip stitch.
- Foundation Chains for Handle:
- Create a chain of your desired handle length (e.g., 50 chains for a short handle or 70 for a longer one).
- Handle Strengthening:
- Work sc stitches back down the chain, ensuring the handle is sturdy. Attach the handle back to the opposite side of the bag with a sl st.
- Repeat for Second Handle (Optional): If you prefer, repeat this process to create two parallel handles.
Step 5: Adding Lining and Buttons
- Optional Lining:
- Cut fabric to fit your bag's interior. Leave a small allowance for seams.
- Sew the lining in place using a needle and thread or by hand stitching through the hem loops of the bag.
- Attach a Magnetic Button:
- Attach a magnetic button to the interior of the bag for secure closure.
- Align it with the center of the bag and reinforce the stitches for durability.
- Decorative Button:
- For added charm, sew a decorative button onto the flap or top of the bag.
Finishing the Bag
- Weave in Ends: Ensure all loose yarn ends are securely woven into the stitches.
- Shape the Bag: Use your hands to gently shape the bag into its round form.
Conclusion and Final Remarks
Congratulations on completing your Round Hobo Egg Bag! This versatile and stylish bag is perfect for daily use and stands out with its textured puff stitches and round shape. You can customize the size, colors, and handle length to suit your style and function.
Tips for Success
- Use stitch markers to keep track of increases and decreases.
- Smoothly finish rounds by keeping tension consistent when slip stitching.
- If adding a lining, use lightweight or coordinating fabric to complement your yarn color.