
How to Crochet Mini Rose Bouquet Free Crochet Pattern
Bring elegance to your décor with a free crochet mini rose bouquet tutorial featuring step-by-step guidance, vibrant details, and a timeless handmade touch.
Holding a tiny bouquet of roses that never wilts, each petal crafted with love and care, as if you had captured nature's beauty in the palm of your hand. That's the magic of creating a crochet mini rose bouquet-an everlasting reminder of charm and elegance. These delicate roses are not just decorative; they carry a warm, handmade touch that turns a simple object into something truly meaningful. Whether used as table décor, added to gift wraps, or presented as a sentimental keepsake, their timeless appeal will make anyone smile.
Free Crochet Mini Rose Bouquet Pattern with Magic Ring
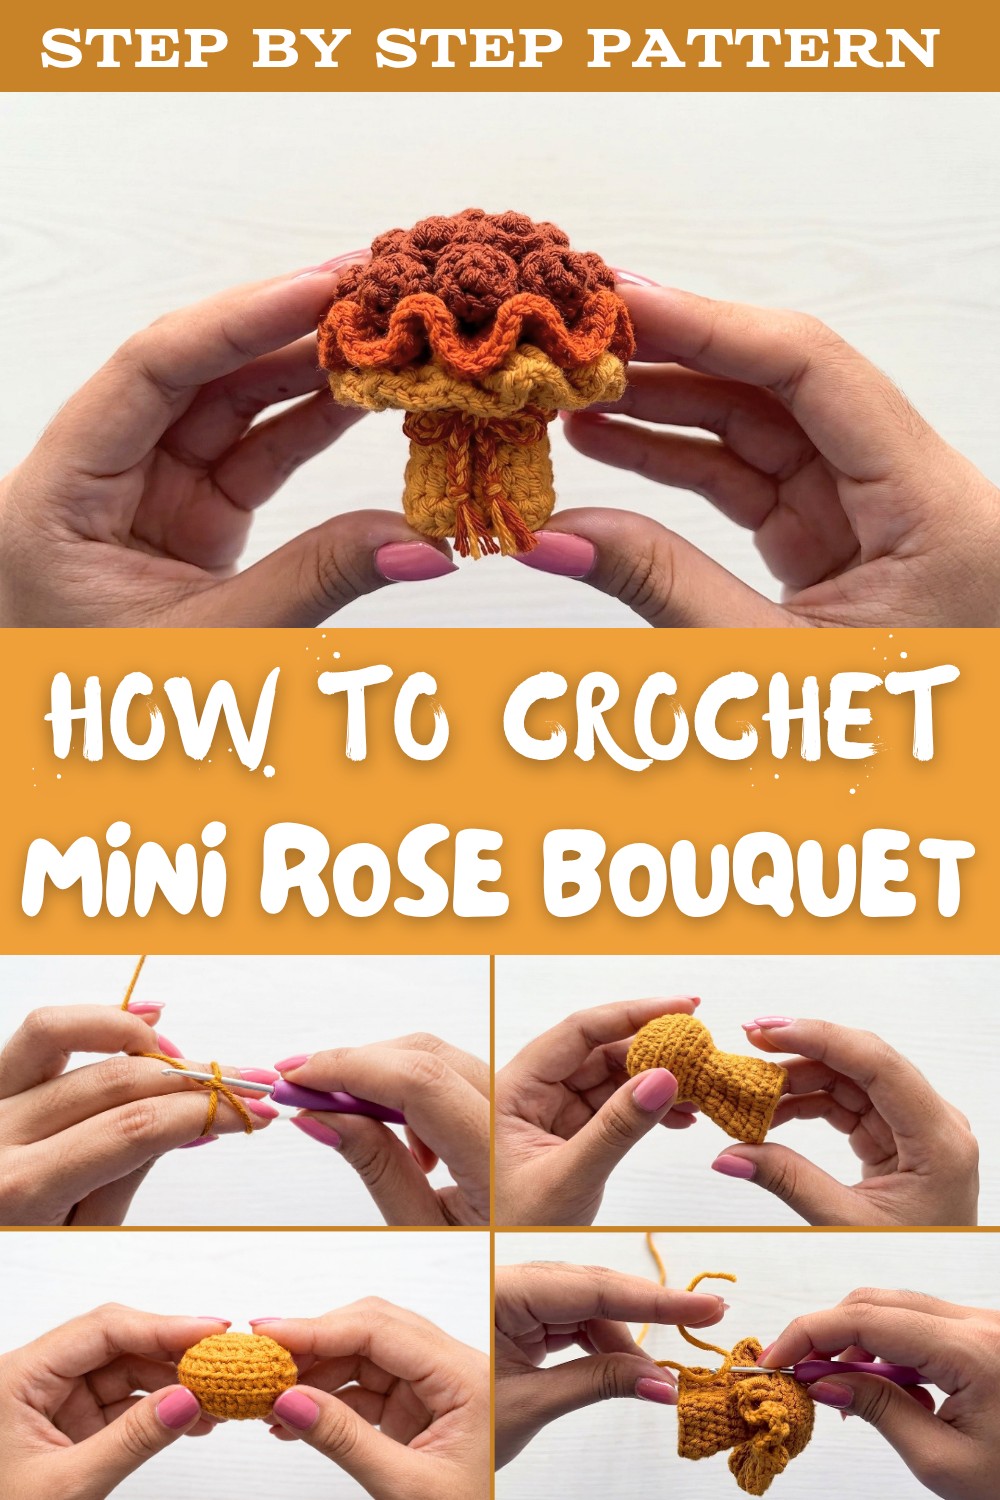
What makes this project even more special is its simplicity. Using just a hook, soft yarn, and some basic stitches, you can transform ordinary materials into something extraordinary. This bouquet is built petal by petal, with gentle curves and ruffled details that give the roses their lifelike appearance. The leaves and stems add a fresh, botanical touch, and a ribbon tied around the base completes the design elegantly.
So, whether you're a beginner dipping your toes into crochet or an enthusiast eager for a quick, rewarding project, this mini rose bouquet is a beautiful way to celebrate your creativity. It's more than a craft-it's your own little piece of forever springtime.

Mini Rose Bouquet Crochet Pattern
Skill Level
Intermediate
(Some experience with working in the round, increases, decreases, and multi-layer assembly required.)
Materials
- Yarn:
- Milk cotton yarn, or other soft DK/light worsted weight yarn, in at least three shades:
- Dark Brown (roses)
- Light Brown (upper layers, ribbons)
- Brown (base)
- Substitute with colors of your choice.
- Milk cotton yarn, or other soft DK/light worsted weight yarn, in at least three shades:
- Crochet Hook: 2.5 mm
- Stitch Markers
- Yarn Needle (for weaving and sculpting)
- Scissors
- Hot Glue Gun and Sticks (for assembling roses to the bouquet)
- Optional: Lighter shades for ribbon for bouquet decoration
Key Abbreviations (US Crochet Terminology)
- ch - chain
- sc - single crochet
- sl st - slip stitch
- st - stitch
- inc - increase (2 sc in one st or as instructed)
- dec - decrease (sc2tog)
- hdc - half double crochet
- dc - double crochet
- tr - treble/triple crochet
- BLO - back loop only
- rep - repeat
Special Notes
- The bouquet is constructed in layers-including a solid base, lower and upper decorative layers, and topped with small crochet roses.
- The use of BLO provides a foundation for attaching decorative layers.
- The roses are shaped flat and coiled, then glued into place.

Pattern
1. Bouquet Base (using Brown yarn)
Round 1
- Make a magic ring, then ch 1.
- Work 8 sc into the ring.
- Place stitch marker in the first st.
- Pull tail to close ring.
- Sl st to first sc, ch 1. (8 sts)

Round 2
- In each st: 2 sc (inc), place st marker in first st.
- Repeat around. (8 increases)
- Sl st to first sc, ch 1. (16 sts)

Round 3
- (sc 1, inc), repeat across round. (8 times)
- Sl st to first sc, ch 1. (24 sts)
Round 4
- 1 sc in each st around. (24 sc)
- Sl st to first sc, ch 1.
Round 5
- (sc in next 2 sts, inc), repeat across round (8 times).
- Sl st to first sc, ch 1. (32 sts)
Round 6 (BLO)
- Insert hook in back loop only; sc in each st around. (32 sc, BLO)
- Sl st to first sc, ch 1.

Round 7 (BLO)
- (sc 2, dec), repeat across round (8 sets).
- Dec: sc2tog in BLO over two sts as shown.
- Sl st to first sc, ch 1. (24 sts, BLO)
Round 8 (BLO)
- (sc 1, dec), repeat across round (8 sets).
- Sl st to first sc, ch 1. (16 sts, BLO)
Round 9
- sc in each st through both loops (normal), around. (16 sc)
- Sl st to first sc, ch 1.
Round 10 (final decrease round, BLO)
- (sc2tog) repeat around. (8 sts)
- Sl st to first st, ch 1.
- Cut yarn.
Finishing:
- Thread tail on needle. Run through front loop only of each final st, pull tight to close center.
- Weave and hide end.
2. Lower Layer (Lua Layer, using light Brown or contrast color)
Locate 16 back loops remaining from Round 10. (Insert hook into each back loop.)
Round 1
- Join yarn in first loop, ch 2 (does not count as st).
- 1 hdc in same loop, place marker.
- 1 hdc in each loop around. (16 hdc)
- Sl st to first hdc, ch 2.
Round 2
- (hdc in next 3 sts, 2 hdc in next st [inc]) 4 times. (20 sts)
- Sl st to first hdc, ch 2.
Round 3
- 1 hdc in each st around. (20 sts)
- Sl st to first hdc, ch 2.

Round 4
- (hdc in next 4 sts, 2 hdc in next st [inc]) 4 times. (24 sts)
- Sl st to first hdc, ch 2.
Round 5
- 1 hdc in each st around. (24 hdc)
- Fasten off. Use needle to join last st to first for a seamless finish.
- Weave in and shape to form ruffle.
3. Upper Layers
First Upper Layer (Aalia 1, using light Brown or desired shade)
- Locate the back loops of Round 8. (There will be 24 loops.)
- Join yarn in first loop, ch 3.
- In same loop: 3 tr (triple crochet), mark first st.
- In each loop: 3 tr. (24 petals)
- Fasten off, tidy ends. Use needle to join last petal to first.
Second Upper Layer (Aalia 2, using alternate shade, e.g. lighter Brown )
- Locate the back loops of Round 7. (There will be 32 loops.)
- Join yarn in first loop, ch 2.
- In same loop: 3 dc, mark first st.
- In each loop: 3 dc. (32 petals)
- Fasten off, tidy ends. Use needle to join.
4. Ribbon
- With lighter Brown yarn, ch 55.
- Cut yarn, tie ends.
- Thread between lower and upper layers. Adjust and trim ends as desired.
5. Mini Roses (make 16, using dark Brown)
Rose Strip:
- Make a slip knot, ch 7.
- From 2nd ch from hook, 2 sc in each ch. (Total: 12 sc.)
- In next ch: 3 sc in same ch (last).
- Ch 1, cut yarn.
- Tie beginning and ending yarn ends together.
- Roll the strip into a rose shape.
- Apply hot glue at the end as you coil and press to secure rose.

6. Bouquet Assembly
- Attach Roses:
- Using hot glue, start from outer edge of bouquet base.
- Attach 9 roses evenly spaced around the outermost round/petal.
- Place 3 roses in the next inner round.
- Place 1 rose at dead center.
- Fill remaining gaps with 3 roses.
- Shape and press, ensuring glue is set and roses are firmly affixed.
Pattern Correction & Tips
- If layers look crowded or loose, adjust your stitch tension and use a slightly smaller hook for upper/lower layers.
- Keep count of stitches in rounds to ensure correct petal and rose placement.
- Use contrasting or subtle colorways to create interesting bouquet effects.
- Use a tapestry needle to neatly hide all yarn tails on layers before glueing on flowers.
Conclusion
You have now created a beautifully layered mini rose bouquet with a sturdy crochet base, delicate ruffled layers, and charming mini roses. This pattern is perfect as a display piece, gift, or decor accent. The modular construction and assembly make it easy to customize your bouquet's size, color scheme, and fullness.
Final Tips
- Assembly: Take your time arranging roses for the fullest, most symmetrical result.
- Finishing: Steam block the base and layers if desired before gluing roses for a more even look.
- Durability: Firmly glue and press each rose, and reinforce the base if using the piece as a keepsake.
- Variations: Use green and white yarn for leaves and "baby's breath" for extra naturalism.