
Little Red Riding Hood Crochet Pattern – Find It for Free
Turn yarn into magic by crocheting a sweet Little Red Riding Hood doll with this free crochet pattern that's fun, simple, and totally adorable.
Whether you're a fan of fairytales or simply love crocheting, this adorable doll will captivate your heart. Inspired by the timeless tale of Little Red Riding Hood, this pattern guides you to create a charming amigurumi doll that looks like it just stepped out of a storybook. From her beautiful red hooded cape to her curly brown hair and lovely blue dress, every detail of this doll brings the classic character to life. Her apron adds a touch of sweetness, while her striped stockings make her even more unique. This project is perfect for both beginners and experienced crocheters, as it uses simple stitches like single crochet, increases, and decreases, allowing anyone to follow along with ease.
Crochet This Magical Little Red Riding Hood - Free Pattern
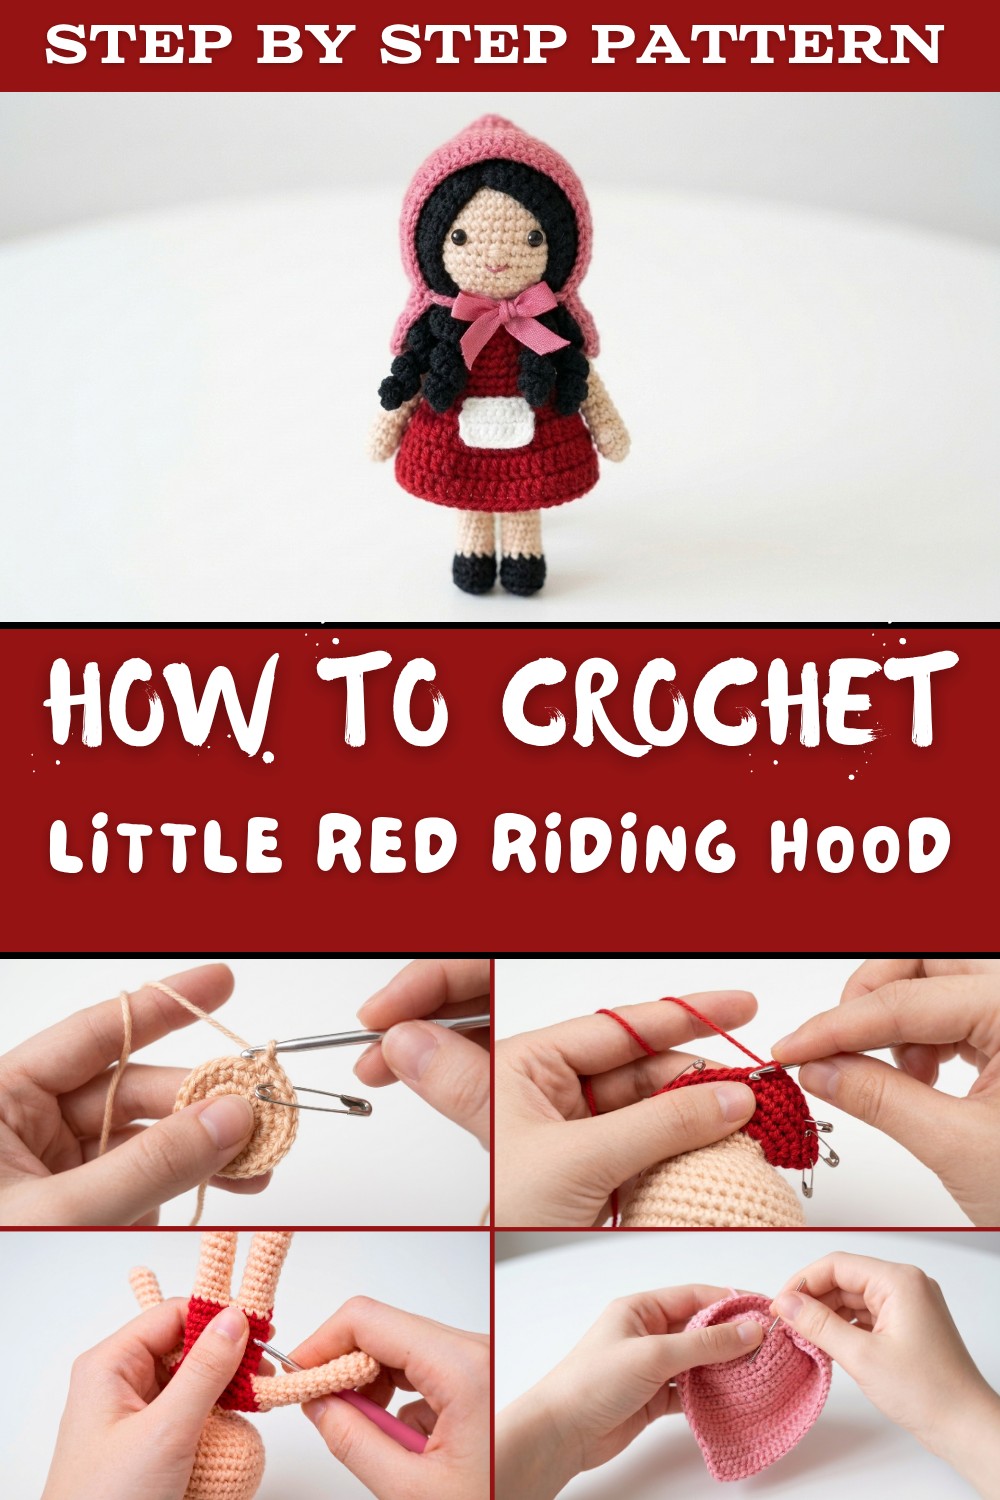
What's even more exciting is that you can customize her appearance. Personalize her cape, dress, or even her hair to make her truly one of a kind. This crochet pattern not only lets you crochet a beloved character but also provides an opportunity to tell her story in your own way.
Whether you make this doll as a gift, a decoration, or simply to add to your own collection, it's a project full of charm and magic. Bring your love for fairytales to life with this beautiful and thoughtfully designed crochet creation. It's time to pick up your hook, dive into your yarn stash, and start this enchanting journey of creativity.

Amigurumi Red Riding Hood Doll Pattern
Finished Size
The finished doll measures approximately 6 to 8 inches tall, depending on the yarn, hook size, and your tension.
Materials
- Yarns (Acrylic or Cotton):
- Skin tone yarn
- Red yarn
- Light blue yarn
- Brown yarn
- White yarn
- Black yarn
- Tools & Supplies:
- 3 mm crochet hook
- Toy stuffing/fiberfill
- Crafting pipe cleaner or wire (optional for firm limbs)
- Safety eyes (6 mm, or use embroidery for eyes)
- Red ribbon (optional)
- Stitch markers
- Yarn needle for sewing and weaving ends
- Scissors
Gauge
Gauge is not critical for this pattern. However, ensure your stitches are tight enough so that the stuffing does not show through.
Abbreviations and Stitch Glossary (US Terms)
- SC: Single Crochet
- DC: Double Crochet
- INC: Increase (2 SC in the same stitch)
- DEC: Decrease (Invisible or traditional, as preferred)
- CH: Chain
- Sl St: Slip Stitch
- Magic Ring: Adjustable Loop to start
Pattern Tips and Notes
- Use a stitch marker to mark the beginning of each round.
- Ensure your stitches are consistent throughout the project to achieve an even and polished look.
- Stuff the doll as you go for uniform shaping.
Pattern Instructions
Head
- Start with skin tone yarn and a magic ring.
- CH 1. Work 6 SC into the ring. (6 SC)
- Pull the tail to close the ring.
- Round 2: INC in each stitch around. (12 SC)
- Round 3: 1 SC in next stitch, INC in next stitch, repeat around. (18 SC)
- Round 4: 1 SC in the next 2 stitches, INC in the next stitch, repeat around. (24 SC)
- Round 5: 1 SC in the next 3 stitches, INC in the next stitch, repeat around. (30 SC)
- Round 6: 1 SC in the next 4 stitches, INC in the next stitch, repeat around. (36 SC)
- Round 7: 1 SC in the next 5 stitches, INC in the next stitch, repeat around. (42 SC)
- Rounds 8 to 12: SC in each stitch around. (42 SC for 5 rounds)
- Tip: Start stuffing the head with toy stuffing as you crochet.
- Round 13: 1 SC in the next 5 stitches, DEC over the next 2 stitches, repeat around. (36 SC)
- Round 14: 1 SC in the next 4 stitches, DEC over the next 2 stitches, repeat around. (30 SC)
- Round 15: 1 SC in the next 3 stitches, DEC over the next 2 stitches, repeat around. (24 SC)
- Round 16: 1 SC in the next 2 stitches, DEC over the next 2 stitches, repeat around. (18 SC)
- Round 17: 1 SC in the next stitch, DEC over the next 2 stitches, repeat around. (12 SC)

- Add more stuffing to the head for a firm and rounded shape.
- Rounds 18 to 20: SC in each stitch around. (12 SC for 3 rounds)
Switch to light blue yarn for the dress in the next steps.
Body
- Round 21: Switch to light blue yarn. 1 SC in the next stitch, INC in the next stitch, repeat around. (18 SC)
- Round 22: 1 SC in the next 2 stitches, INC in the next stitch, repeat around. (24 SC)
- Round 23: 1 SC in the next 3 stitches, INC in the next stitch, repeat around. (30 SC)
- Round 24: 1 SC in the next 4 stitches, INC in the next stitch, repeat around. (36 SC)

Arm Partition:
- Fold the piece in half. Use stitch markers to mark 8 stitches for each armhole, leaving 20 stitches for the remaining body.
- Rounds 25 to 29 (5 rounds): SC in the 20 stitches of the body only. (20 SC per round)
- Round 30: SC in the back loops only. (20 SC)
- Round 31: SC in both loops. (20 SC)
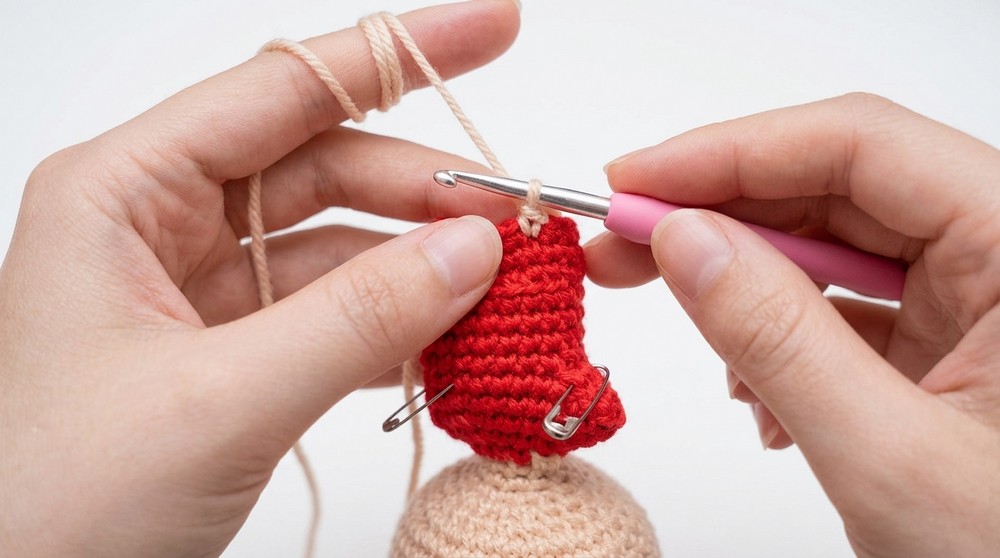
- Add stuffing to the body and arms now.
Legs
- Divide the bottom into two sections, with 10 stitches for each leg.
- Leg Rounds 1 to 13: SC in 10 stitches of one leg for 13 rounds.
- Switch to black yarn and work 2 rounds of SC for the shoes. Fasten off and sew the opening closed.
- Repeat for the second leg.
Arms
- For each arm: Use skin tone yarn. SC 8 stitches in the first armhole.
- Rounds 1 to 12: SC in each stitch. (8 SC per round)
- Add stuffing as you crochet and fasten off. Repeat for the second arm.
Skirt
- Attach light blue yarn to the front loops of Round 30 of the body.
- Round 1: CH 2 (not counted as a stitch), 1 DC in the next stitch, INC (2 DC in the same stitch) in the next stitch, repeat around. (30 DC)
- Round 2: CH 2, 1 DC in the next 2 stitches, INC in the next stitch, repeat around. (40 DC)
- Rounds 3 to 4: DC in each stitch around. Fasten off and weave in the ends.

Apron
- Attach white yarn to the 4th DC of the skirt round.
- Rows 1 to 5: SC in 6 stitches, turn, and CH 1. Repeat until you have 5 rows.
- Fasten off and weave in the ends.

Head and Hair
- Using brown yarn, create your doll's hair by attaching strands to the head. Follow the pattern for creating curly or straight hair. Optional curls can be made by joining two strands of yarn for added volume.
Attach the 6 mm safety eyes and embroider the doll's facial features (eyebrows, eyelashes, and mouth).
Hood
- Leave a long tail. CH 31.
- Row 1: SC in the 2nd CH from the hook and in each CH across. (30 SC)
- Rows 2 to 22: CH 1, turn, and SC in each stitch.
- Fold in half and sew the top edges together to form the hood. Place the hood on the doll's head and secure it with a few stitches.


Customization Ideas:
- Colors: You can experiment with different yarn colors for a unique look.
- Lace Trim: Add a lace edge to the apron or hood.
- Props: Crochet a small basket or flowers for the doll's hand.

Conclusion
Your amigurumi Red Riding Hood doll is now complete. This delightful piece is perfect as a decoration, gift, or toy. The step by step instructions ensure that even beginners can succeed, while the customization options offer creative freedom for advanced crocheters.