
Modern Crochet Baby Cardigan Pattern Every Parent Will Love
Follow a simple way to crochet a charming and versatile baby cardigan pattern that's both beginner-friendly & perfect for baby gifts.
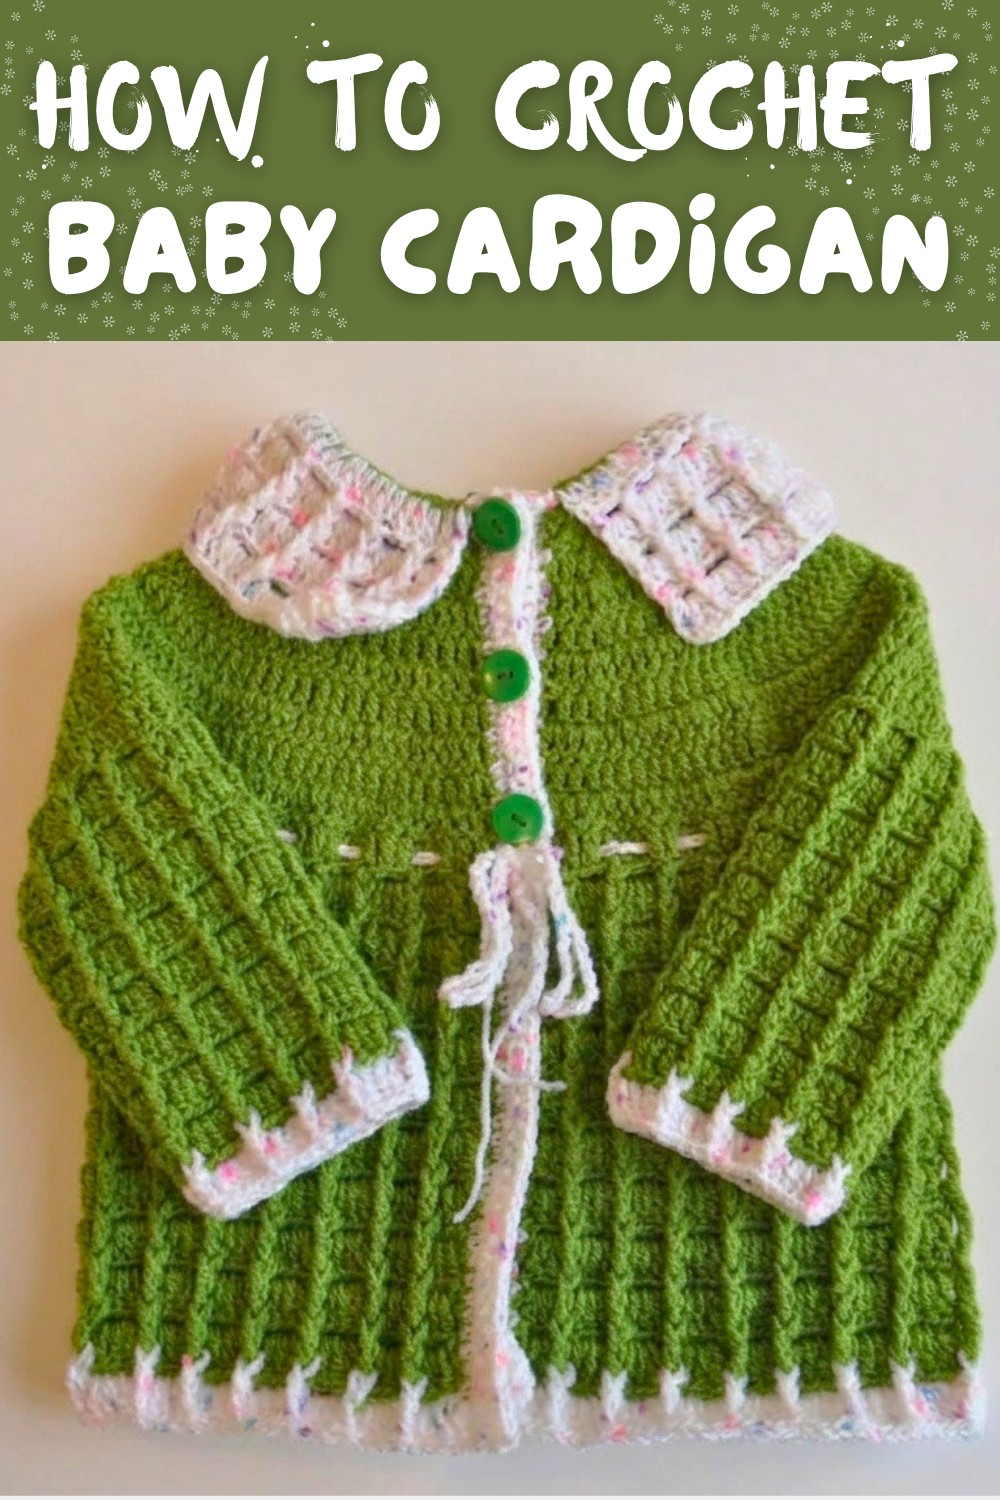
There's nothing more heartwarming than creating a handmade garment for a baby, especially when it's as charming and versatile as this crochet baby cardigan pattern! This little cardigan pattern combines beauty and practicality, making it a perfect choice for babies aged 6 to 12 months. The textured design, achieved using classic crochet techniques like double crochet (DC), front post double crochet (FPDC), and front post treble crochet (FPTC), gives the cardigan a timeless elegance while keeping it soft and cozy. These stitches not only bring this cardigan to life but can also be reused to create other beautiful projects such as blankets, scarves, or even textured pillows.
Ultimate Free Crochet Baby Cardigan Pattern for a Handmade Wardrobe Essential
The pattern's structure is ideal for beginner to intermediate crocheters. Starting with a simple yoke and neckline, it smoothly transitions into creating armholes and then flows into the attractive skirt section with pops of texture that elevate the design. What makes this cardigan even more exciting is how easily you can customize it by adjusting the length or playing with different color combinations; adding contrasting colors for the finishing rows gives it a polished, professional look.
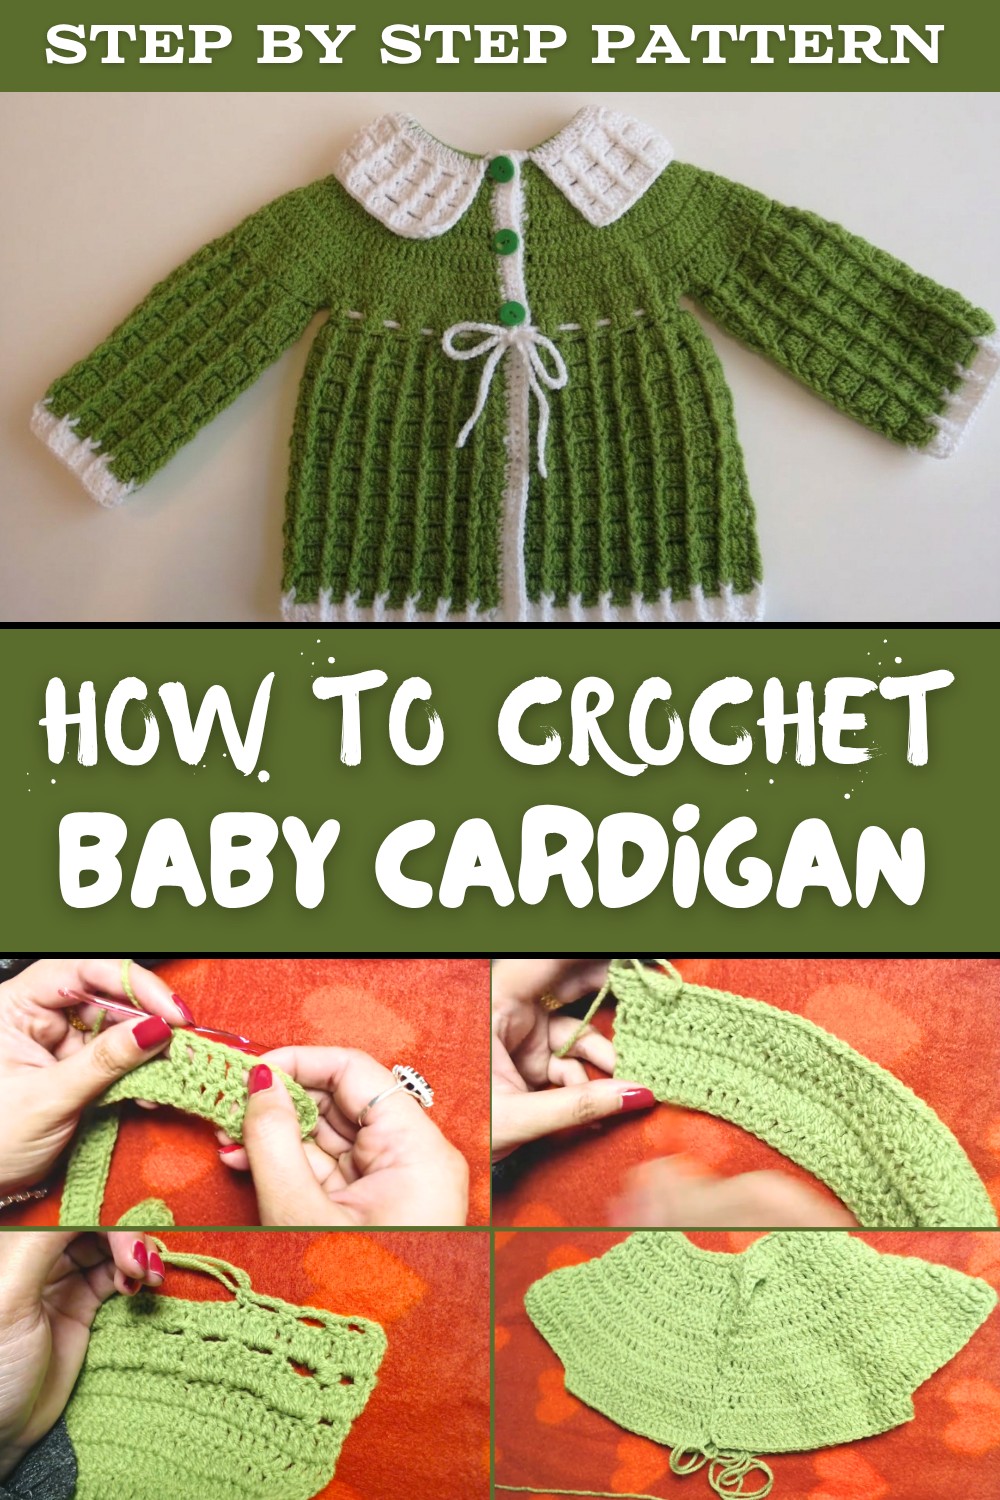
Through this pattern, you'll learn valuable skills like shaping a garment, crocheting a yoke with increases, and making armholes. These techniques don't just enhance your ability to create clothing but open doors to experimenting with other creative items. Once you're confident with the stitches, you can use the same techniques to crochet accessories, baby blankets, or textured wall hangings.
This pattern is a wonderful way to expand your crochet abilities while creating something thoughtful and special. It's a project full of love, ideal for gifting or keeping forever as a precious keepsake.
Crochet Baby Cardigan Pattern (Step-by-Step)
This free crochet baby cardigan pattern is an adorable, beginner-friendly project that is suitable for babies aged 6 months to 12 months. The cardigan pattern is designed to be cozy yet lightweight, making it ideal for cool weather or as a layering piece year-round. It is created using basic crochet stitches, such as double crochet (DC), chain stitch (CH), front post double crochet (FPDC), and front post treble crochet (FPTC), along with a few increases.
Ideal for crocheters who know the basics, this project is perfect for anyone looking to make a thoughtful handmade gift for a loved one or expand their skills with a simple, yet elegant, baby garment. Materials and detailed stitch placement are explained step-by-step to provide easy following.
Special Features
- Simple and textured design using basic stitches.
- Size suitable for 6-12 months babies.
- Includes armholes for mobility and comfort.
- Easy adjustments for size variations based on baby's measurements.
- Stitches can be reused in other projects like blankets, scarves, or adult cardigans.
Pattern Difficulty
Beginner-Intermediate Level: Familiarity with basic crochet stitches (CH, SC, DC, FPDC) is required, but the pattern and techniques are explained clearly for less-experienced crocheters.
Table of Contents
- Materials Needed
- Gauge and Sizing
- Abbreviations Used
- Step-by-Step Instructions
- Neckline and Yoke
- Separating for Armholes
- Working the Skirt Section
- Finishing Details
- Tips from the Designer
- Conclusion and Reflections
1. Materials Needed
- Yarn: Acrylic yarn recommended (Danish and Turkish brands used in the video).
- Approximately 150g of base color yarn.
- Approximately 20g contrasting yarn.
- Yarns used:
- Danish Acrylic Yarn (50g = 133m, about 2+ skeins needed).
- Turkish Acrylic Yarn (100g = 300m).
- Crochet Hook: 4mm hook.
- Buttons: For closure.
- Optional: Stitch markers for easier separation of sections.
2. Gauge and Sizing
- Width: Approx. 10 inches.
- Length: Approx. 11.5-12 inches.
- Sleeve Length: Approx. 6.5 inches (armhole to cuff).
3. Abbreviations Used
- CH: Chain Stitch.
- SC: Single Crochet.
- DC: Double Crochet.
- FPDC: Front Post Double Crochet.
- FPTC: Front Post Treble Crochet.
Baby Matthini Coat / Cardigan Crochet Pattern
Starting the Yoke / Neckline
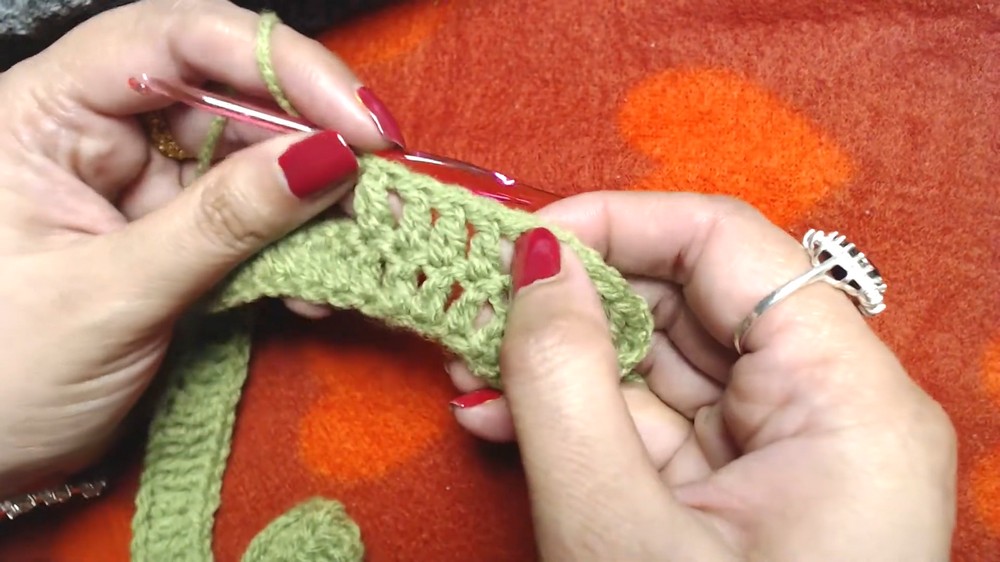
- Make a slip knot and begin by chaining 55 stitches. (You may chain off-camera to save time and resume working on the next steps.)
- Skip the first 3 chains (these count as your first double crochet), double crochet (dc) into each of the remaining chains across the row.
- You should have 52 dc plus the starting chain 3, totaling 53 double crochets for the first row.
Round 2 - Increasing for Shape
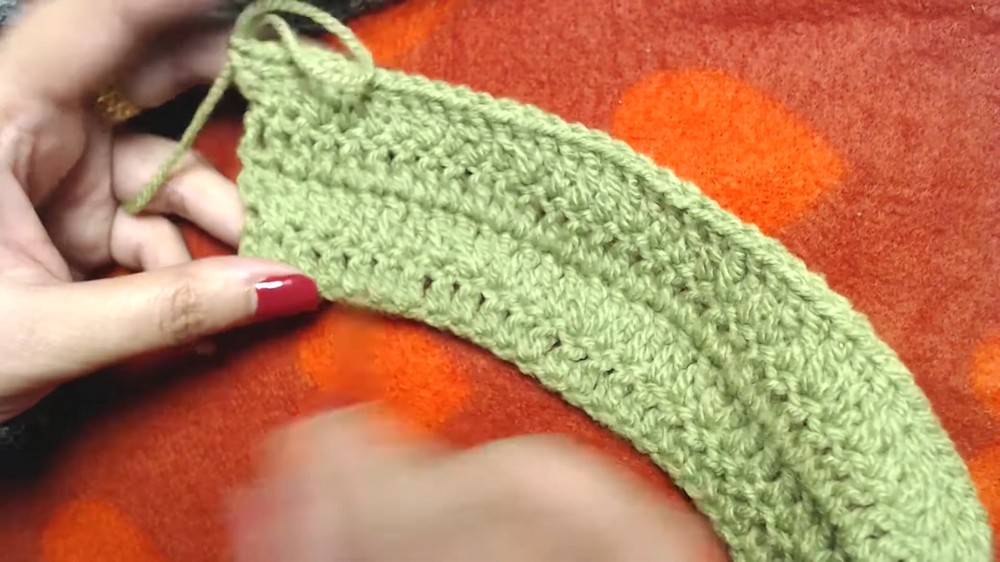
- Chain 3 (counts as first dc), turn.
- Work 1 dc in each of next 3 stitches.
- Make an increase by working 2 dc into the next stitch.
- Chain 3, then work 1 dc in each of the next 3 stitches.
- Make an increase by 2 dc into next stitch.
- Repeat the pattern: 1 dc in each of 4 stitches, increase 2 dc into next stitch throughout the round.
- At the end of this round, finish by working 2 dc, then 1 dc on top of chain-3 from start.
- You should now have 62 dc plus starting chain 3, total 63 stitches.
Round 3
- Chain 3, turn.
- Work 1 dc in each stitch across, no increases.
- You will have 62 dc plus starting chain 3 = 63 stitches total.
Round 4 - Further increases to widen
- Chain 3, turn.
- Work 1 dc in next 2 stitches.
- Increase: work 2 dc in the next stitch.
- Work 1 dc in next 3 stitches.
- Increase (2 dc in next stitch).
- Repeat this pattern (1 dc in next 3, increase next stitch) across round.
- Finish with 2 dc then 1 dc on top of starting chain 3.
- Total stitches should be 77 dc plus starting chain 3 = 78 dc.
Round 5
- Repeat Round 3 (dc in each stitch, no increase).
- Total remains 77 + chain 3.
Round 6 - Increase every third stitch
- Chain 3, turn.
- Work 1 dc in next 2 stitches.
- Increase: 2 dc in next stitch.
- Repeat (1 dc in next 2, increase) across round.
- End with 2 dc, 1 dc on starting chain 3.
- Total: 102 dc + chain 3 = 103 stitches.

Round 7
- Repeat Round 3, dc in each stitch, no increase.
- Total remains 102 + chain 3.
Round 8 - Increase every 3rd stitch again
- Chain 3, turn.
- Work 1 dc in next 2 stitches.
- Increase: 2 dc in next stitch.
- Repeat across the round.
- Finish with 2 dc and 1 dc on chain 3.
- The stitch count increases accordingly.
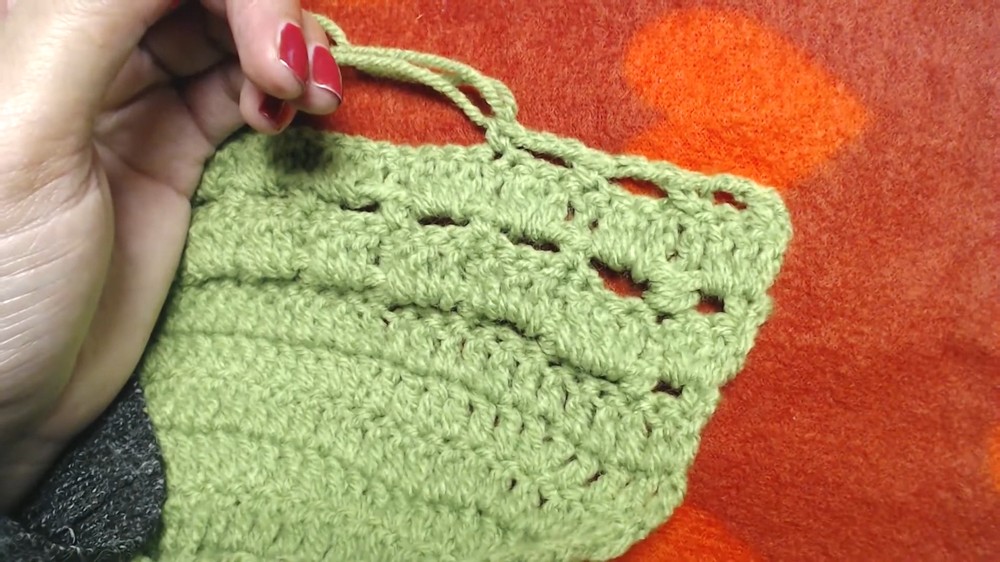
Round 9 - Increase every 7 stitches
- Chain 3, turn.
- Work 1 dc in next 7 stitches.
- Increase: 2 dc in next stitch.
- Repeat across round.
- Finish with 2 dc and 1 dc on starting chain 3.
- Total stitches should be 152 + chain 3 = 153 stitches.
Marking for Armholes and Front Panels
- Count 24 stitches from beginning, place stitch marker (left front).
- Count next 29 stitches, place stitch marker (left armhole start).
- Count next 47 stitches, place stitch marker (back panel).
- Count next 29 stitches, place stitch marker (right armhole start).
- Remaining 24 stitches (right front panel).
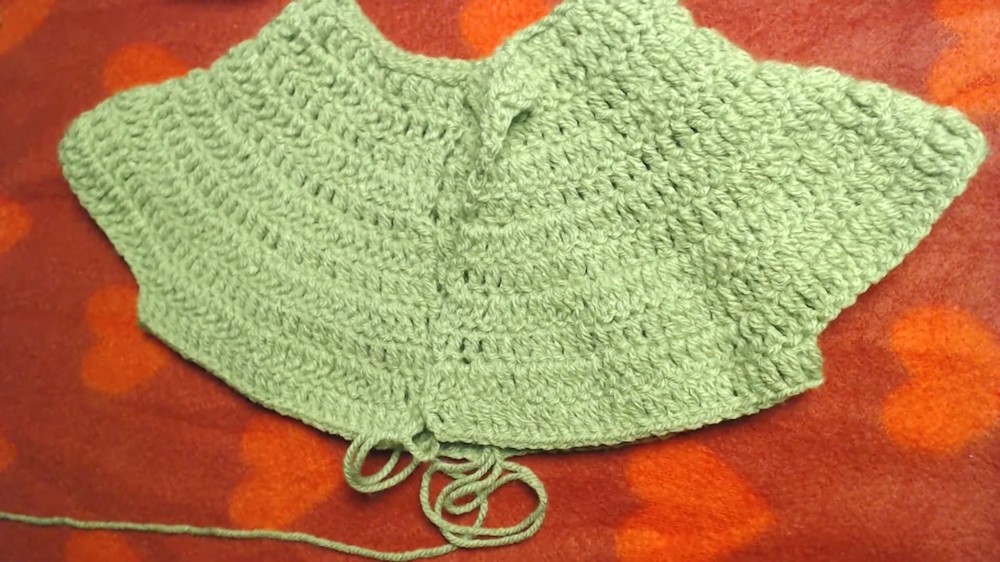
Round 10 - Separate panels and armholes
- Chain 3, turn.
- Dc into first 24 stitches (left front).
- Skip 29 stitches (left armhole).
- Dc into next 47 stitches (back).
- Skip 29 stitches (right armhole).
- Dc into last 24 stitches (right front).
- You should have 94 dc + chain 3 = 95 stitches worked this round.
Working the Skirt / Lower Body
- Chain 1, turn.
- Dc into base of same stitch.
- Chain 2, skip 1 dc, sc into next dc.
- Chain 3, skip 2 dc, sc into next dc.
- Repeat chain 3, skip 2 dc, sc into next dc across round.
- Finish with chain 2, slip stitch at starting chain 3.
Round 11 - Adding texture and height
- Chain 3, turn.
- Make 2 dc into each chain-2 space.
- Front post double crochet (FPdc) around each single crochet from previous row.
- Make 3 dc in each chain-3 space.
- Repeat across round.
- At end, adjust number of dc sets to maintain count.
Round 12 - Wrong side with single crochet and chains
- Chain 1, turn.
- Sc into base of same stitch.
- Chain 2, skip next 2 dc and front post dc, sc on top of each FPdc.
- Repeat chain 3, skip 2 dc and FPdc with sc across round.
- Finish round with chain 2, sc on top of starting chain 3.
Round 13 & Onwards - Alternating textured rounds
- Repeat Round 11 and Round 12 alternately as many times as needed until skirt length is about 11-12 inches.
- Consider using contrasting yarn color for these two rounds for visual interest.
Sleeve, Collar & Button Band (To be continued in Part 2)
Assembly
- Sew buttons on the front panel to match buttonholes on opposite side.
- Weave in all loose ends neatly on the inside of the cardigan.
- Add finishing touches (optional edging, collar adjustments).
Conclusion & Remarks
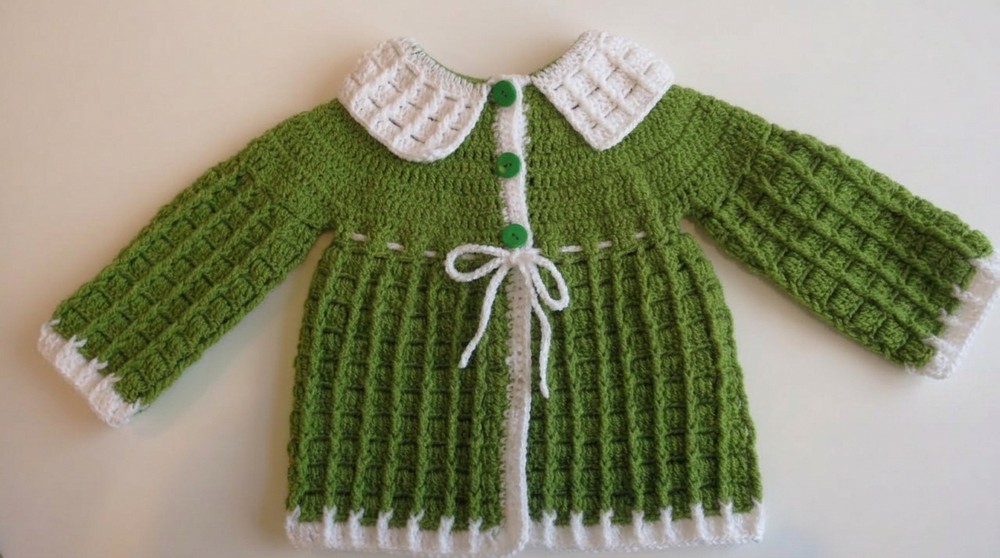
This baby kardigan is a simple yet textured project ideal for beginners familiar with basic crochet stitches. The instructions balance structure and creativity via increasing rounds and textured stitches. Adjust chain lengths and rounds proportionally for different sizes or ages.