
Modern Free Crochet Asymmetrical Top Pattern with Detaled Stitch Guide
Achieve fashion-forward results with this free crochet asymmetrical top pattern featuring a chic neckline, modern design, and simple details anyone can follow.
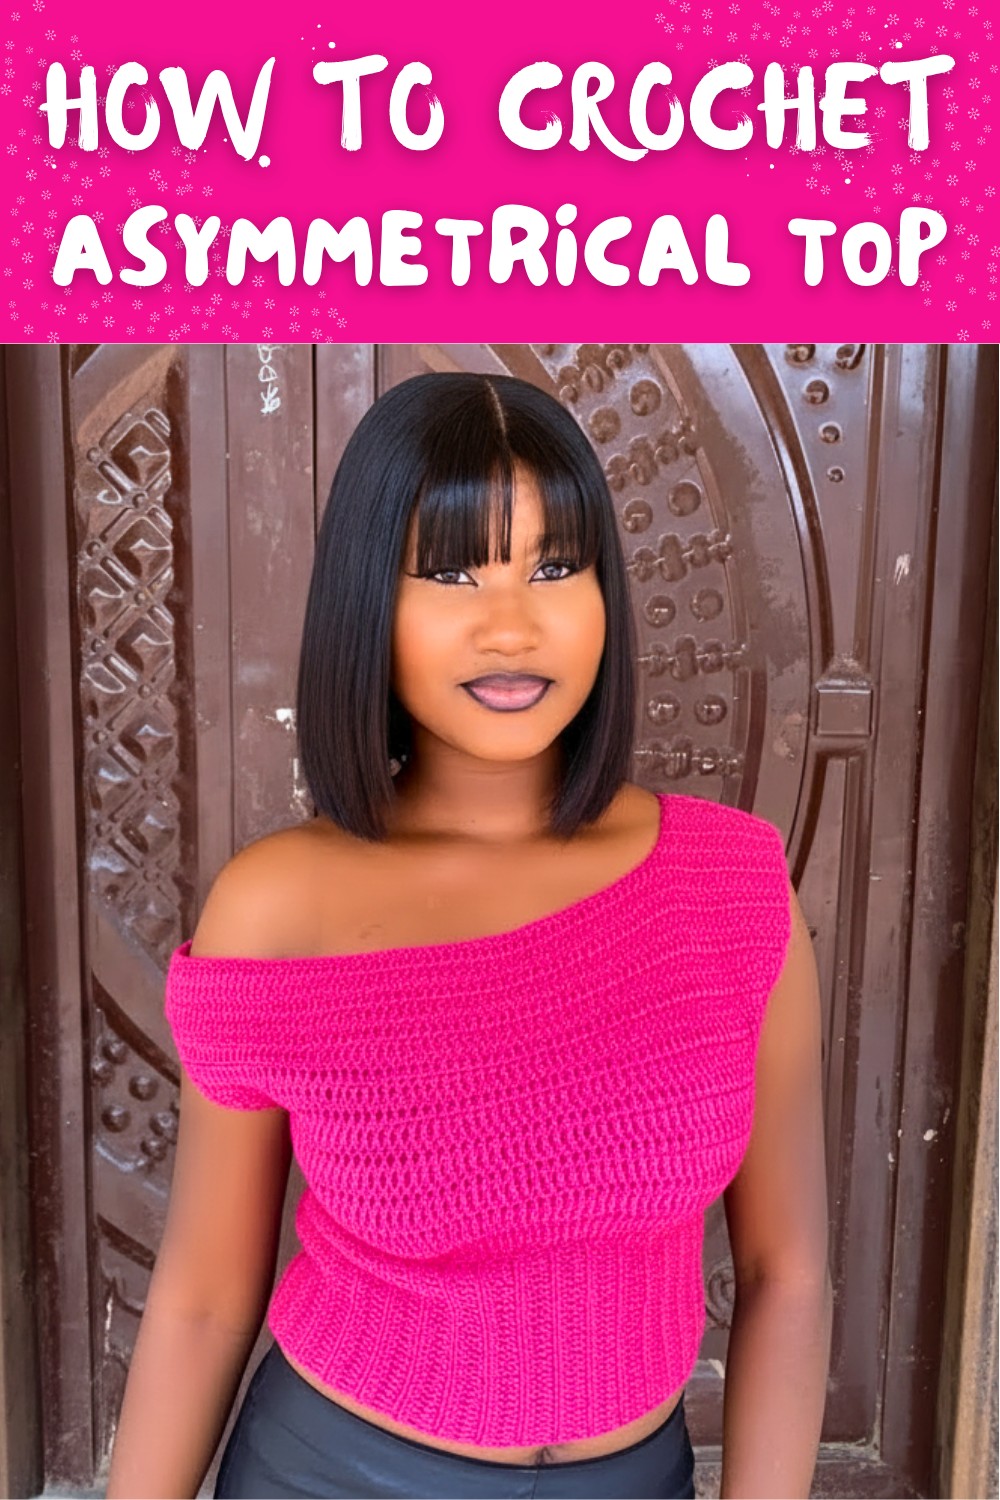
Who knew a few simple crochet stitches could turn into a stunning statement piece? This free crochet asymmetrical top pattern offers a trendy design that's easy to make and perfect for everyone, beginners included. Crocheted with two strands of yarn, it creates a neat, durable, and polished appearance that's flattering on all body types. The asymmetrical style brings a fashionable flair, featuring an elegant slanted neckline that adds uniqueness to your wardrobe.
Crochet Asymmetrical Top Step-by-Step Free Pattern
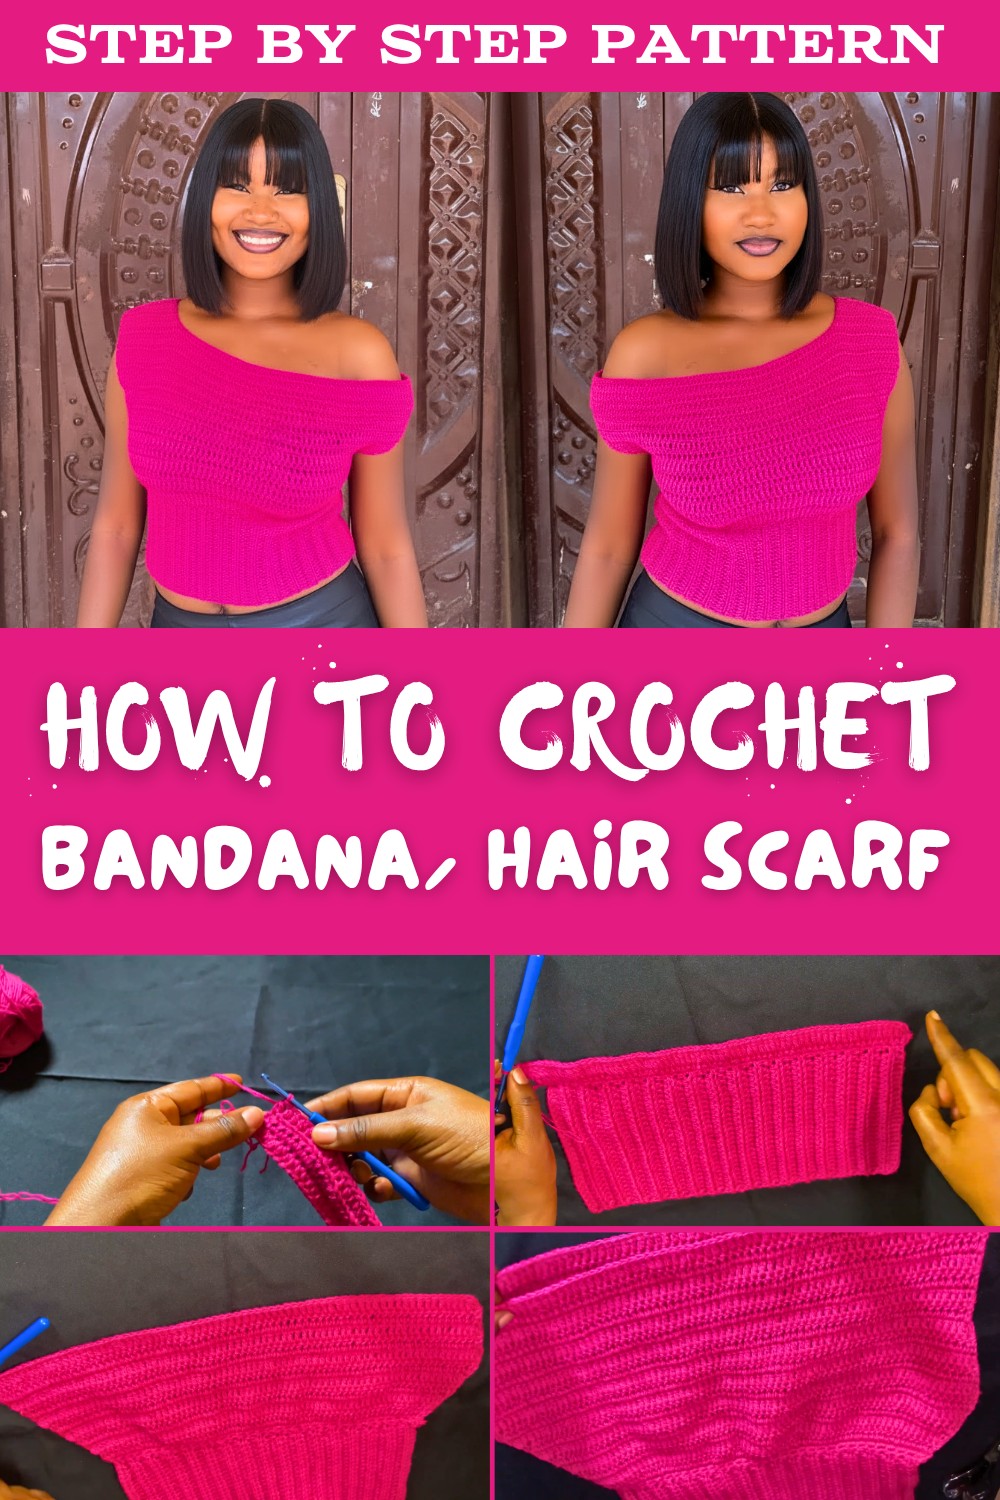
Using basic tools like a 4.0 mm hook, stitch markers, and scissors, and with careful measurements of bust, waist, and length, the top is made in two panels and joined seamlessly at the sides and shoulders. The detailed increases and decreases in the rows help shape the top perfectly, whether you prefer it as a crop top or a longer style.
Its versatile and chic design makes it a great choice for casual wear, outings, or even parties. Pairing it with jeans, skirts, or shorts creates effortless style every time. This pattern showcases the beauty of simple crochet techniques and offers a fun project that delivers stunning results without complexity. Get ready to add this eye-catching asymmetrical top to your closet.
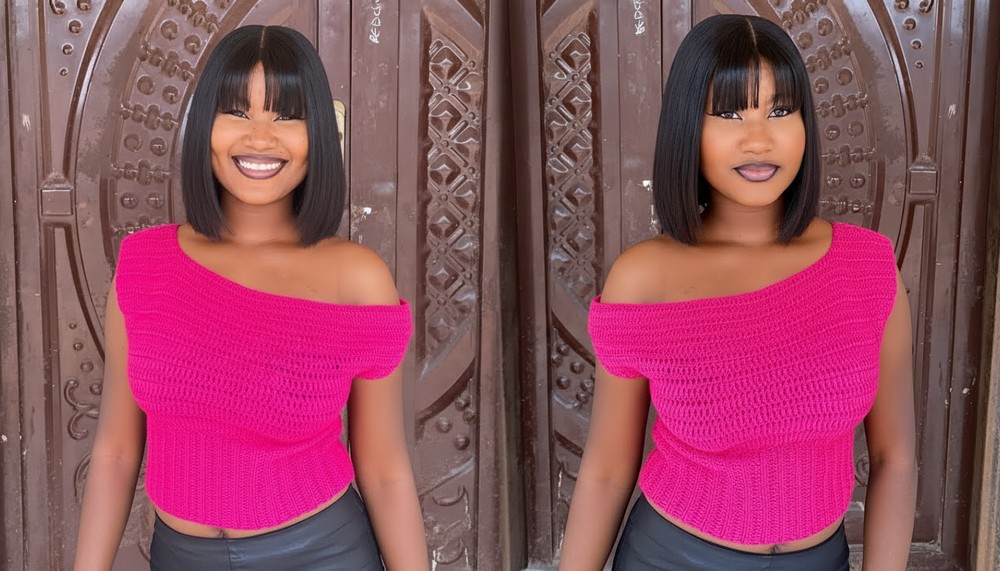
Crochet Asymmetrical Top Pattern
Skill Level
- Beginner to Intermediate: Simple stitches and techniques make this suitable for newer crocheters, while shaping and assembly provide an opportunity to refine skills.
Materials Needed
- Yarn:
- Four skeins of DK or lightweight yarn (100% Acrylic recommended).
- Double-stranded to enhance structure and reduce transparency.
- Hook:
- 4.0 mm crochet hook.
- Additional Supplies:
- Tape measure (essential for measurements).
- Stitch markers (for tracking shaping and rows).
- Scissors.
- Tapestry needle (for finishing and assembly).
Key Abbreviations (US Terminology)
| Abbreviation | Definition |
|---|---|
| CH | Chain |
| SC | Single Crochet |
| HDC | Half Double Crochet |
| DC | Double Crochet |
| SL ST | Slip Stitch |
| ST | Stitch |
| INC | Increase (work 2 stitches in the same ST) |
| DEC | Decrease (combine two stitches into one) |
| YO | Yarn Over |
Special Notes
- Measurements should be customized:
- Divide the bust measurement by two for each panel.
- Divide the waist measurement by two for each panel.
- Adjust Length: This pattern can be modified to make a full-length top by chaining for a longer foundation row.
- Tension Matters: Maintain an even tension for uniform panels.
Detailed Pattern Instructions
Step 1: Taking Measurements
- Bust Measurement: Measure around the fullest part of your bust and divide by two. Example: If your bust is 39 inches, each panel will cover 19.5 inches.
- Waist Measurement: Similarly, measure your waist and divide by two. Example: For a 30-inch waist*, each panel will measure 15 inches wide at the waist.
- Desired Length:
- Full length: Measure from shoulder to desired hemline.
- Cropped length: Measure from the shoulder to the upper belly button.
Step 2: Front Panel (Starting at the Waist)
Foundation Chain
- With double-stranded yarn and a 4.0 mm hook, make a slip knot.
- Chain a multiple of desired length measured across the waist in inches:
- Example: Chain 25 CH for a 6-inch width.
- Custom adjustments: Go up or down depending on desired length.
- Verify the chain length by measuring it with your tape.

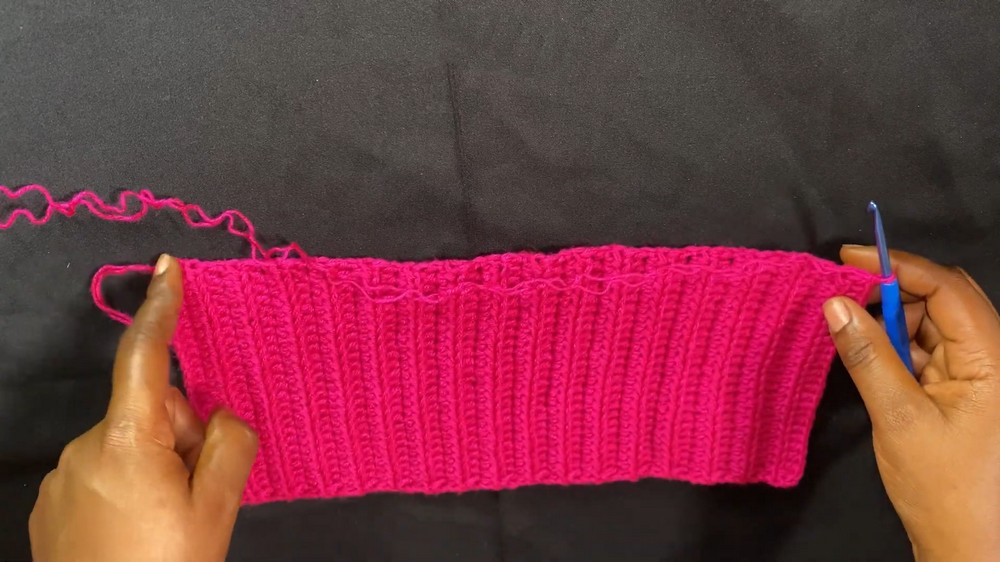
Rows 1-33 (Waist Base)
- Row 1:
- CH 1, skip 1 CH, and work a HDC into every CH across.
- Turn your work.
- Row 2:
- CH 1, in the first ST, work a HDC through both loops.
- For all remaining stitches except the last stitch, work HDC into back loops only.
- For the last ST, work HDC through both loops.
- Turn your work.
- Repeat Row 2 until the waist length reaches desired measurement. Example: Work 33 rows or until the panel measures 15 inches wide.
- At the end of Row 33 (or your final waist row), CH 1, and work 1 SC in each row end along the side of the panel, creating a foundation for the upper body. (Each row = 1 SC; Example: 33 rows = 33 SC stitches).

Step 3: Transition to Upper Body
Rows 34-35 (Single Crochet Increase)
- Row 1 (Increase Row):
- CH 1, 2 SC in each ST across.
- Example: If you have 33 SC, you'll now have 66 SC.
- Turn your work.
- Row 2:
- CH 2 (counts as the first DC), work 1 DC into each ST across.
- (66 DC total).

Rows 36-40 (Increases for Bust Area)
- Work 5 rows of DC, increasing at the beginning and end of each row:
- Increase Row: Work 2 DC into the first ST, then 1 DC into each stitch across, finishing with 2 DC in the last ST.
- Example: Add 2 extra DC per row, resulting in a total increase across 5 rows.
- At the end of this section, you should have a slight outward flare to accommodate the bust area.

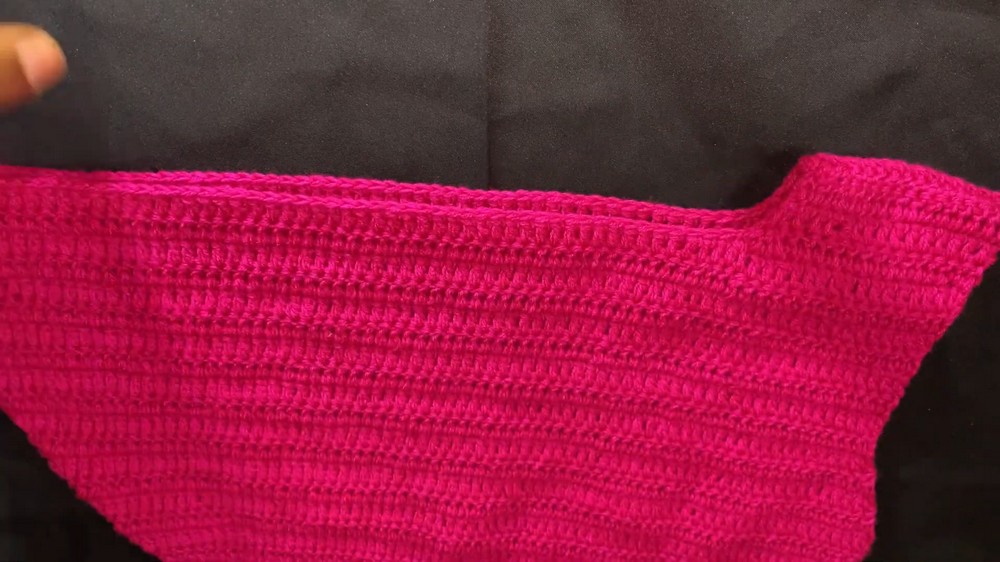
Step 4: Curved Shaping for Armholes
From this point, we will decrease on one side (for the armhole) and continue increasing on the other side to maintain the bust shape.
Rows 41-45 (Decreases and Increases):
- Begin Row:
- Work DEC at the armhole side: Combine two stitches into one.
- Continue with 1 DC in each ST until the last stitch.
- Work INC (2 DC in the last ST) at the bust side.
- Repeat for 5 rows, alternating decrease and increase.
Rows 46-49 (Final Adjustments for Armholes)
- Work even rows with no increase or decrease:
- 1 DC in each stitch.
- This creates a flat section to even out the armhole edge.
Step 5: Back Panel
Repeat Steps 1-4 to create the second panel. Ensure all measurements and row counts match the front panel for perfect alignment.
Step 6: Assembly
- Align the two panels with the right sides facing each other.
- Use a tapestry needle, slip stitch, or single crochet to seam the edges:
- Shoulders: Seam approximately 5 stitches on each side. Leave the rest for the neckline.
- Sides: Seam from the waist upward, leaving a gap for the arms.
Step 7: Finishing Touches
- Weave in all loose ends using a tapestry needle.
- OPTIONAL: Add a decorative hem, scalloped edges, or ribbing for a polished look.
Conclusion
Your casual crochet top is complete! Its simplistic design ensures versatility, and by adjusting the rows and stitches, you can create a top tailored to your exact measurements. With practice, you can even add your own embellishments or experiment with striped yarn for a unique look.
Pattern Corrections and Tips
- Double-Check Measurements: Ensure all rows match in stitch count and width for both panels.
- Edge Consistency: Keep edge tension even to prevent waviness or curling.
- Customization: Experiment with longer panels to create tunics or adjust for off-the-shoulder styles.