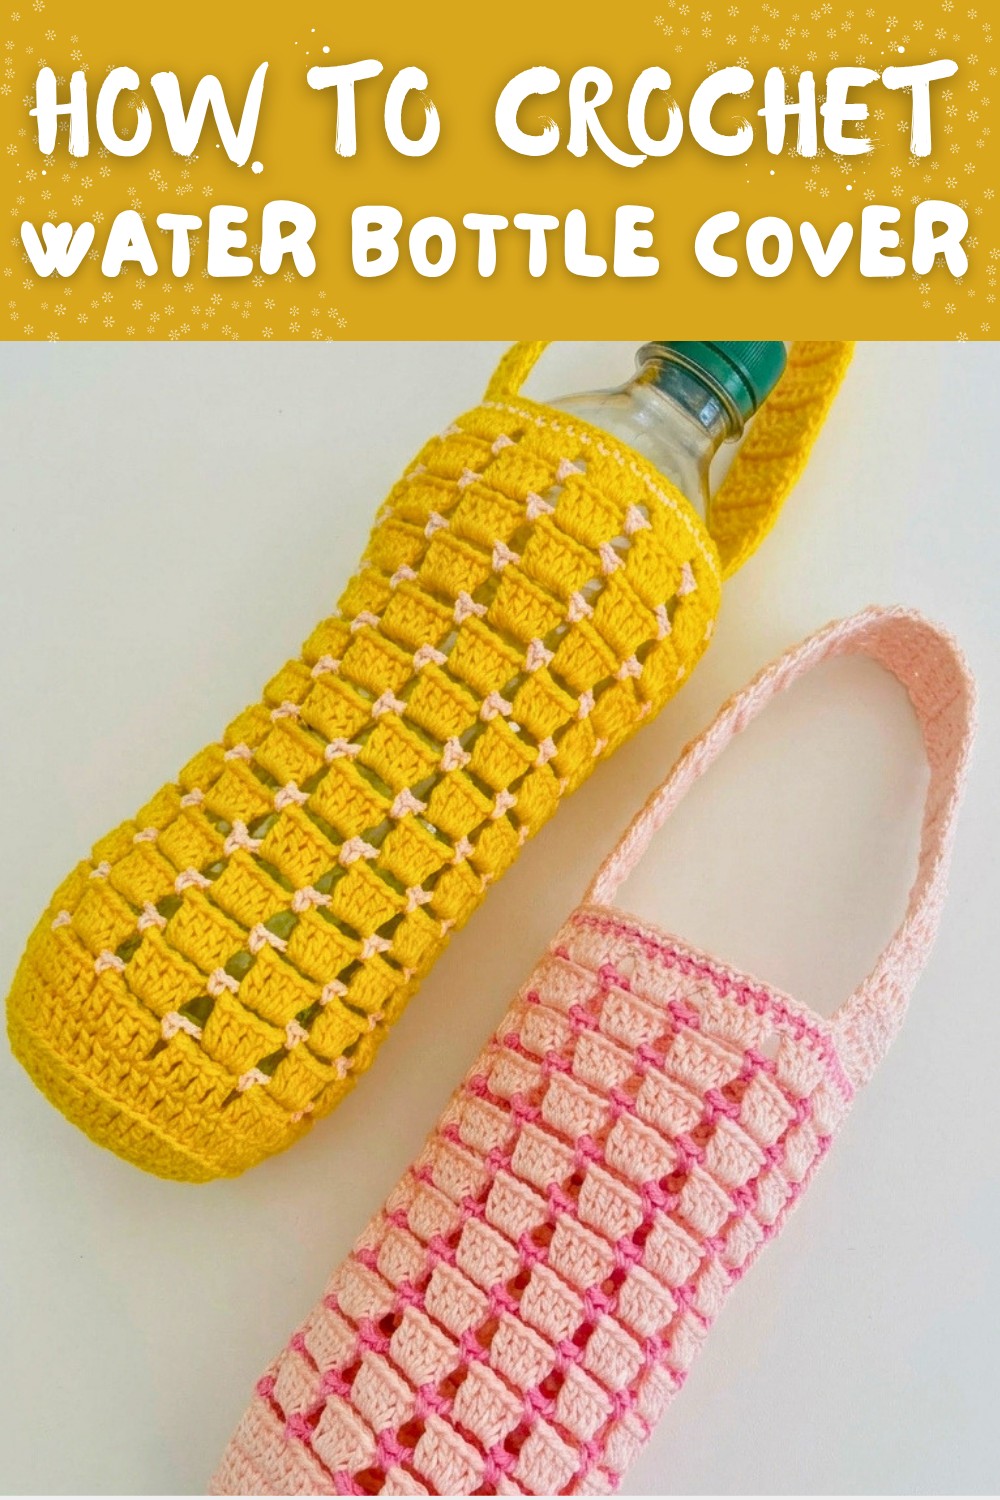
Pretty Crochet Water Bottle Cover Free Pattern For Easy Carry
Stay ready for every outing with this free crochet water bottle cover pattern perfect for keeping your bottle secure on the go.
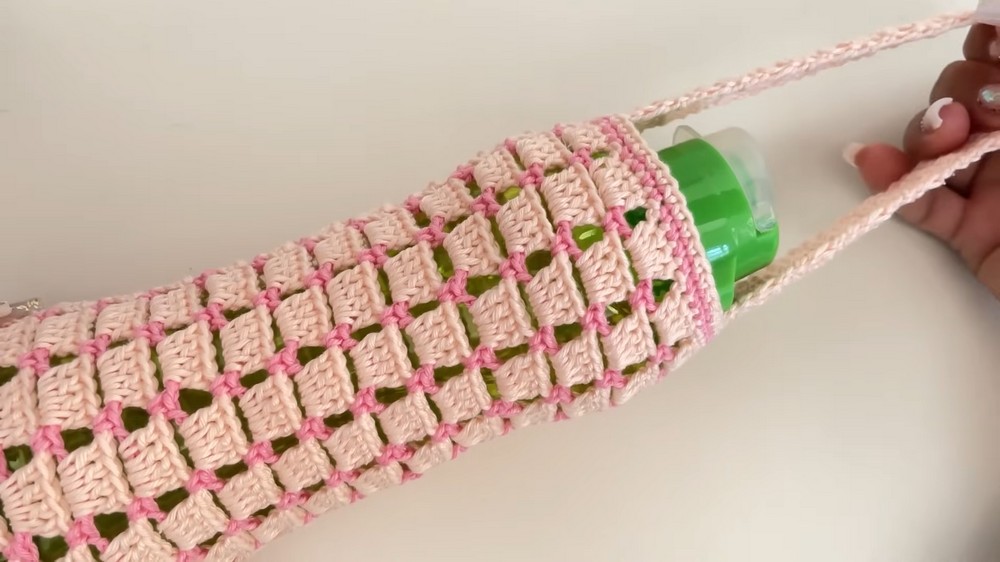
A crochet water bottle cover is a simple yet stylish way to add a fun and personal touch to your daily essentials. This charming cover turns plain, ordinary water bottles into colorful and exciting accessories. Whether you're at school, on a trip, or just carrying your bottle around, this crochet cover makes everything look more cheerful and unique. Plus, it's practical-it protects your bottle from scratches and gives you a better grip. The snug fit ensures your bottle stays safe and secure, no matter where you go. You can even add a strap so you can easily carry it on your shoulder. The adjustable strap gives you the freedom to keep your hands free while keeping your water close by.
Cute Free Crochet Water Bottle Cover Pattern For Daily Walks
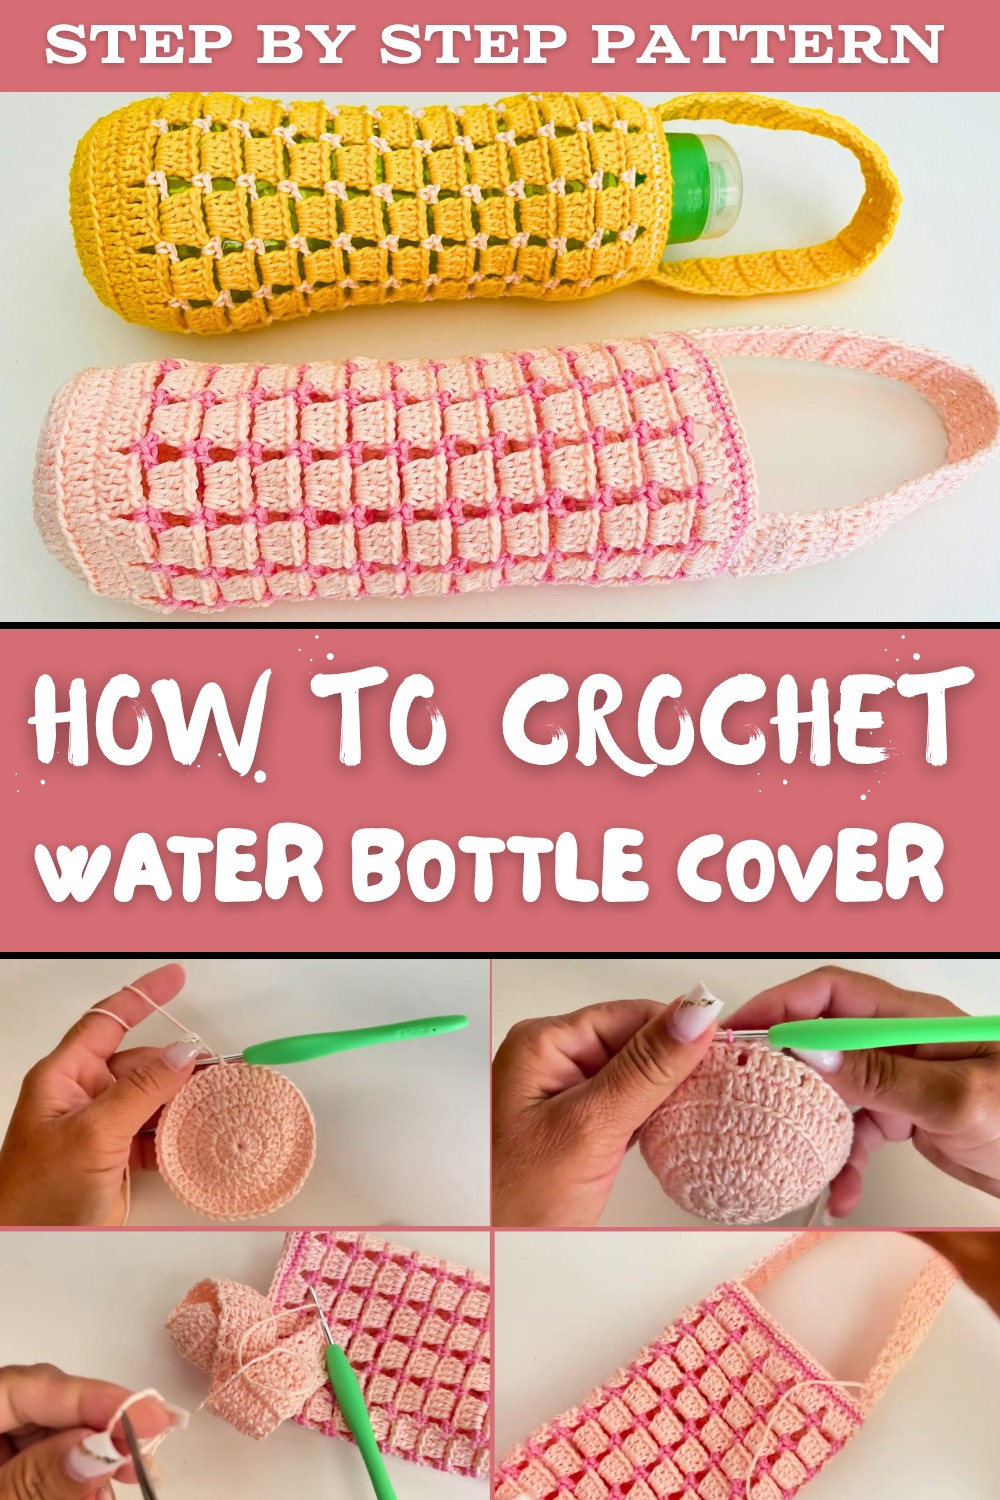
Worried about the design or difficulty? Don't be. This project is beginner friendly and a great way to learn the basics of crochet. You can choose the colors that express your unique personality-mix bright, bold shades or stick to soft, calming tones. The lace detail and attractive texture make the cover stand out and give it an elegant look. It's washable, reusable, and durable, making it an eco friendly accessory that lasts.
This cover isn't just for functionality-it's a delightful way to express creativity. Whether you make one for yourself or gift it to a friend, it's sure to be appreciated. Perfect for all ages, this project can bring smiles to your day while keeping something as simple as your water bottle bright, clean, and fun. Try it and see how this charming creation adds color and joy to your everyday routine.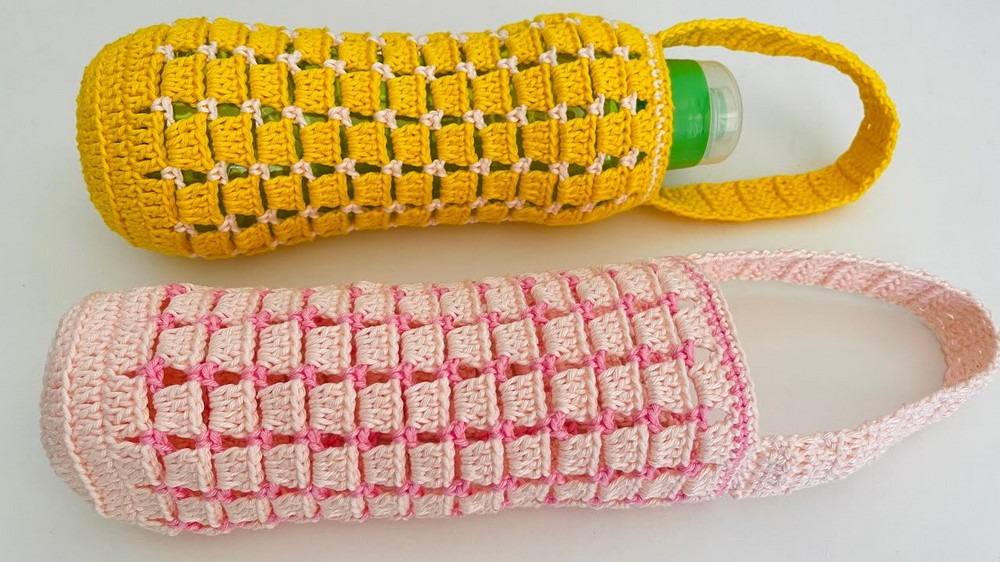
Crochet Water Bottle Cover Pattern
Materials Needed
- Yarn:
- Amigurumi yarn in two colors (e.g., pink and white).
- Alternatively, you can use 100% cotton yarn, size 4 or 6, based on your preference.
- Crochet Hook: 2.5 mm.
- Bottle: A water bottle to use as a base (any size).
- Scissors: To cut and finish the yarn ends.
- Yarn Needle: To weave in ends and for finishing details.
Gauge
Gauge is not crucial for this pattern due to its adaptable design. However, the bottom round of the bottle cover should initially fit the bottle's base snugly to ensure stability during use.
Finished Size
Once completed, this bottle cover will fit a standard sized water bottle. For larger or smaller bottles, instructions for customization are included later in the pattern.
Special Techniques
- Magic Ring (MR): A way to start crocheting in a round with a tight, closed center.
- Double Crochet (DC): Standard crochet stitch used to create the base and body of the pattern.
- Single Crochet (SC): Used for final touches and edges.
- Slip Stitch (SL ST): Used to join rounds.
- Chain (CH): Essential for starting rows and shaping the piece.
Pattern Instructions
Bottom of the Bottle Cover (Base)
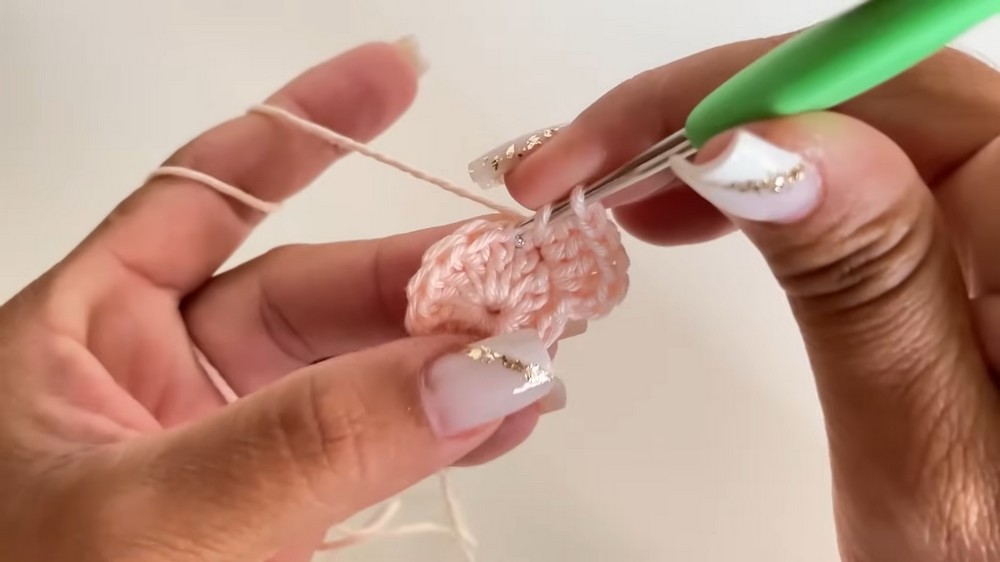
Round 1:
- Start with a Magic Ring.
- Chain 2 (does not count as a double crochet).
- Work 12 double crochets (DC) into the magic ring.
- Pull the magic ring tight and close the round with a slip stitch (SL ST) to the first DC.
(Total: 12 DC).
Round 2:
- Chain 2 (does not count as a DC).
- Work 2 DC in each DC from the previous round (an increase in every stitch).
- Join with a SL ST to the first DC.
(Total: 24 DC).
Round 3:
- Chain 2 (does not count as a DC).
- DC in the first stitch, 2 DC in the next stitch (1 DC, increase). Repeat this pattern all the way around.
- Join with a SL ST to the first DC.
(Total: 36 DC).
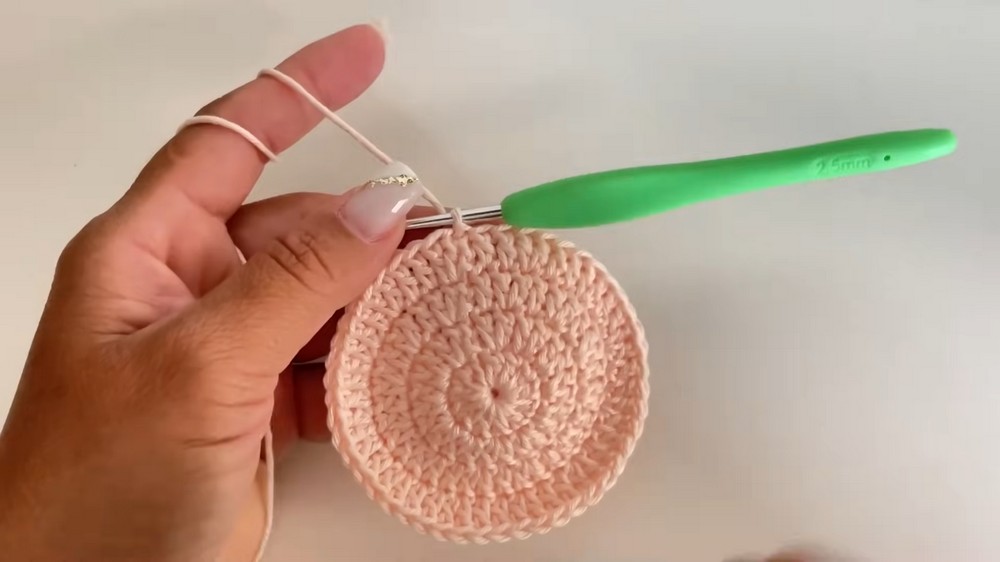
Round 4:
- Chain 2 (does not count as a DC).
- DC in the first 2 stitches, 2 DC in the next stitch (2 DC, increase). Repeat this pattern in every stitch around.
- Join with a SL ST to the first DC.
(Total: 48 DC).
If the base of your bottle requires a larger diameter, continue increasing rounds in this manner, adding one extra DC between increases in each new round. Stop increasing once the circle matches the size of the bottle's base.
Body of the Bottle Cover
Round 1:
- To create texture, chain 3 and work back loop double crochet (BLDC) in every stitch around. This creates a nice ridge for the bottom base. Join with a SL ST.
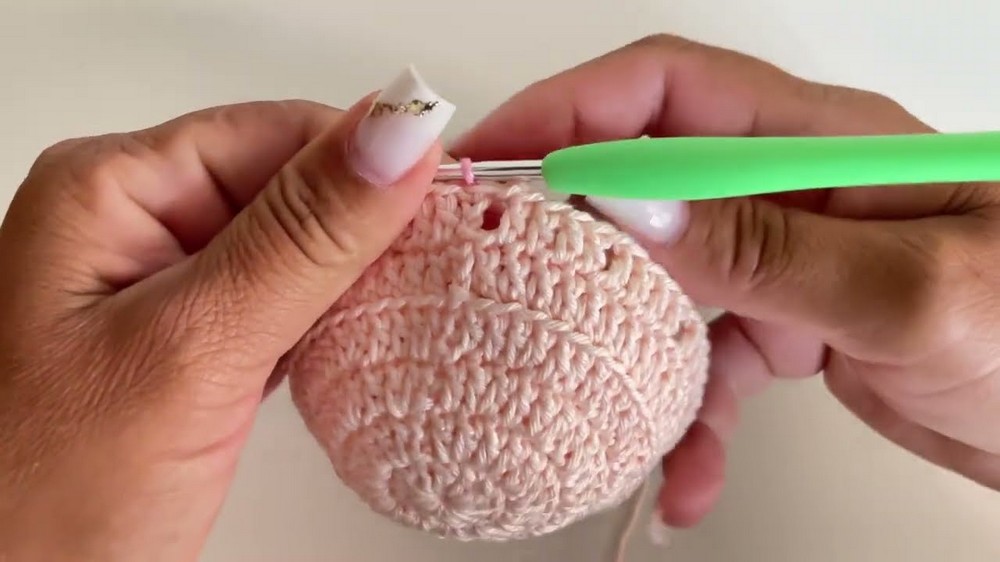
Round 2-X:
- Continue working DC in every stitch around in normal loops (no increases or decreases). Repeat until you reach the midsection of your bottle. Around 10 to 13 rounds should be enough for a standard sized bottle.
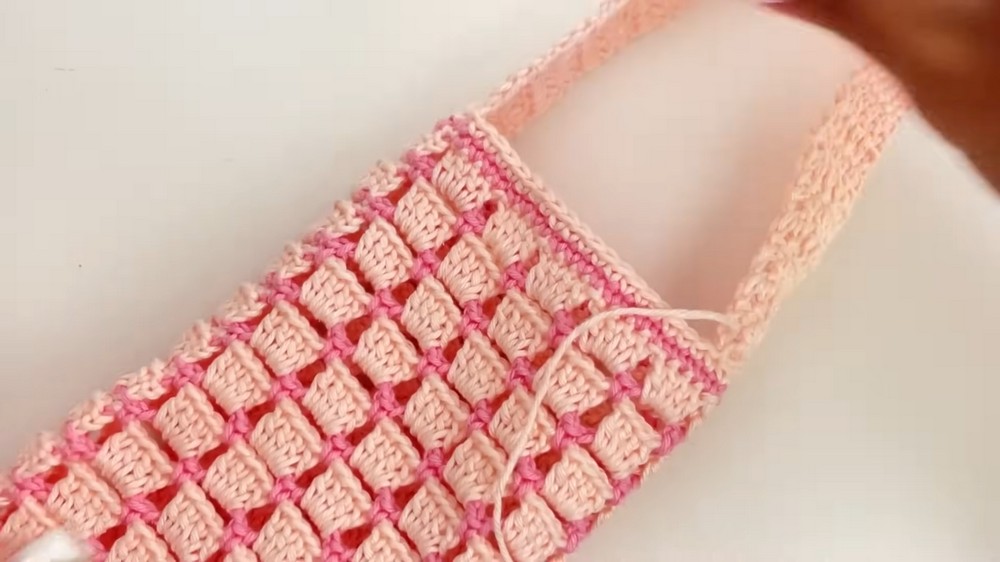
Lace Detail (Alternating Colors)
Switch to your secondary yarn color to create the lace design.
Round 1:
- Chain 4. Skip the next stitch and single crochet (SC) into the next stitch.
- Chain 4, skip 1 stitch, SC into the next stitch. Repeat this pattern all the way around.
- Join with a SL ST.
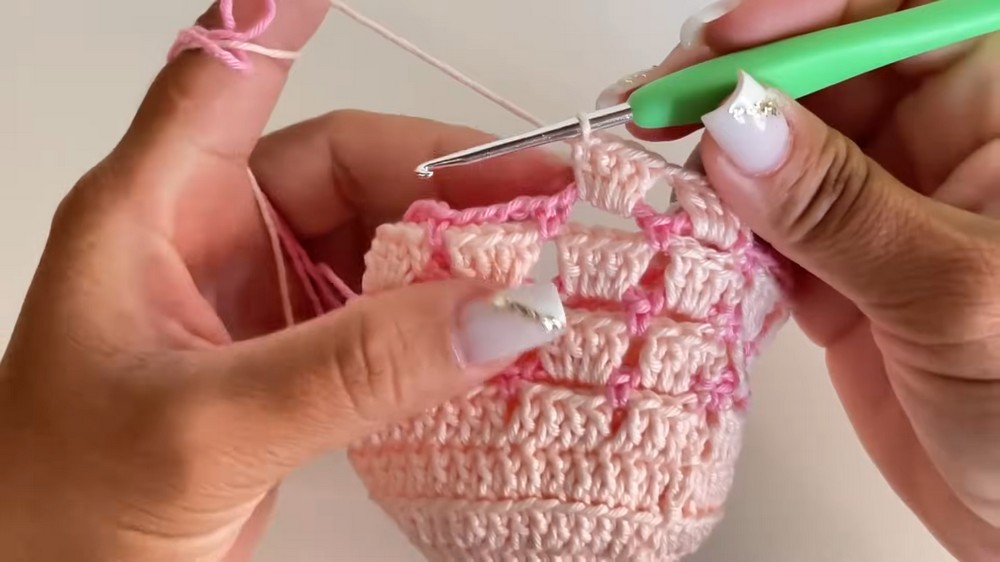
Round 2:
Switch back to your primary yarn color.
- Chain 3. Work 4 DC into each chain 4 space from the previous round. Chain 1, then proceed to the next chain 4 space, working 4 DC into it.
(You'll have groups of 4 DC with chain 1 spacing in between).
Repeat the lace detail rounds (alternating chain 4 rounds and DC rounds) until the cover is tall enough to reach the neck of your bottle.
Top Edge and Finishing
To finish off the top of the bottle cover:
- Switch to your main color yarn and work 2 rounds of Single Crochet (SC) along the top edge to give the cover a polished look.
- For narrower bottles, skip some chain spaces in the final round to create a snugger fit.
Handle (Strap)
The size and length of the handle depend on your preference.
- Identify and mark where the strap will attach on both sides of the bottle cover.
- Attach your yarn and chain 2 (counts as the first DC). Work 6 DC stitches across.
- Turn and continue working rows of DC stitches to form a long strip (approximately 25-30 rows for a standard length strap).
- Secure the end of the handle onto the other marked side of the cover using a yarn needle and whipstitch.
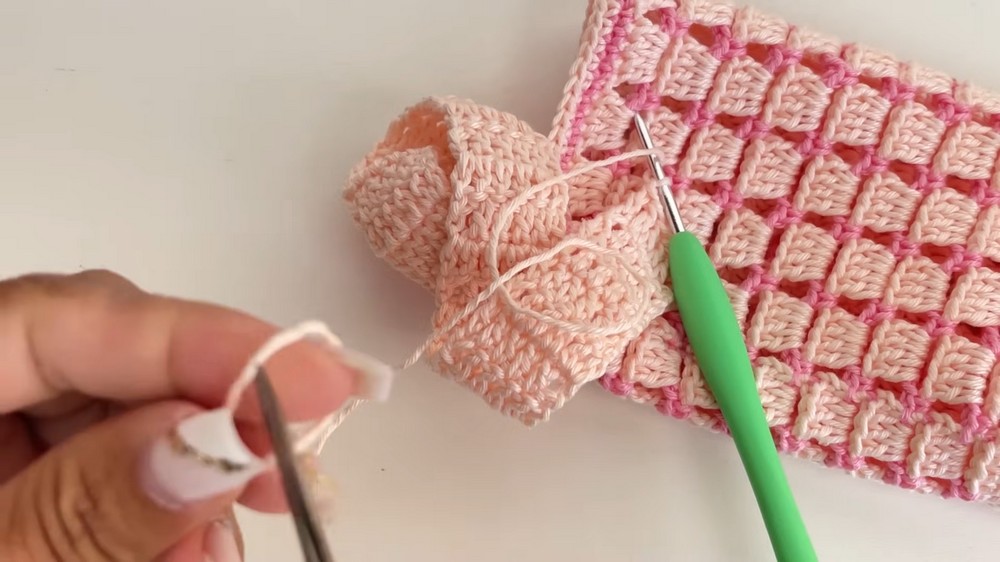
Customizations
- Bottle Size: Adjust the number of increasing rounds in the base to match the size of your bottle. If the bottle has a wider diameter, add more rounds and increases.
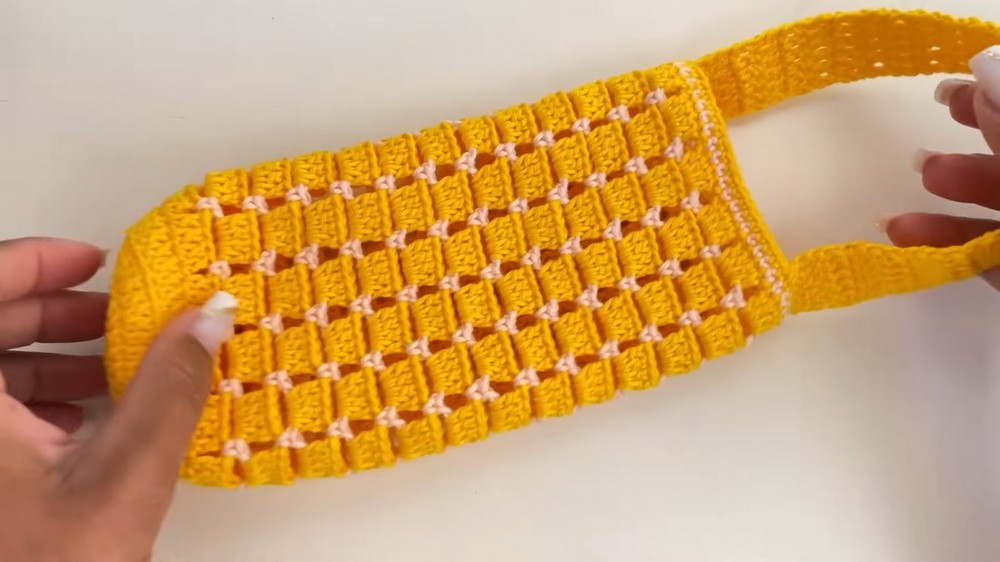
- Colorful Stripes: Add horizontal stripes on the body by switching yarn colors every few rounds.
- Tighter Fit: For narrow bottles, decrease stitches in the final SC rounds.
- Additional Decor: Sew in buttons, crochet flowers, or tassels for extra charm.
Tips for Success
- Yarn Selection: Use durable and washable yarns like cotton or acrylic. Amigurumi yarn is soft and sturdy, making it perfect for this project.
- Tension: Keep your tension consistent to maintain the uniformity of the pattern.
- Measurement: Regularly check the size of the cover against your bottle to ensure a snug fit.
- Weaving Ends: Secure ends by weaving them into the stitches with a yarn needle. This prevents fraying over time.
Conclusion
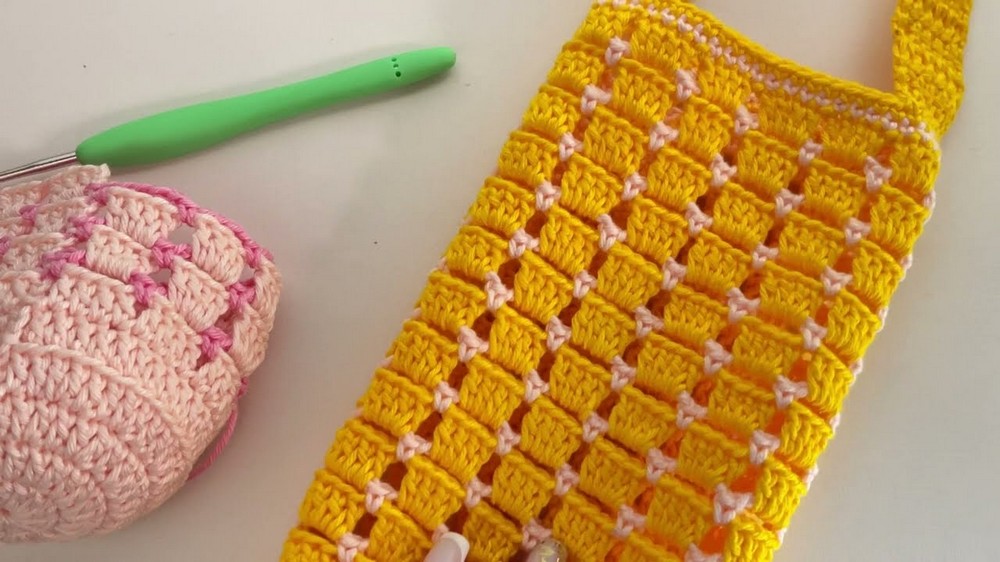
This crochet bottle cover is both a functional and decorative piece that makes hydration fun and stylish. Its intricate yet straightforward design makes it an excellent project for crocheters who want to try something that blends practicality with aesthetic value.
The addition of a lace design and a colorful strap ensures that the finished piece will stand out, whether it's used for personal purposes or gifted to someone special.
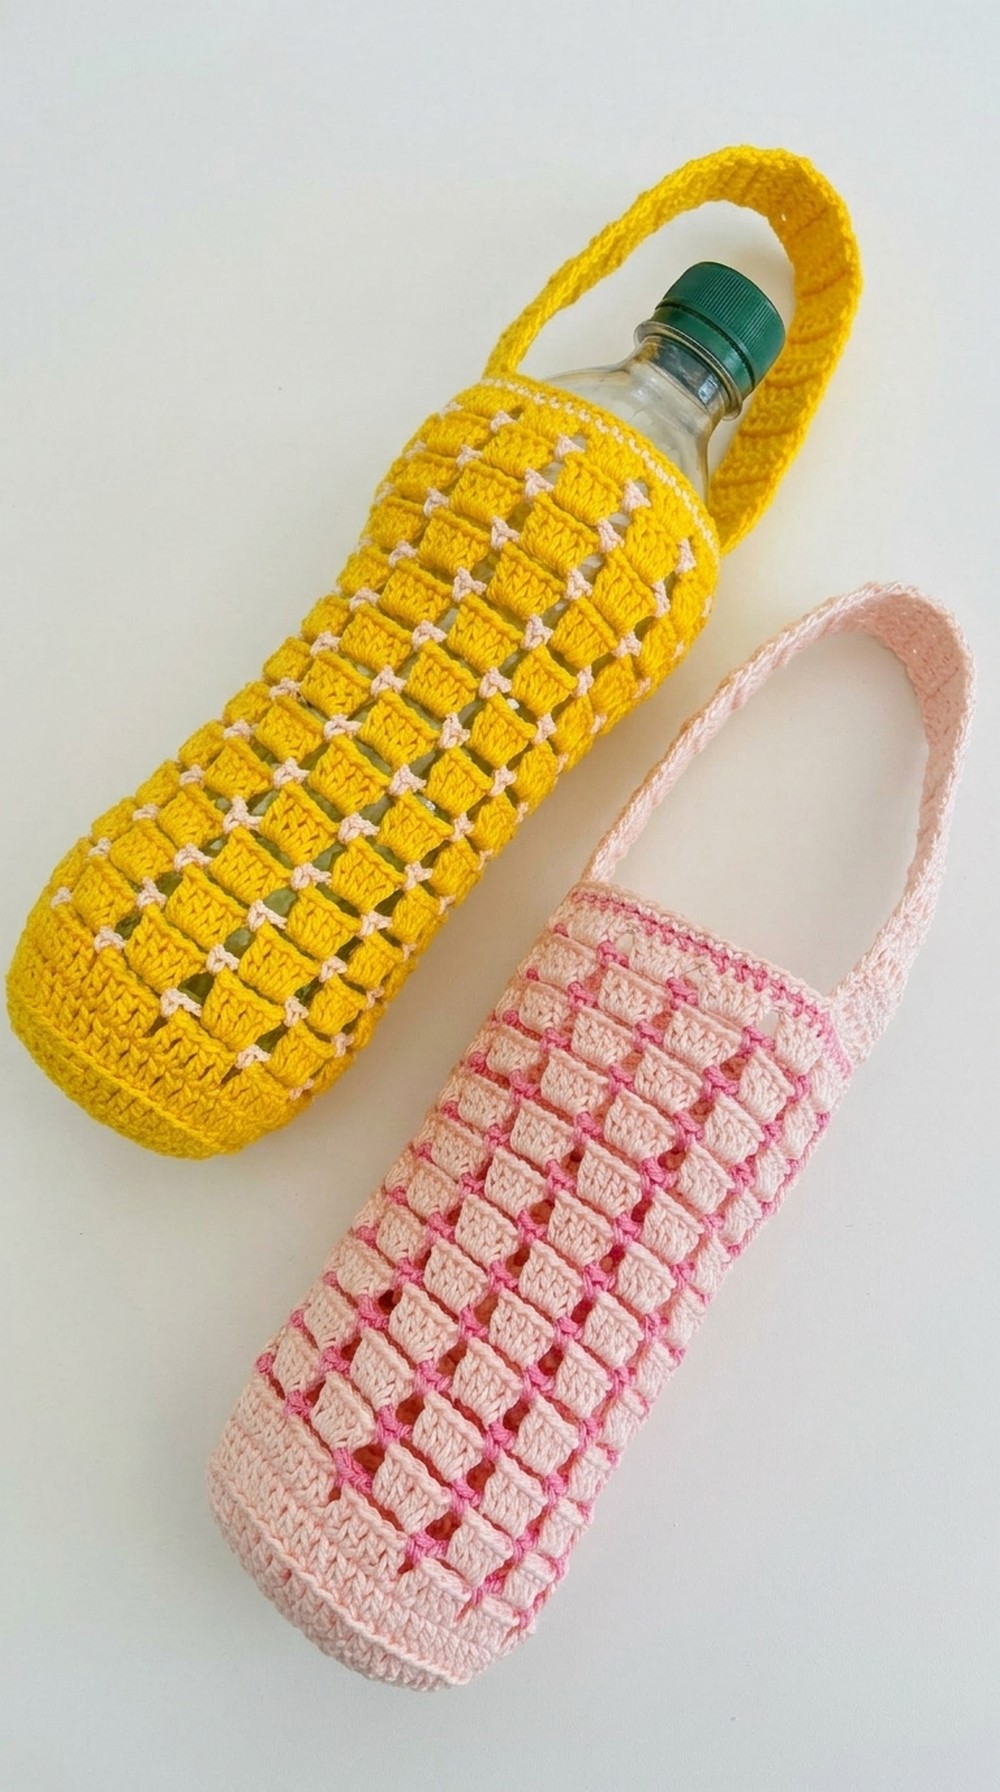
The beauty of crochet lies in its ability to transform everyday items into artistic creations, and this bottle cover is no exception. Enjoy the process, and cherish the final product-a handmade treasure that combines utility with creativity.