
Quick Crochet Cell Phone Bag Free Pattern with Strap
Find a smart way to carry your phone with this free crochet cellphone bag pattern that helps you make a cute handmade bag perfect for every outing.
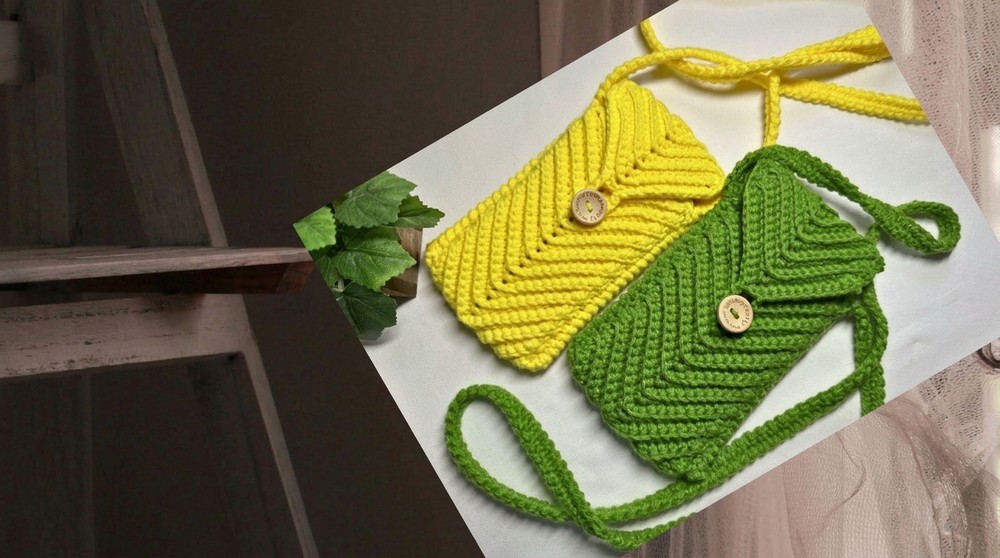
If you're looking for a fun and simple way to create a stylish pouch for your phone, this pattern is perfect for you. It features a cute triangle shaped flap with a button closure, which keeps your phone safe while adding a touch of elegance. The textured pattern comes from a unique technique where the stitches are worked through the back loops only, giving the bag a modern and sophisticated look. You can adjust its size to fit any phone and use your favorite colors of yarn to make it truly personal. The bag also includes a handy strap that can be made short for a wristlet or long enough to wear as a crossbody bag. This makes it super versatile, so you can use it for carrying your phone, some cash, or even keys.
Ideal Free Crochet Bag Pattern for Your Smartphone
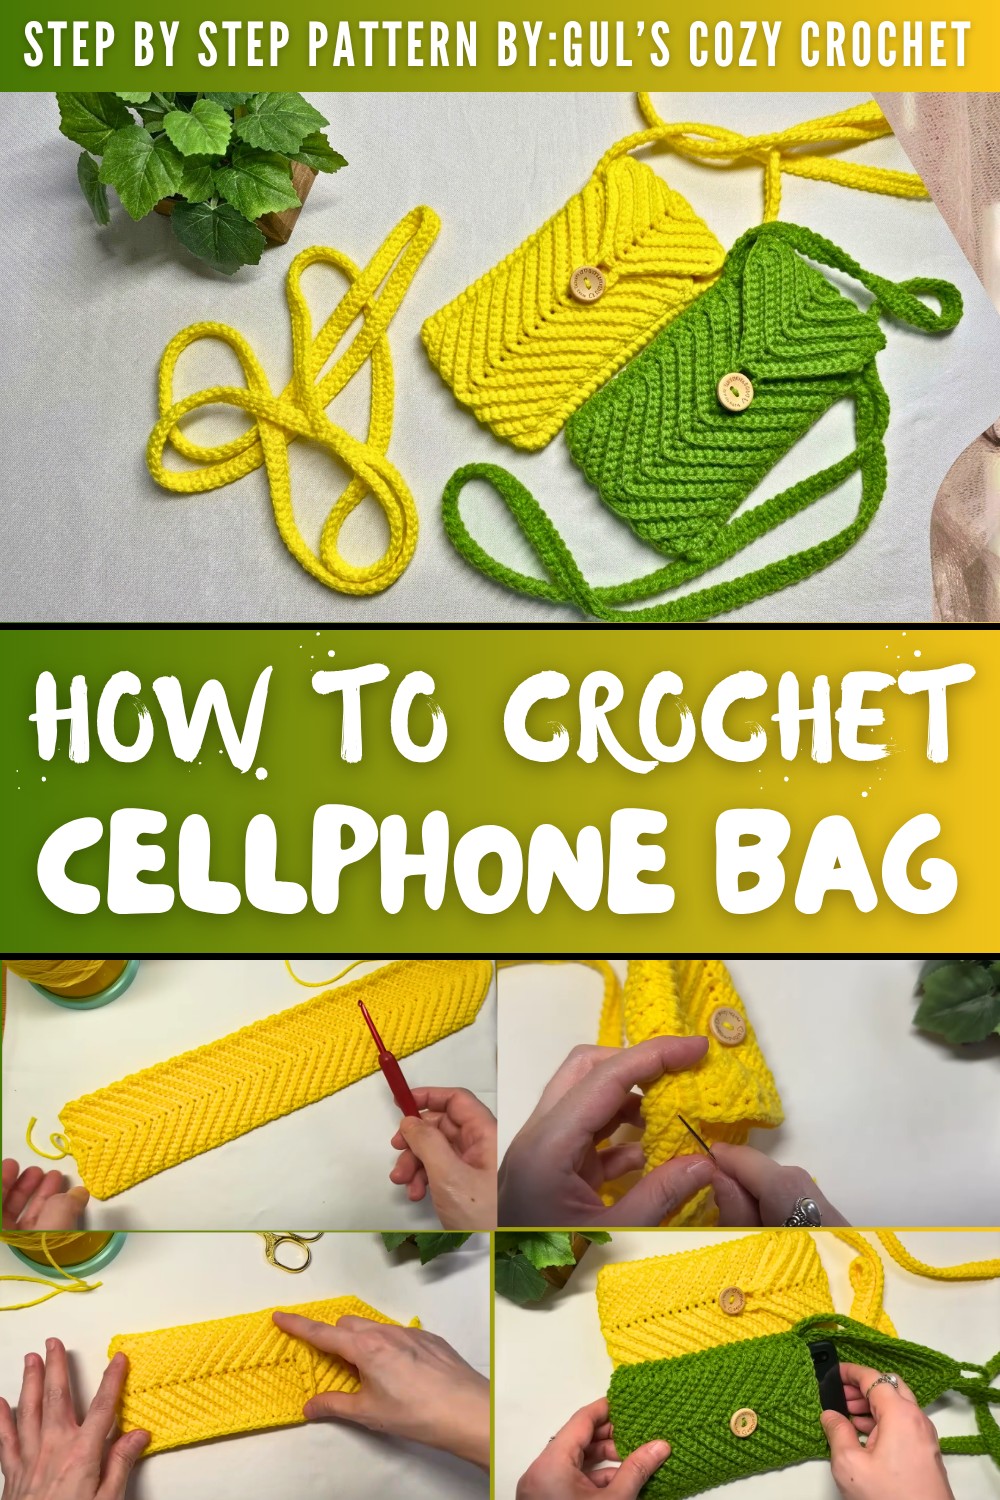
You'll only need simple crochet stitches like single crochet, so even if you're new to crocheting, you'll find this fun and rewarding. It's also lightweight and perfect for daily use, whether you're going to school, heading to the market, or meeting friends.
With this amazing crochet project, you can create something practical that also showcases your style. It's a fantastic handmade item that anyone would love, whether you're making it for yourself or gifting it to someone special.
Crochet CellPhone Bag Pattern
Materials
- Yarn: Smooth yarn approximately 2 mm thick (a light worsted or DK-weight cotton or acrylic works well)
- Hook: 3.75 mm crochet hook
- Darning (tapestry) needle for weaving in ends and sewing
- Stitch markers
- One button sized to fit your loop (typically 1.5-2 cm diameter)
- Scissors
Optional:
- Knitted or rubber thimble to protect finger and help maintain tension
Gauge
Suggested gauge (approximate, to match the look and firmness):
- About 20-22 single crochet stitches and 24-26 rows = 10 cm × 10 cm in back-loop-only single crochet with 3.75 mm hook and 2 mm yarn.
Finished Size (approximate)
With the stated yarn and hook and about 60 rows in the main body:
- Width: Enough to fit a small smartphone snugly (approximately 8-9 cm across when flat).
- Height: Enough to cover the phone completely, plus a triangular flap that folds over the top.
The strap shown is about:
- Length: 42 inches / 107 cm (crossbody length)
- Width: Very narrow (about 1 cm), made from a slim single-crochet strip.
Abbreviations (US terms)
- ch: chain
- sc: single crochet
- inc: increase (2 sc in same stitch)
- dec: decrease (single crochet two stitches together)
- BLO: back loop only
- sl st: slip stitch
- RS/WS: right side / wrong side
Special Techniques
- Magic Ring (Magic Circle)
- Single Crochet Increase (sc inc)
- Single Crochet Decrease (sc dec) through BLO
- Reverse Single Crochet (Crab Stitch)
Pattern Instructions
A. Bottom Triangular Panel (Main Body Start)
- Magic Ring and First Row
- Create a magic ring.
- Ch 1.
- Work 3 sc into the ring.
- Pull the ring tight.
- Turn.
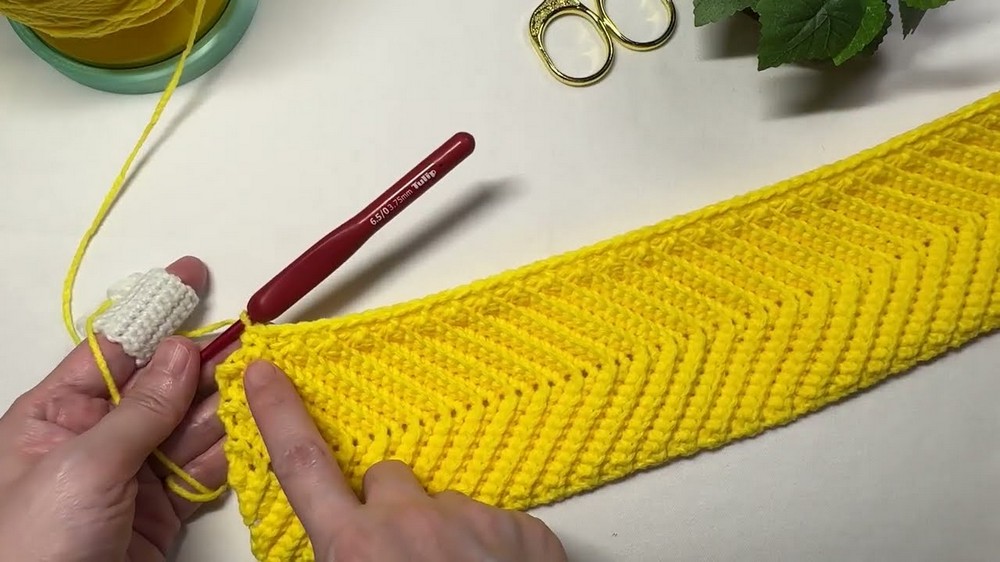
- From Now On: Work in Back Loop Only
Every row will be worked in BLO. - Row 2 - Begin Shaping Triangle
- Ch 1, turn.
- First stitch: 2 sc in BLO of first stitch (inc).
- Second stitch: 3 sc in BLO of the second stitch (this becomes the tip of the triangle).
- Third stitch: 2 sc in BLO of the third stitch (inc).
- You now have more stitches, forming a small triangle point with a central "tip" of 3 sc.
- Row 3 - Establish Repeated Pattern
The designer explains the consistent pattern: increase at first stitch, 3 sc at the middle "tip," increase at last stitch. The number of single crochets on each side (between edge and tip) grows gradually.- Ch 1, turn.
- Inc in first stitch: 2 sc BLO.
- Work 1 sc BLO in next 2 stitches.
- In the center "tip stitch": 3 sc BLO.
- Work 1 sc BLO in next 2 stitches.
- Inc in last stitch: 2 sc BLO.
- Row 4
- Ch 1, turn.
- Inc in first stitch.
- Work 1 sc BLO in next 4 stitches.
- At the tip: 3 sc BLO in same stitch.
- Work 1 sc BLO in next 4 stitches.
- Inc in last stitch.
- Row 5
- Ch 1, turn.
- Inc in first stitch.
- Work 1 sc BLO in next 6 stitches.
- 3 sc BLO in tip stitch.
- 1 sc BLO in next 6 stitches.
- Inc in last stitch.
- Row 6
- Ch 1, turn.
- Inc in first stitch.
- Work 1 sc BLO in next 8 stitches.
- 3 sc BLO in tip stitch.
- 1 sc BLO in next 8 stitches.
- Inc in last stitch.
B. Begin Decreases for the Front Flap Shape (Row 7 onward)
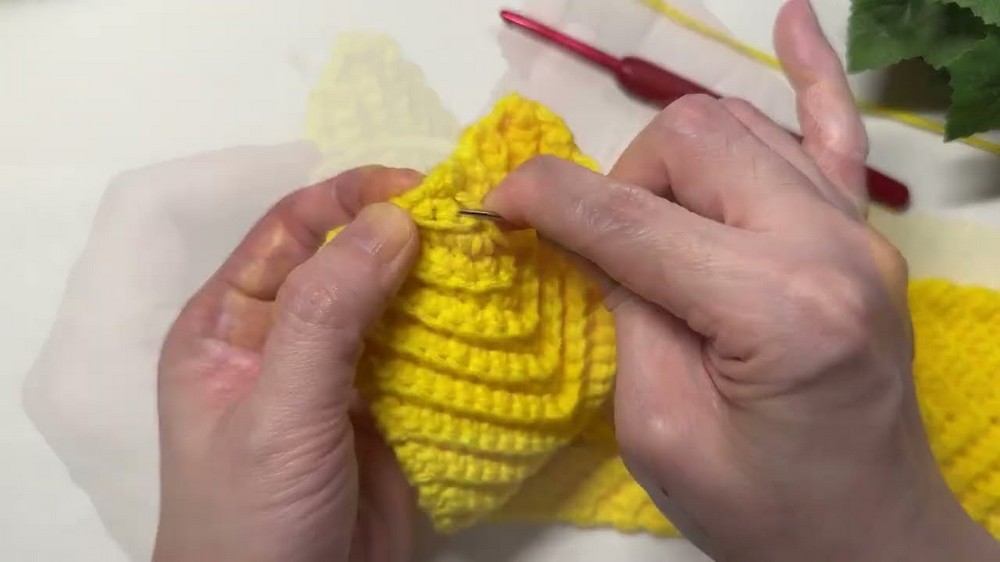
From Row 7, the narrator starts decreasing at the first and last stitches instead of increasing, while maintaining 3 sc at the center tip. The pattern:
- First and last two stitches: sc dec in BLO.
- Middle tip: always 3 sc in the tip stitch.
- The number of side stitches between decreases and tip remains steady once established.
- Row 7
- Ch 1, turn.
- Dec over first 2 stitches in BLO.
- 1 sc BLO in next 9 stitches.
- 3 sc BLO in tip stitch.
- 1 sc BLO in next 9 stitches.
- Dec over last 2 stitches in BLO.
- Row 8
- Repeat the same structure as Row 7:
- Ch 1, turn.
- Dec in first 2 stitches.
- 1 sc BLO in next 9 stitches.
- 3 sc BLO in tip stitch.
- 1 sc BLO in next 9 stitches.
- Dec in last 2 stitches.
- Continue in Pattern
- Ch 1, turn.
- Dec at beginning (2 stitches).
- 1 sc in each side stitch.
- 3 sc in tip stitch (center).
- 1 sc in each side stitch.
- Dec at end.
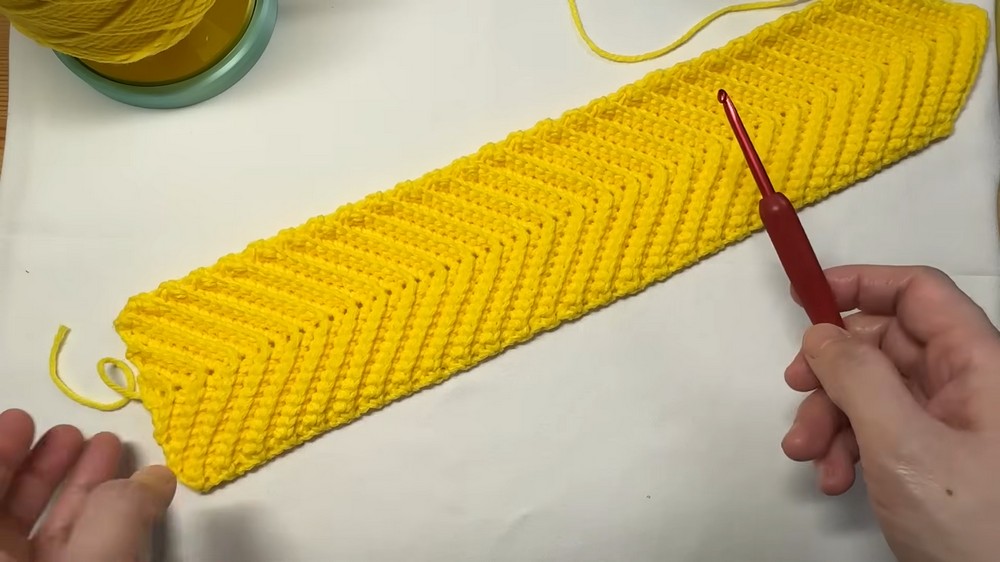
C. Single Crochet Border Around the Edges
Once the main triangle piece is complete:
- Weave in Starting Tail
- Weave in the initial magic ring tail securely.
- Work Border Along Edges
- Attach yarn at one side edge near the bottom.
- Ch 1.
- Work 1 sc in the end of each row along the side, in a consistent manner:
- Use a stitch marker to mark the first sc.
- Identify each "row end" and insert hook to create an evenly spaced edge.
- The narrator has 54 sc from start to last row on one side; your count may differ depending on row count.
- Corner Treatment
- At each bottom corner: work 3 sc into the same point to round the corner.
- Continue sc along the bottom edge.
- At the opposite bottom corner: again work 3 sc into the corner.
- Continue up the other side edge with 1 sc per row end.
- Slip Stitch Round and Button Loop
- After reaching the top edge, begin working slip stitches along the top for a neat finish.
- Before reaching the very tip of the flap:
- Ch 10 to form the button loop.
- Skip the tip stitch.
- Sl st into the next stitch to anchor the loop.
- Adjust chain length if your button is larger or smaller.
- Continue slip stitches across the remaining top edge.
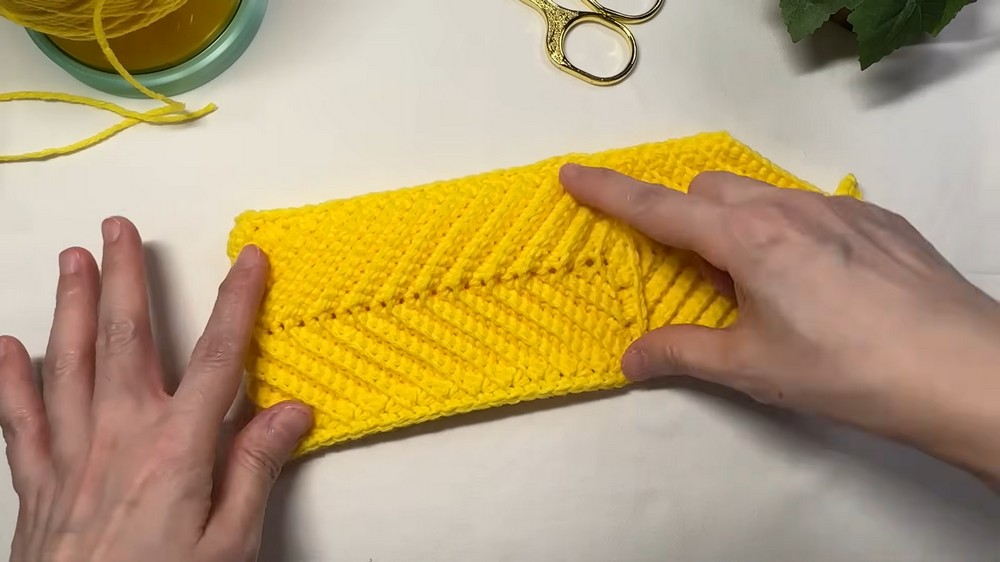
D. Fold the Bag and Join Sides (Reverse Single Crochet / Crab Stitch)
- Determine Fold Line
- Measure your phone and fold the piece so that:
- The bottom edge aligns to form a pocket.
- The top triangle covers the phone when folded down.
- Use stitch markers to align side edges.
- Measure your phone and fold the piece so that:
- Join One Side
- Position the bag so you can work from bottom to top on the side.
- Attach yarn at the bottom side.
- Work reverse single crochet (crab stitch) through both layers (both loops of both side edges) to join the sides:
- Insert hook through both loops of both pieces.
- Pull up a loop.
- Yarn over and pull through both loops on hook.
- Move one stitch "backwards" and repeat.
- Continue up the side to the top edge.
- Cut yarn, weave in end.
- Join Other Side
- Repeat the same crab stitch method on the other side, working from bottom to top.
- Cut yarn, weave in end.
E. Attach the Button
- Locate Button Position
- Place your phone inside the bag.
- Fold the flap down and align the chain loop.
- Mark the point on the front body where the button should sit so the loop fits snugly.
- Sew Button
- Thread a strand of yarn or matching sewing thread.
- Sew button securely at the marked spot.
- Test closure by looping the chain over the button; adjust if needed.
F. Make and Attach the Strap
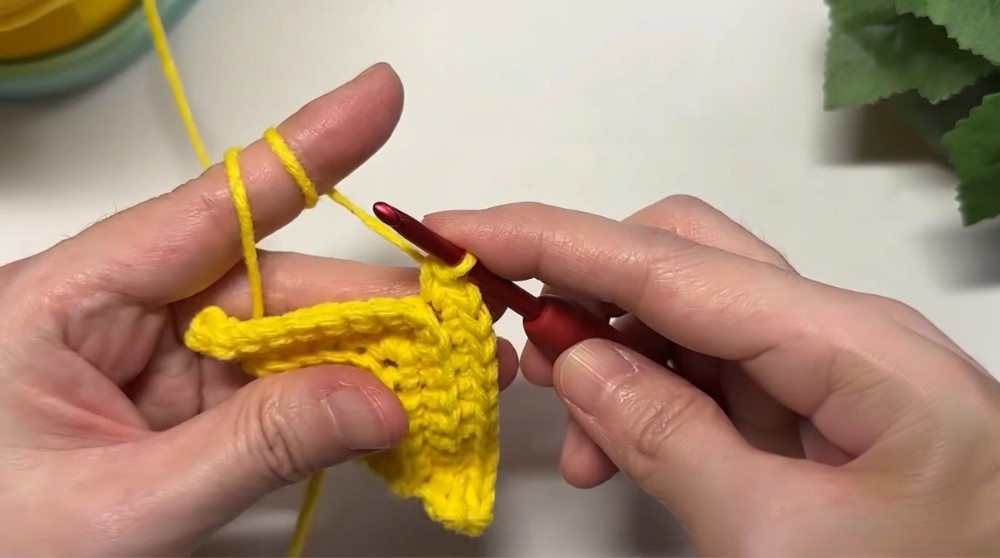
The strap is a slim, reinforced single crochet strip.
- Begin the Strap
- Leave a long tail at the start for sewing to the bag.
- Make a slip knot.
- Ch 3.
- Row 1
- Work 1 sc in each of the next 2 ch (total 2 sc).
- Turn.
- Row 2 and Onwards
The narrator describes a method that alternates between working into a single stitch and then into a pair of loops to keep the strap neat and strong. A simple way to express it:- Each row:
- Skip the first stitch.
- Work 1 sc in the second stitch.
- Insert hook into the loop(s) at the side edge of the strap (the two loops she points out).
- Yarn over, pull through those loops, then yarn over and pull through 2 loops on hook.
- Turn.
- Each row:
- Finish Strap
- At the end, leave another long tail for sewing.
- Cut yarn.
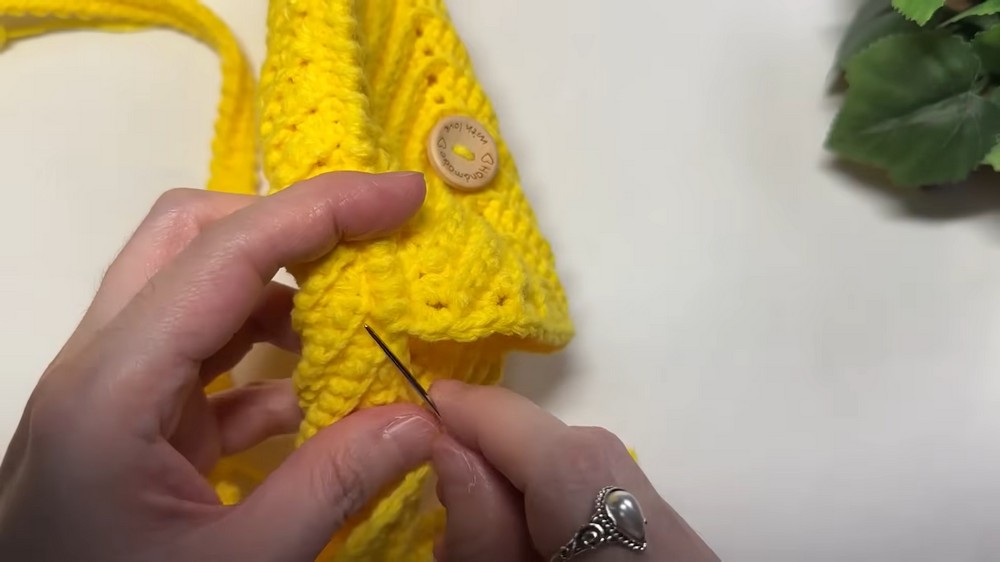
- Attach Strap to Bag
- Use a darning needle.
- Sew one strap end securely to one side of the bag near the top.
- Sew the other end to the opposite side at the same height.
- Weave in tails thoroughly.
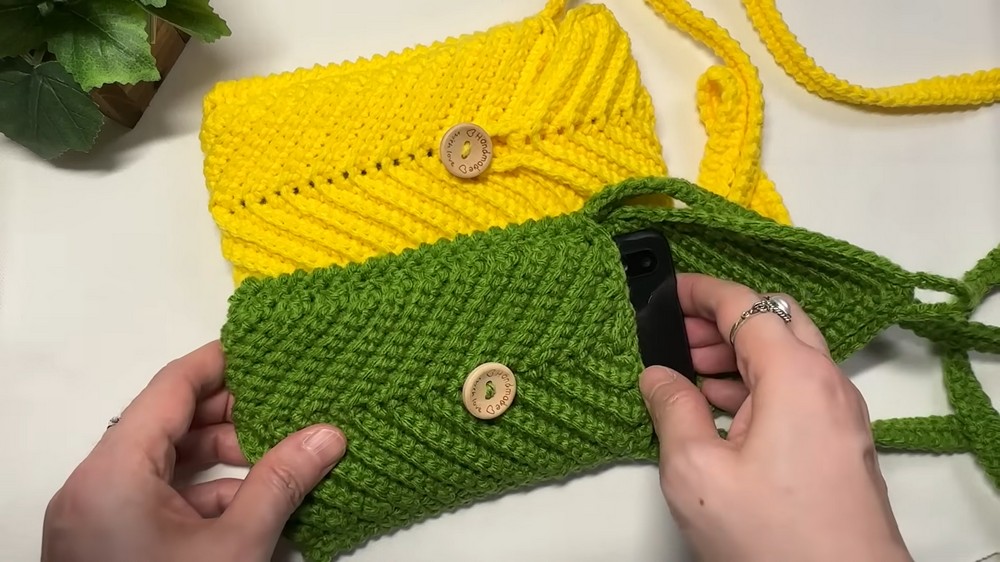
Tips and Customization Ideas
- Size Adjustments
- If your phone is smaller: work fewer rows in the main triangle, and place the button lower.
- If your phone is larger: add more rows before you begin decreasing, or continue the pattern longer, and extend the strap or adjust button placement accordingly.
- Button Loop
- Alter the chain length of the loop to match different button sizes or to allow for fingers to slip through as a small wrist loop.
- Texture
- Back-loop-only stitches create raised lines that make counting easier and give a structured look. Keep your tension even for a clean, crisp triangle.
Conclusion and Final Look
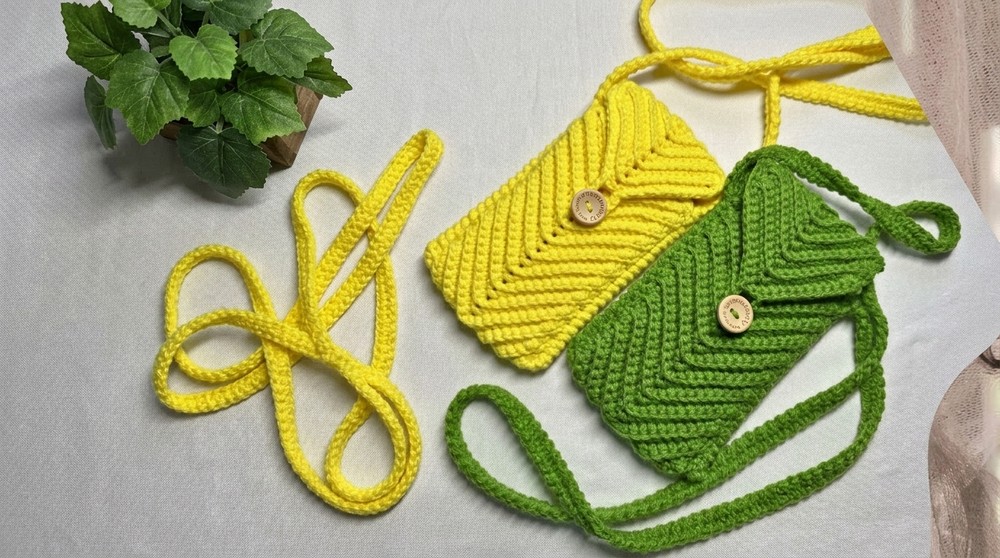
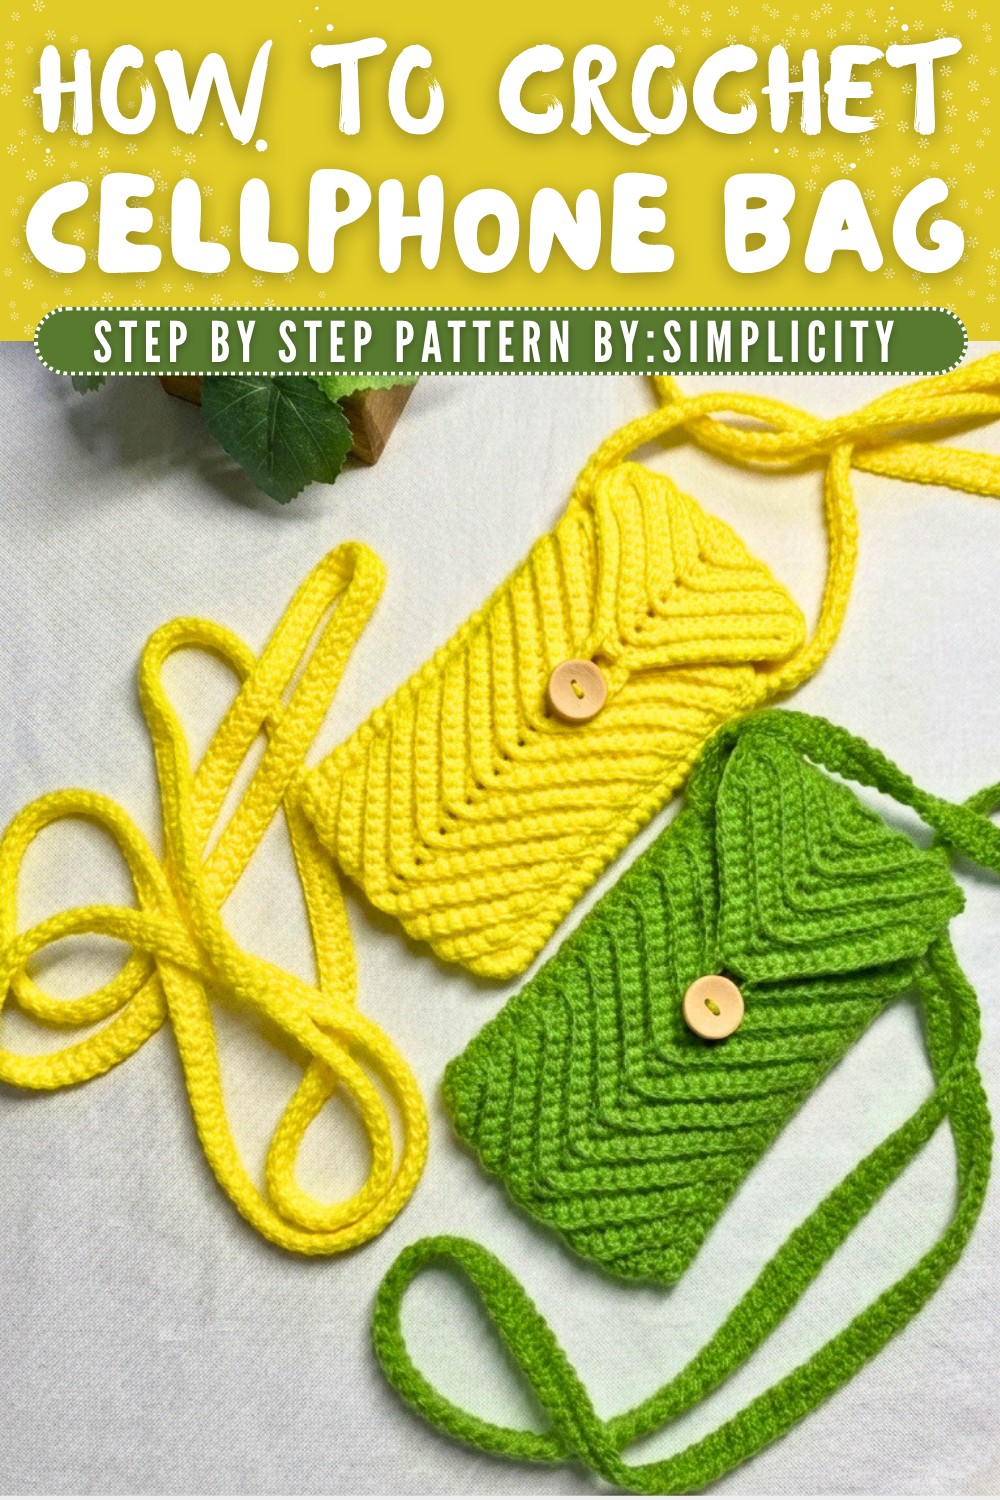
The finished bag is a stylish, triangular-flap phone pouch with:
- A textured body created entirely in back-loop-only single crochet.
- A pointed flap that is both decorative and functional, closing with a button and chain loop.
- Firm, decorative crab-stitch joins along the sides.
- A neat slip-stitched top edge and a slim, reinforced strap suitable for crossbody or shoulder use.