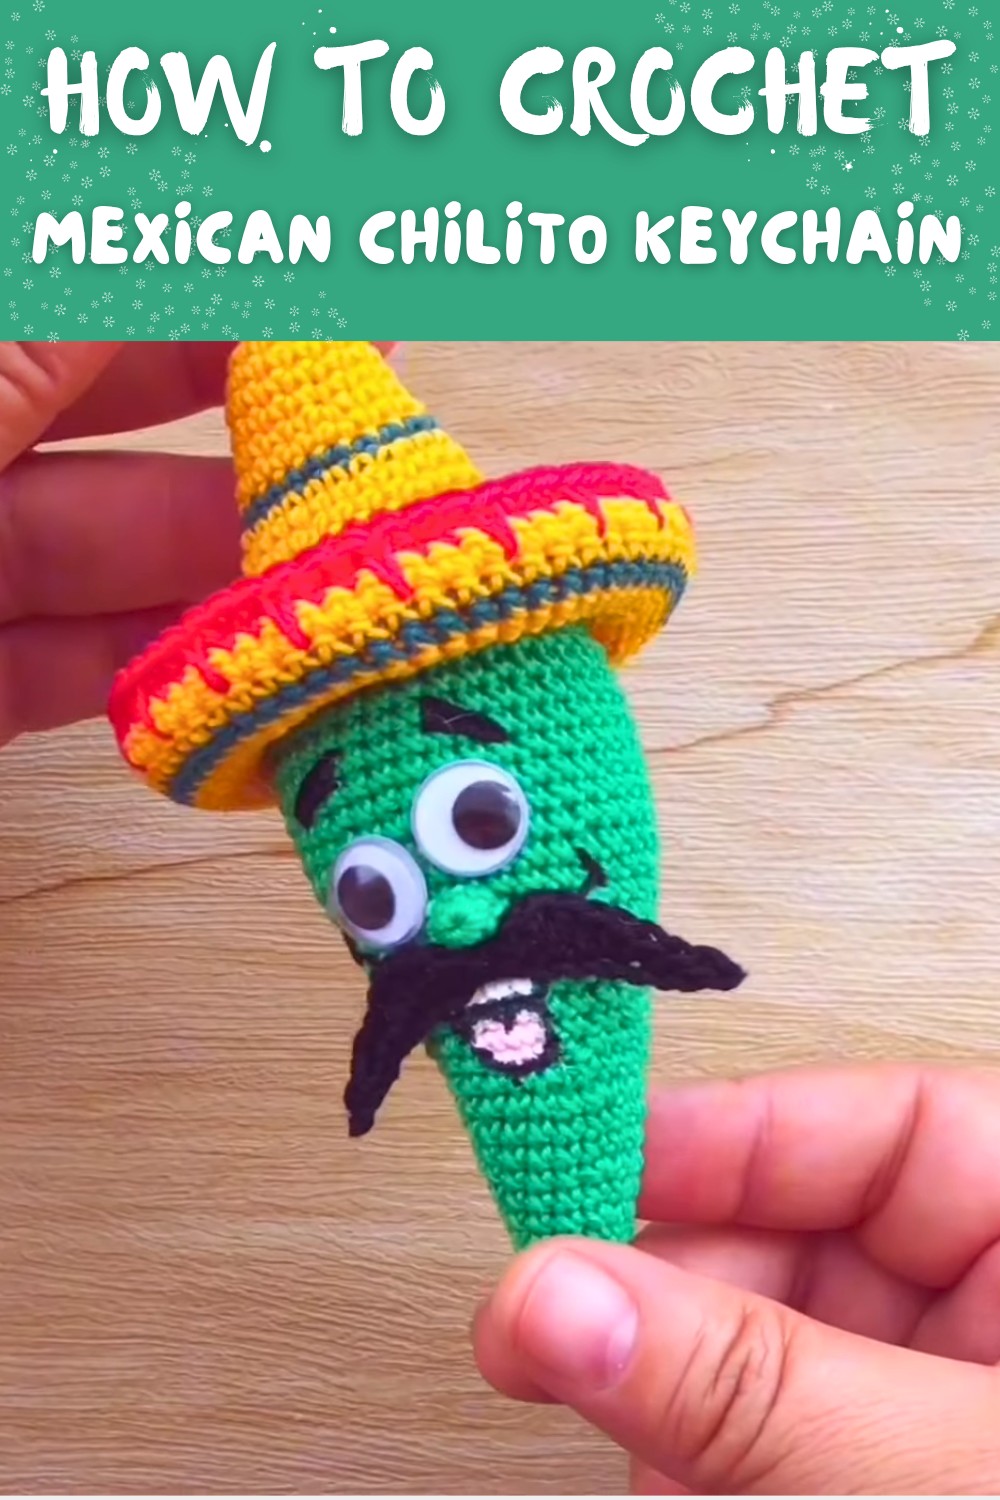
Spicy Free Crochet Mexican Chilito Keychain Pattern That Steals Every Smile
Let a tiny spicy charm brighten your day and bring smiles wherever you go with this Free Crochet Mexican Chilito Keychain Pattern that is full of bright colors.
Fun, playful, and whimsical this exciting pattern is hare to brighten your day. This Free Crochet Mexican Chilito Keychain is all about colors, smiles, and charm that will bring joy to anyone who sees it. The chilito is small and adorable with bold red, green, and yellow yarn making it stand out like a little ball of happiness. With a cheerful face, a cute mustache, and a colorful hat, this character bursts with personality and Mexican spirit. It's not just a keychain-it's a happy little companion you'll love to show off. Hang it on your backpack, your keys, or gift it to someone special-it's a sure way to make them smile.
Free Crochet Mexican Chilito Keychain Pattern Deserves a Spot Everywhere
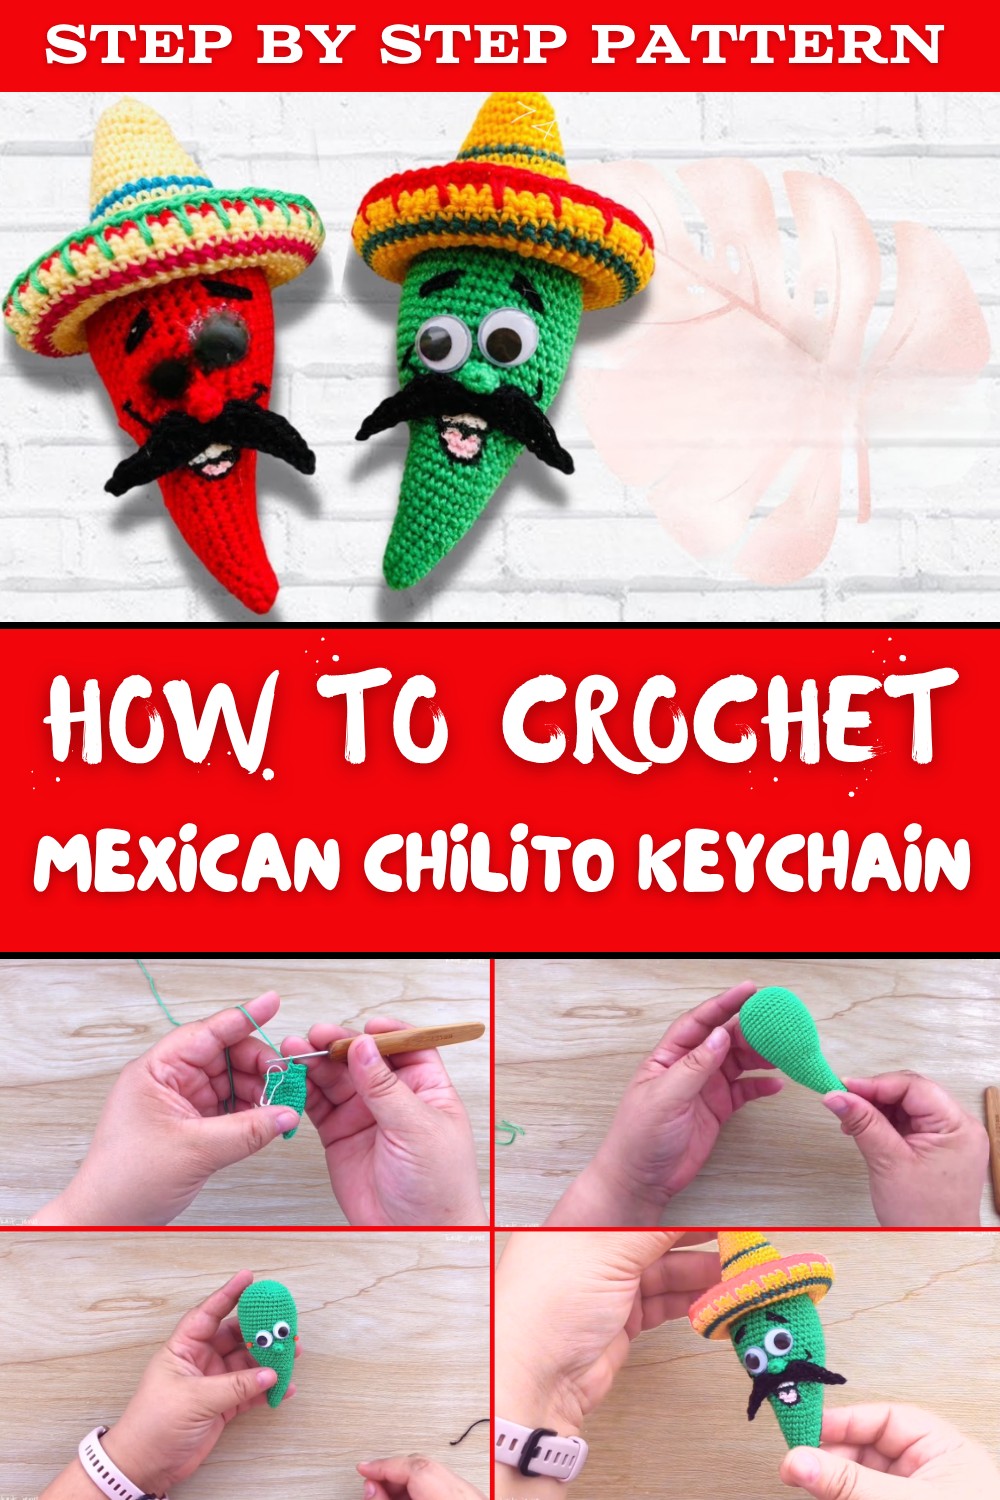
The chilito's bright colors, silly mustache, and goofy grin make it perfect for celebrations, fun outings, or just spreading positivity wherever it goes. You can use any fun colors to make it unique, give it a bigger hat, or even a wilder smile. The chilito is small enough to carry anywhere but big enough to grab attention with its playful charm.
Perfect as a little festive gift or just something cheerful to add to your collection, this keychain brings a lively touch to your everyday life. Its vibrant look and whimsical features will make kids giggle and adults love its creative appeal. Bring personality and color to your world with this charming Mexican chilito.
Crochet Pattern: Mexican Chilito Keychain with Hat (Step by Step)
Materials
You will need:
- Yarn:
- Red yarn (for the body and hat)
- Yellow yarn (for the sombrero accents)
- Green yarn (for the nose)
- Black yarn (for eyebrows, mustache, and detailing)
- White yarn (for the teeth)
- Pink yarn (for the tongue)
- Jade/Light Green yarn (for additional design)
- Crochet Hook: 2.5 mm (or adjust depending on your yarn)
- Fiberfill Stuffing: Polyester filling for the chilito's body
- Keychain Ring or Plastic Clip: Optional for attaching the chilito
- Tapestry Needle: For sewing and embroidery
- Stitch Marker: To mark the start of each round
- Scissors
- Silicone Glue (optional, for securing facial features)
Gauge
Achieving an exact gauge isn't critical for this project, but to keep the stuffing well concealed, aim for tight and even stitches.
Finished Size
The finished chilito measures approximately 8 to 10 cm (3 to 4 inches) tall, depending on your yarn and hook size.
Pattern Instructions
Step 1: Chilito Body
The chilito body is crocheted in continuous rounds, so use a stitch marker to keep track of each round.
Round 1: Create a magic ring, and crochet 6 single crochets (sc) into the ring. Pull the ring tight and join with a slip stitch (ss) into the first sc. (6 stitches)
Round 2: Work 2 sc in each stitch around. (12 stitches)
Round 3: Start with 3 sc, and then work an increase (2 sc in the next st). Repeat this sequence 6 times. (18 stitches)
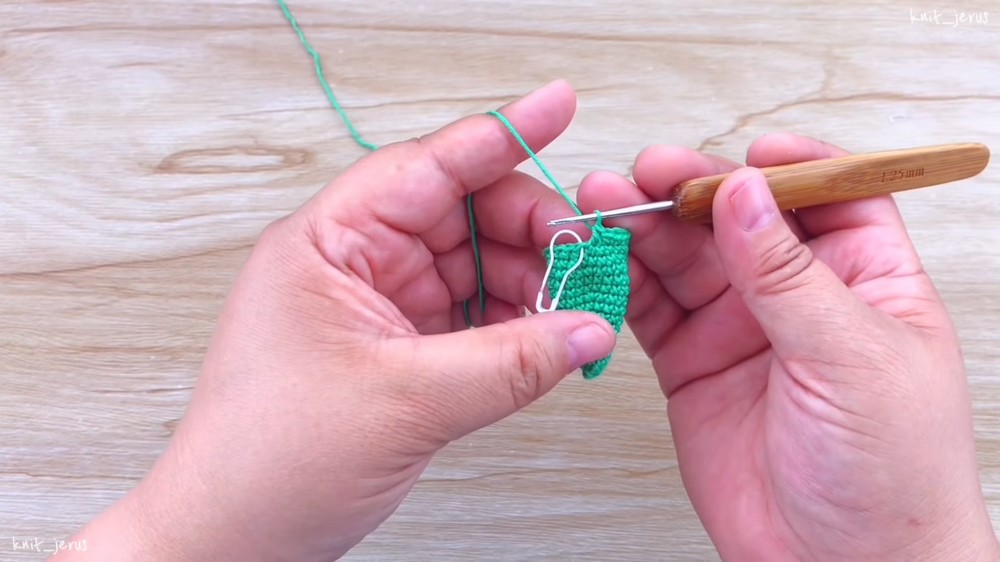
Rounds 4 to 6: Work 1 sc in each stitch around. (18 stitches per round)
Round 7: Work a sequence of 4 sc followed by an increase 3 times. (21 stitches)
Rounds 8 to 9: Work 1 sc in each stitch around. (21 stitches)

Round 10: Crochet a sequence of 5 sc followed by an increase 3 times. (24 stitches)
Rounds 11 to 18: Continue in the same way, slowly increasing by adding additional stitches between increases (e.g., 6 sc, increase; 7 sc, increase).

At the end of Round 18, you should have 45 stitches. Stop, stuff the body with fiberfill evenly, and shape it by hand as needed.

Step 2: Sombrero Hat
The charming hat is made separately and can be attached after assembling the body.
Round 1: Create a magic ring and crochet 6 sc into it. Pull the ring tight and join with a ss. (6 stitches)
Round 2: Work 1 sc in each stitch with an increase in every stitch. (12 stitches)
Round 3: Alternate between 1 sc and 1 increase. (18 stitches)
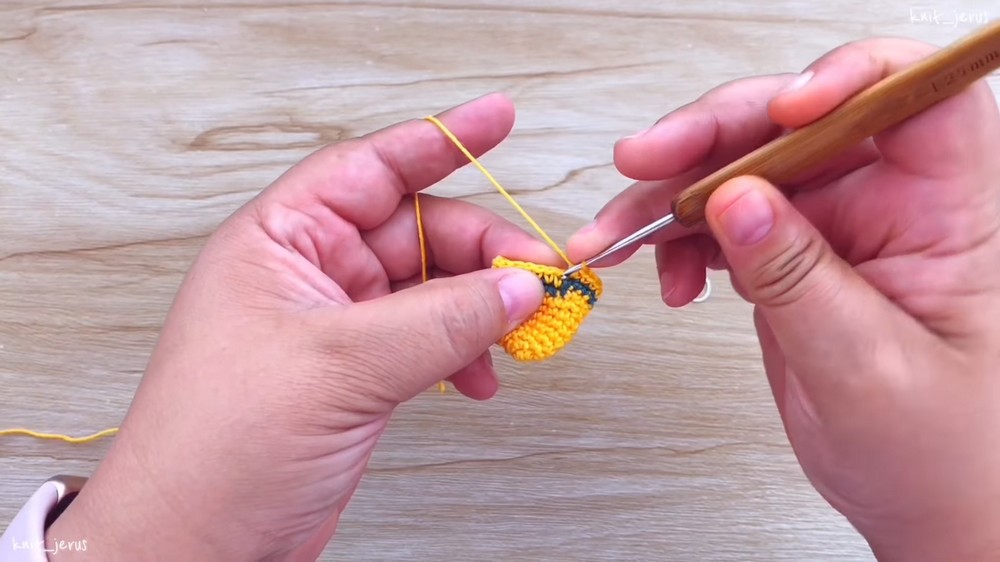
Round 4: Crochet in the back loop only (BLO) around for a clean ridge. This will allow the sombrero brim to fold neatly.
Rounds 5 to 8: Keep increasing by following this sequence for each round:
- Round 5: 2 sc, increase = 24 stitches
- Round 6: 3 sc, increase = 30 stitches
- Round 7: 4 sc, increase = 36 stitches
- Round 8: 5 sc, increase = 42 stitches
Round 9: Without increasing, crochet in BLO for the entire round to make the sombrero brim fold outward.

Change the yarn color to yellow to make a decorative edge on the brim, then crochet 1 row of slip stitches around the outer edge for a polished border. Secure the hat to the body using a needle or glue after you've completed the face.
Step 3: Mustache
- Using black yarn, chain 17.
- Start in the second chain from the hook and work:
- 1 slip stitch, 2 sc, 2 hdc, 2 dc, then reverse the sequence to end symmetrically (2 dc, 2 hdc, 2 sc, and a slip stitch in the last chain).
- Leave a long tail for sewing.
- Attach the mustache to the edge of the chilito's face, under where the nose will sit.
Step 4: Nose
- Create a magic ring with green yarn.
- Work 6 sc into the ring and pull tight. Join with a ss.
- Crochet another round of 6 sc and leave a tail for sewing.
- Attach the nose above the mustache, centering it between the eyes.
Step 5: Eyes
- You can crochet tiny circles in black and white for cartoon like eyes:
- Magic ring with 3 sc in white.
- Switch to black yarn and increase stitches to make a small black pupil.
- Alternatively, use beads, buttons, or googly eyes as embellishments.
- Position and sew the eyes slightly above the nose.

Step 6: Smile and Tongue
- Smile: Use black yarn to embroider a playful smile just below the nose. Start stitching from one side, curving slightly downwards toward the center.
- Tongue:
- With pink yarn, embroider a small heart shape or oval within the smile area.
- Use a lighter shade of black to add subtle contours for shading.
Step 7: Attaching the Hat
- Place the sombrero slightly tilted to the side of the chilito's head.
- Sew it into place using a tapestry needle or secure it with glue for a less permanent option.

Customization Ideas
- Make it Colorful: Use bright, festive hues like orange, blue, or purple to add a burst of personality to your chilito.
- Add Embellishments: Add pom poms, beads, or a small embroidered flag to make it unique.
- Vary the Size: Adjust the size by increasing or decreasing the number of stitches in the early rounds.
Finishing Touches
- Secure loose yarn ends by weaving them into the body or hat with a tapestry needle.
- Adjust the fiberfill stuffing to ensure the body is smooth and evenly shaped.
- Block the chilito lightly if necessary to set the stitches neatly.
Final Remarks
Your whimsical Mexican chilito is now ready. Its playful expression, bold red hat, and vibrant details make it a standout crochet project that's perfect for gifting, decorating during celebrations, or simply showcasing your crochet skills. This compact yet festive design allows plenty of room for personalization, ensuring your chilito stands out in a crowd.
Have fun crocheting, and remember to experiment with variations to make this pattern uniquely yours. Celebrate creativity while paying homage to Mexican culture with your charming chilito.