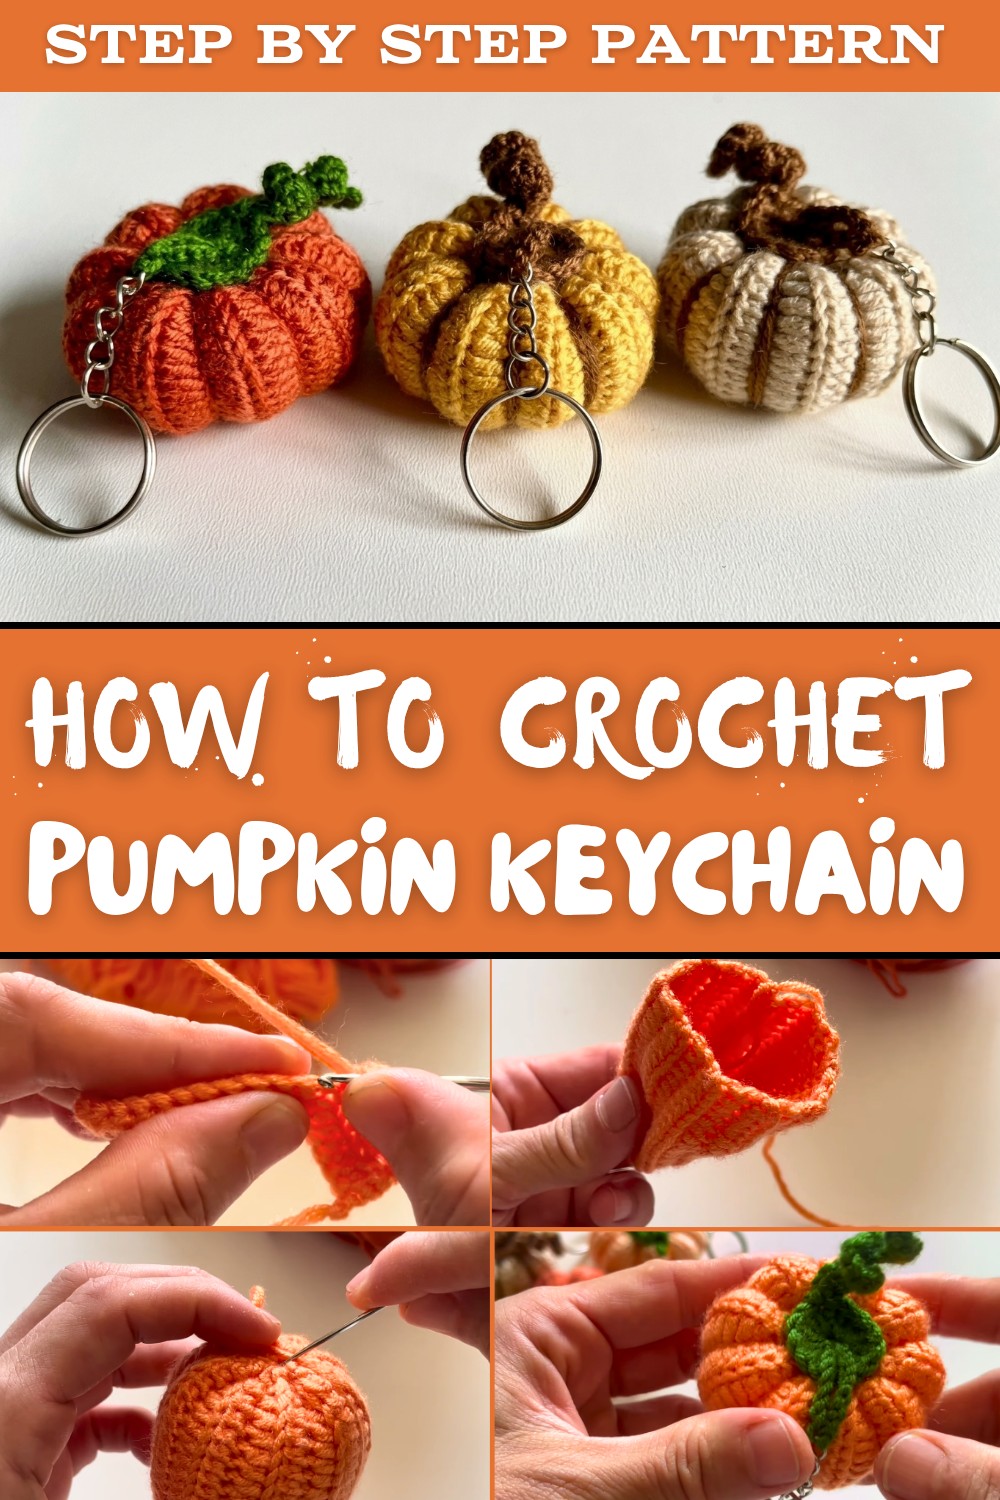
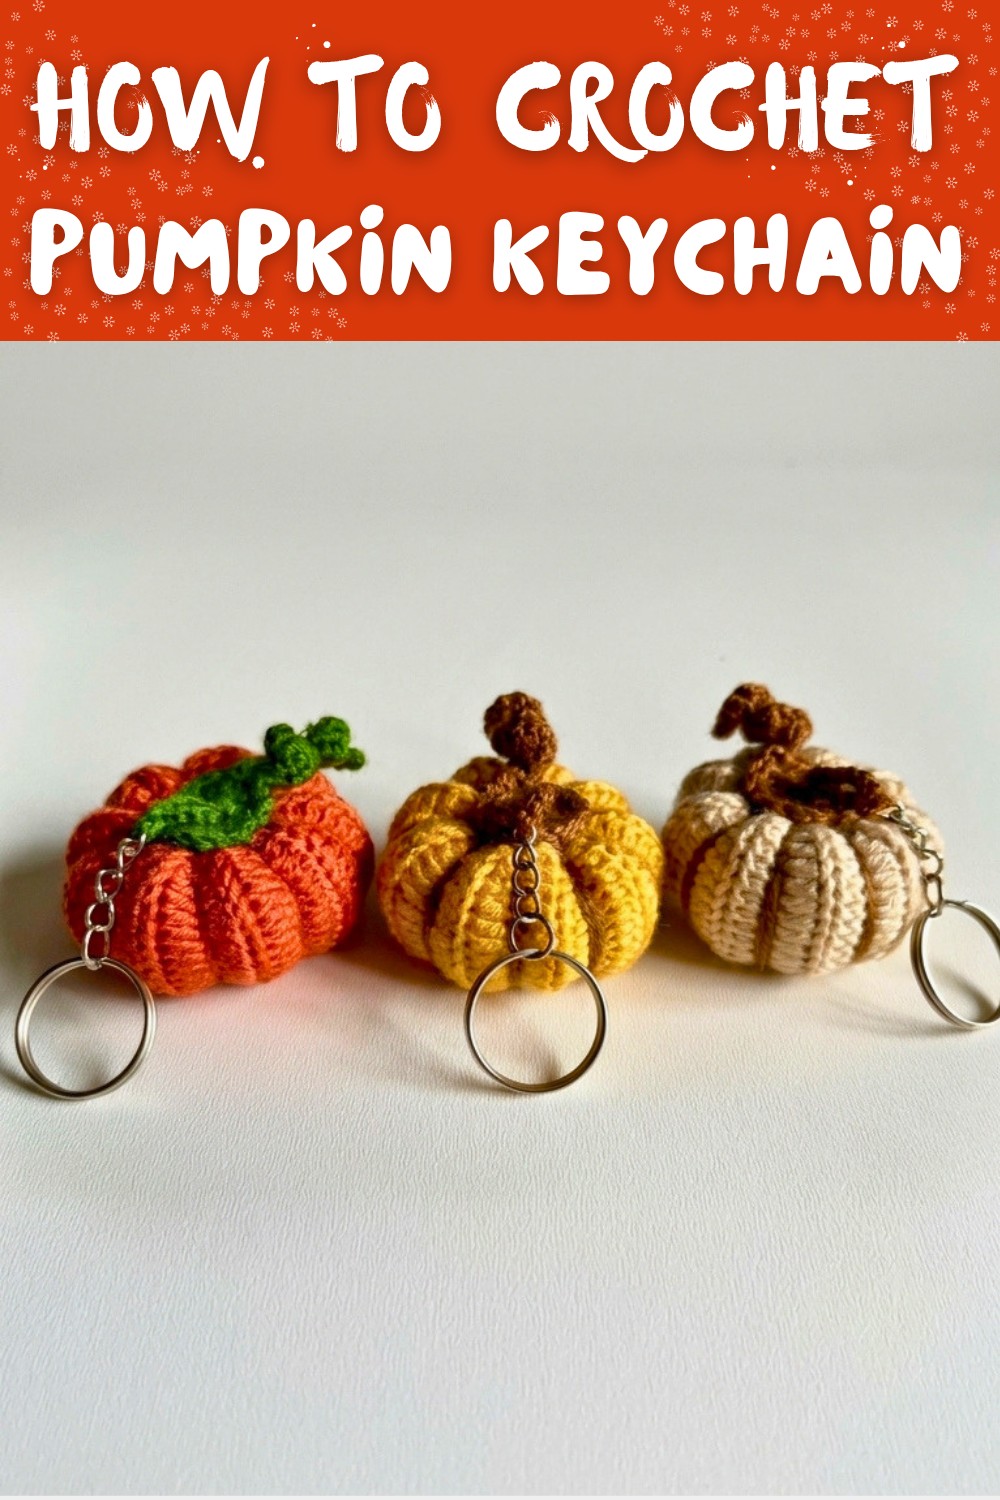
Free Crochet Pumpkin Keychain Pattern For Cozy Fall Style Fun
Convert simple yarn into a cozy autumn treasure with this free crochet pumpkin keychain pattern that makes a cute and charming accessory for your bags, or even a gift.
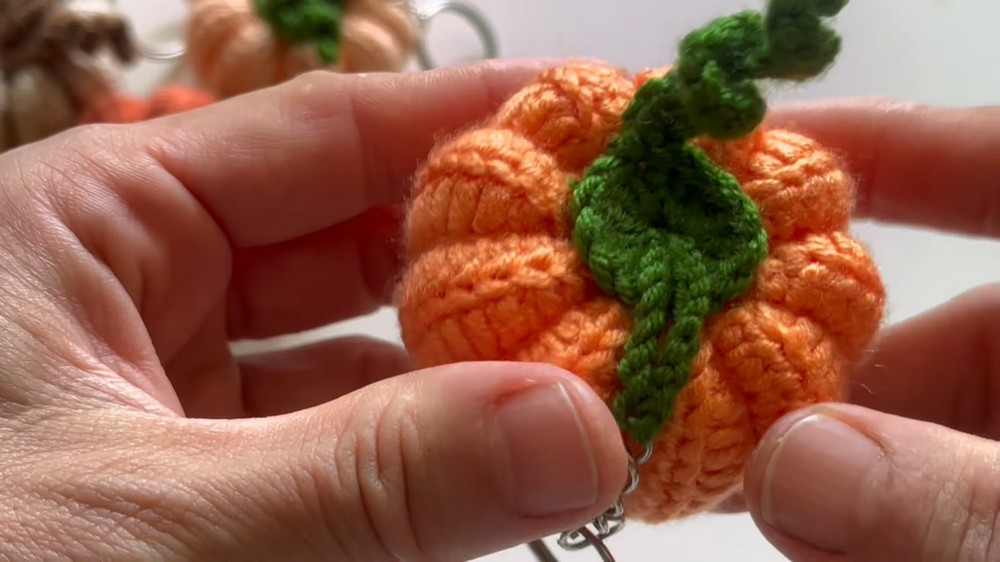
if you just look to bring a cozy fall vibe to your everyday items or add a charming handmade detail to your accessories, this adorable pumpkin keychain is just the project for you. This pattern creates a tiny pumpkin that fits perfectly in your hand. Its round shape, bold ridges, and smooth finish make it look just like a real pumpkin. The bright colors you can use, like orange for the pumpkin or green for the leaves, make it decorative and lovely.
Cute Crochet Pumpkin Keychain Free Pattern For Autumn Accessories
This keychain is not only beautiful but is also very useful. You can hang it on your backpack, attach it to your house keys, or use it as a fun charm on your purse. It's lightweight and small enough to carry everywhere. The pumpkin has a simple but detailed design with soft stitching that gives it a natural look. The little stem on top and optional crochet leaf add even more charm.
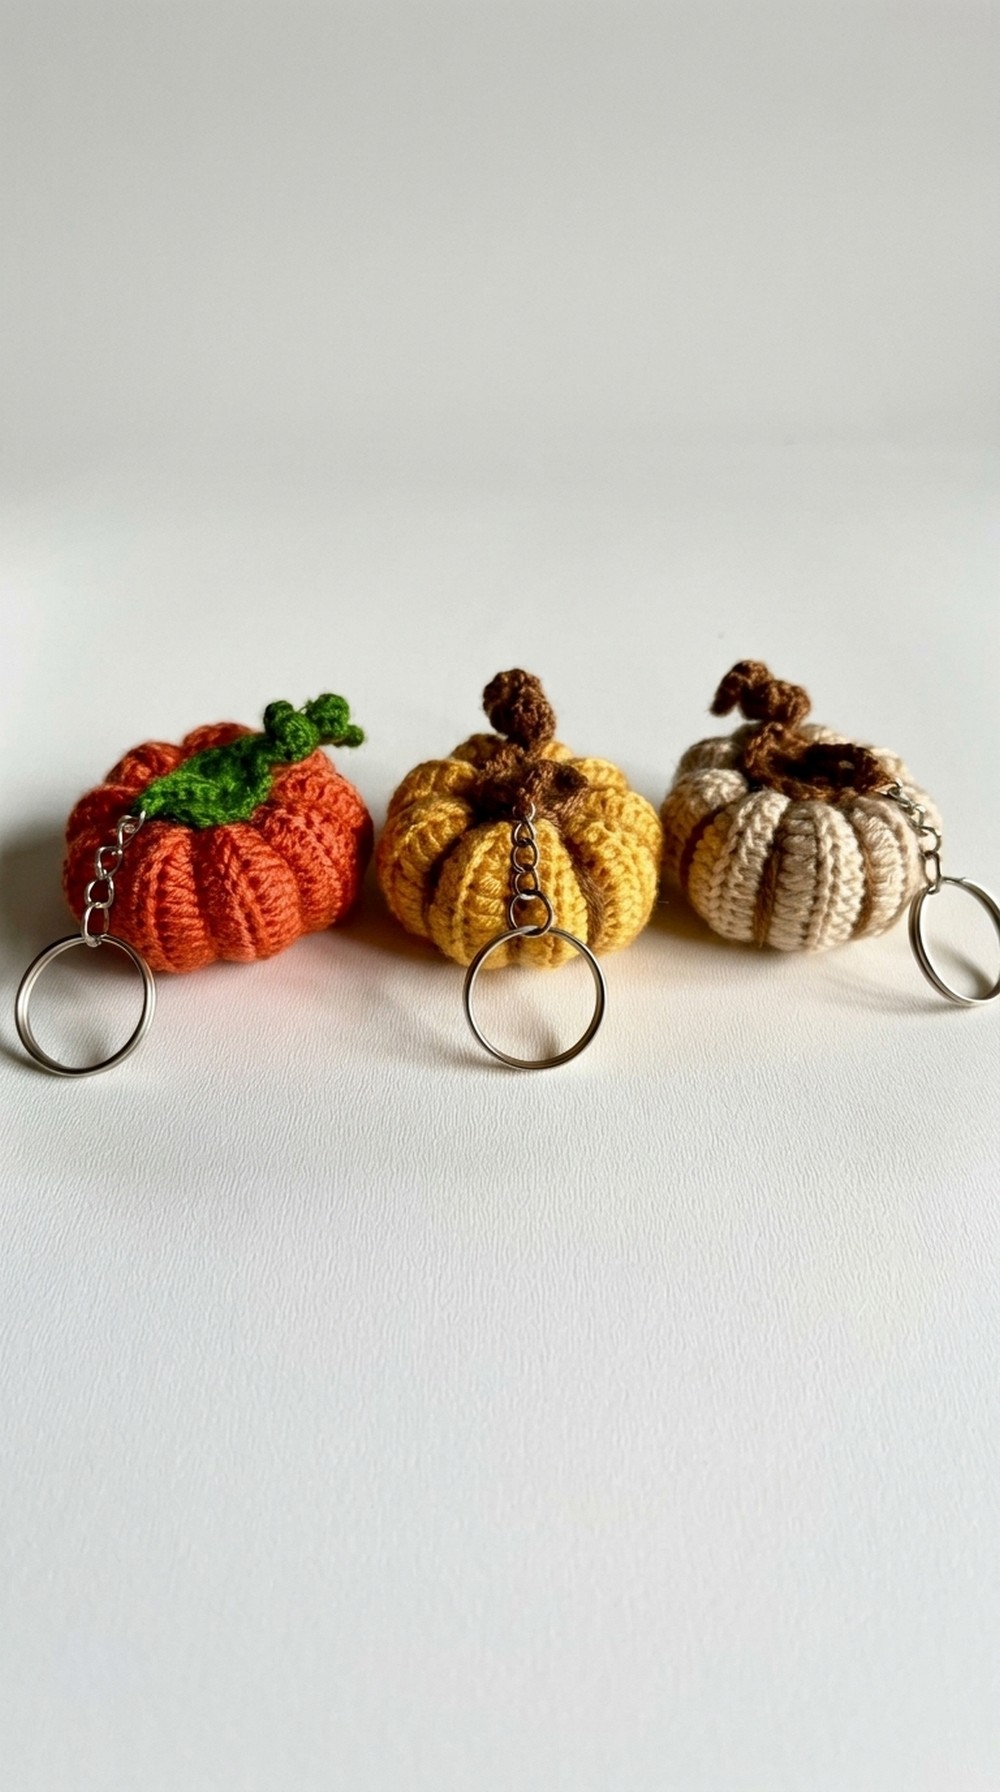
You can make it with different colors, like white or yellow, for a special touch. You can even add little beads, embroidery, or stripes to make it stand out. The pattern is easy to follow and uses basic crochet techniques, so it's perfect for children and adults alike.
This crochet keychain also makes a great handmade gift for fall or Halloween. Its cuteness and practicality make it truly special. With just a little yarn and creativity, you can make your own adorable pumpkin keychain to treasure or gift to someone you love.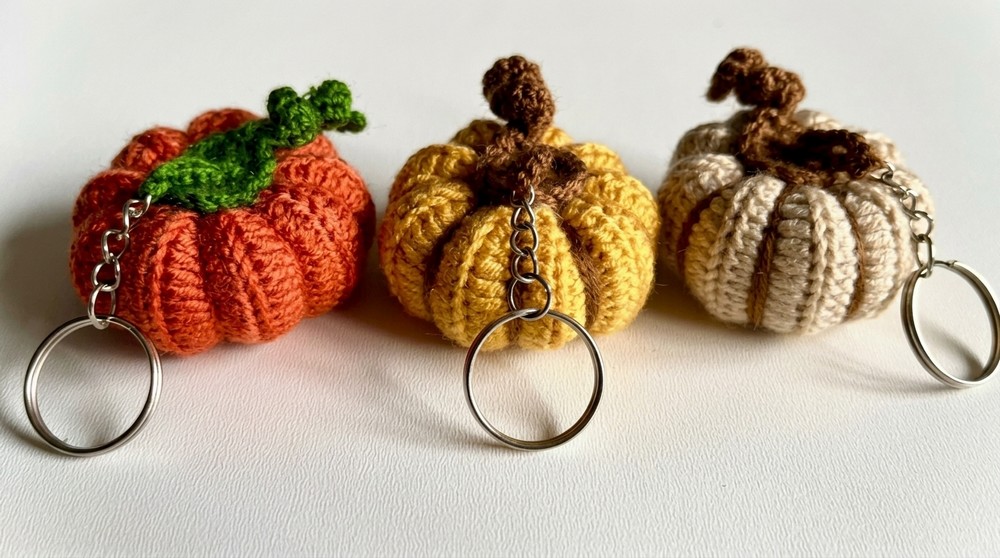
Crochet Pumpkin Keychain Pattern
Finished Size
The finished pumpkin keychain will measure approximately 7 cm (2.75 inches) in diameter and about 4 cm (1.5 inches) in height, excluding the leaf and stem. This measurement may slightly vary depending on your gauge, tension, and materials.
Materials
To make your adorable pumpkin keychain, gather the following materials:
- Yarn: Medium weight (DK/light worsted) yarn in:
- Pumpkin color (e.g., orange, white, or any preferred color).
- Green or brown for the leaf and stem.
- Hook Size: A 1.75 mm crochet hook for tight stitches.
- Stuffing: Small amounts of polyester fiberfill or cotton for stuffing.
- Silicone Glue: For attaching the keychain parts or optional sewing needle if you prefer stitching.
- Keychain or Ring: Standard hardware (metal ring or clasp).
- Scissors: For cutting yarn.
- Tapestry Needle: For finishing and sewing small sections.
Gauge
Gauge is not critical for this project since it is a keychain. However, if you stick to the recommended yarn and hook sizes, your pumpkin will measure approximately 7 cm in diameter. To stay proportional, keep your stitches tight and even.
Tips for Success
- Tension Matters: Work your stitches tightly to prevent any stuffing from peeking through.
- Practice First: If you're new to crocheting techniques like magic rings or back-loop stitches, practice them before starting.
- Use a Stitch Marker: Always place a marker to keep track of the start of each round.
- Experiment: Feel free to play around with color combinations or embellishments to make your keychain uniquely yours.
Pattern Notes
- This pattern is worked in rows for the body and then gathered to form the pumpkin.
- US terminology is used throughout.
Pattern Instructions
Step 1: Pumpkin Body
- Foundation Chain:
- Begin by chaining 20 stitches loosely.
- This will determine the width of your pumpkin, so you can adjust for a smaller or larger size as desired.
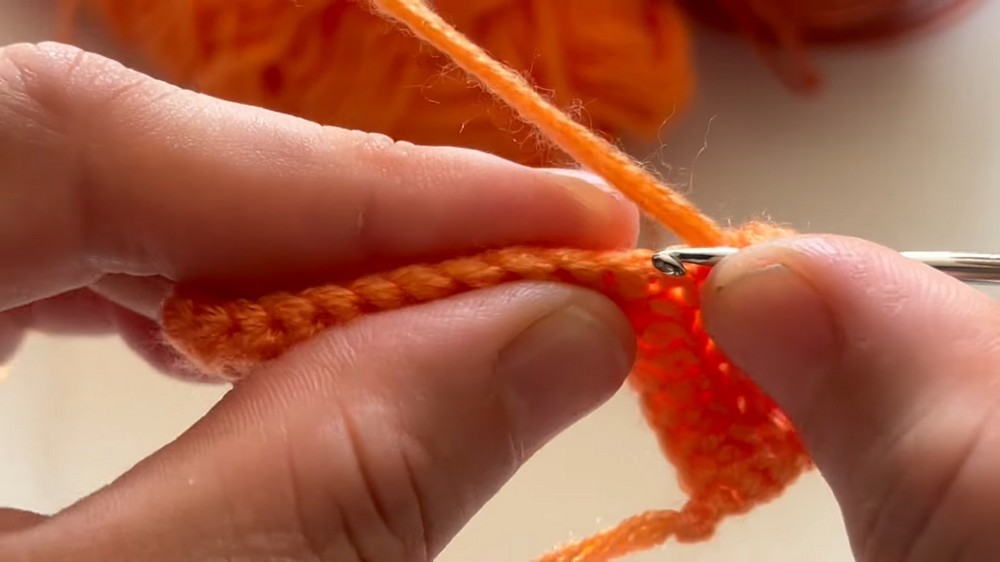
- Row 1:
- Skip the first chain from the hook and make a half double crochet (hdc) in the second chain.
- Work hdc stitches across the chain, ending up with 18 hdc in total.
- Rows 2-18:
- Chain 2 and turn your work.
- Work hdc stitches in the back loop only (BLO) across the row.
- Repeat this step for a total of 18 rows, creating a textured rectangular piece.
- Joining the Edges:
- Fold your rectangular piece lengthwise, making sure the right side (the side showing the ribbing) is facing inward.
- Join the edges together using slip stitches, working through both loops on each side. This creates a cylindrical tube like shape.
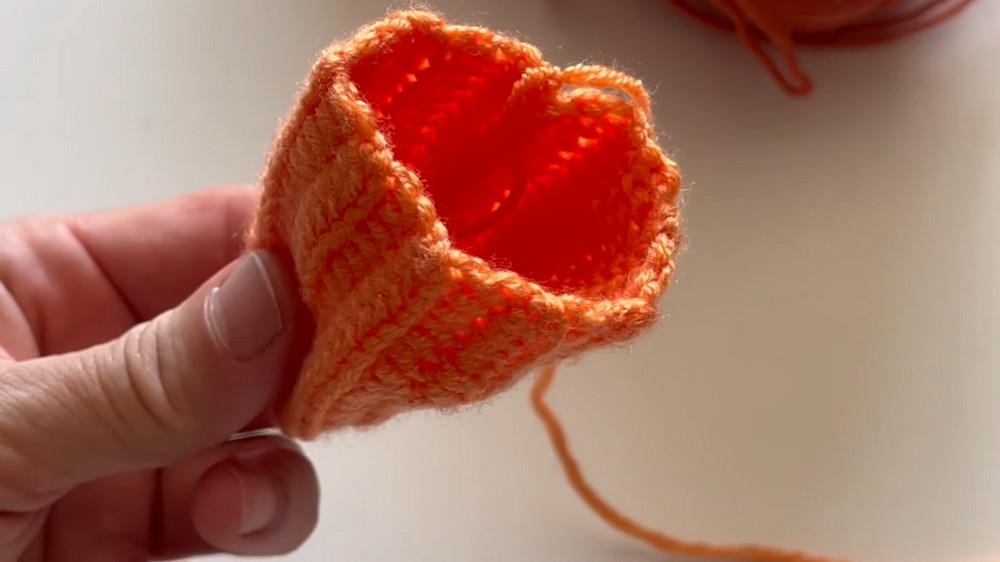
Step 2: Stuffing and Closing the Pumpkin
- Gathering One End:
- Thread a long piece of yarn through a needle.
- Use the needle to weave through the edges of one open side of the cylinder.
- Pull the yarn tightly to gather the fabric and completely close the opening.
- Secure with a knot.
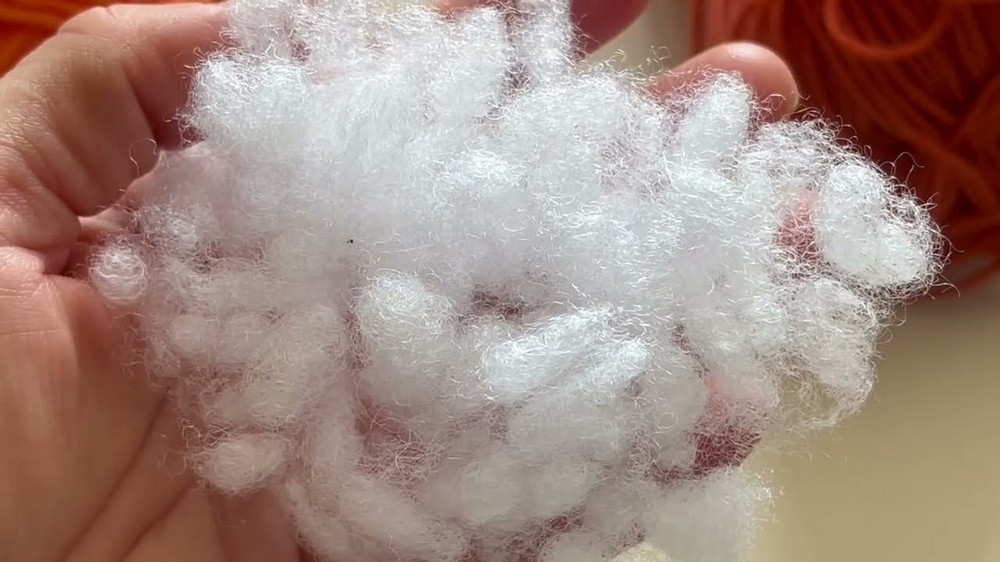
- Stuffing:
- Turn the pumpkin right side out so the textured ridges face outward.
- Firmly stuff the pumpkin with fiberfill to your desired fullness. Ensure the shape is even but not overstuffed.
- Closing the Top:
- Repeat the gathering process on the remaining open side.
- Pull the yarn tightly to close the top, securing with a knot.
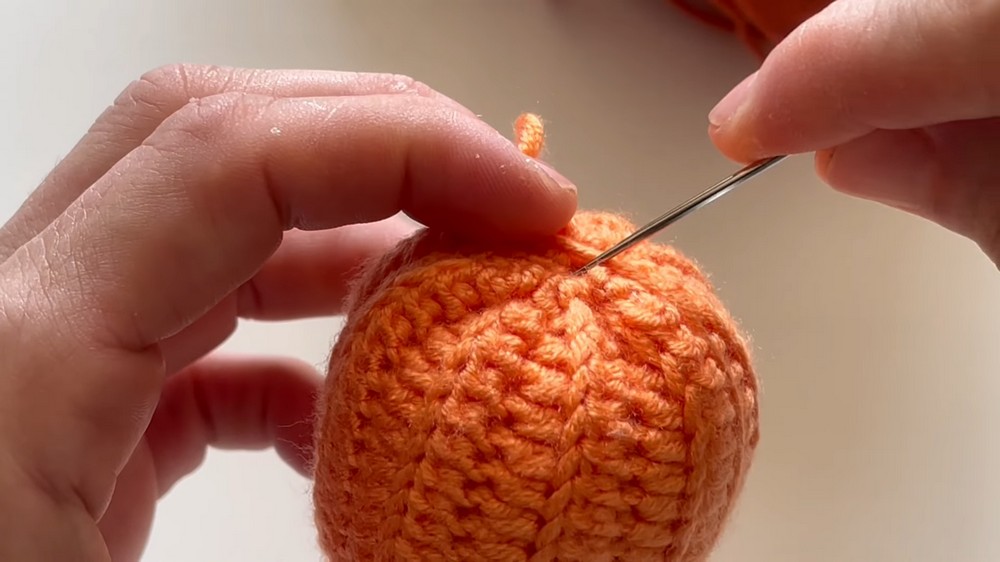
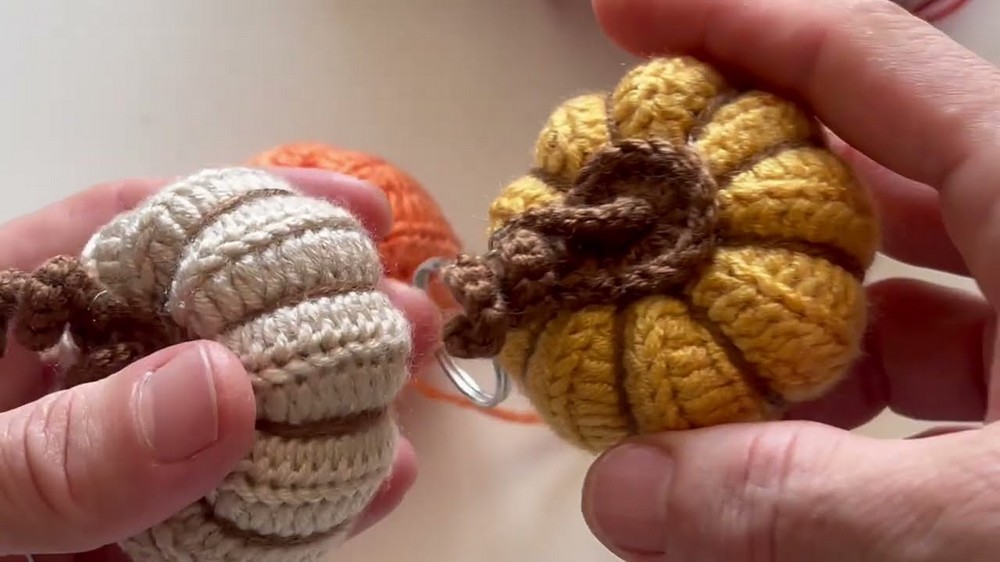
Step 3: Creating Pumpkin Sections
- To create those iconic pumpkin ridges, thread a long piece of yarn on a tapestry needle.
- Insert the needle through the top of the pumpkin, pull it down to the bottom, and back through the top.
- Pull the yarn tightly to create an indentation (a dimple) in the pumpkin's surface.
- Repeat this process around the surface, dividing the pumpkin into 6-8 equal sections.
- Once you've defined all the sections, secure the yarn at the top or bottom with a knot and trim excess.
Step 4: Stem
- Magic Ring (Beginner Friendly Option Below):
- Use brown or green yarn and create a magic ring.
- Chain 2 and work 14 half double crochets (hdc) into the ring.
- Pull the ring tightly to close and slip stitch into the first hdc to secure.
- For a More Defined Look:
- Chain 6 and work single crochets (sc) back across. Slip stitch to the base of the ring. This will create an extended textured stem.
Beginner Friendly Option: If you're new to magic rings, you can start with a slip knot, chain 2, and work 14 half double crochets into the second chain from the hook.
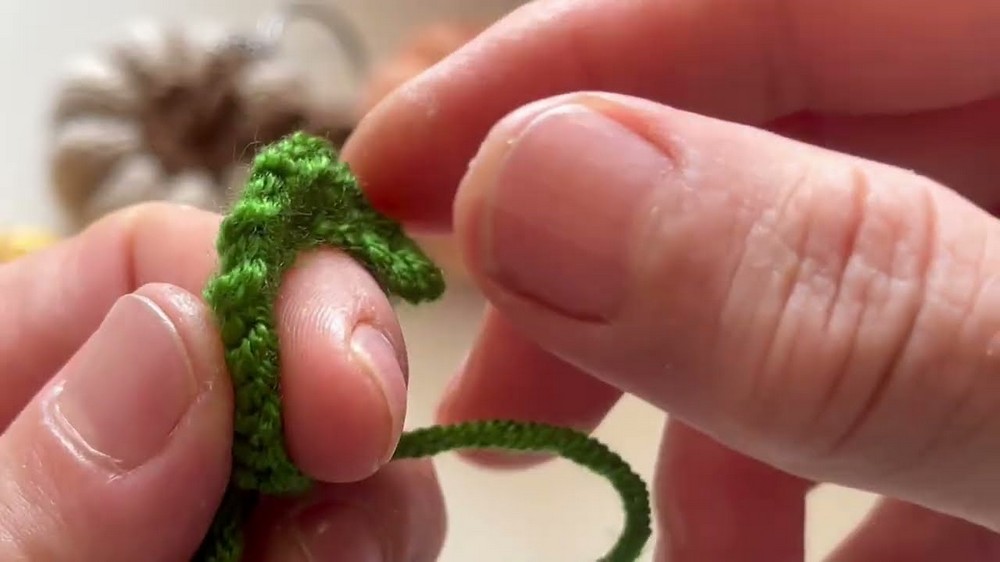
Step 5: Leaf (Optional)
- Start with green yarn.
- Create a magic ring, then chain 12 for the leaf.
- Work single crochet (sc) stitches back down the chain to the ring. Repeat several times for a fuller look.
- Secure the ring and trim excess yarn. Shape the leaf gently with your hands.
Step 6: Keychain Attachment
- Take your keychain hardware and loop it through the stem or top of the pumpkin.
- If needed, crochet a small loop using chain stitches (6-8 chains) for added flexibility.
- If you're using silicone glue, apply a small amount to secure the keychain hardware to the stem directly.
Step 7: Assembly
- Attach the stem to the top of the pumpkin using glue or by sewing it on with matching yarn.
- Add the leaf next to the stem, gluing or stitching it into place.
- Embellish your pumpkin with additional accessories, such as small buttons, beads, or embroidery if desired.
Special Techniques
- Back Loop Only (BLO): Working into the back loop of each stitch creates the pumpkin's texture.
- Magic Ring: This technique is great for starting circular parts tightly without leaving a hole.
Customization Ideas
- Colors: Experiment with different colors like white for ghost pumpkins or burgundy for a chic fall theme.
- Patterns: Create striped pumpkins by alternating colors every few rows.
- Size: Use thicker yarn and a larger hook for a bigger pumpkin, or switch to thinner yarn for a mini version.
Conclusion
With this step by step pattern, you've crocheted a charming pumpkin keychain that makes for a great seasonal decoration, a gift, or a personal accessory. Its compact size and customization options make it the perfect project to experiment with different styles and techniques. Whether you stick with traditional pumpkin colors or explore fun variations, the result will always be adorable.
Remarks on Final Look
- The finished pumpkin should have a smooth, round shape with distinct ridges and a neatly defined top and bottom.
- Ensure all parts, like the stem and leaf, are securely attached, especially if the keychain will be used daily.
- Play around with embellishments like embroidered facial features for Halloween or beads for whimsical detail.