
Step-by-Step Crochet Cloud Scarf Pattern for Beginners
Boost your home's cozy vibe with a free crochet cloud pattern that creates a soft and charming accent for any space or project effortlessly.
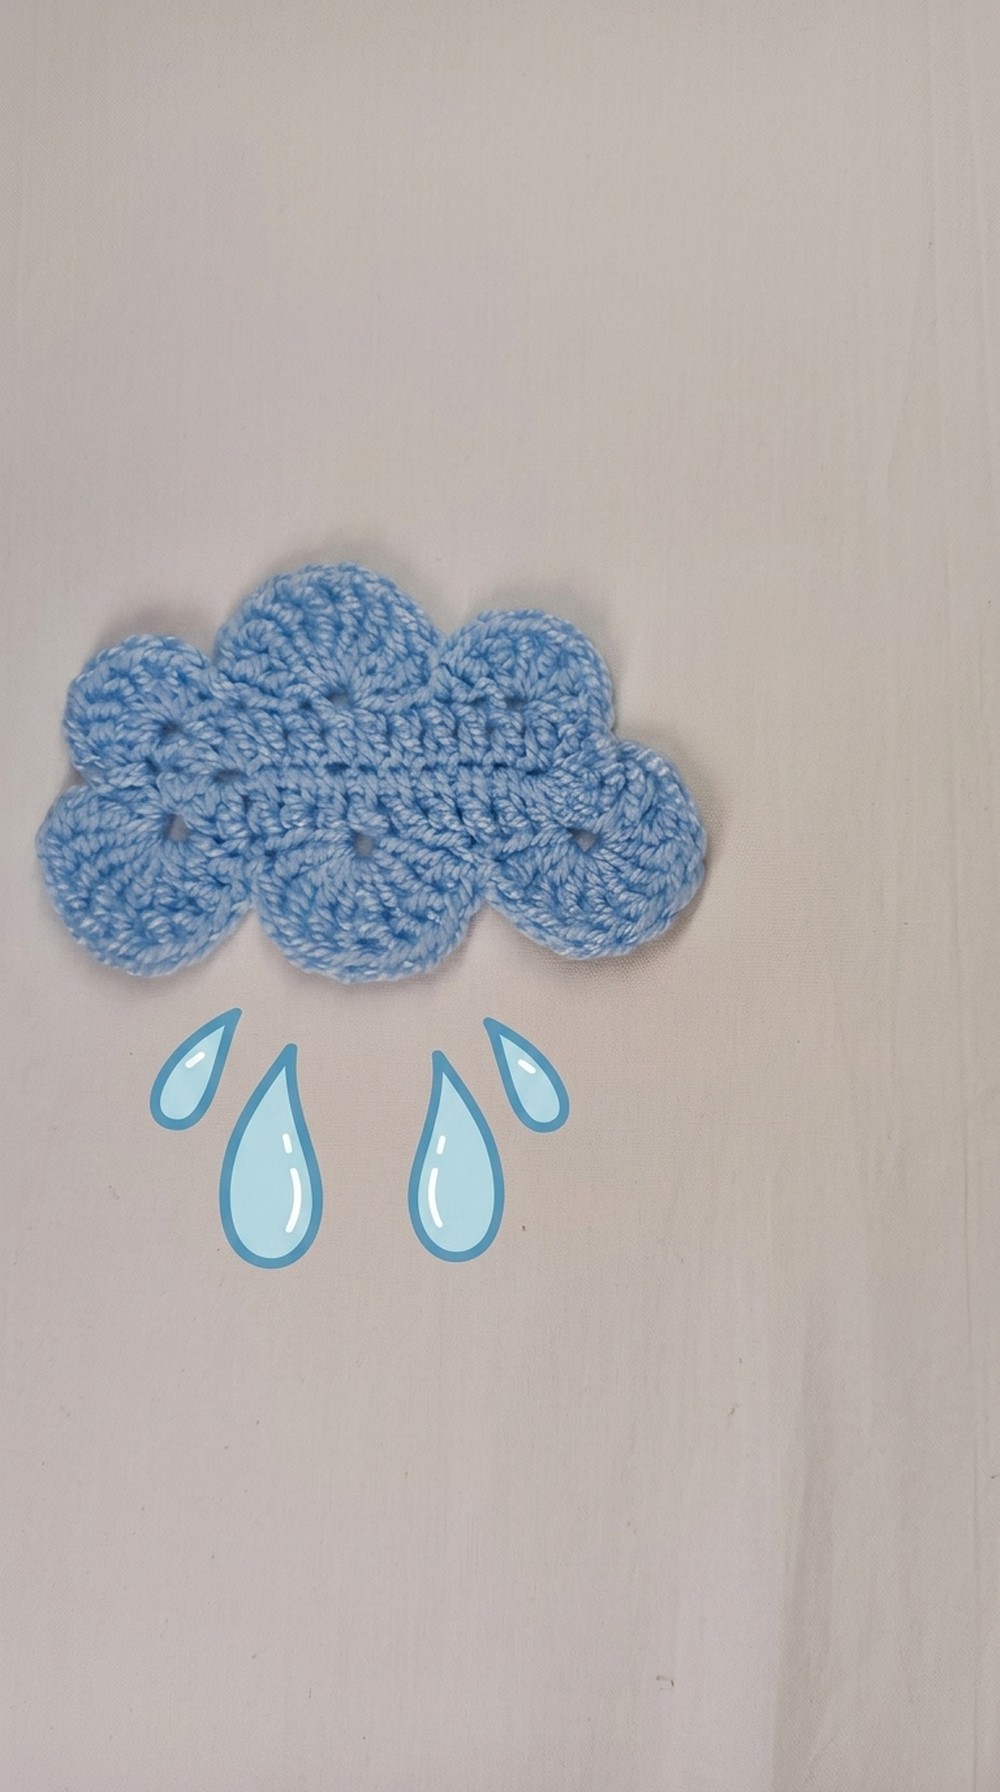
Soft shapes often bring a calm feeling and add a gentle touch to everyday spaces. A fluffy cloud inspired piece can instantly make a room feel more cheerful warm and welcoming. The Crochet Cloud pattern is a wonderful way to create a cute decorative item that looks light playful and full of charm. Its rounded shape and soft appearance make it attractive for people of all ages especially children who enjoy sweet and friendly designs.
Easy Crochet Cloud Pouch Perfect for Small Accessories

This lovely cloud can be used in many creative ways. It looks beautiful in nurseries bedrooms play areas and reading corners. It can be displayed on shelves attached to wall decorations or added to themed room designs for a dreamy look. The simple shape also makes it a great choice for gifts because it carries a peaceful and comforting feeling. Its friendly appearance helps create a relaxing atmosphere and adds a touch of happiness to any space.
The Crochet Cloud pattern is easy to understand which makes it suitable for beginners who want a fun and rewarding project. The finished cloud has a neat and soft look that works well on its own or alongside stars moons and other decorative pieces. Different color choices can give each cloud its own personality and style while keeping the design simple and appealing.

This charming creation offers more than decoration alone. It adds warmth creativity and a gentle visual touch to everyday surroundings. Its playful design encourages imagination and helps make ordinary spaces feel more inviting. Whether used as room decor a thoughtful gift or part of a larger display this lovely cloud brings comfort beauty and a peaceful feeling wherever it is placed. It is a simple yet delightful project that fills a space with softness joy and a touch of sky inspired magic.
Charming Crochet Cloud Ornament Pattern
Create a whimsical, textured crochet cloud using this beginner-friendly pattern! This charming piece employs classic double crochet stitches to build a fluffy effect, perfect for home decor, gifts, or playful accents. Let's dive into creating your own charming crocheted cloud.
Before You Start: Important Notes and Preparations
- Use medium-weight yarn; a single strand of worsted yarn or doubled lighter yarn provides good fullness. The example uses a single medium yarn in a bright color for visibility.
- Crochet hook size 4 mm is recommended for a balanced fabric - adjust hook size for tighter or looser fabric as preferred.
- Have scissors, tapestry needle, and stitch markers on hand to weave ends and track progress.
- Prepare a comfortable workspace with good lighting and a yarn ball or skein arranged for smooth pulling.
- Familiarize yourself with double crochet (dc) and single crochet (sc) stitches, as these form the basis of this pattern.
- The pattern creates a rounded cloud shape, works flat and then back along the wrong side for a smooth finish.
- Plan to hide yarn ends as you crochet for a tidy finish.
- Gauge is flexible since the piece is decorative; however, consistent tension ensures smooth shaping.
Pattern Clarifications & Essential Guidance
- Pattern starts with a foundation chain of 13 stitches.
- Skip the first 3 chains to begin double crochet row, working dc stitches into remaining chains.
- Large clusters of long (double crochet) stitches are worked into single stitches to create puffed, cloud-like texture.
- Work progresses across foundation chain, then continues on the reverse side to complete the double-sided cloud shape.
- Cluster stitches (6 or 7 dc into one stitch) form the puffy parts of the cloud.
- Spaces of skipped stitches between clusters create the natural shape and curve.
- Pattern includes repeated sequences with stitch counts for shaping.
- Final finishing includes cutting yarn and securely weaving ends to prevent unraveling.
Overview of Construction Process
- Tie a slip knot and create a foundation chain of 13 stitches.
- Work 8 double crochets along chain skipping first 3 chains for turning height.
- Work 6 double crochets clustered into the last chain stitch to form the bulge.
- Continue on opposite side of foundation by repeating double crochets into chain stitches, with skipped stitches between clusters to create lacy texture.
- Repeat cluster and spacing rows to build out the cloud shape symmetrically.
- Finish with final clusters and single crochet join to secure shape.

Skill Level
This is a comfortable beginner/intermediate project, ideal for those familiar with double crochet, single crochet, foundation chains, and cluster stitch basics.
Finished Dimensions
- Approximate width: 15 cm (6 inches), depending on yarn and tension.
- Approximate height: 10 cm (4 inches).
- Dimensions vary slightly with yarn type and hook size.
Materials Required
- Medium-weight yarn (worsted or DK), approx. 50 grams (less than one skein needed).
- Crochet hook size 4 mm.
- Scissors.
- Tapestry needle for weaving in ends.
Size and Measurement Information
- Chain 13 stitches for foundational width.
- Repeat rows until cloud reaches desired height (suggested 7-10 rows).
- Adjust hook size and yarn for larger or smaller cloud.
Gauge Details
- Gauge not critical; focus on consistent tension to maintain shape.
- Approximate gauge: 14 dc stitches and 9 rows per 10 cm.
Common Stitch Abbreviations
- ch: chain
- sc: single crochet
- dc: double crochet
- sl st: slip stitch
- st(s): stitch(es)
Explanation of Special Stitch Techniques
- Cluster of Double Crochets: Multiple double crochet stitches all worked into the same stitch or space to create puffiness - typically 6 or 7 dc in one stitch.
- Working on Opposite Side of Foundation Chain: After reaching chain end, work back along the underside of the chain foundation to create a continuous edge, crucial for symmetrical shaping.
Crochet Pattern Instructions
Foundation Chain and First Row
- Tie a slip knot.
- Ch 13.
- Skip the first 3 chains (count as the first dc).
- Working into the fourth chain from hook, dc 8 stitches across the chain (total 8 dc, including beginning ch-3).
- Into the final chain stitch, dc 6 times (cluster), creating a bulge.

Note for Beginners: Skipping the first 3 chains counts as your first double crochet; this builds height for the row. The cluster creates a rounded puff.
Returning on the Opposite Side
- Turn and work on the opposite side of your foundation chain.
- Ch 1 to adjust height.
- In the first stitch, sc.
- Continue sc in the next 12 stitches up to three stitches before the starting point, skipping the last 3 stitches to create stepped edges.
- Hide yarn ends as you proceed.
Working Subsequent Rows - Build Puffy Texture
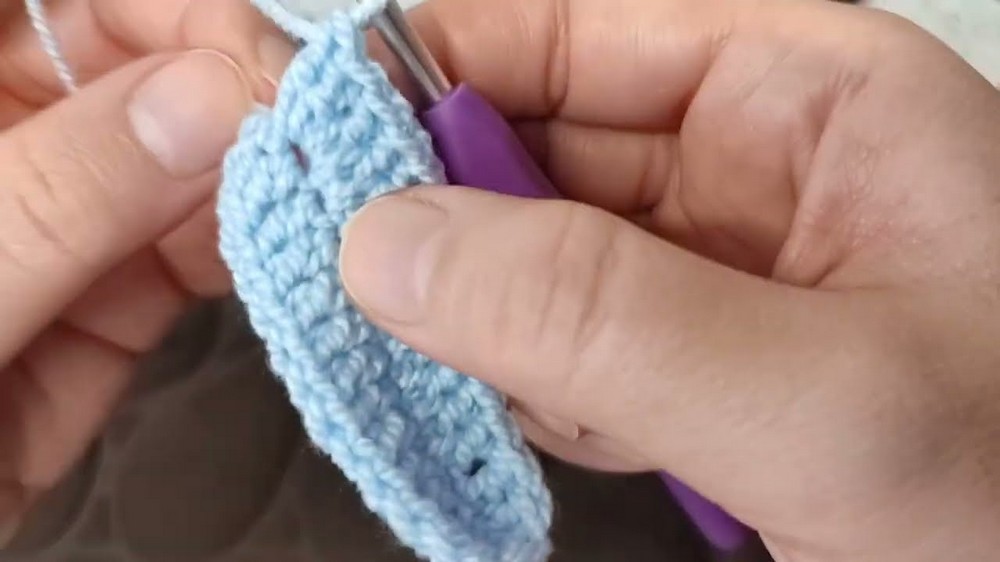
- Chain 3 (counts as first dc).
- Skip 1 stitch, dc 6 times into the next stitch (cluster).
- Skip 4 stitches.
- Dc 8 times into the next stitch.
- Repeat this pattern of clusters to build the cloud's lobes.
- Work up to last stitch, where you will again cluster dc 6 times.

Finishing Rows and Final Assembly
- Continue working alternating rows of clusters and skipped stitches to maintain cloud shape.
- Once desired width and height reached, finish off by cutting yarn and pulling through last loop securely.
- Use tapestry needle to weave in all ends neatly into the work.
- Optionally, use chain loops to work a single crochet border for finishing if desired.


Simple Explanation for New Crocheters
Clusters are groups of double crochet stitches worked into one stitch to make a puff. By skipping some stitches between these clusters, the fabric forms a rounded shape like a cloud. Working back along the foundation chain's underside helps round the shape on both sides.
Assembly and Final Touches
- Weave all loose yarn tails carefully inside the fabric.
- Use a tapestry needle to secure ends firmly.
- For a smooth, finished look, gently block or steam iron your cloud.
- If desired, shape the cloud gently with fingers before blocking.
- Attach loops or hooks if you want to hang the cloud decoratively.
Troubleshooting Suggestions
- Clusters too tight or stiff: Loosen your tension or try a larger hook for softer effect.
- Edges curling or uneven: Ensure consistent skipping of stitches and count carefully each row.
- Ends showing visibly: Weave in ends as you crochet or afterwards with care.
- Difficulty working on opposite side of foundation: Position your foundation chain flat and pull only the working side for clarity.
Creative Project Ideas
- Use this cloud as applique embellishment on children's clothing or blankets.
- Create a series of clouds in pastel or rainbow colors for nursery decor.
- Attach to a baby mobile or wall hanging for whimsical nursery accents.
- Pair with sun or raindrop crochet motifs for weather-themed decoration.
- Make a set of clouds connected with crochet "rain" strands for garlands.