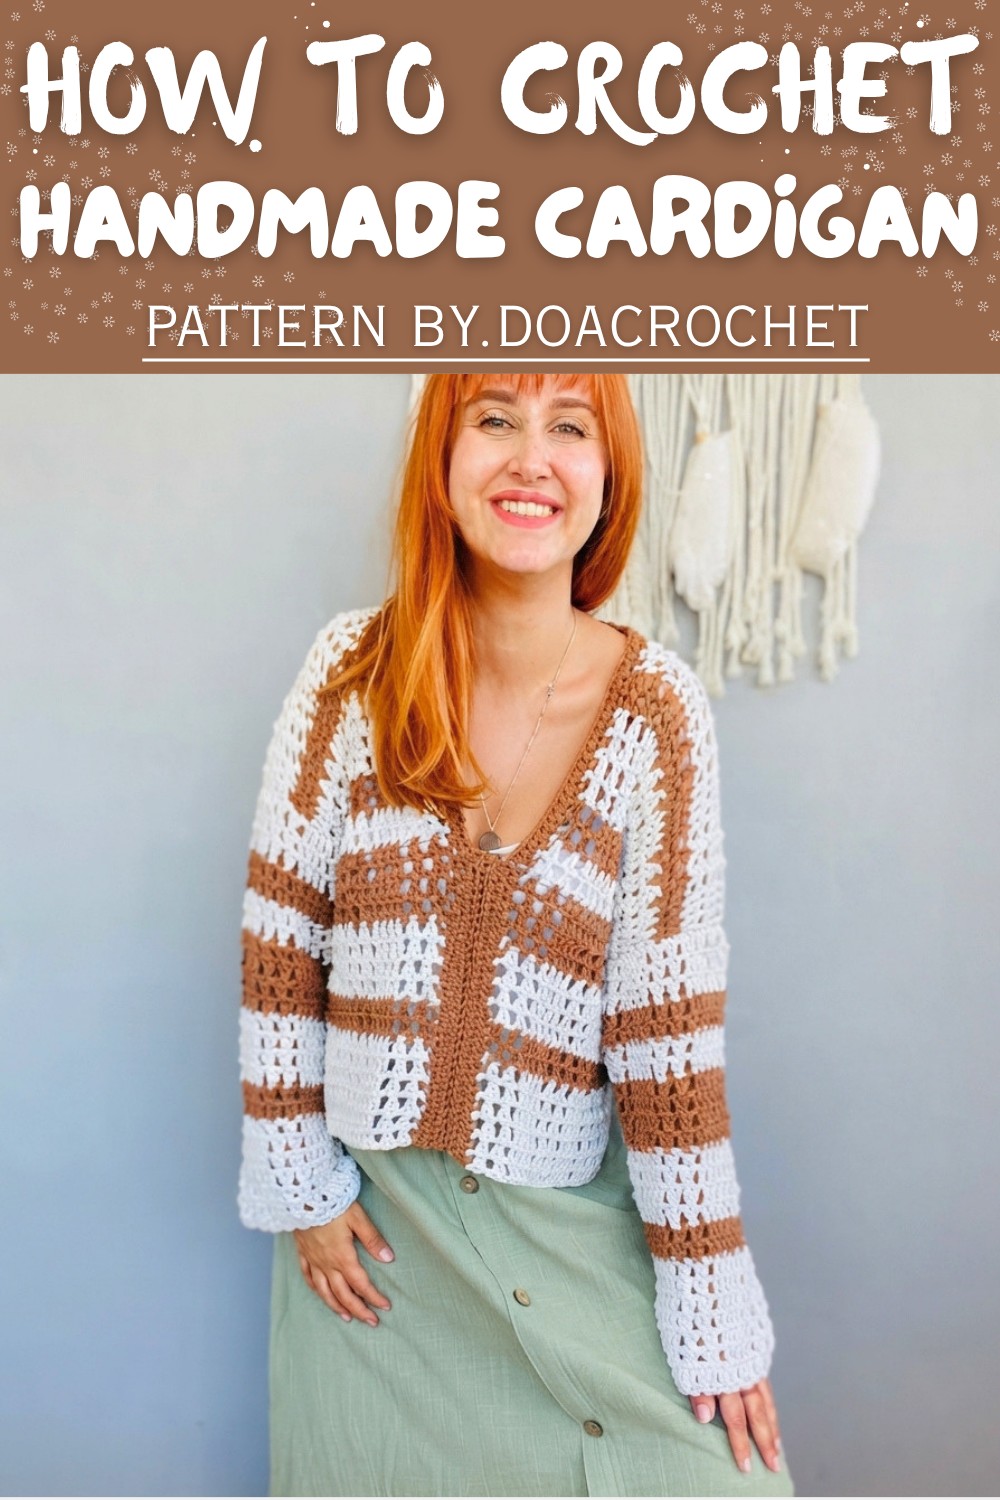
Cardigan Free Crochet Pattern for Cozy Fall Layers
Elevate casual looks through this free crochet cardigan pattern that balances softness and style for easy everyday wearability.
If you love making cozy clothes with your own hands, the Free Crochet Cardigan Pattern is a perfect project for you. This pattern helps you create a warm and stylish cardigan that you can enjoy wearing in cool weather. It's an easy-to-follow guide that even beginners can try, and you'll find it very rewarding as you watch your cardigan come to life stitch by stitch. For step-by-step help, the YouTube channel Doacrochet offers a clear video showing exactly how to make this lovely cardigan.
Charming Free Crochet Cardigan Pattern for Every Season
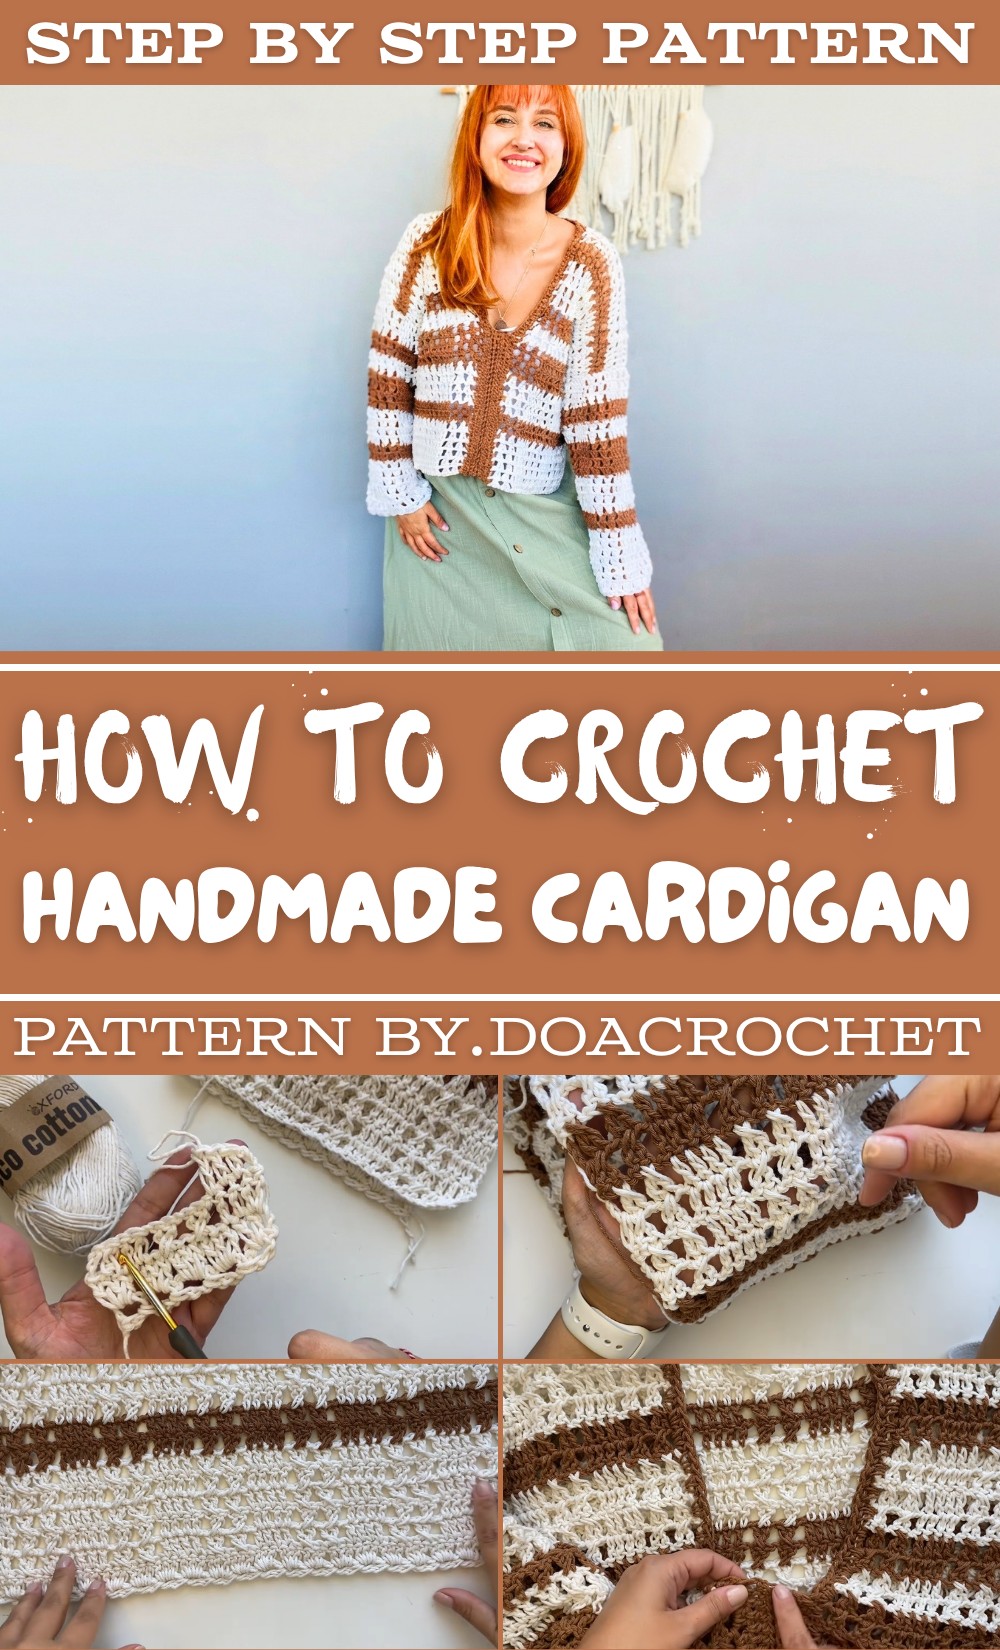
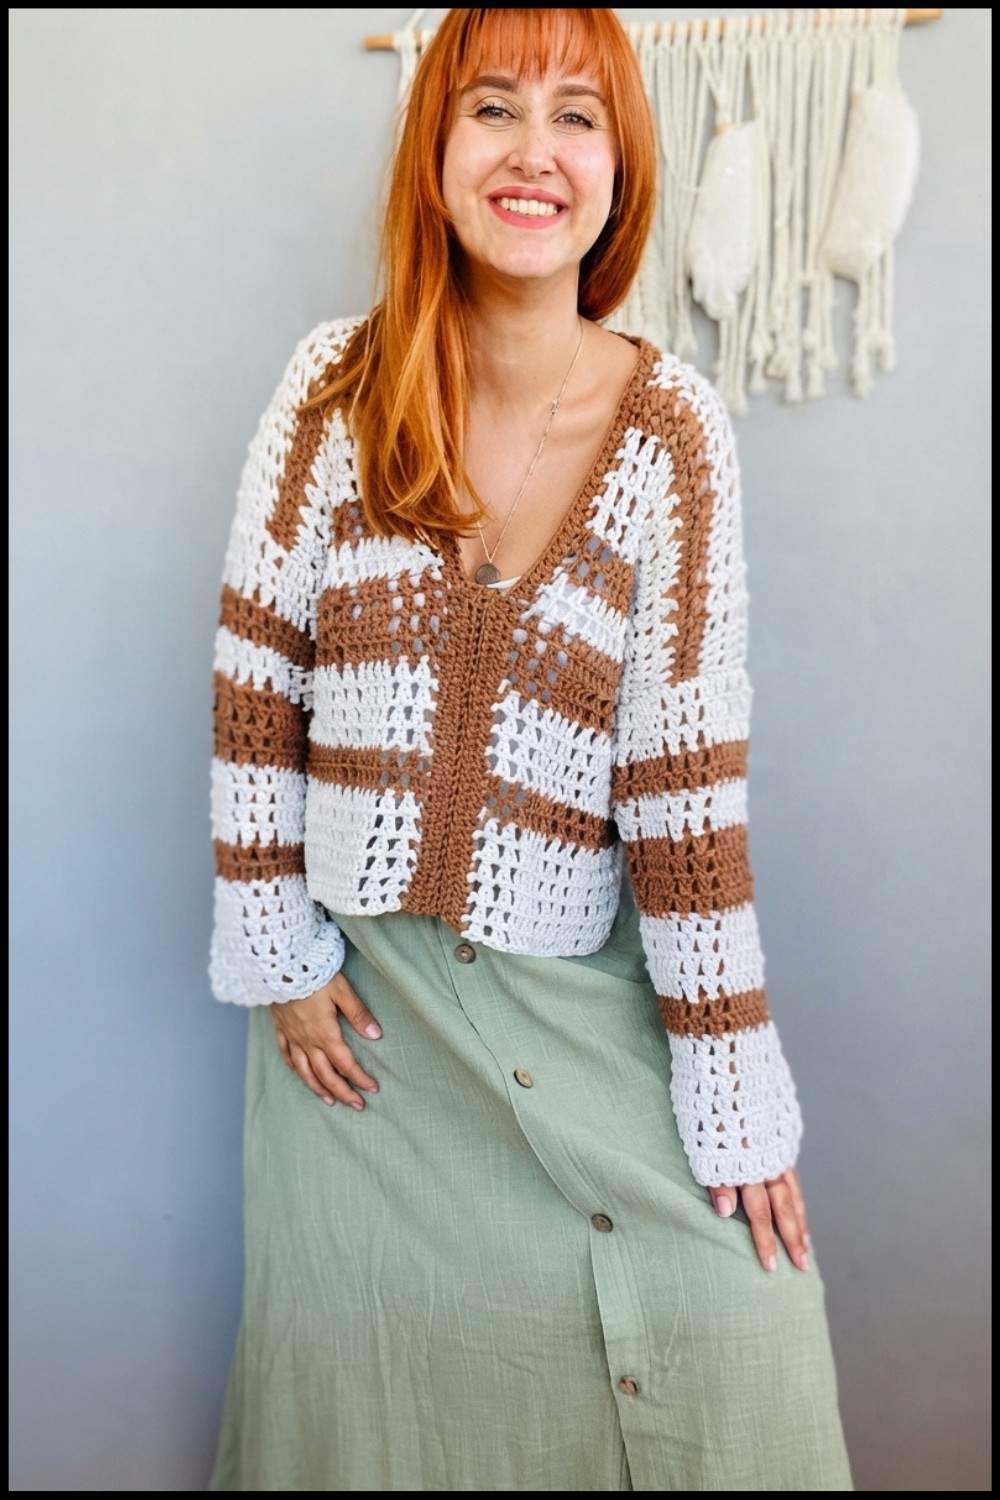
This crochet cardigan looks soft and comfortable, making it a great addition to any wardrobe. Its texture is smooth with a little bit of stretch, so it fits nicely and feels lovely on your skin. The cardigan usually has a simple shape that gently wraps around your body, with long sleeves for extra warmth. What makes this crochet project stand out is its beautiful stitch pattern and neat edges. These details make your cardigan not just useful but also a stylish piece of clothing that you can wear anywhere.
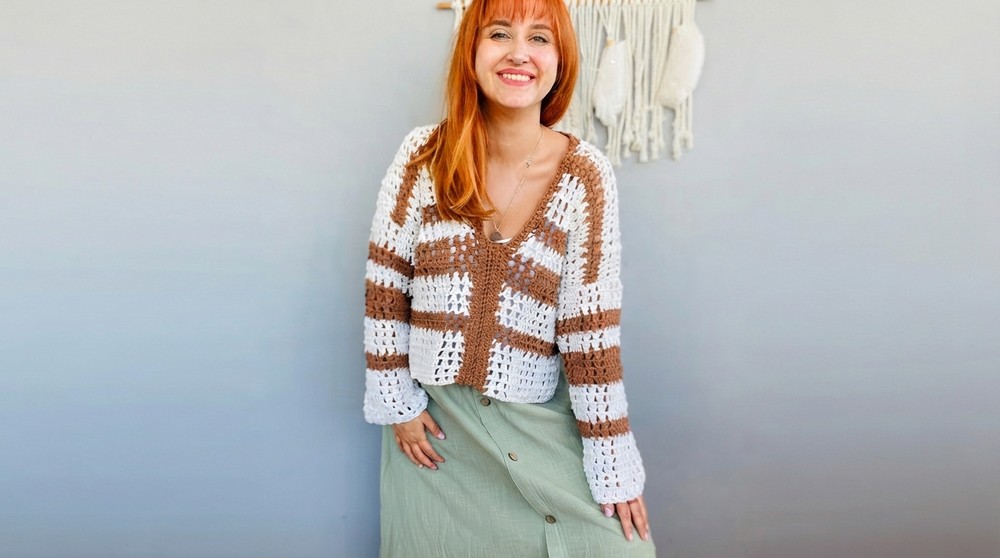
Besides being a wearable treat, this handmade cardigan also makes a fantastic gift for a friend or family member. You can make it in different colors to match the style of the person receiving it. It is also a charming decorative item when folded neatly on a chair or shelf. Because it is made with care and attention, this crochet cardigan has a special value that store-bought clothes don't have. Whether you keep it for yourself or give it away, this project is a wonderful way to show love and creativity.
Easy Crochet Blouse Pattern
Welcome to this detailed crochet tutorial where you will learn how to make a beautiful and easy-to-create blouse. This pattern utilizes cotton-based yarn and features a simple repeating stitch design that flows loosely, providing comfort and style. The blouse is worked mainly in one piece with separately knitted sleeves that are sewn onto the body. This guide will walk you through yarn selection, pattern setup, stitch details, measurements, and finishing techniques to complete the blouse successfully.
Pattern Highlights
- Constructed mainly in one piece with sleeves worked separately.
- Uses cotton-based yarn (Oxford ECO Coton recommended) for breathability and comfort.
- Worked in simple double crochet (dc) clusters with chain spaces creating an airy texture.
- Designed with size flexibility: patterns are based on multiples of 15 chains.
- Sleeves are sewn onto the main body, with a loose fit for comfort.
- Features a rounded neckline finished with single crochet edging for neatness.
Notes
- The pattern assumes you are comfortable with basic crochet stitches.
- Tailor the blouse size by adjusting initial chain count and length of rows.
- The stitch pattern consists of rows worked with double crochets and spaces created by chains, with a criss-cross stitch pattern repeated throughout.
- The front and back panels of the blouse are worked separately after the initial body is formed.
- Sleeves are formed and measured separately, then sewn to the body leaving a slight slit for comfort.
- Finishing rows around neckline and front edges use single crochet for a clean finish.
Skill Level
Suitable for beginner to intermediate crocheters who know:
- Chain (ch), double crochet (dc), and single crochet (sc) stitches.
- How to work in rows and maintain stitch counts.
- Basic garment assembly and sewing.
- Reading chain multiples and following stitch repeat patterns.
Materials
- Cotton-based yarn: Oxford ECO Coton series (or equivalent cotton yarn).
- Crochet hook size 4.5 mm (recommended for this yarn).
- Stitch markers (optional for marking important areas).
- Scissors and yarn needle for weaving in ends and sewing sleeves.
Measurements / Sizing (Approximate)
- Based on a loose fit size 38-40.
- Back length: approximately 50 cm (starting from initial row count of 30 "rings" or sets of 3 chains).
- Waist circumference adjustable by initial chain count; suggested example is 75 chains.
- Sleeve width: approximately 36 cm.
- Sleeve length: approximately 40 cm.
- Neck opening spaced at 15 cm width.
Gauge and Stitch Pattern
- Gauge is flexible; adjust hook size or yarn to suit desired drape.
- The stitch pattern is based on multiples of 15 chains.
- Pattern shows clusters of 3 double crochets in chain spaces (rings) with alternating empty chains and diagonal double crochet stitches to create criss-cross effect.
- Rows include chain-3 turning chains and edge stitches to maintain shape.
Stitch Abbreviations
| Abbreviation | Stitch | Description |
|---|---|---|
| ch | Chain | Yarn over, pull loop through hook |
| dc | Double Crochet | Yarn over, insert hook, yarn over, pull through 2 loops twice |
| sc | Single Crochet | Insert hook, yarn over, pull through 2 loops |
| sl st | Slip Stitch | Insert hook, yarn over, pull through loops |
Special Stitches
- Criss-cross stitch: Alternating double crochets over chain spaces, worked diagonally to create crossed patterns.
- Triple crochet clusters: Clusters of 3 double crochets worked into chain spaces for texture and pattern repeats.
The Crochet Pattern!
Step 1: Yarn Selection
- Use Oxford ECO Coton or equivalent cotton yarn for softness and breathability.
- Hook size 4.5 mm recommended for this yarn weight.
Step 2: Foundation Chain and Setup
- Determine your waist measurement in chains. For example: waist circumference = 75 chains = 25 "rings" or chain spaces (each ring = 3 chains).
- Chain the total number of stitches based on multiples of 15 for pattern repeat. For demonstration, a small test piece with 15 chains using 5 rings is shown.
Step 3: Row 1 - Create Rings and Triple Double Crochet Clusters
- Chain 4 (counts as 1 dc + 1 chain).
- Skip the first 2 chains from hook, then work 1 dc, 3 ch, 1 dc into the 3rd chain to form the first ring.
- Chain 3, skip 3 chains, and repeat ring formation (1 dc, 3 ch, 1 dc) across, ending with a closing dc on the last chain.
- This creates your base row of rings (chain spaces) for next rows.
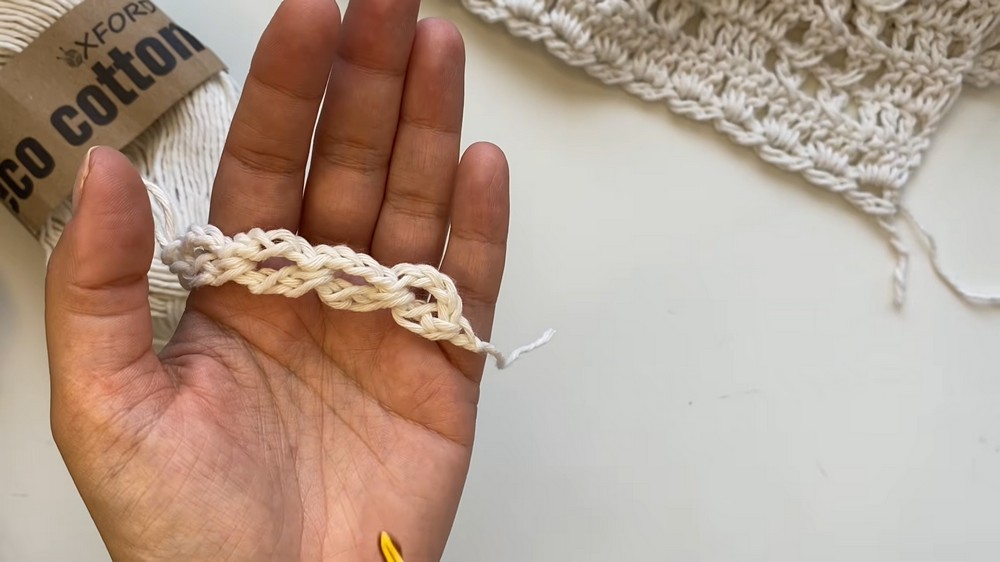
Step 4: Row 2 and Subsequent Rows - Work 3 Double Crochets Inside Each Ring
- Chain 3 (counts as first dc), turn work.
- For each chain 3 space (ring), work 3 double crochets (3 dc) inside.
- Chain 3 between clusters.
- Repeat till end, finishing with a chain 3 and dc at end.
- This row creates the base pattern of triple clusters in rings.
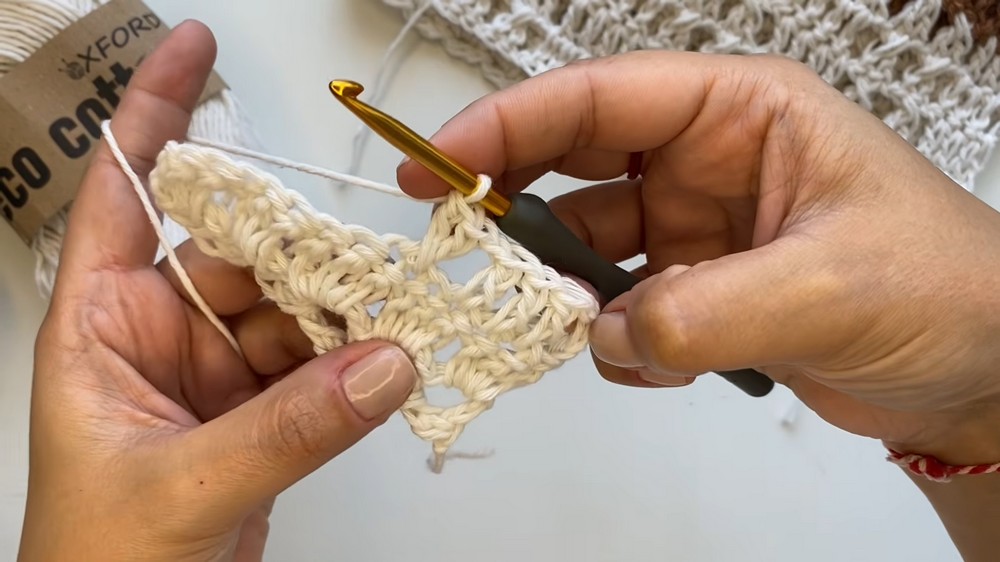
Step 5: Row 3 and Onwards - Criss-Cross Pattern
- Chain 3, turn work.
- Work double crochets across the tops of the previous row's clusters and chain spaces following a criss-cross diagonal pattern:
- Skip 1 or 2 stitches as needed and dc into the chain space diagonally opposite.
- Chain 3, skip 2 chains, dc on the next chain repeat till end.
- This forms the crossed diagonal texture on the blouse.
Step 6: Continue Repeating Rows
- Alternate between rows of triple dc clusters inside rings and rows of dc worked diagonally in criss-cross formation.
- Chain 3 between clusters in cluster rows.
- Maintain pattern until you reach desired back length (approx. 50 cm - corresponds to 30 rings or cluster sets in sample).
Step 7: Working Front Panels
- Once back length is reached, divide your work to form two front panels.
- The neck opening should leave about 15 cm space between the front panels.
- Continue working front panels separately to the same length as the back.
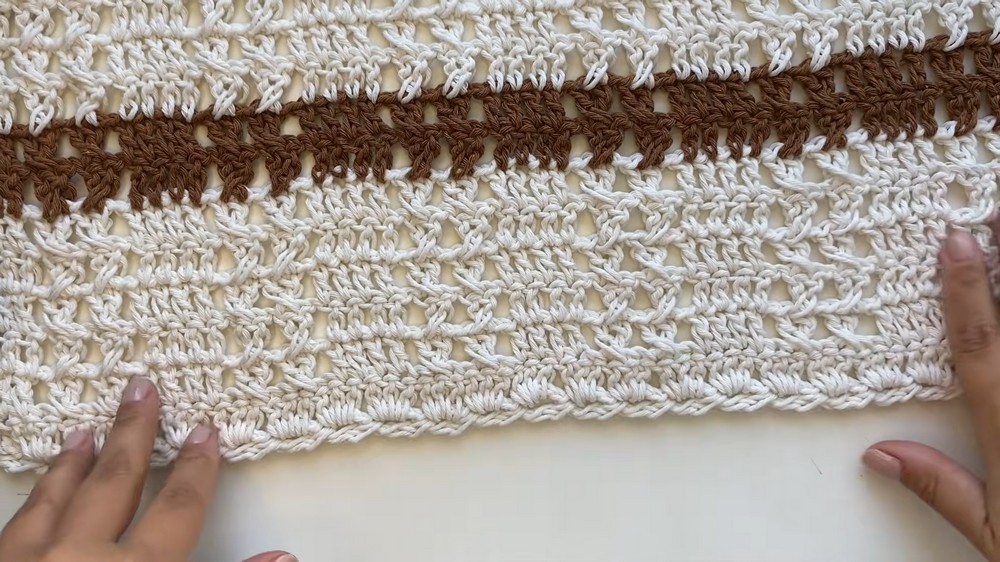
Step 8: Sleeves
- Sleeves are constructed separately with approximately 20 rings (60 chains) to reach desired width (~36 cm).
- Sleeve length is approximately 40 cm.
- Make triple dc clusters inside rings consistent with body pattern.
- Sew sleeves to blouse body by leaving a slit gap for arm movement.
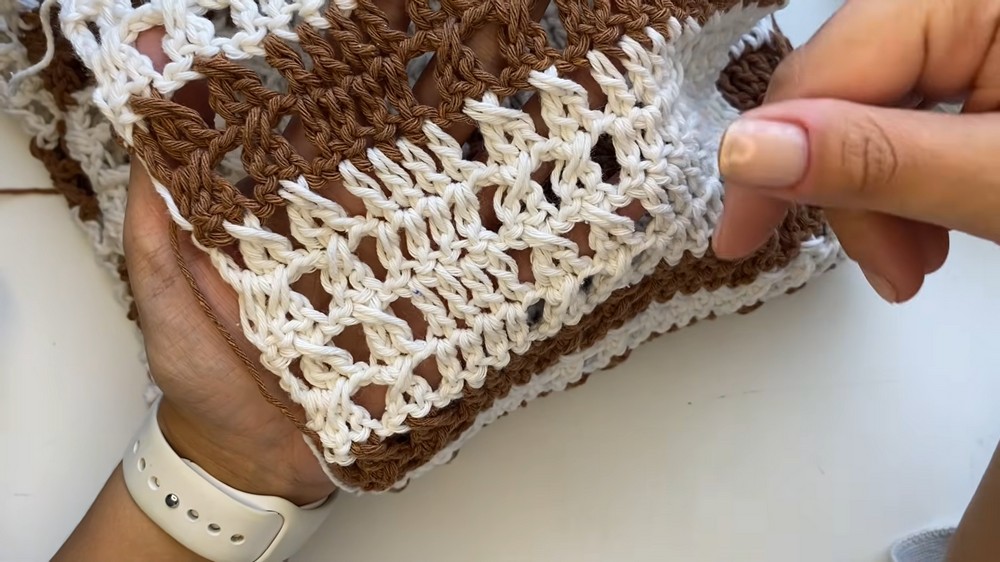
Step 9: Neckline and Front Edges Finishing
- After sewing, work 1-2 rows of single crochet (sc) stitches along neckline and front edges for a clean finish.
- When working sc rows, work into the spaces between stitches rather than over stitches to create a neat, flexible edge.
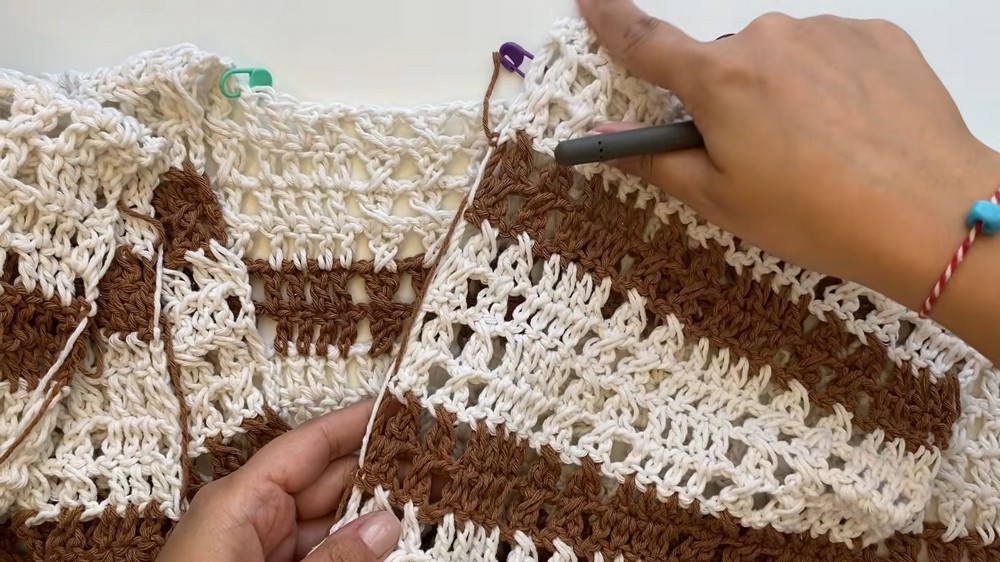
Step 10: Final Assembly
- After completing front, back, and sleeves join seams carefully, leaving sleeves partially open at slits for comfort.
- Weave in all ends neatly.
Assembly & Finished Size
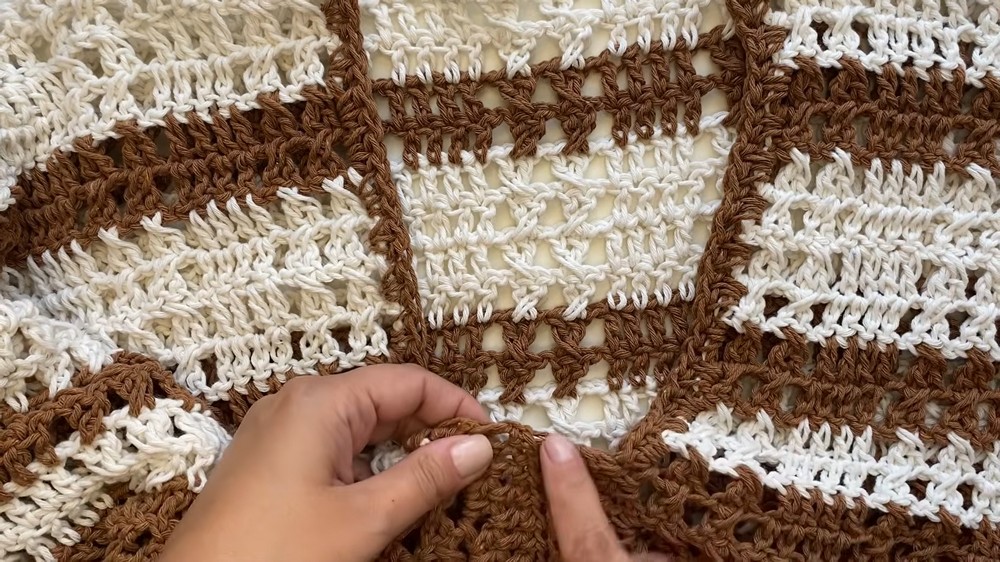
- The completed blouse fits loosely around the body corresponding to sizes 38-40, adjustable by chain length and number of rows.
- Back length approximately 50 cm, front length matches back length.
- Sleeve width about 36 cm, length about 40 cm with comfortable armholes created when attaching.
- Neck opening approximately 15 cm wide, finished neatly with single crochet edge rows.
Conclusion
This blouse pattern provides a perfect blend of simplicity and elegance with an airy stitch texture that is excellent for warmer weather wear. By using cotton-based yarn and working in easy-to-repeat stitch patterns, this project is accessible for beginners and intermediate crocheters alike. Adjust chain counts and row lengths to customize size and fit, while maintaining the lovely criss-cross stitch effect. This piece is both fashionable and comfortable, a perfect addition to your crochet wardrobe.