
Free Cropped Top Crochet Pattern with a Perfect Fit
Elevate casual fashion with Free Crochet Cropped Top Pattern featuring flattering style, comfort, modern charm and everyday confidence.
What makes a handmade summer wardrobe piece both stylish and comfortable? A Free Crochet Cropped Top Pattern brings those qualities together in a lightweight, breathable garment that's perfect for warm weather. Crocheting your own cropped top allows you to customize the fit, texture, and color, resulting in a unique item that reflects your personal style while keeping you cool and confident.
Free Cropped Top Crochet Pattern with Easy Custom Size Guide
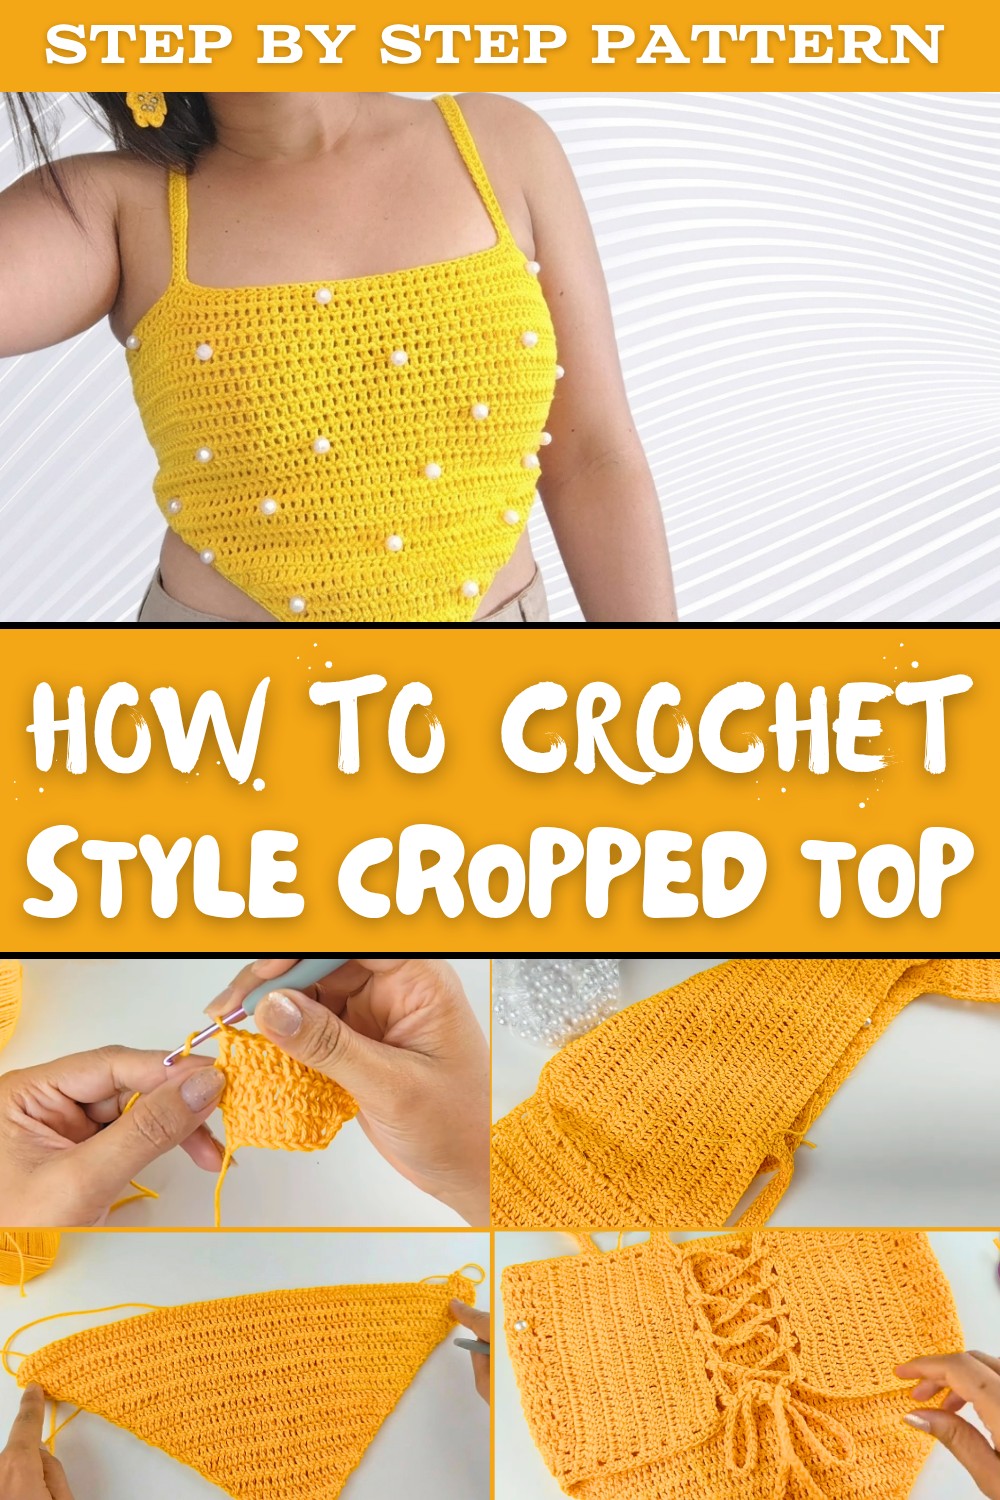
The finished cropped top typically features a flattering shape that gently contours the body without feeling restrictive. Its texture often combines open, airy stitches with solid sections, creating an appealing balance that enhances breathability and visual interest. Adjustable straps or a simple fitted bodice add practicality, making the top versatile enough to wear on its own or layered over other pieces. This mix of function and fashion makes it a go-to choice for casual outings or summer gatherings.
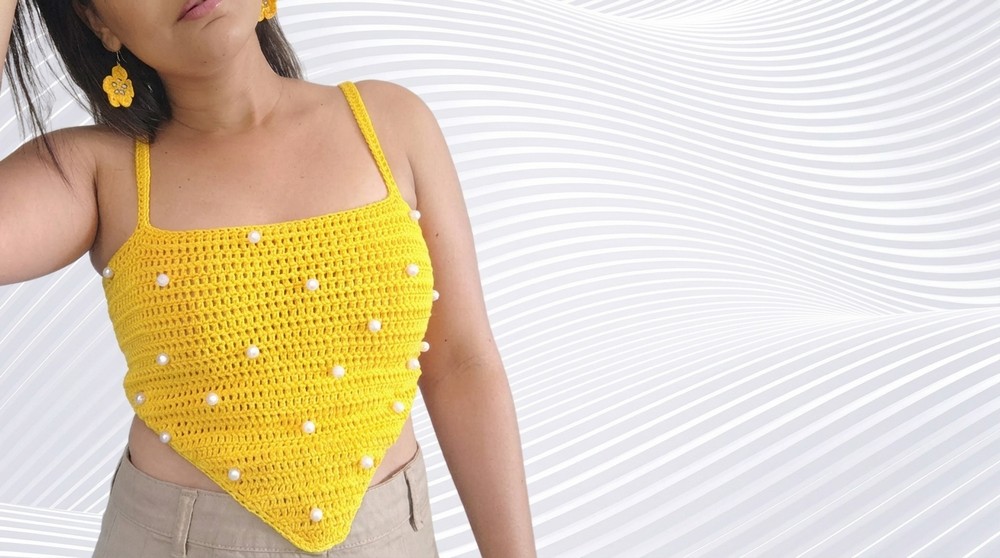
Customization options are plentiful, from selecting yarn types-such as breathable cotton, soft bamboo blends, or budget-friendly acrylics-to exploring a spectrum of colors that suit your taste. Adding decorative edges, ties, or unique stitch patterns can further personalize your creation.
This project suits intermediate crocheters who want to hone skills in shaping garments and working with different stitch textures. Along the way, you'll learn how to adjust fit and length, important techniques for garment-making success. Crocheting a crochet cropped top is not only fun but also a fantastic opportunity to build confidence in making wearable, stylish items that brighten up your seasonal wardrobe.
Elegant Pearl-Adorned Crochet Crop Top Pattern
This elegant and trendy crop top features pearls and crocheted bead appliqués, making it a modern fashion staple. It's designed to be fast and easy to crochet, perfect for beginners ready to advance their skills. Inspired by blogger style, this top fits snugly on the bust front with an adjustable corset-style back.
Skill Level & Terminology
- Skill Level: Intermediate
- Terms: US crochet terms
Materials & Tools
- Love Tex 600 yarn (Color 00291), approx. 2 skeins (each skein ~170m)
- Crochet hook size 3.5 mm
- Metric white pearls, size 10 (About 24 pearls used; adjust quantity to taste)
- Sewing needle and thread (preferably strong thread like Drima)
- Scissors
- Fabric glue (optional, for securing pearls)
- Two stitch markers
- Ribbon or cord for straps and back lacing
Gauge
The gauge is adaptable, but the front panel should measure approximately 40-41 cm wide (covering only the bust front, not full circumference). Adjust rows and stitch count according to your size.
Abbreviations
| Abbreviation | Meaning |
|---|---|
| ch | chain |
| sc | single crochet |
| dc | double crochet |
| st | stitch |
| rep | repeat |
| sl st | slip stitch |
Special Stitch Instructions
- Double Crochet (dc): Yarn over, insert hook in stitch, yarn over, pull up a loop (3 loops on hook), yarn over, pull through 2 loops twice.
- Single Crochet (sc): Insert hook in stitch, yarn over, pull through both loops on hook.
- Chain Loop for Cord: Chain 4 stitches then single crochet into a stitch to create lacing loops.
Finished Size
- Width (front bust coverage): ~40-41 cm
- Height below bust (without increase rows): Approx. 12 rows
- Straps: Approx. 32 cm length (adjustable)
- Cord for back lacing: About 1.60 m for comfortable tying
Pattern Instructions
Part 1: Front Bust Foundation and Increases
- Row 1:
- Ch 10.
- Skip 1 ch, ch 3 (counts as first dc), work 2 dc in next chain.
- Work 1 dc in each remaining chain - total 8 dc including initial ch 3.
- Turn.
- Row 2:
- Ch 3 (counts as first dc).
- Work 2 dc in same stitch (increase).
- Work 1 dc in each dc across to last stitch.
- Work 3 dc in last stitch (increase).
- Turn.
- Rows 3 to 16:
- Repeat Row 2, adding 3 dc in first and last stitches of each row to increase width.
- Continue until panel measures approximately 40-41 cm (about 17 rows total including Row 1).
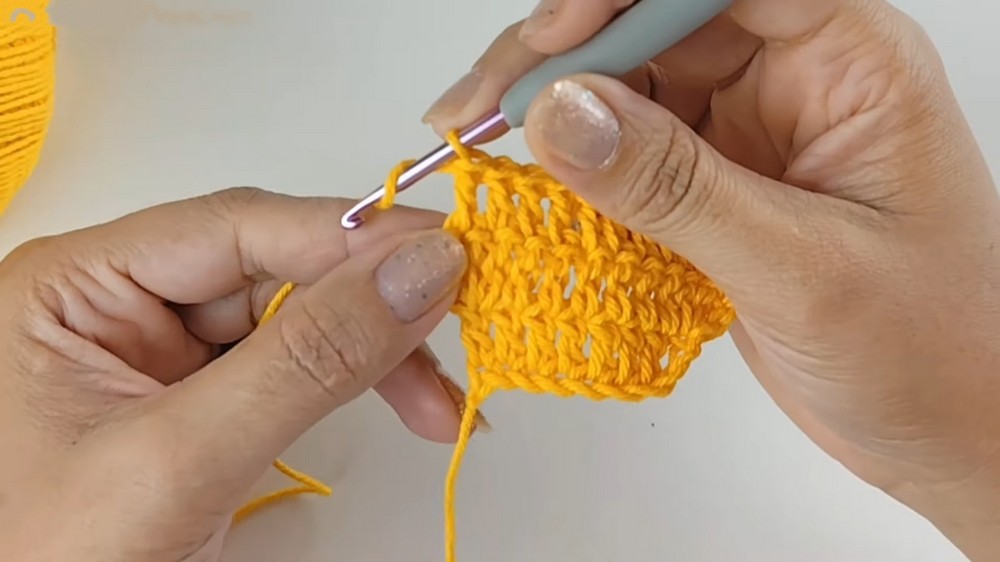
This creates the front triangular panel, shaping and enlarging evenly to snugly cover the bust area.
Part 2: Body Rows Without Increases
- Row 1:
- Ch 3 (counts as first dc).
- Dc in each stitch across without increasing.
- Turn.
- Rows 2 to 12:
- Repeat Row 1 eleven more times (total 12 rows).
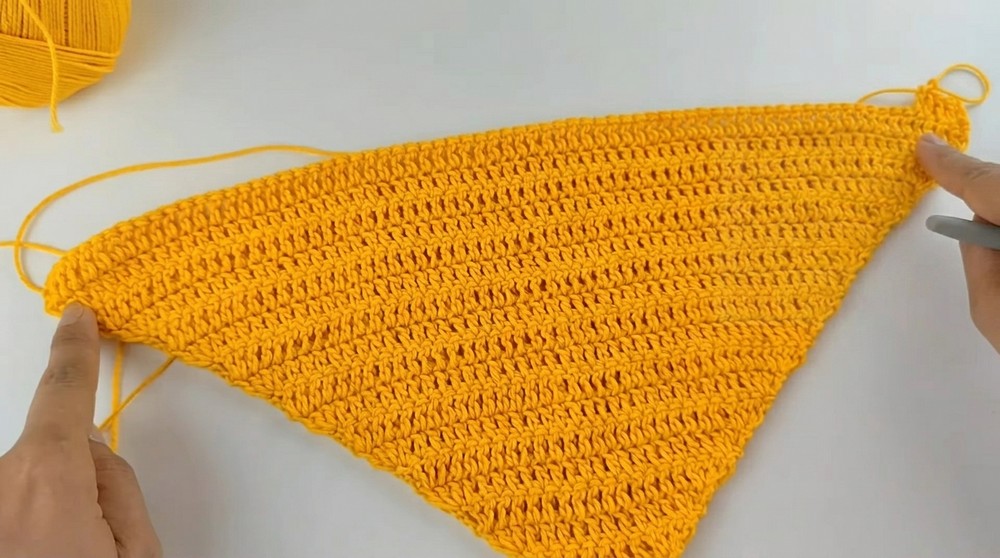
These straight rows build length underneath the bustline, maintaining the established width for coverage.
Part 3: Back Closure Panels
- Row 1:
- Locate the working edge along last 14 rows (the 12 straight rows and last 2 increase rows).
- Attach yarn between second and third increase rows.
- Ch 3 (counts as first dc), then work 2 dc in each stitch across.
- Turn.
- Row 2:
- Ch 3 (counts as dc).
- Work 1 dc in each dc across.
- Turn.
- Rows 3 to 10:
- Repeat Row 2 to form 10 solid rows of back panel.
- Row 11 (Corset Loop Row):
- Ch 1 for height, sc in same stitch.
- Chain 4, skip 4 base stitches, sc in next stitch.
- Repeat ch 4, skip 4, sc across, ending with sc in last stitch.
- Fasten off.
- Repeat all steps for back panel on opposite side.


Back panels include functional loops for the corset-style lacing, allowing adjustable closure at the back.
Part 4: Shoulder Straps
- Mark Points:
- Count 18 stitches inward from the front panel edge, mark with stitch markers.
- Strap Chains:
- Attach yarn at marked point.
- Chain 55 (approx. 32 cm length; adjust for fit).
- Attach Straps:
- Align chain straight on back panel between second-to-last and last dc rows.
- Fasten with a low slip stitch.
- Fasten off and weave ends securely.
- Repeat for second strap.
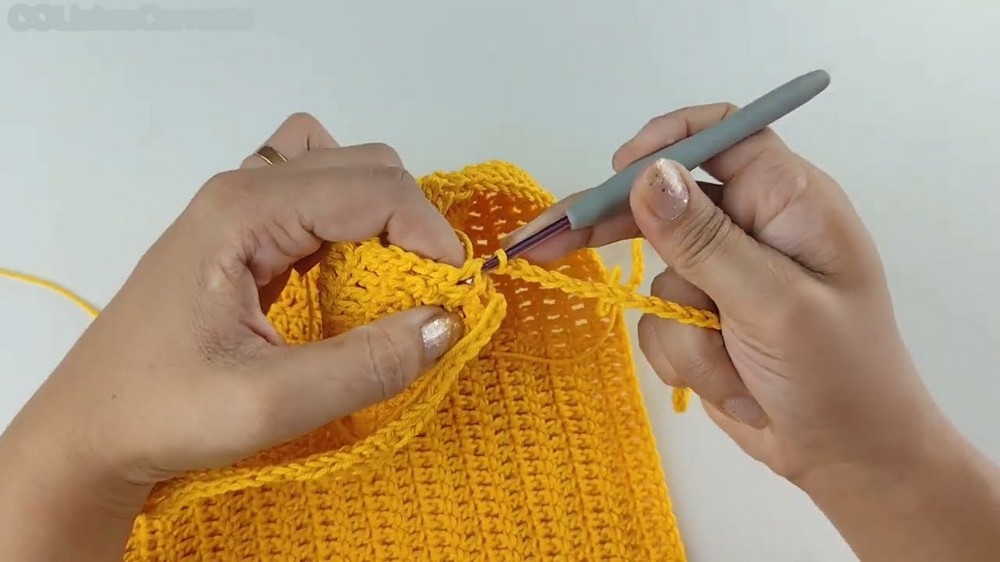
Straps connect front and back panels securely, providing comfortable shoulder support.
Part 5: Edging and Finishing
- Bottom Edge:
- Attach thread at bottom raw edge.
- Work 2 sc inside each double crochet space and 2 sc on top of each stitch, making a smooth border.
- Neckline & Armholes:
- Work 1 sc in each chain and stitch along neckline and arm openings.
- Fasten off securely after completing all edges.
A neat single crochet edging frames the entire crop top, preventing stretching and giving a professional finish.
Part 6: Pearl Embellishment and Lacing Cord
- Pearl Attachment:
- Position pearls randomly on the front panel.
- Thread needle with Drima thread.
- Sew each pearl by passing the needle through 3 times for security.
- Tie several knots on reverse, add a drop of fabric glue on knots, and trim excess thread.
- Lacing Cord:
- Hold two strands of Love Tex 600 yarn together.
- Using 3.5 mm hook, chain about 1.60 meters (length adjustable).
- Cut and fasten off.
- Lace-up:
- Thread cord crisscross through back loops starting at top to bottom.
- Tie ends securely.

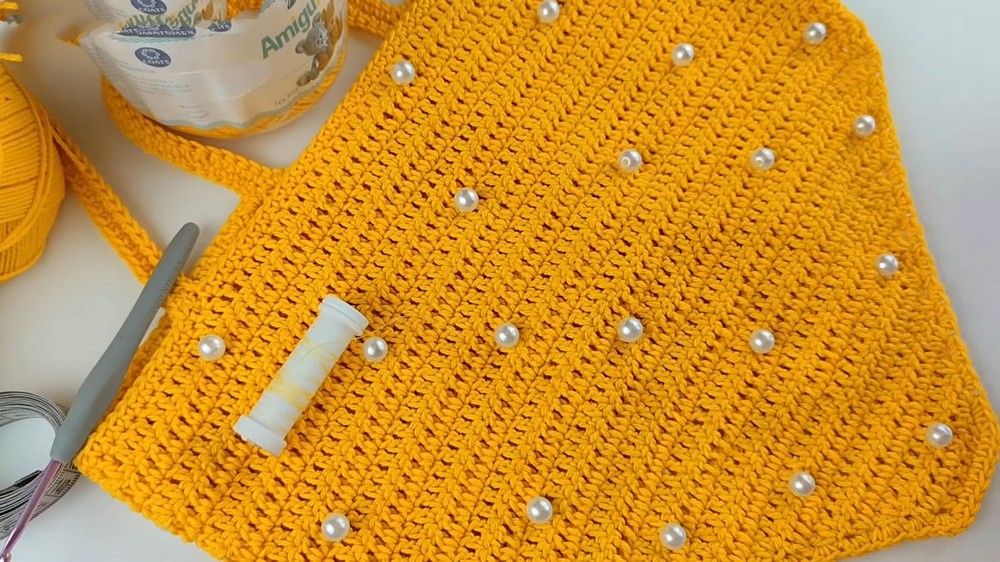
Pearls add elegant decoration; the long double-stranded lacing cord completes the corset closure and custom fit.
Assembly Tips
- Weave in all ends neatly for smooth interior.
- Test fit your crop top, adjust strap and lacing length as needed.
- Optionally, add lining or padding for additional coverage.
- Wear confidently with or without a bra depending on preference.
Summary of Stitches Used
- Chain (ch) - foundation, loops, straps, and lacing cord
- Double Crochet (dc) - main fabric, increases, and shaping
- Single Crochet (sc) - finishing edges, loops for lacing, strap attachment
Final Notes
This crop top pattern is easily adjustable for different sizes and preferences by modifying the stitch counts and rows. The use of pearls offers endless customization possibilities, while the corset-style back with loops and lacing cord ensures comfort and style.
This completes your elegant pearl-adorned crop top with adjustable corset back and stylish bead appliqués. Enjoy your beautiful handmade garment!
