
Easy Rose Flower Free Crochet Pattern for Beginners
Fill every vase with lasting beauty through Free Crochet Rose Flower Pattern featuring elegant petals graceful charm and lovely floral style.
Adding a touch of floral elegance to your handmade projects is always a delight, and a Free Crochet Rose Flower Pattern offers just that-a charming and versatile embellishment to brighten up any space. This delicate rose brings a burst of color and texture without needing watering or sunlight, making it a favorite among crocheters looking to add lasting beauty to accessories, home décor, or even gift wraps. Its timeless appeal means it never goes out of style and can be used season after season, either as a standalone flower or paired with others in arrangements.
Free Rose Flower Crochet Pattern for Hair Accessories
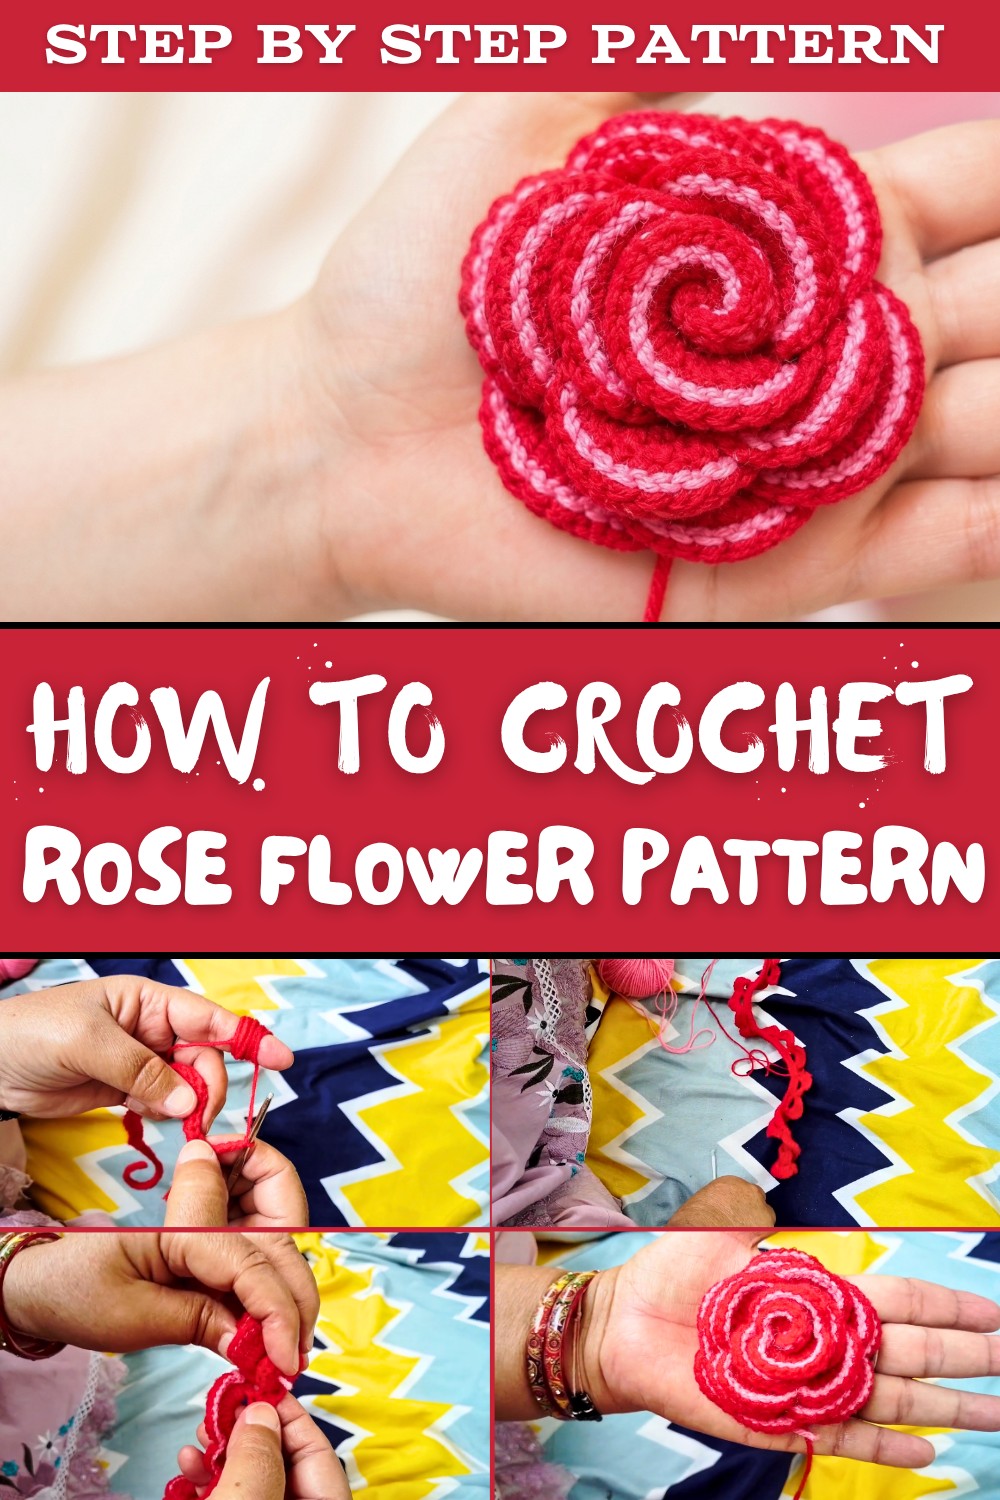
The finished crochet rose showcases softly layered petals that spiral gracefully around a well-defined center, creating a dimensional bloom full of life and character. The texture ranges from smooth to subtly ridged, depending on how the stitches are worked, which adds depth and visual interest. The shape is compact but expressive, capturing the essence of a fresh rose in full bloom. This flower can be attached to headbands, scarves, bags, or sewn onto cushions, making it an ideal project for those who enjoy functional yet decorative items.
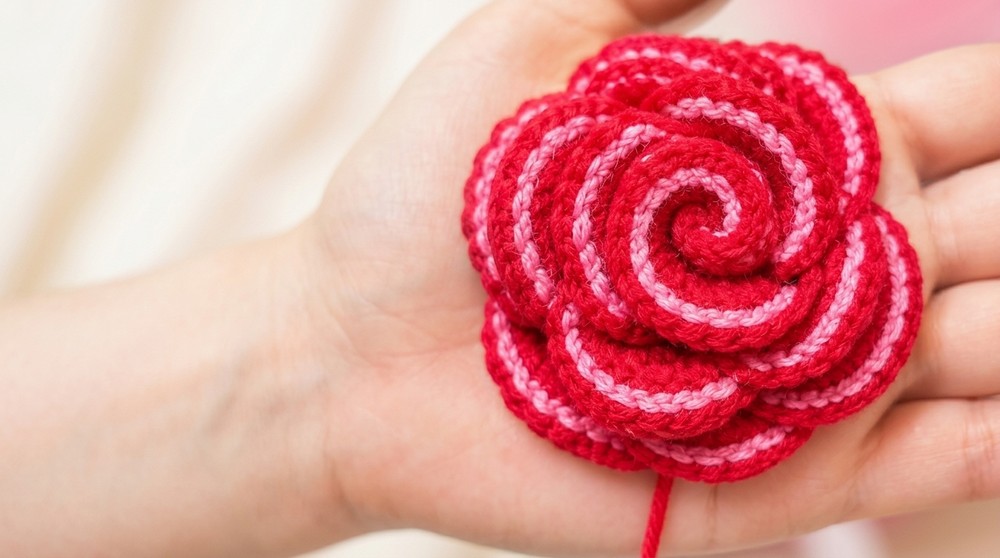
This pattern suits crocheters of various skill levels. Beginners will appreciate the clear structure in working petals one by one, while more experienced makers might experiment with different yarn weights or colors to customize the final look. Along the way, crocheters can learn valuable techniques in shaping and layering petals using increases, decreases, and slip stitches, enhancing their skill set without feeling overwhelmed.
A handmade crochet rose offers not only visual charm but also a satisfying stitch experience as the floral form comes to life. It's a lovely way to practice precision and creativity, resulting in a piece that carries the warmth and care crocheters infuse into every project.
Crochet Two-Color Rose Pattern
Welcome to this detailed crochet tutorial creating a beautiful two-color rose using a simple stitch pattern. This project uses basic crochet techniques like chain stitch (ch), double crochet (dc), and single crochet (sc) to build a lovely flower perfect for embellishments on thalapus, hairbands, or dresses. This pattern is designed with a No. 9 crochet hook and yarn matching this gauge, producing a stunning floral accent that can be sewn for various uses.
Skill Level & Terminology
- Skill Level: Beginner to Intermediate
- Terminology: This pattern uses standard US crochet terms.
- You should be familiar with chain stitch (ch), double crochet (dc), and single crochet (sc) before starting.
- If you are new to crochet, this pattern is a good practice project to improve your consistency and understanding of basic stitches.

Materials & Tools
- Yarn: Medium-weight wool (two colors suggested; e.g., red for main, pink for accent)
- Crochet Hook: Number 9 crochet hook (check yarn label for recommended hook size compatibility)
- Scissors for cutting yarn
- Yarn Needle for sewing and finishing
- Optional: stitch markers may be helpful to keep track of loops
Gauge
- While an exact gauge is not critical, the flower's size depends on consistent tension. Using the No. 9 hook with medium wool, your 10 double crochets should comfortably fit inside each loop of five chains.
To test your gauge:
- Crochet a small swatch of 10 double crochets across a chain 5 space using your yarn and hook. Adjust hook size if necessary to achieve a firm but flexible fabric.
Abbreviations List
- ch = chain
- dc = double crochet
- sc = single crochet
- sl st = slip stitch
- st(s) = stitch(es)
- sp = space
- rep = repeat
- sk = skip
Special Stitch Instructions
- Double Crochet (dc): Yarn over, insert hook into stitch, yarn over, pull through (3 loops), yarn over, pull through 2 loops twice.
- Single Crochet (sc): Insert hook into stitch, yarn over, pull through, yarn over, pull through 2 loops.
- The decorative loops on petals are formed by pulling yarn through created petals from the back to the front for a layered 3D effect.
Finished Size
-
The approximate diameter of your rose will depend on yarn thickness and tension but is generally about 5-6 inches (12-15 cm) across with the recommended materials.
Pattern
Step 1: Foundation Chain
- Make a slip knot.
- Chain 83 stitches.
This long base chain will form the foundation for your flower petals. Keep chain tension loose enough for easy working on next row.
Step 2: Base Row
- Skip the first 3 chains (count as first dc).
- Double crochet (dc) into each of the remaining chains across the foundation chain, making a total of 80 dc stitches.
- End with a single crochet (sc) stitch for a clean edge.

This row gives height and structure to the flower base using dc stitches.
Step 3: Creating Petal Loops
- Turn your work.
- Chain 5 (creates first loop).
- Skip 3 stitches in the previous row.
- Slip stitch (sl st) into the 4th stitch after the skipped stitches.
- Repeat: ch 5, skip 3 sts, sl st in 4th st across the entire row until you have 40 loops.
- Join to the first chain space to complete the round.
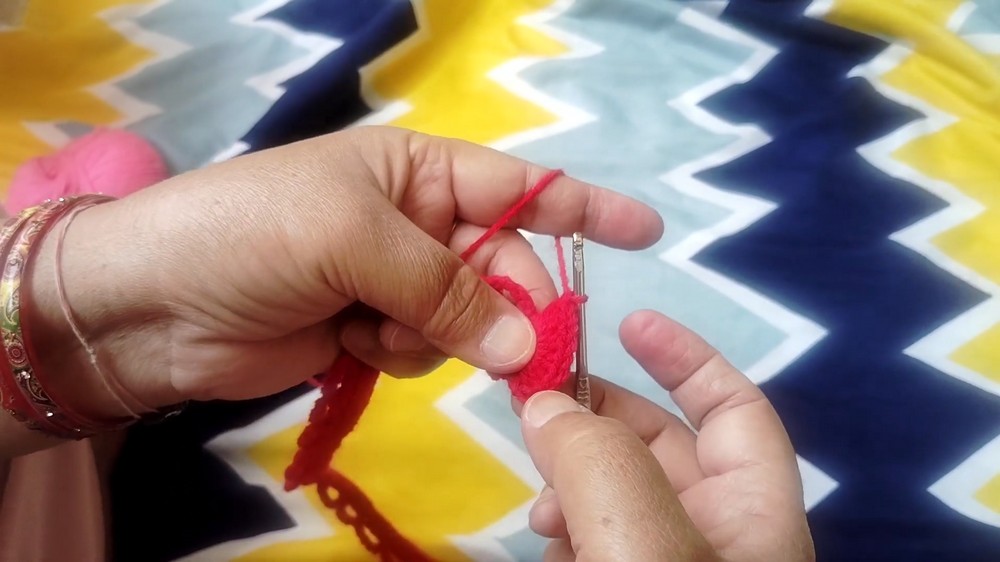
Loops form the frame for crochets petals to be added next.
Step 4: Filling the Petals
- Turn your work to face the loops.
- Into the first loop: work 10 double crochet (dc) stitches.
- Join with a single crochet (sc) to the next loop base or next available stitch.
- Repeat this 10-dc + sc join sequence into each loop around (total 40 petals).
- Join at the end of the round with sl st or sc.

Filling loops with dc builds petal volume; joining ensures neat petals.
Step 5: Decorative Edge (Optional)
- Using contrast color yarn, attach with a slip knot at any point on the flower.
- Using yarn needle or hook, pull loops of yarn through the 10-dc petals, keeping yarn at back.
- This creates a raised, looped decorative effect over petals known as the double design.
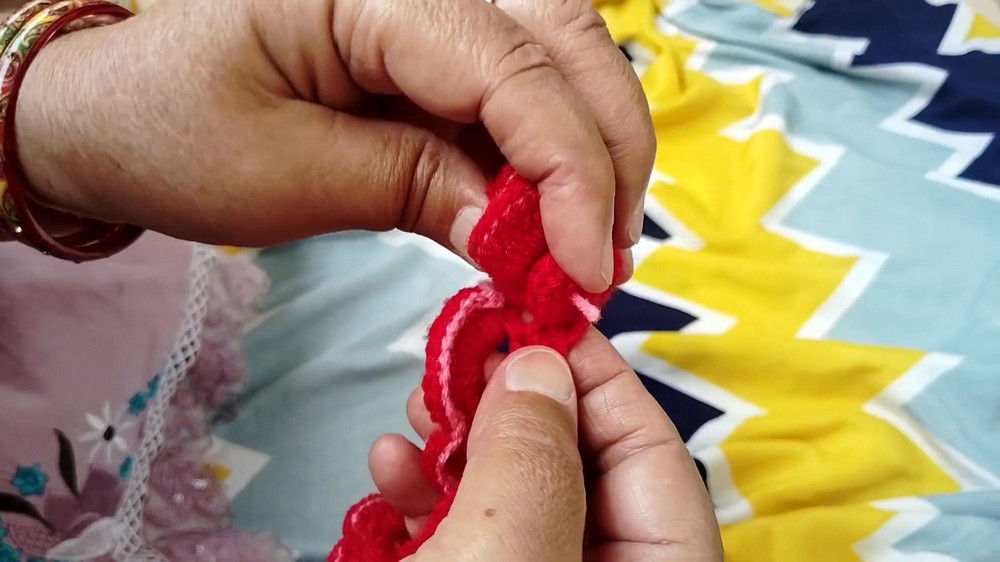
Optional step creates texture and a beautiful layered appearance.
Step 6: Finishing and Assembly
- Leave a long tail for sewing and cut yarn.
- Roll the flower inward starting at one end with petals facing outward to create the rose shape.
- Sew the base firmly using the tail to hold the shape securely.
- Weave in loose ends with a needle.
- Optionally, crochet and attach green leaves at the base for a natural look.
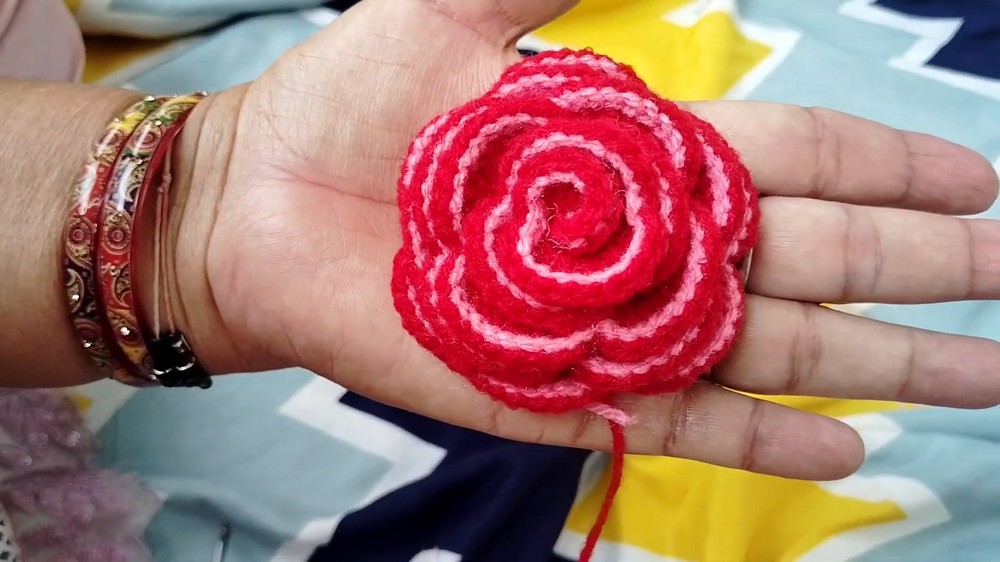
Rolling and stitching secure the flower and finalize your beautiful crochet rose.
Assembly & Finishing Notes
- Maintain even tension through all stitches for consistent petal size.
- Use your creativity to add decorative rounds or change colors as you like.
- The finished rose is ideal for adorning dress pieces, household decor, gift wrap, or craft embellishments.
- Remember to share your creativity with friends and enjoy your handmade flower!
