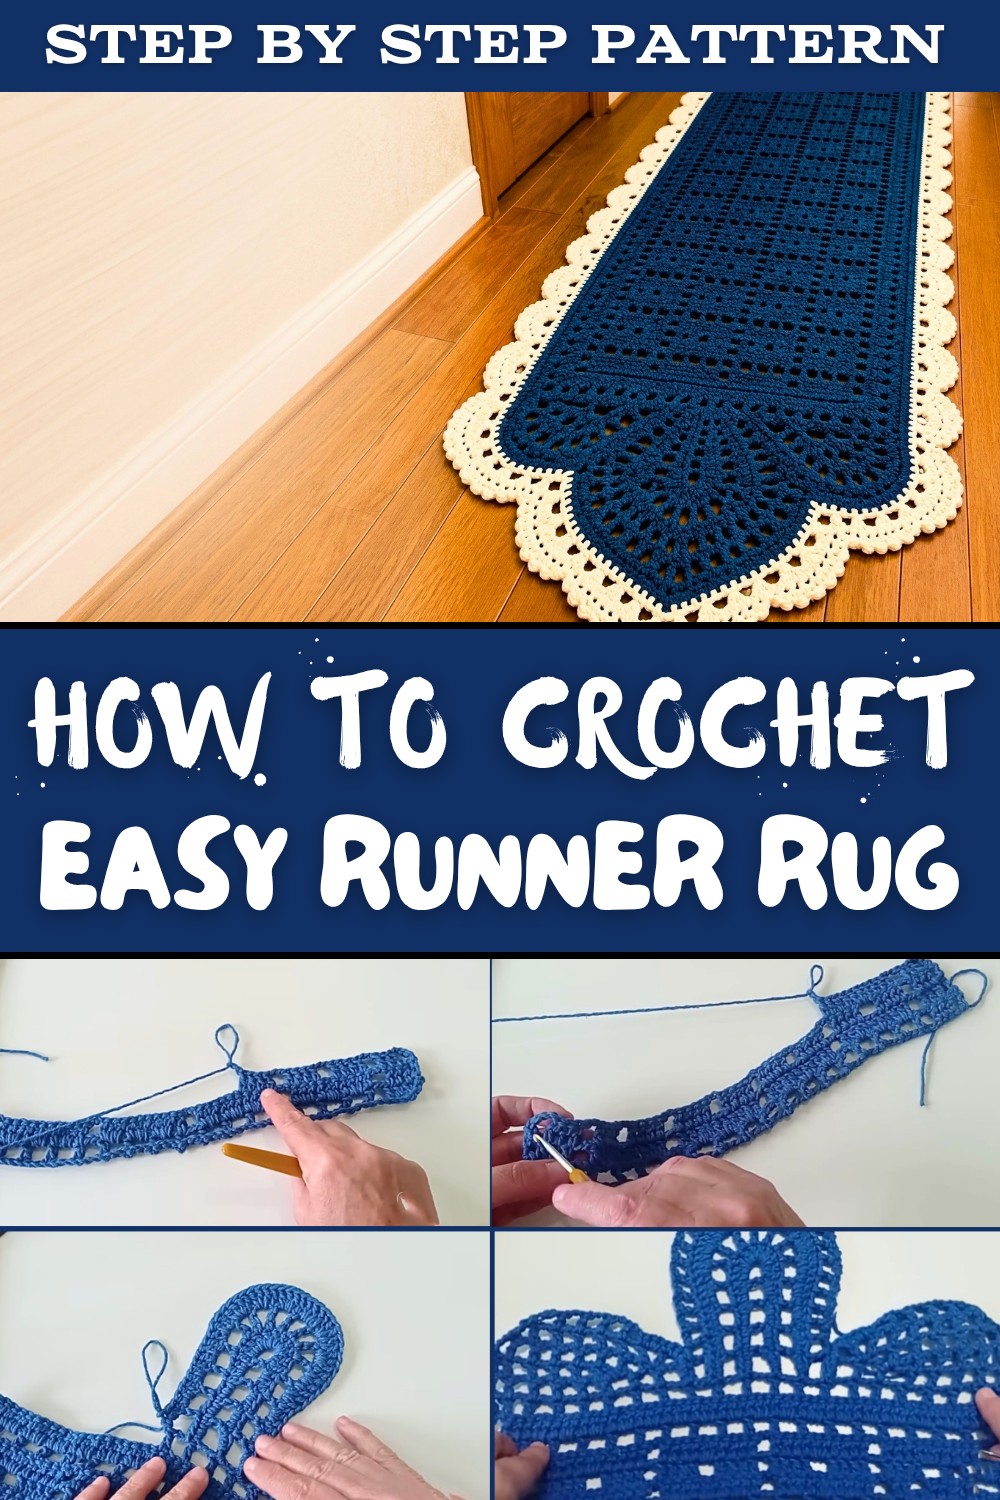
Free Crochet Runner Rug pattern for Rustic Charm
Beautify home interiors with Free Crochet Runner Rug Pattern featuring lovely texture and practical style for hallways and living spaces.
Want to make your hallway or kitchen feel more inviting and comfortable? One great way to do this is by adding a handmade rug that suits your space perfectly. A crochet runner rug pattern is a simple and fun project that lets you create a soft, cozy path along a narrow area in your home. This rug is not only pleasing to the eye but also gentle on your feet, providing warmth and comfort where you need it most.
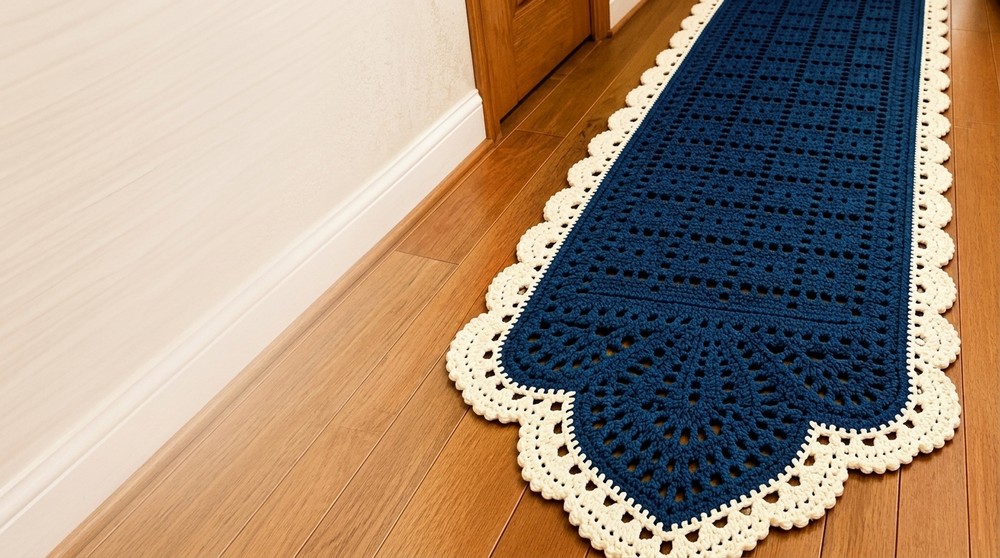
Easy Free Crochet Runner Rug pattern for Long Hallways
You can choose colors and designs that match your style, whether bright and bold or soft and subtle. Because the rug is made with carefully stitched yarn, it is lightweight and easy to clean-perfect for busy households. Placing a crochet runner rug can protect your floor while adding a splash of personality and charm. This type of rug works well in a hallway, entryway, or even alongside your bed for added comfort when you wake up.
Plus, making your own rug is rewarding and helps you practice crochet skills in a creative way. With endless possibilities for texture and pattern, a crochet runner rug pattern allows you to bring unique style and practical warmth to your living space. Whether you're a beginner or more experienced, this project is a delightful way to brighten your home and add that special cozy touch.
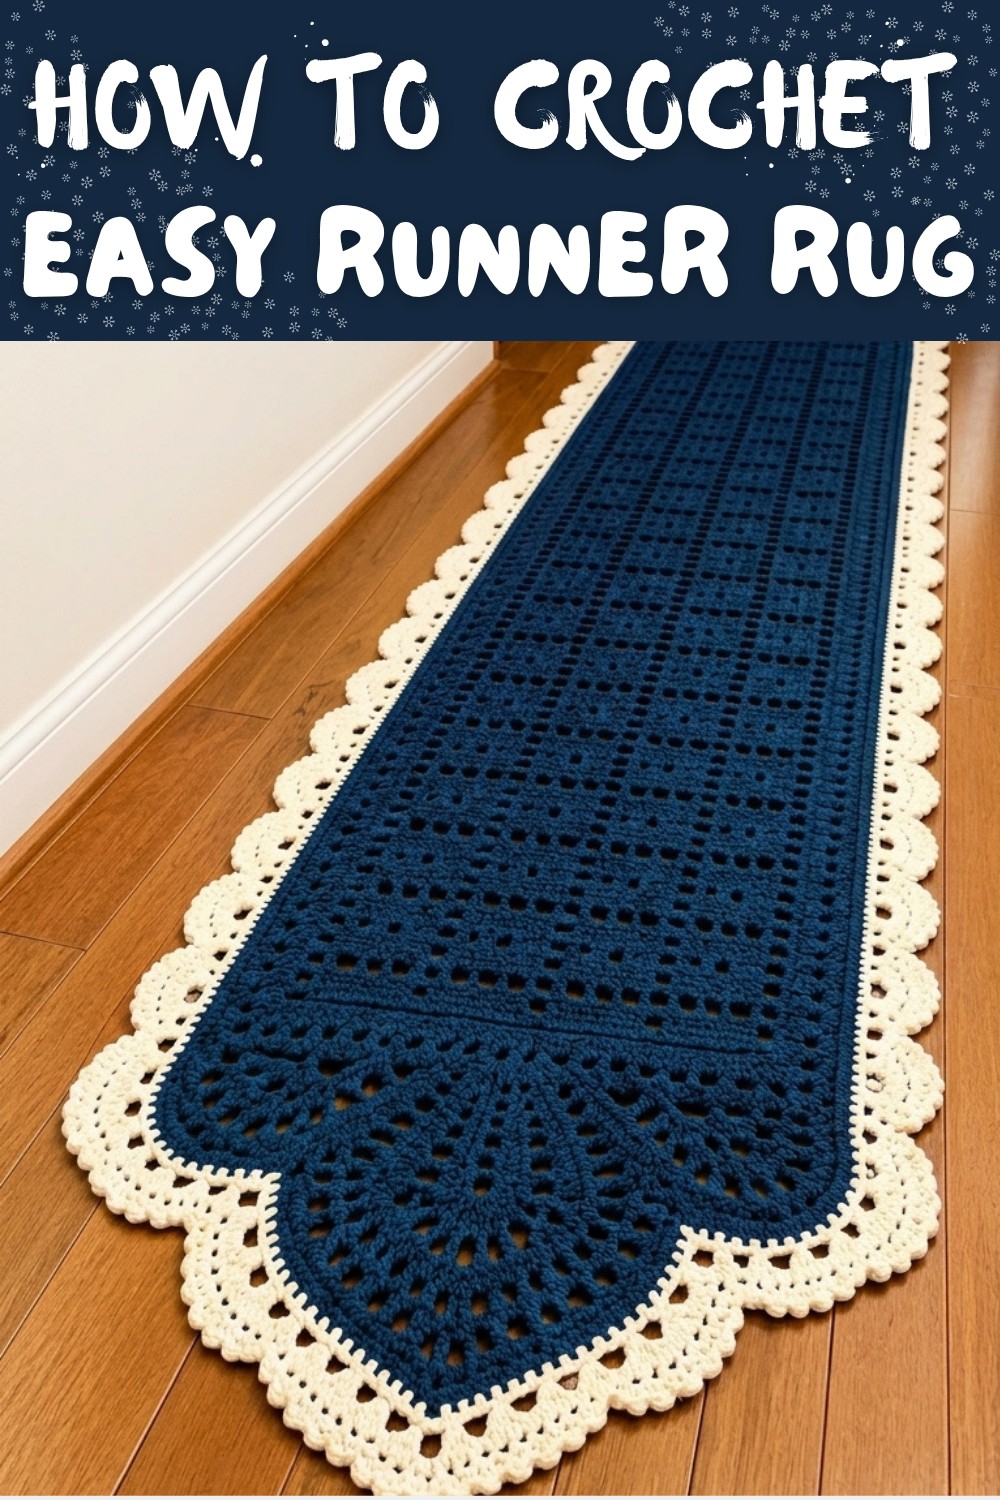
Waffle Stitch Crochet Rug Pattern
Welcome to this detailed crochet pattern to create a beautiful waffle stitch rug. This guide transforms the video instructions into a clear, step-by-step written format suitable for all skill levels, especially beginners eager to explore the waffle stitch texture and stitch blocks. Follow each section carefully for a successful project!
Preparation and Essentials Before Beginning
- Yarn and Hook: Use a medium-weight yarn suitable for home decor. For this project, a natural yarn color is suggested for the border and base.
- Hook Sizes: Main work with 3.5 mm hook. For starting chains, use a slightly larger 4 mm hook to maintain chain flexibility.
- Tension Tip: Avoid making chains too tight; if you encounter difficulty inserting the hook, switch to a larger hook size.
- Workspace: Crochet on a flat surface with good lighting. Use stitch markers to keep track of rows if needed.
- Measuring Tool: Have a tape measure handy for checking size and gauge.
- Accessories: Scissors, yarn needle for weaving ends, and blocking tools for finishing.
- General Advice: Keep loose tension to maintain flexibility and avoid curling edges.
Pattern Insights and Important Notes
- The rug is built starting from a foundation chain of 65 stitches.
- The pattern features a repeating sequence of blocks made of chains and double crochet stitches (US terminology: double crochet, UK terminology: treble crochet).
- The edges of the rug are finished with single crochet and half double crochet rows to prevent curling.
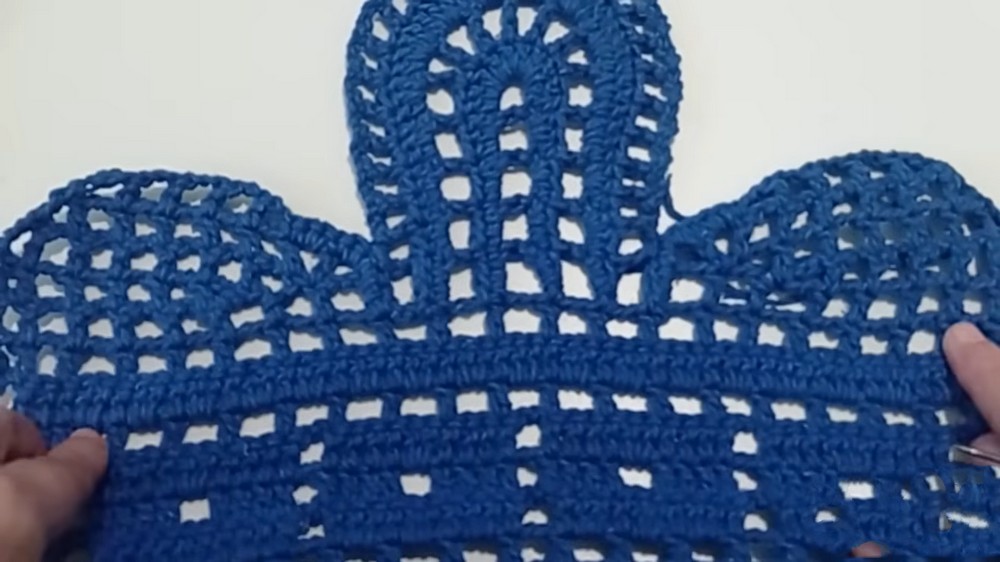
- The pattern includes symmetrical motifs that are joined seamlessly to form a rectangular shape with a gentle curvature on edges.
- Stitch counts and joining techniques maintain the form and balance of the rug.
- Throughout the pattern, stitches are worked either in the tops of chains or loops to create the waffle texture.
- The construction employs shaping increases especially at curved parts using multiple crochet stitches in the same base.
- The rug knitting involves multiple rounds of waffle block groups and surrounding stitches.
- Pattern is worked flat with turning chains and careful row finishes for uniformity.
Construction Overview of the Rug
- Begin with a loose chain foundation.
- Work rows of waffle blocks-created by alternating chains and double crochet stitches-to build the main body.
- Insert additional rows with chain spaces forming small "holes" for the waffle effect.
- Construct symmetry by repeating pattern rows and mirroring motifs.
- Shape edges with increases and blocks to create gentle curves.
- Join motifs and finish with border rounds of half double crochet to add stability and neatness.
- Weave in threads and block lightly for a professional finish.
Skill Level
Ideal for Beginner to Intermediate crocheters. Basic crochet stitches plus attention to stitch counts and joining required. The pattern reviews foundational stitches and row repeats clearly.
Approximate Finished Dimensions
- Width: ~ 20 inches (51 cm)
- Length: Length customizable by repeating row sequences - typical length in project is approximately 36 inches (91 cm) by working four pattern repeats.
Note: Size can be adjusted by adding or omitting repeat rows as preferred.
Gauge and Stitch Tension
- Gauge is defined by the waffle block pattern, not strictly by standard swatches due to textured stitches.
- Approximate gauge: 25 waffle blocks across 10 inches (25.4 cm) wide when using recommended yarn and hook.
- Adjust hook size if necessary to achieve desire firmness and texture.
Stitch Abbreviations Used (US Terms)
- ch = Chain
- sc = Single Crochet
- hdc = Half Double Crochet
- dc = Double Crochet
- dc2tog = Double Crochet Two Together (Decrease)
- sl st = Slip Stitch
- sp = Space
- st(s) = Stitch(es)
Special Stitch Explanations
- Waffle Block: A textured block formed by alternating chains and double crochet stitches. Typically: 2 ch, skip 2 base stitches, 1 dc in next stitch creates 'block' units.
- High Point on Chain Top Loop: Insert hook only under the top loop of foundation chains to ensure delicate edge and easier insertion in following rows.
- Joining Two Blocks: Slip stitch or single crochet to join two motifs or edges seamlessly, working through loops and chains for neat alignment.
- Double Treble Crochet (UK)/Triple Crochet (US): Yarn over twice and pull through 2 loops 3 times to create extra tall stitches used in border shaping sections.
Step-by-Step Crochet Instructions
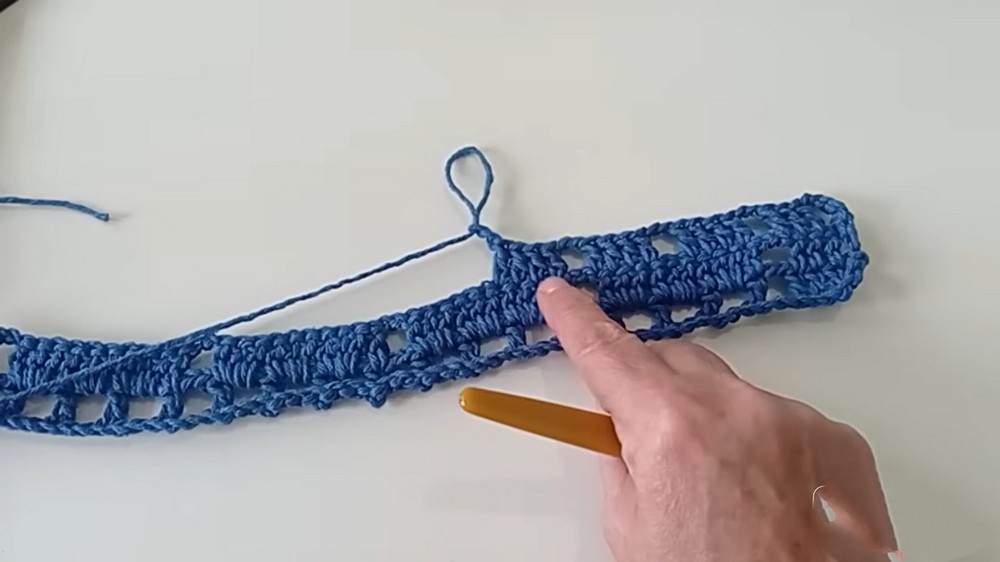
Part 1: Foundation and First Row of Blocks
- Foundation Chain: Chain 65 loosely with 4 mm hook.
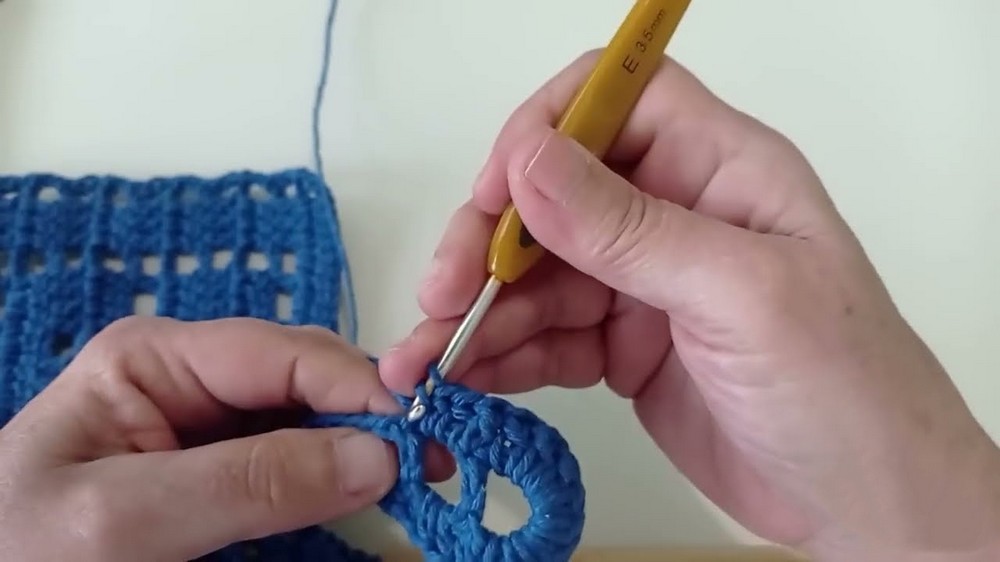
- Switch to 3.5 mm hook. Loop yarn and count 5 chains from hook. Insert hook into 6th chain; this counts as the start for first double crochet row.
- Work 3 double crochets (dc) in next three base stitches, pulling through only the top loop for a clean edge.
- Chain 2, skip 2 stitches, dc in next stitch-this forms one waffle block. Repeat this block 17 times across the row.
- End with dc block of 3 double crochets in last base stitch, followed by chain 1, skipping one base stitch; secure last stitch firmly.
Beginner Tip:
This row lays the foundation by creating small squares called 'blocks'. When you chain two and skip two stitches, you form spaces that give the waffle pattern its texture. Don't crochet too tightly so your stitches remain flexible.
Part 2: Second Row - Building the Waffle Squares
- Chain 4 to turn (counts as 1 dc plus spacing).
- For each block from previous row, place one dc in base stitch and 2 dc in chain spaces between blocks forming little waffle squares with a hole in the middle.
- Repeat until you complete 4 groups of 10 dc points.
- Insert 2 chains between groups, then at the end chain 1 and secure with dc on the edge.
- Close the row with dc stitches on sides to form clean edges.
Explanation for Beginners:
In this row, you crochet double crochets (taller stitches) right on top of the ones below and in the spaces between chains from last row. This builds neat squares with a little hole in the middle, creating the waffle look.
Part 3: Third Row - Alternating Treble Crochet Blocks
- Chain 4 to start row; this counts as one treble crochet (tr).
- In each base point, work 4 treble crochets separated by 2 chains, skip 2 base points between blocks.
- Follow block sequence across entire row creating textured squares with holes.
- End with 3 treble crochets in last block and secure with chain and slip stitch.
Simplified Summary for Beginners:
Now you use taller stitches called treble crochets (yarn over twice) to make taller blocks in the pattern. You work groups of these separated by chains, which creates the waffle texture standing up higher.
Part 4: Middle Section - Repeat of Base Rows
- Repeat rows 1 and 2 for establishing the foundation squares over the length you prefer.
- Pattern follows a sequence of blocks, chains, and double crochet stitches, maintaining the waffle design.
- Repeat until you achieve desired length.
Part 5: Shaping Curves and Joining Blocks
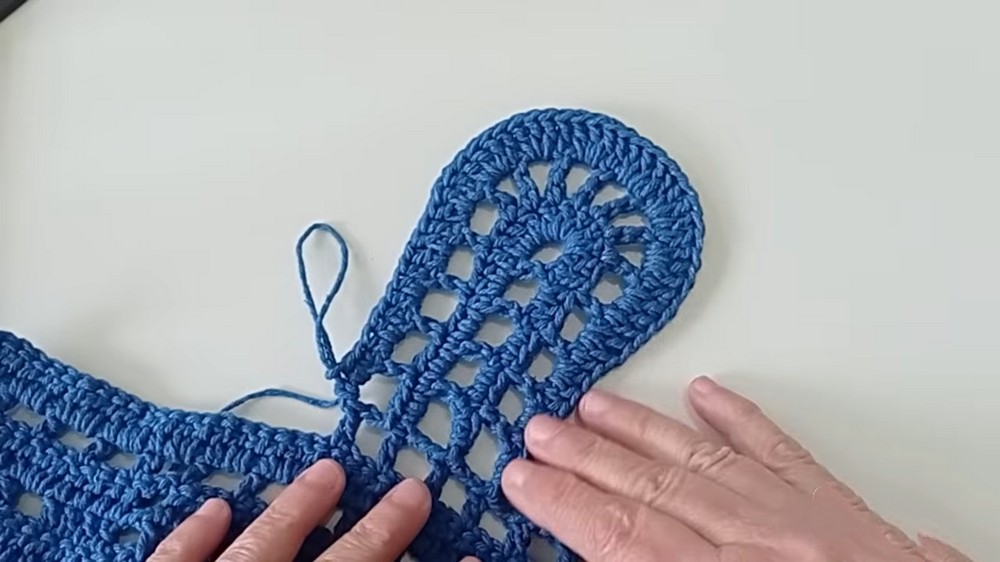
- Work small "triangle" blocks with 2 chains and high points strategically to shape gentle curves on edges.
- With corners, adjust number of stitches to avoid puckering-usually by adding increases with 2 stitches in one base point.
- Join pairs of four-square motifs at the middle with slip stitch or single crochet through designated points aligning chains and loops.
- Ensure all joins are symmetrical for balanced look.
Tip for clarity:
Edges and corners need extra care. Adding a few extra stitches smoothly shapes the rug so it lays flat, not curled or pulled tight.
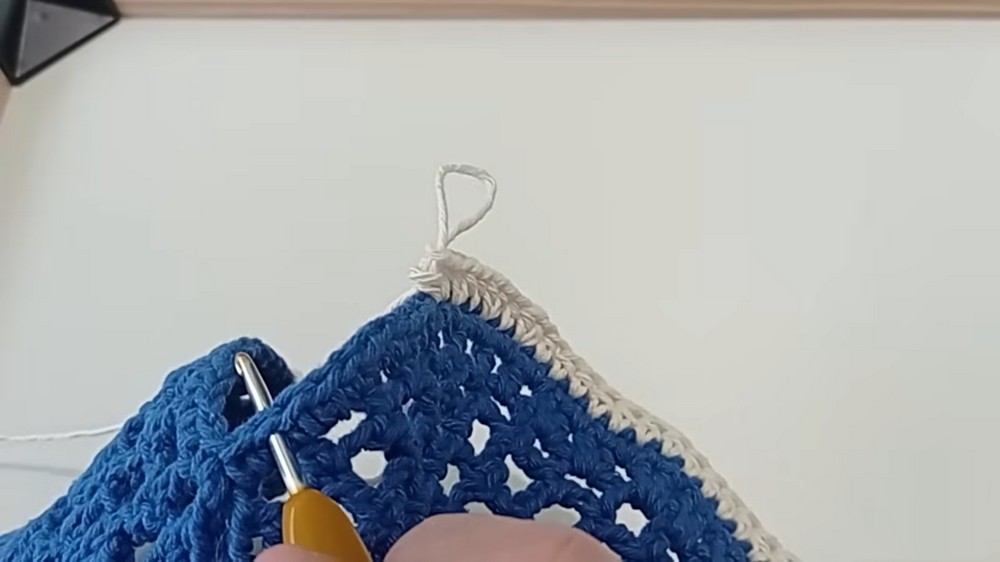
Part 6: Border Edging - Finish with Half Double Crochet
- Crochet around entire piece in rows of half double crochet stitches (hdc), adding two hdc in each chain space.
- Adjust stitch counts when working curves - add increases gradually to keep shape even.
- Work several rows of hdc following the shape, alternating stitches and chains, creating a neat border.
- Finish last row with slip stitches and fasten off securely.
Understanding the Pattern for Beginners
- Blocks are groups of chains and double or treble crochet stitches separated by skipped stitches creating holes.
- Rows alternate between building blocks and filling spaces for the waffle texture.
- Curves are made by increasing stitches gradually via blocks and chains.
- Border makes rug shape stable and neat.
Finishing Touches and Assembly
- Weave in all loose yarn ends carefully with a yarn needle, making sure they are hidden inside stitches.
- Block your rug by dampening and pinning flat to shape on a blocking mat. Let dry completely to hold shape.
- Join any motif pieces securely to prevent separation during use.
- Trim any uneven threads for a polished, clean finish.
Common Issues and How to Fix Them
- Tight Chains: If your foundation chain is too tight, start over with larger hook and looser tension to avoid difficulty in row 1.
- Uneven Edges: Count your stitches carefully, especially when skipping and chaining around blocks; add few stitches if edges curl.
- Joining Misalignment: Lay both pieces flat and make sure blocks line up before joining; adjust slip stitches to keep lines neat.
- Waving or Curling Border: Adjust border stitch tension, avoid really tight stitches, and block rug thoroughly after finishing.
Other Creative Projects from This Technique
- Cushions with waffle stitch texture
- Table runners to match rug styles
- Pot holders or coasters using mini waffle blocks
- Lightweight summer sweaters or crochet tops using similar block and chain combinations
- Cozy scarves featuring waffle stitch texture
- Decorative wall hangings made from repeating waffle motifs