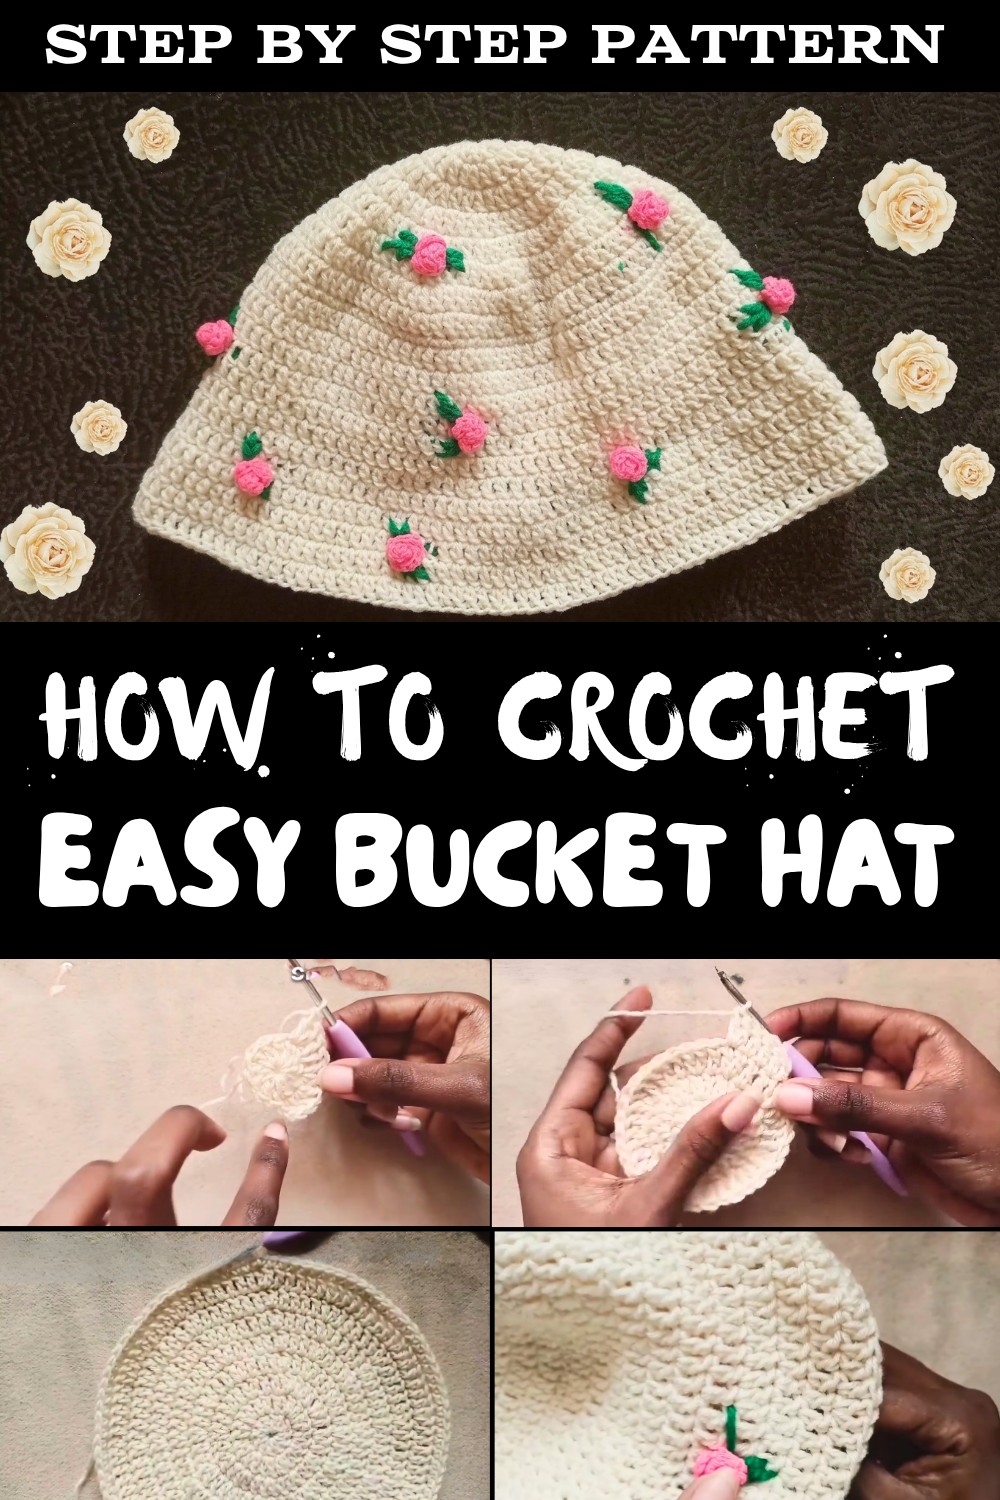
Crochet Free Bucket Hat With Embroidered Rose Pattern in Simple Steps
Enhance your wardrobe with free crochet bucket hat with embroidered rose pattern that blends style & comfort perfectly for any sunny outing.
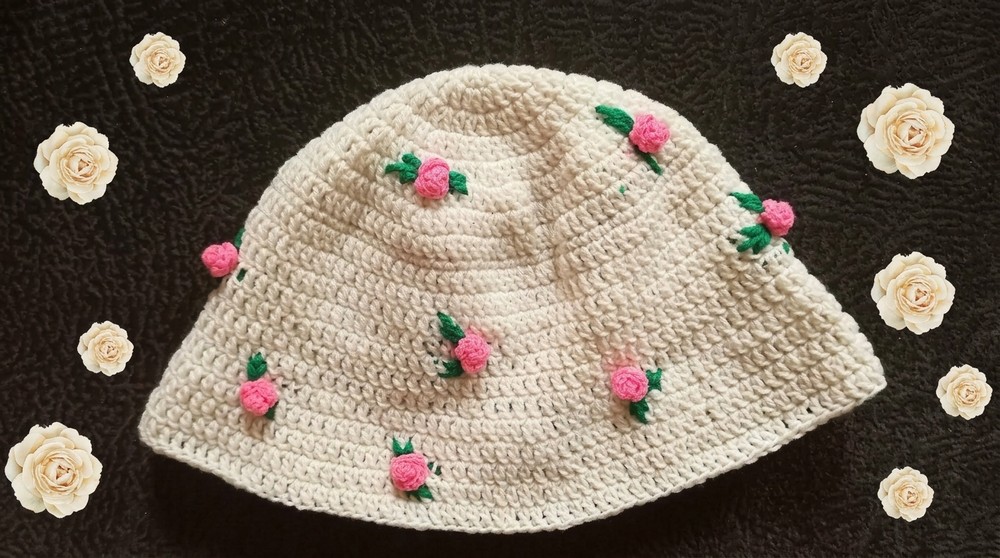
A cozy hat can be just what you need to complete your outfit while keeping you comfortable and protected. The crochet bucket hat with embroidered rose pattern offers both style and function with its soft yarn and delicate floral design. This hat provides gentle sun protection without feeling heavy or tight on your head. It fits comfortably thanks to its stretchy crochet fabric and helps you stay cool on warm days.
One of the great benefits of a crochet bucket hat with embroidered rose pattern is its versatility. It looks great paired with casual clothes like jeans and tees but also adds a sweet touch to summer dresses. The embroidered rose detail makes the hat stand out as a charming accessory that can brighten even simple outfits. Because it's handmade you get a unique piece that shows off your personal style.
Free Crochet Bucket Hat With Embroidered Rose Pattern for Summer Vibe
Comfort is key when it comes to this crochet bucket hat. Its breathable yarn lets air flow easily and keeps you from feeling overheated. You can wear it for a walk outdoors a day at the beach or just when you want to add a little flair to your everyday look. The lightweight design makes it easy to carry in a bag or pack for travel.
Styling your crochet bucket hat with embroidered rose pattern is fun and simple. Try wearing it with loose hair or tied back in a ponytail. It pairs beautifully with natural makeup for an effortless vibe. Whether bright colors or soft pastels match your mood this hat brings a fresh and lovely touch to any outfit you choose.
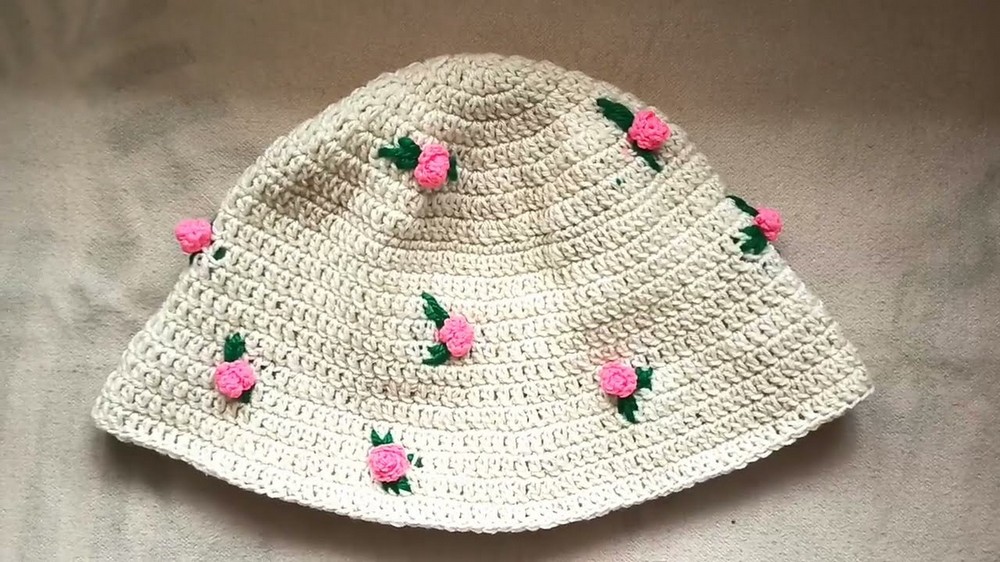
Crochet Bucket Hat with Roses and Leaf Embroidery Pattern
This chic summer accessory features a beautifully crocheted bucket hat adorned with delicate roses and embroidered leaves, perfect for adding a handmade touch to any outfit. This tutorial guides you through creating the hat's body, crocheting the rose embellishments, and embroidering leaves for a complete floral finishing touch.
Preparation and Materials to Gather
- Choose a medium-weight yarn suitable for hats (cotton or cotton blends recommended for breathability).
- Use a 5 mm crochet hook for the hat body and a smaller 1.6 mm hook for fine lace roses.
- Prepare contrast colored yarns for embellishments: typically pink or red for roses, green for leaves.
- Have a tapestry needle ready for sewing embellishments and embroidering.
- Scissors for cutting yarn.
- Stitch markers may be helpful but are optional.
- Basic knowledge of crochet stitches (double crochet, single crochet, chain) and working in rounds is required.
- Prepare a comfortable workspace for hand embroidery and assembly.
Important Observations and Design Notes
- The hat is worked in the round, beginning with a magic ring and expanding to fit head circumference.
- The pattern builds the hat in rounds: flat circle for the crown, gradual increases for body and brim.
- Roses are crocheted separately as narrow strips then rolled and sewn in place.
- Leaf embroidery is done using tapestry needle and green yarn or yarn scraps after rose placement.
- The hat size and brim length are customizable by increasing or decreasing rounds and stitches.
- The chain-two at the beginning of rounds counts as the first double crochet, a standard in most crochet patterns.
Brief Overview of Construction
- Begin by crocheting a magic ring base for the hat crown with 12 stitches including chain 2 as first dc.
- Increase stitches in rounds following a regular pattern to shape the crown and hat body.
- Crochet several rounds of double crochet stitches to desired height.
- Increase for the brim by spacing increases evenly.
- Create delicate roses using small hook and fine yarn through chain and cluster stitches.
- Roll and sew roses, and embroider green leaves around roses.
- Finish all weaving and trimming to secure.

Skill Level Required
- Ideal for intermediate crocheters with some experience working in the round, crochet shaping, and embroidery basics.
Finished Dimensions
- Average adult bucket hat size: approx. 56-58 cm (22-23 inches) head circumference.
- Brim width flexible: approximately 6-7 cm (2.5-3 inches) in pattern sample.
- Adjust to fit by adding or reducing rounds or stitches.
List of Materials
- Medium-weight cotton or cotton blend yarn (main hat color).
- Fine yarn for rose embellishments (e.g., fine pink yarn).
- Green yarn or thread for leaf embroidery.
- Crochet hooks (5 mm for main hat; 1.6 mm for roses).
- Tapestry needle for finishing and embroidery.
- Scissors, stitch markers (optional).
Gauge and Stitch Details
- Not strictly gauge sensitive but recommended approximately:
- 12 stitches + chain 2 per round for start; increasing each round as per pattern.
- Brim increases approximately every 4 stitches for gentle flare.
- Maintain consistent tension for even fabric and shaping.
Stitch Abbreviations and Terms
- ch = chain
- dc = double crochet
- sc = single crochet
- sl st = slip stitch
- st(s) = stitch(es)
- magic ring = adjustable crochet ring to start rounds
- inc = increase (2 dc in same stitch)
Unique Stitches and Techniques
- Magic Ring Start: Closure ring to start circular work, avoids holes in center crown.
- Chain Two As First DC: Chain 2 counts as first dc stitch at round start for height consistency.
- Crocheted Clusters: Multiple double crochets worked in a single stitch for rose texture.
- Rolled Rose Construction: A simple narrow crochet strip rolled into a 3D flower then sewn.
- Embroidery with Yarn: Leaf shapes embroidered with a tapestry needle and yarn, mimicking leaf veins.
- Slip Stitch Joins: Used to join rounds seamlessly or finish rows.
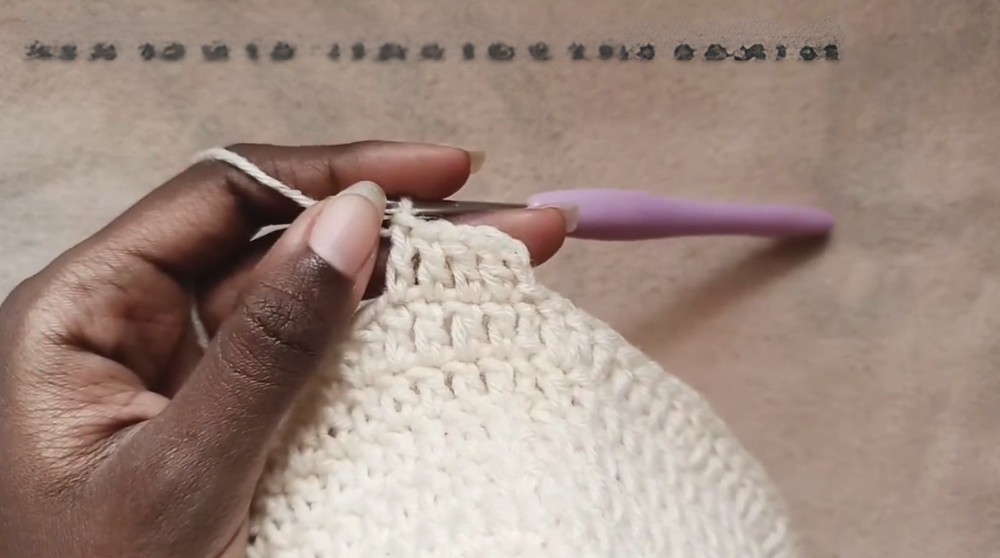
Pattern Instructions
Section 1: Crocheting the Hat Crown & Body
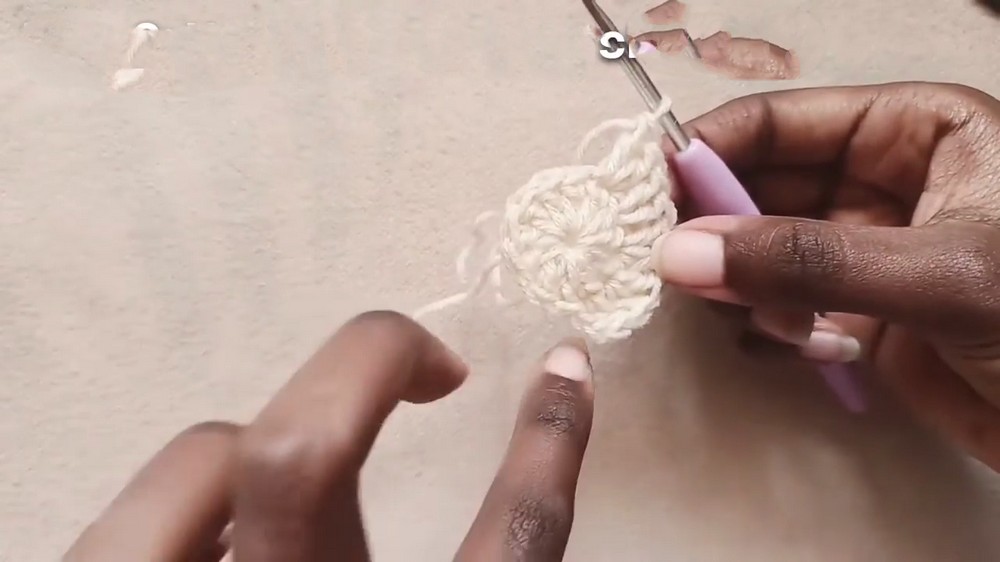
Round 1:
- Make a magic ring.
- Ch 2 (counts as first dc).
- Work 11 dc into the ring. (Total 12 dc including chain 2.)
- Pull yarn tail to close ring.
- Join with sl st to top of ch 2.
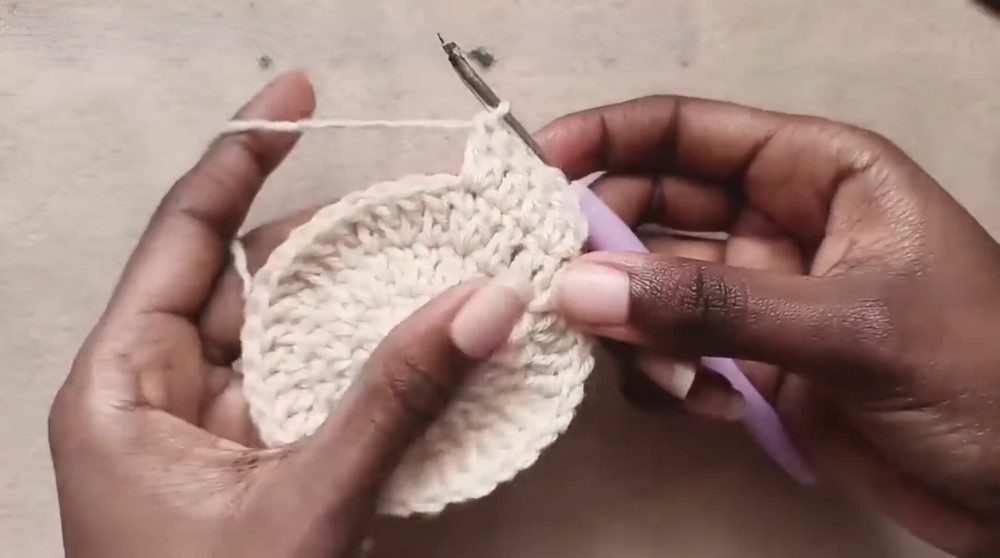
Round 2:
- Ch 2 (counts as first dc), dc in same st.
- 2 dc in next stitch around. (24 dc total.)
- Join with sl st to top of chain 2.
Round 3:
- Ch 2, dc in same st.
- Dc in next st, 2 dc in next st repeat around. (36 dc total.)
- Join round.
Round 4:
- Ch 2, dc in same st.
- Dc in next 2 sts, 2 dc in next st repeat to end. (48 dc.)
- Join with sl st.
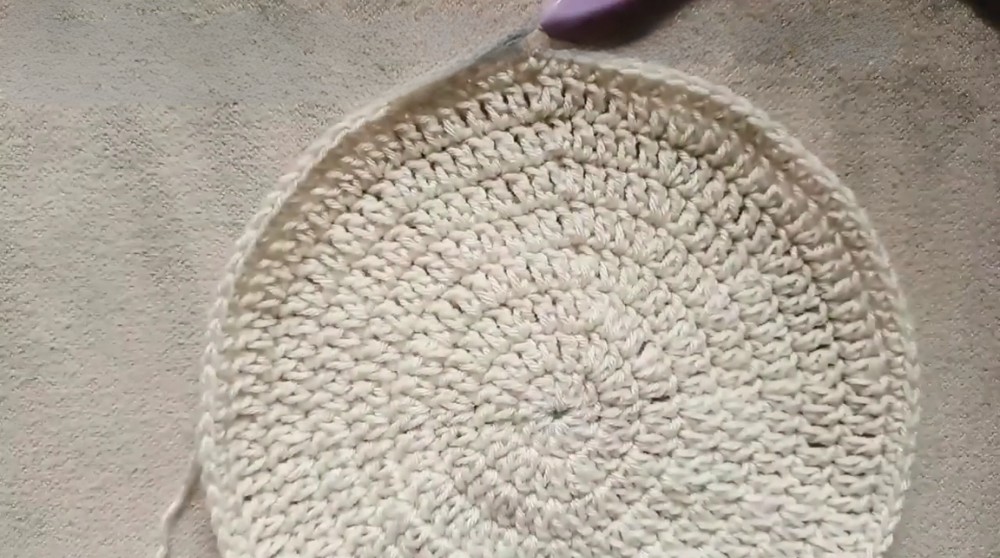
Rounds 5-8 (or desired height):
- Chain 2, dc in every stitch around.
- Join at end of each round.
- Adjust number of rounds to your preferred hat height.
Section 2: Building the Brim
Round 9:
- Ch 2, dc in next 3 sts, 2 dc in next st (increase).
- Repeat 4 dc, increase around until round end.
- Join with sl st.
Rounds 10-11:
- Ch 2, dc in each st around.
- Join at round end.
Round 12:
- Repeat increase pattern of round 9.
- Join.
Rounds 13-15:
- Continue dc rounds without increase or increase according to preferred brim width and flare.
- Finish brim with a sl st join.
Section 3: Crafting Crochet Roses
- Use fine pink yarn and 1.6 mm hook.
- Make slip knot.
- Chain 13.
- Skip first 3 chains, dc in 4th chain from hook, dc in next chain.
- Half double crochet (hdc) in next chain, followed by sc in same chain.
- In next two chains, work 2 dc into each.
- Repeat half double crochet, single crochet pattern in next chain.
- Finish by slip stitching last chain.
- Leave long tail for folding and sewing.
- Roll strip into rose shape and sew with tapestry needle.
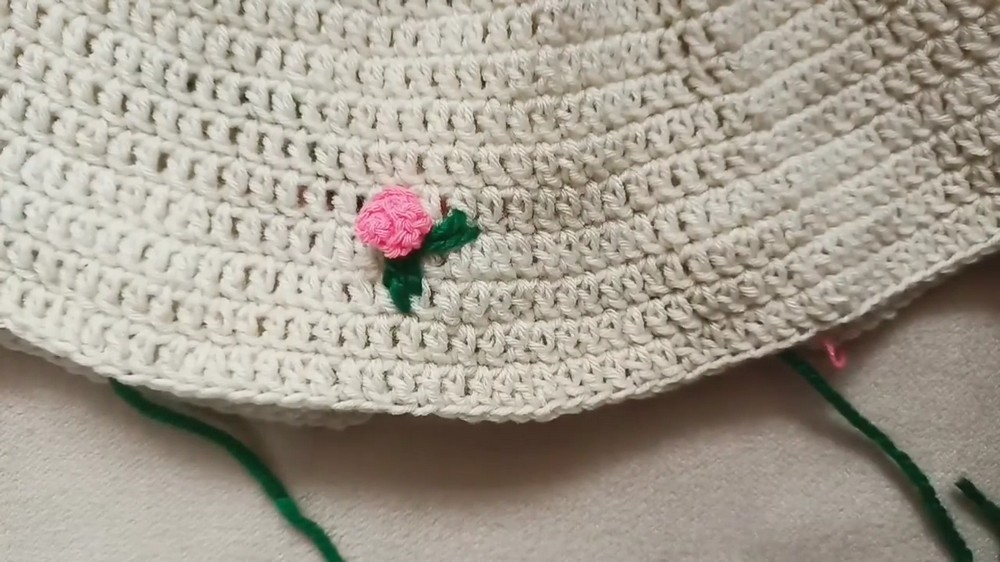
Section 4: Attaching Roses to Hat
- Decide placement for roses on the hat body.
- Use tapestry needle and long yarn tail to attach by sewing through hat stitches and rose base.
- Secure firmly with multiple passes to prevent loosening.
Section 5: Embroidering Leaves
- Using green yarn and tapestry needle, bring needle up at base of rose.
- Stitch to highest leaf point, then to lower points creating 3 leaf lobes.
- Stitch symmetrical lobes on alternate sides.
- Repeat for multiple leaves around roses as desired.
- Embroidery may show at back; for cleaner finish, applique crochet leaves can be attached on backside.
Clarification for Beginners
This bucket hat starts from a tight magic ring to shape the top of the crown, expanding evenly through increasing rounds. The brim is flared by spacing increases consistently. Roses are thin crochet strips rolled and sewn on; leaves are embroidered directly with yarn for natural appeal. Chains at start of rounds act as first dc stitch for uniform rows.
Assembly & Final Touches
- Carefully weave in all yarn ends with a tapestry needle ensuring no loose strands remain.
- Securely sew roses on the hat with several stitches for durability.
- Embroider leaves around roses immediately after attaching roses.
- Block the hat lightly if desired to soften and even the stitches.
- Try on for fit and adjust brim or strap length as preferred.
Troubleshooting Tips
- Hat crown too tight or loose: Adjust hook size or tension accordingly.
- Brim curling excessively: Add extra rounds without increases or block carefully.
- Rose not holding shape: Roll tightly and secure with additional stitches.
- Embroidery shows on wrong side: Use applique leaves or backstitch neatly on reverse side.
Additional Creative Suggestions
- Make matching floral embellishments for bags or scarves.
- Crochet leaves separately and attach appliqué style for a solid leaf design.
- Customize hat with different color combinations or yarn textures for varied effects.
- Expand rose patterns into larger floral bunches for statement accessories.
- Use similar rolled crochet strip technique to create small flowers for brooches or hairpins.