Stylish Free Crochet Head Wrap Pattern for Everyday Wear
Enjoy effortless style and comfort with this free crochet head wrap pattern perfect for all hair types and casual or special occasions.
A head wrap is a beautiful and practical accessory that many people enjoy wearing. It helps keep hair in place during windy days or workouts and adds a touch of style to any outfit. Made with soft yarn, a crochet head wrap feels cozy and gentle on the skin, making it perfect for all-day wear. When you try a crochet head wrap pattern, you can create a personalized piece that matches your taste and fits comfortably around your head.
This head wrap is not just for keeping hair back. It can also be used to add color and texture to your look easily. Whether you want something simple for everyday use or a bold design for special occasions, a crochet head wrap offers endless possibilities. Because it is handmade using yarn, the stretch and softness allow the wrap to sit snugly without causing discomfort or headaches.
Quick and Easy Free Crochet Head Wrap Pattern for Workout Days
Another great benefit is that a crochet head wrap is lightweight and breathable. This makes it ideal for warm weather when you want to keep hair tidy without feeling hot. In cooler months, it can also provide a little extra warmth around the ears. This mix of function and fashion makes a crochet head wrap a favorite choice for many who want both comfort and style in a single accessory.
Styling a crochet head wrap is easy. You can twist it, knot it, or wear it as a simple band. Pair it with casual outfits or dress it up with jewelry and makeup for a fresh look. It also works well with all hair types including natural, curly, straight, and braided hair. With a crochet head wrap pattern, you gain the joy of crocheting while making a versatile piece that brightens your wardrobe and keeps you comfortable every day.
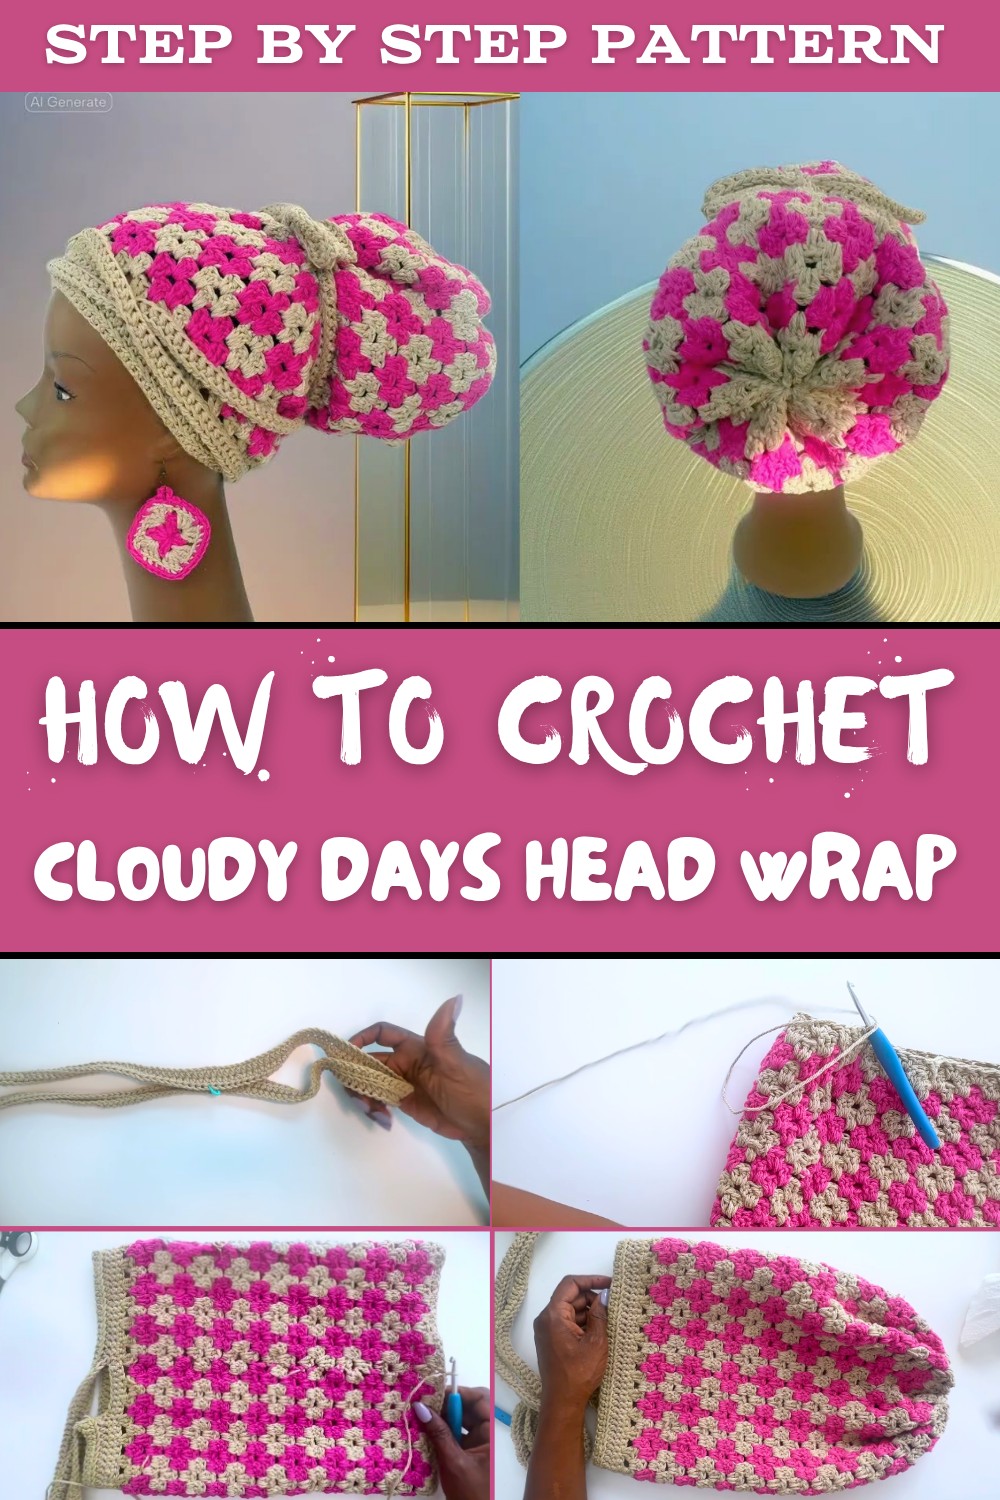
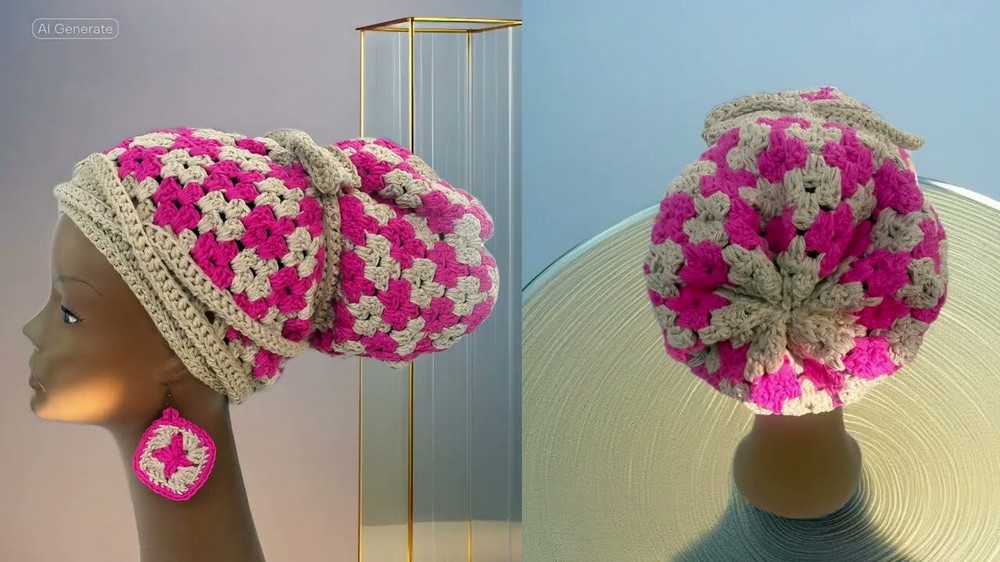
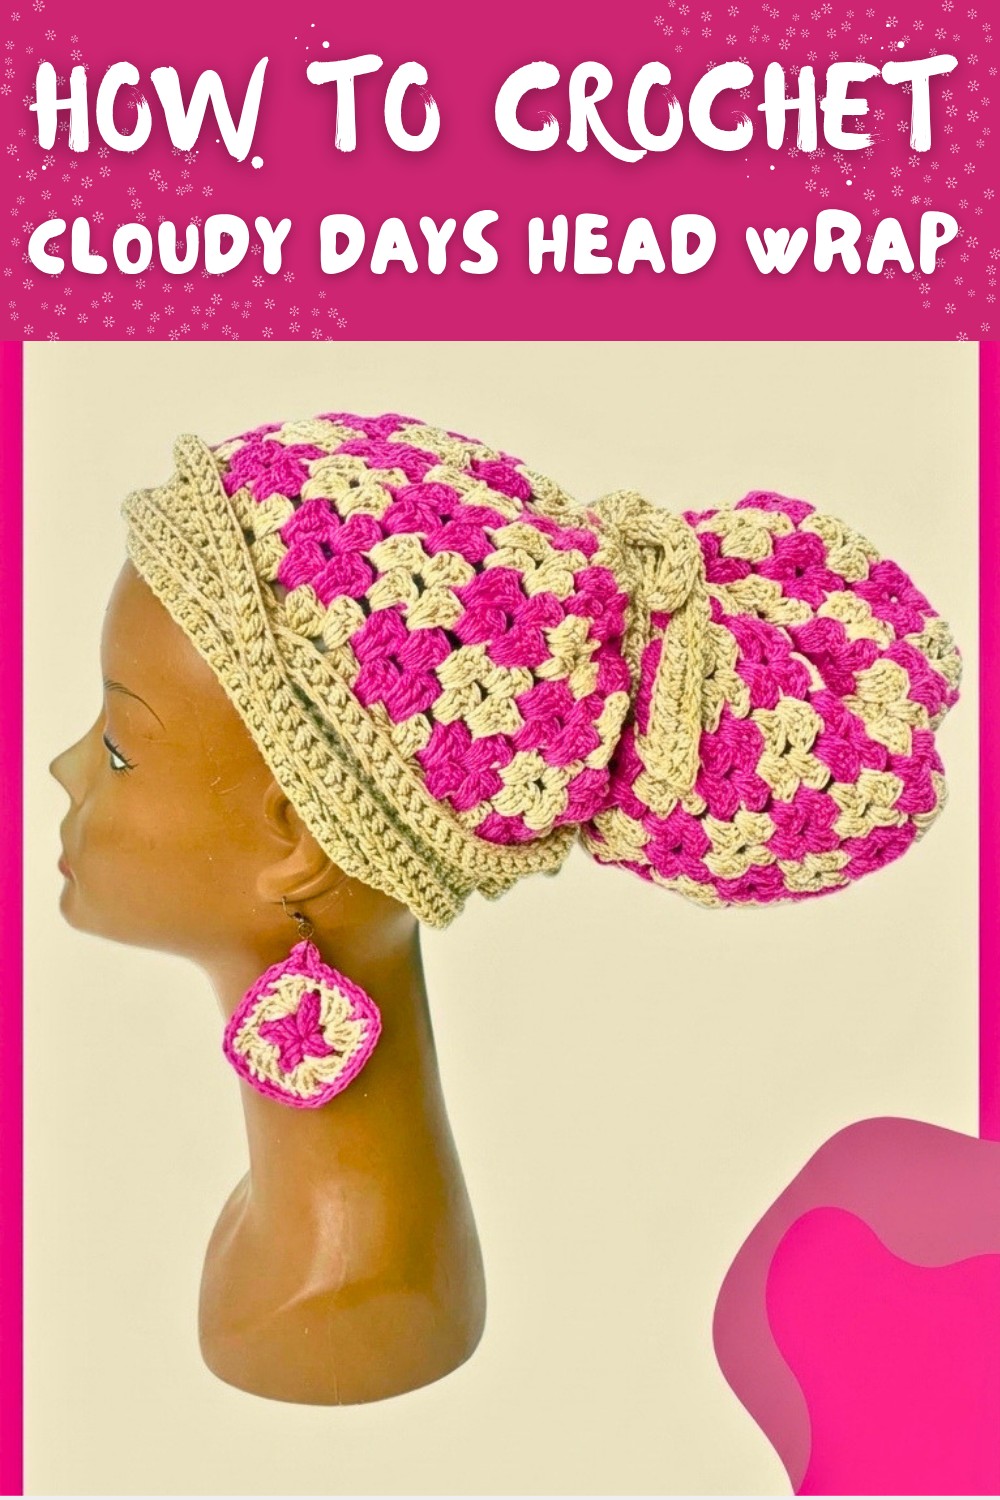
Cloudy Days Wrap Crochet Pattern
This stylish and cozy "Cloudy Days Wrap" is the perfect accessory to add warmth and flair to any outfit. Featuring long straps and a comfortable stitch pattern with lovely color changes, it's a fun crochet project that results in a versatile wrap you'll love to wear.
Preparations Before Starting Your Project
- Use a size H (5 mm) crochet hook for optimal stitch size and fabric drape.
- Select cotton yarn in two contrasting colors (referred to as Color A and Color B). Cotton lends breathability and slight structure.
- Have scissors, stitch markers, and a yarn needle handy for finishing and weaving ends.
- Take time to measure desired wrap length and width. This project uses approximately 350-chain foundation for straps but you can adjust based on your size and preference.
- Know basic crochet stitches including half double crochet (hdc), double crochet (dc), and slip stitch (sl st).
- A stitch marker is helpful to track pattern repeats and join points.
- Prepare comfortable working space and enjoy a paced crochet session.
Pattern Overview and Construction Notes
- The wrap starts with long foundation chains forming the straps (approx. 102 chains suggested for length including head circumference).
- Straps are worked in rows of half double crochets, alternating single crochet rows with back loop work to add texture.
- The main body (band) is crocheted in rounds featuring a 4-round repeat of cluster stitches using alternating colors for subtle color shifts.
- The initial stitch counts are carefully calculated to ensure the band forms a neat loop around the head and between the straps.
- Color changes occur on the last pull-through of the third double crochet of each cluster to seamlessly alternate hues.
- Final rounds gently close the loop and finish the edge with double crochets and slip stitches.
- Closure is done by weaving yarn through front loops to pull the band together perfectly.
- The long straps offer styling versatility for various wrap and scarf looks.
Summary of the Wrap's Fabrication
- Chain foundation for straps, half double crochet both rows including back loop rows for texture.
- Fold straps, calculate center and stitch markers for joining.
- Connect straps with chains and slip stitching forming a closed band.
- Work band rounds in clusters of double crochets with alternating colors, changing color on last loop pull-through.
- Continue a 4-round repeat pattern to desired band length.
- Decrease stitch count on final round to close band slightly.
- Finish with weaving closure through front loops.
- Style and wear as desired.
Skill Level
- This project suits advanced beginners to intermediate crocheters, familiar with basic stitches, working in rows and rounds, stitch joins, and color changes.
Approximate Finished Dimensions
- Straps: approximately 102 chains long (~22 inches when folded, adjustable).
- Band Length: customizable by number of 4-round repeats, typical adult head circumference included.
- Total Wrap Size: Depends on repeats and strap length; generous enough to comfortably wrap head and neck.
Essential Materials & Tools
- Cotton yarn in two colors (Color A and Color B), approx. 200-300 grams combined.
- Crochet hook: size H (5 mm).
- Stitch markers, scissors, and tapestry/yarn needle for finishing.
- Measuring tape for length checks.
Gauge Information
- Gauge is flexible but expect approximately:
- Half double crochet row width ~2.5-3 stitches per inch.
- Cluster stitches forming textured rounds about 12-14 clusters per 4 inches.
- Maintaining consistent tension is important for consistent width.
Crochet Abbreviations Used
- ch = chain
- hdc = half double crochet
- dc = double crochet
- sl st = slip stitch
- st(s) = stitch(es)
- rep = repeat
- tog = together
Unique Techniques Explained
- Back Loop Half Double Crochet: Working into the back loop only creates a subtle ribbed texture on the straps.
- Stacked Single Crochet: A single crochet followed by another into the first loop of the stitch, creating a "stacked" look replacing a chain 2 at the beginning of rounds for aesthetic appeal.
- Color Change on Last Pull-Through: When completing the third double crochet in cluster, the final yarn over and pull-through is done with the new color to create seamless transitions.
- Cluster Stitch: A group of three double crochets worked in the same stitch or space, forming a textured motif.
- Weaving Closure Through Front Loops: Finishing the band by threading yarn through only front loops around the band, enabling a snug gather and clean finish.
Pattern Instructions
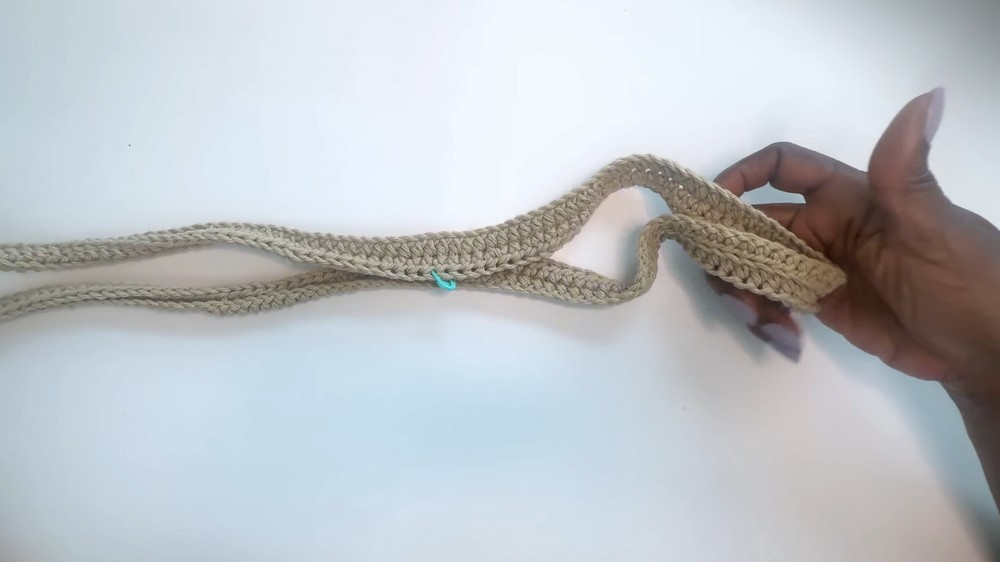
Step 1: Create the Straps with Color A
- Chain 102 (or desired length including approx. 22 inches for head circumference).
- Ch 1, turn, and hdc in the second chain from hook.
- Hdc across entire row.
- Chain 1, turn, hdc in back loop only across next row. Repeat two rows total.
- Fold straps in half, mark center stitch.
- From center, count 34 stitches left and mark, then 34 stitches right and mark. These 69 stitches form the band foundation.
Beginner Tip: Back loop hdc adds subtle texture without affecting stitch count.
Step 2: Join and Form the Band Loop
- Attach Color A yarn to right stitch marker.
- Chain 9, then slip stitch to left stitch marker, ensuring no twists for a smooth loop.
- Chain 1, turn and sc across the chain 9 and hdc stitches across straps, joining all edges.
- Work a second round of sc around band.
- Join rounds with sl st, turn for next round.
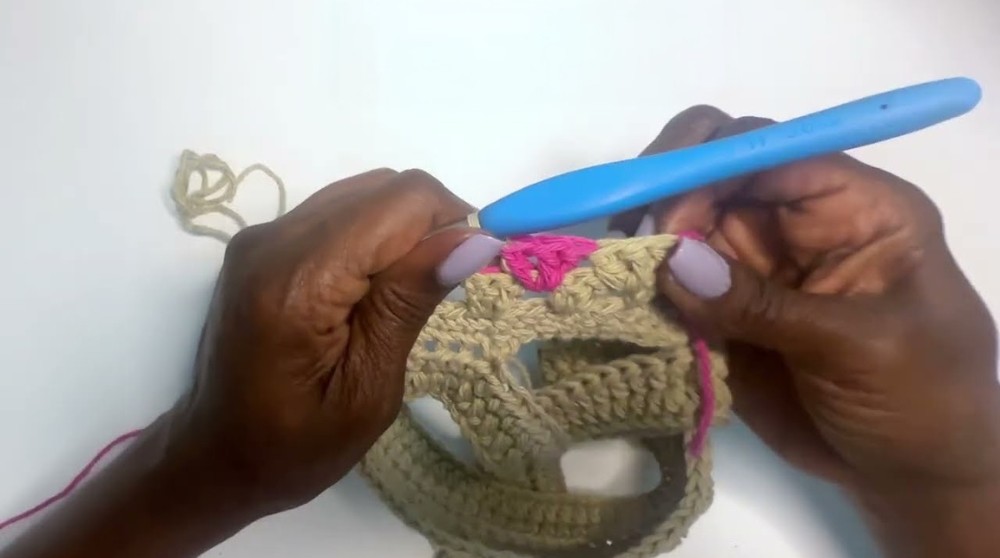
Step 3: Begin the Four-Round Cluster Repeat in Color A & B
Round 1:
- Begin with a stacked single crochet (sc twice into first stitch or chain 2 if preferred).
- Skip 2 stitches, 3 dc cluster in next space rep to end.
- Change to Color B on last pull-through of last cluster and join with sl st to first sc.
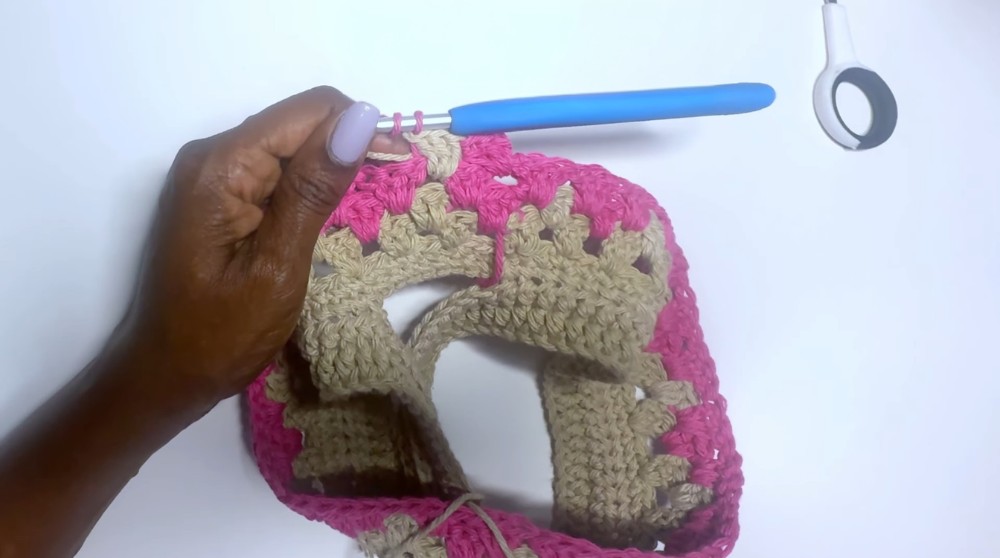
Round 2:
- Using Color B, stacked sc for start.
- Continue cluster pattern in spaces created last round, changing colors on last pull-through of third dc.
- Carry unused yarn inside work for neatness.
Round 3:
- Work solid Color B clusters all around, ensuring to crochet under all front loops of previous clusters to clean up.
- Join with sl st.
Round 4:
- Repeat Round 2 style alternating clusters with Color A on last pull-through.
- Finish with sl st join.
Repeat these four rounds until desired band length.
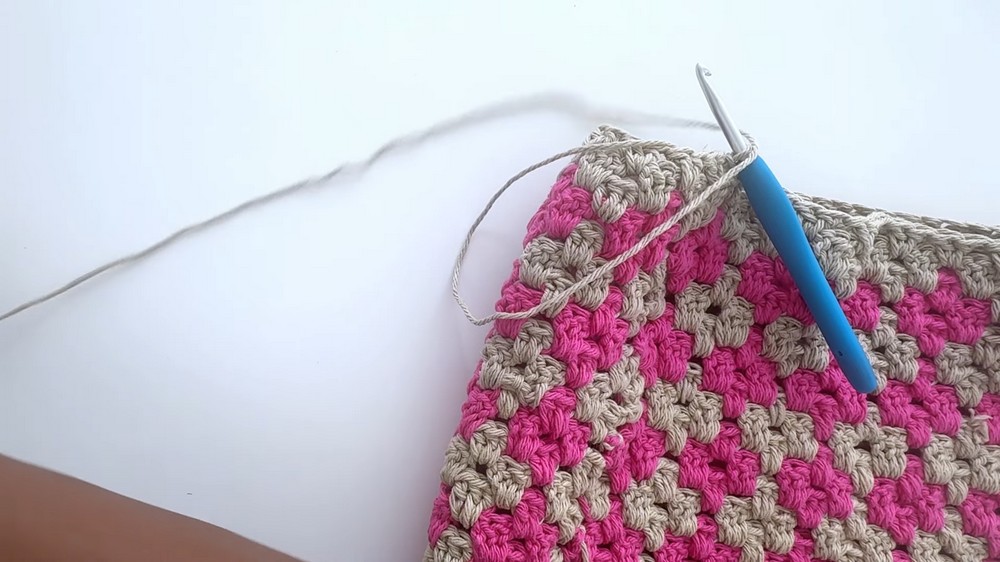
Step 4: Finishing the Band and Closure
- On final round, replace clusters with 2 dc clusters to slightly close band opening.
- Join round with sl st.
- Using yarn needle and long tail, weave yarn through front loops around band and gently pull to close the circle.
- Secure tightly, weave in ends neatly.
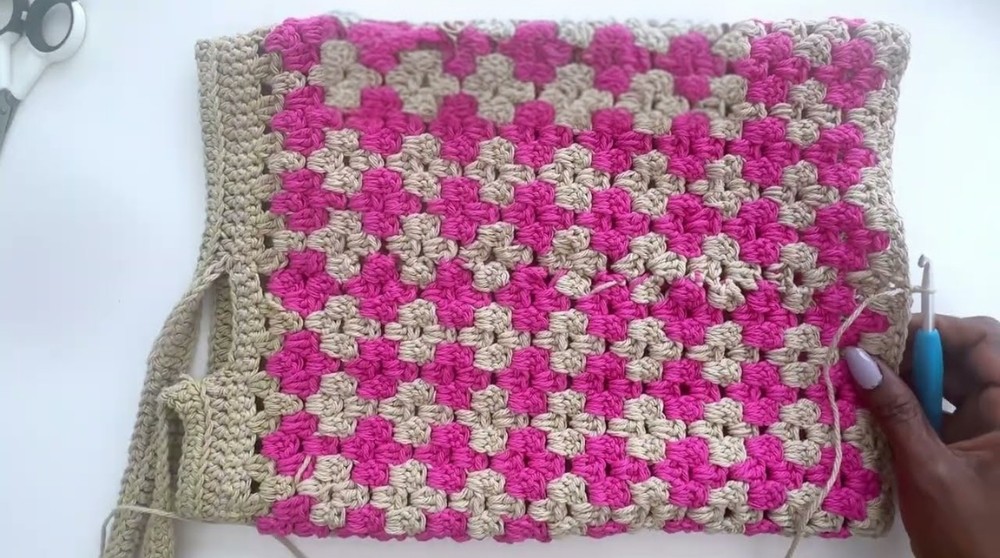
Beginner-Friendly Explanation
The Cloudy Days Wrap starts with creating long straps textured with half double crochets. These straps form a loop by joining ends with a short chain and single crochet band. The main decorative portion is worked in alternating color clusters, producing a soft textured fabric. Alternating colors on last yarn overs creates smooth color changes. Final weaving of yarn tightens and shapes the wrap for a fitted, cozy result.
Assembly and Final Touches
- Carefully weave all yarn ends using tapestry needle to prevent loose ends.
- Ensure color changes are secure by weaving in tails inside work.
- Block lightly if desired for a uniform shape.
- Try the wrap on and adjust strap lengths or band size if necessary.
Troubleshooting Advice
- Uneven tension in cluster rounds: Slow down to maintain consistent gauge; do not pull yarn too tightly.
- Color changes showing messy: Change colors on last pull-through of third dc in cluster as instructed.
- Band too loose or tight: Adjust chain foundation lengths when joining straps.
- Wrap too short or long: Add or subtract four-round repeats as needed to fit your preferences.
Fun Ideas and Variations
- Use contrasting or variegated yarns for unique color effects.
- Add fringe or tassels to straps for boho flair.
- Experiment with different yarn weights for summer or winter wraps.
- Use stacked single crochet technique to modify other garments or accessories.
- Adapt pattern for a scarf by lengthening band and omitting straps.