
Free Crochet Heart Pattern for Accessories and Decor
Turn yarn into love with this free crochet heart pattern and create a sweet and thoughtful handmade piece perfect for any special occasion.
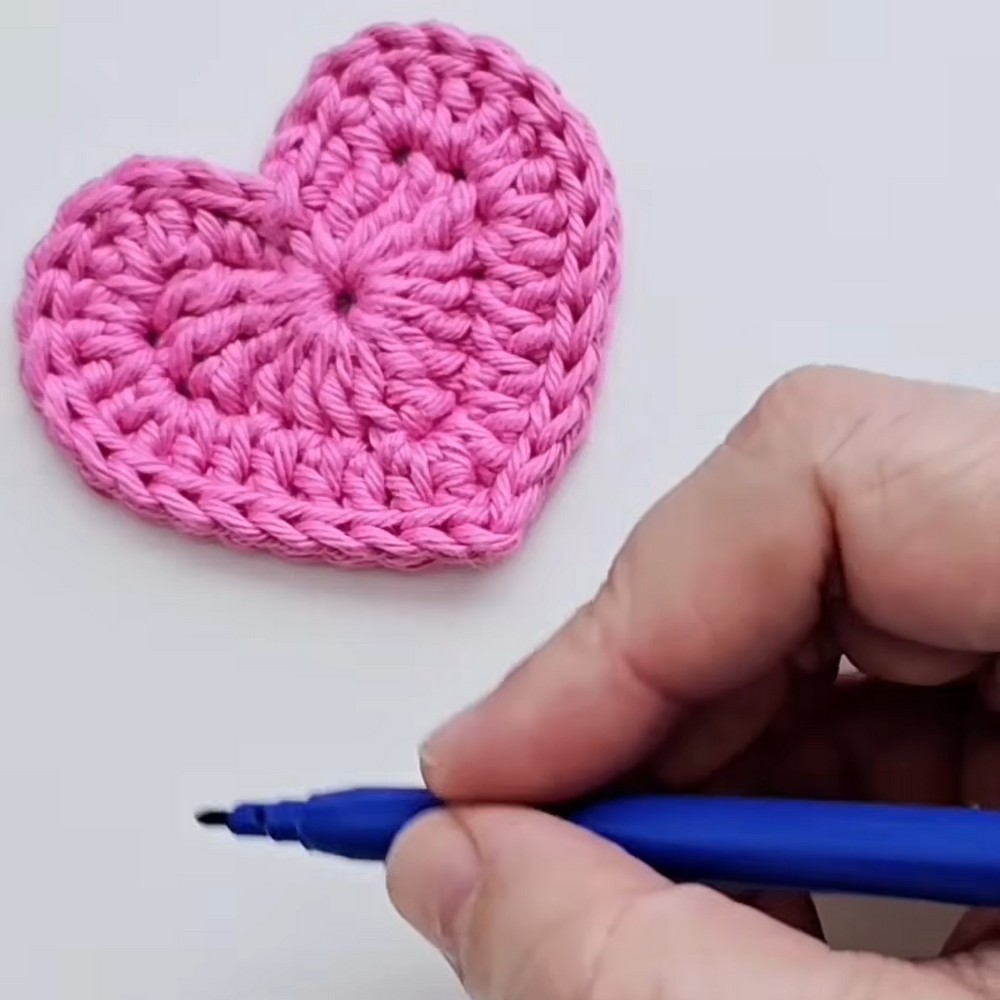
Making something beautiful with yarn doesn't have to be hard. This easy and charming design lets you crochet a heart that's perfect for beginners or anyone looking for a quick, fun project. With a soft, rounded shape and a delicate dip at the top, the heart stands out for its simple yet elegant appearance. The heart isn't just pretty-it's useful too. You can turn it into a lovely keychain, hang it on bags, or use it as a decoration for cards and gifts. For special occasions like Valentine's Day or birthdays, it's a heartfelt way to show your love. You can even string multiple hearts together to make bunting, garlands, or wall art. This creative and versatile design promises endless possibilities for personalizing your handmade items.
Learn How to Crochet a Cute Heart with This Free Pattern
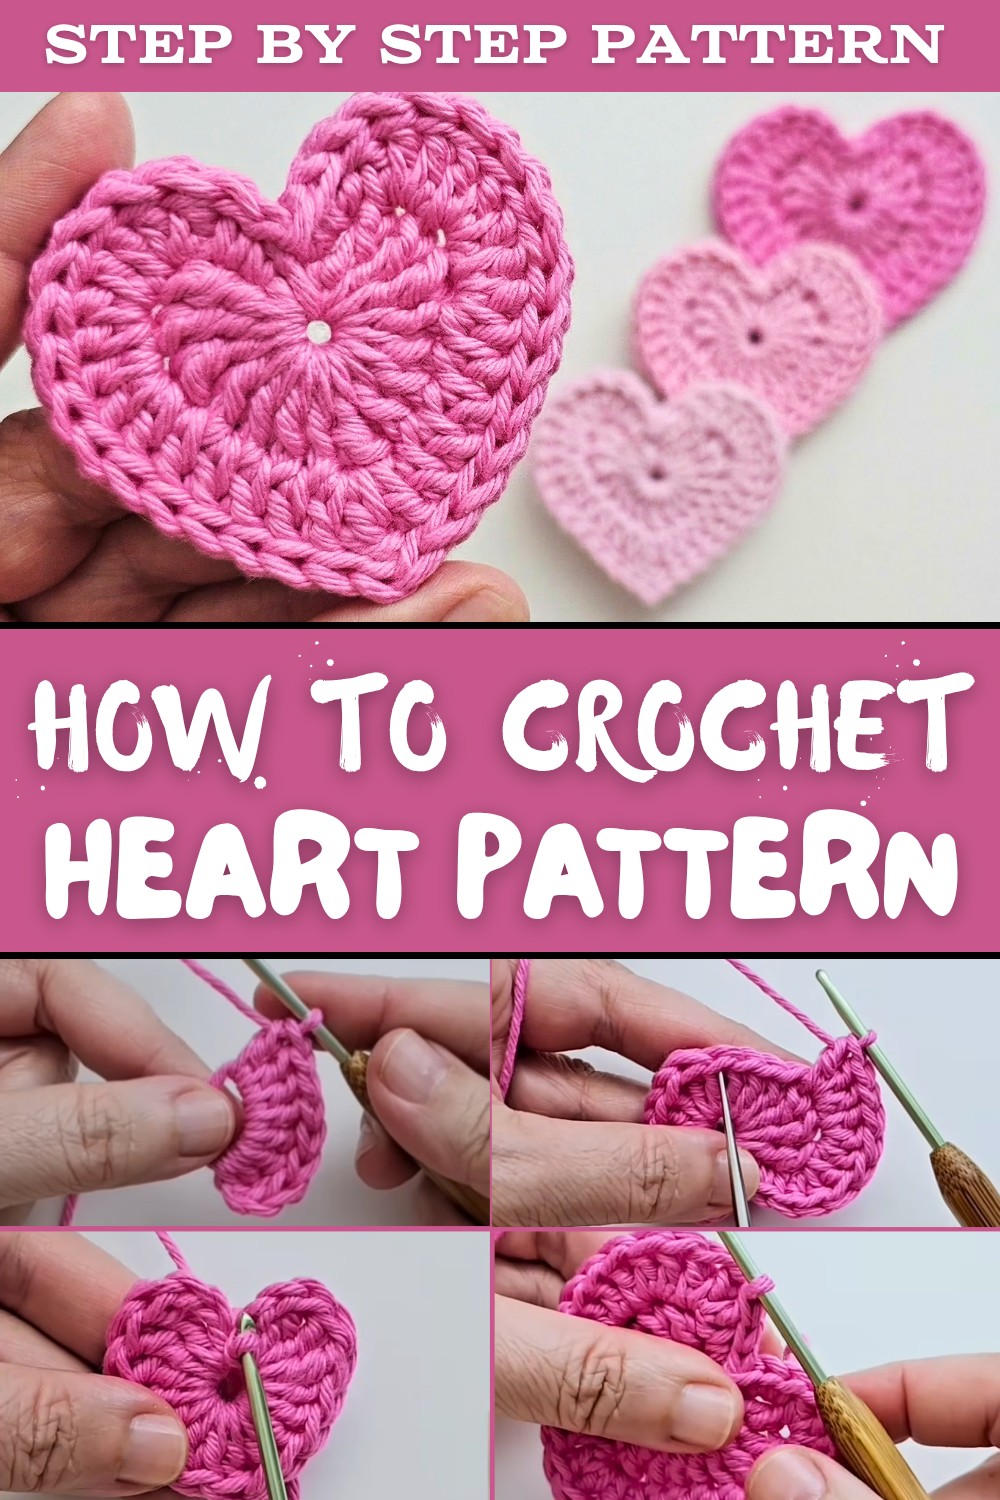
To make the heart, you'll start with a magic circle, which forms the perfect center. Then, using simple stitches like chains, double crochets, and slip stitches, you'll build the heart's detailed edges. As you progress step by step, the shape naturally grows into something beautiful and full of charm. The pattern is easy to follow, even if it's your first crochet project. Once you finish, you can add your own touches with beads or colorful outlines to make each heart unique.
This design is quick, fun, and endlessly customizable, making it ideal for anyone wanting to create something personal and special. Try it out and brighten someone's day with these adorable handmade hearts.
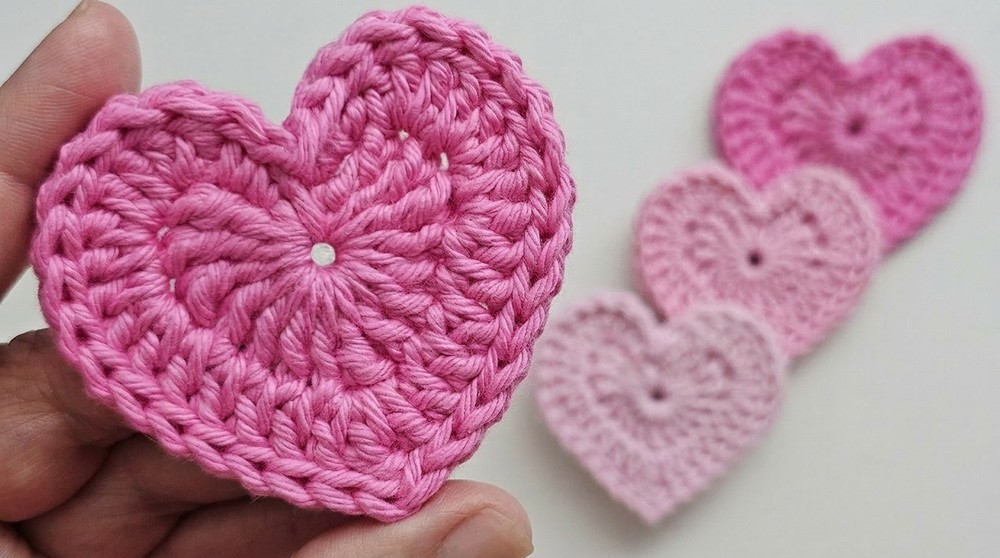
Crochet Heart Pattern with Detailed Instructions
Materials Needed
- Yarn: Choose a medium weight yarn (or any yarn of your choice, depending on the desired size and texture of the heart).
- Crochet Hook: Use a hook size that's compatible with your yarn (recommended size is 4.5 mm or 5.0 mm for medium weight yarn).
- Scissors: To trim the ends neatly.
- Yarn Needle: Essential for weaving in ends.
- Optional: Stitch markers for easier navigation through the rounds.
Gauge
Gauge is not crucial for this project. However, ensure your stitches are tight and neat to maintain the heart's structure without visible gaps.
Finished Size
- Using a medium weight yarn and a 5.0 mm crochet hook, the heart will measure approximately 4 inches (10 cm) from top to bottom.
- Adjust the size by using thicker or thinner yarn and an appropriate hook size.
Pattern Instructions
1.Step 1: Create the Magic Circle
- Leave a 15 cm tail of yarn at the beginning to tighten the circle later.
- Wrap the yarn around your fingers to form an "X".
- Insert the hook under the bottom loop of the "X". Pull the yarn through to create a circle.
- Hold the circle with one hand and secure it by making one Chain (CH).
2.Step 2: Begin the Heart Base
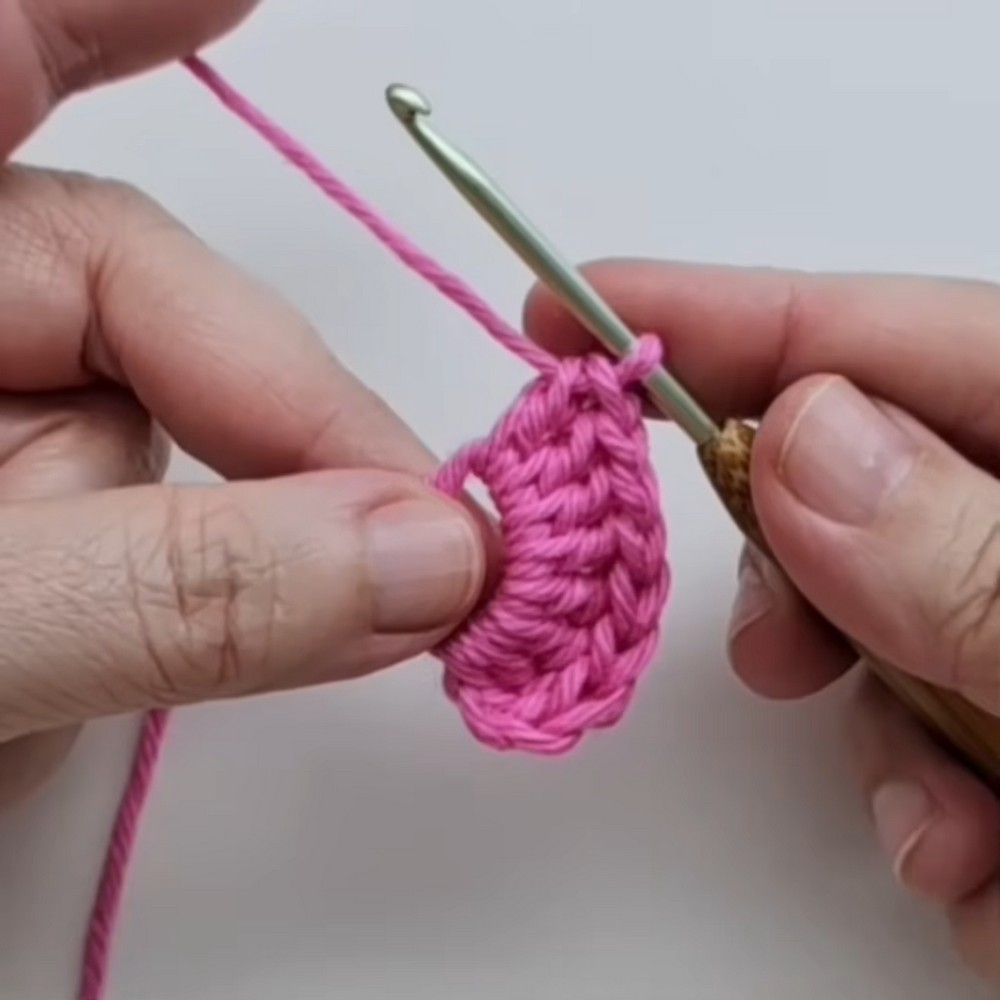
- CH 3 to count as your first Double Crochet (DC).
- Inside the circle, work 3 DCs back to back:
- Yarn over (YO) twice. Insert hook into the circle, YO, and pull through (4 loops on the hook).
- YO, pull through two loops. YO, pull through two loops, and again YO and pull through the last two loops. Repeat this process two more times for a total of 3 DCs inside the circle.
- Create 4 Treble Crochets (TR):
- YO twice. Insert hook into the circle, YO, pull through (4 loops on hook).
- YO, pull through two loops. YO, pull through two more loops, and YO again to pull through the last two loops. Repeat this step for a total of 4 TRs.
- Work 1 Double Treble Crochet (D TR):
- YO three times. Insert hook, YO, pull through (5 loops on hook).
- YO, pull through two loops at a time until one loop remains.
3.Step 3: Mirror the Heart Pattern
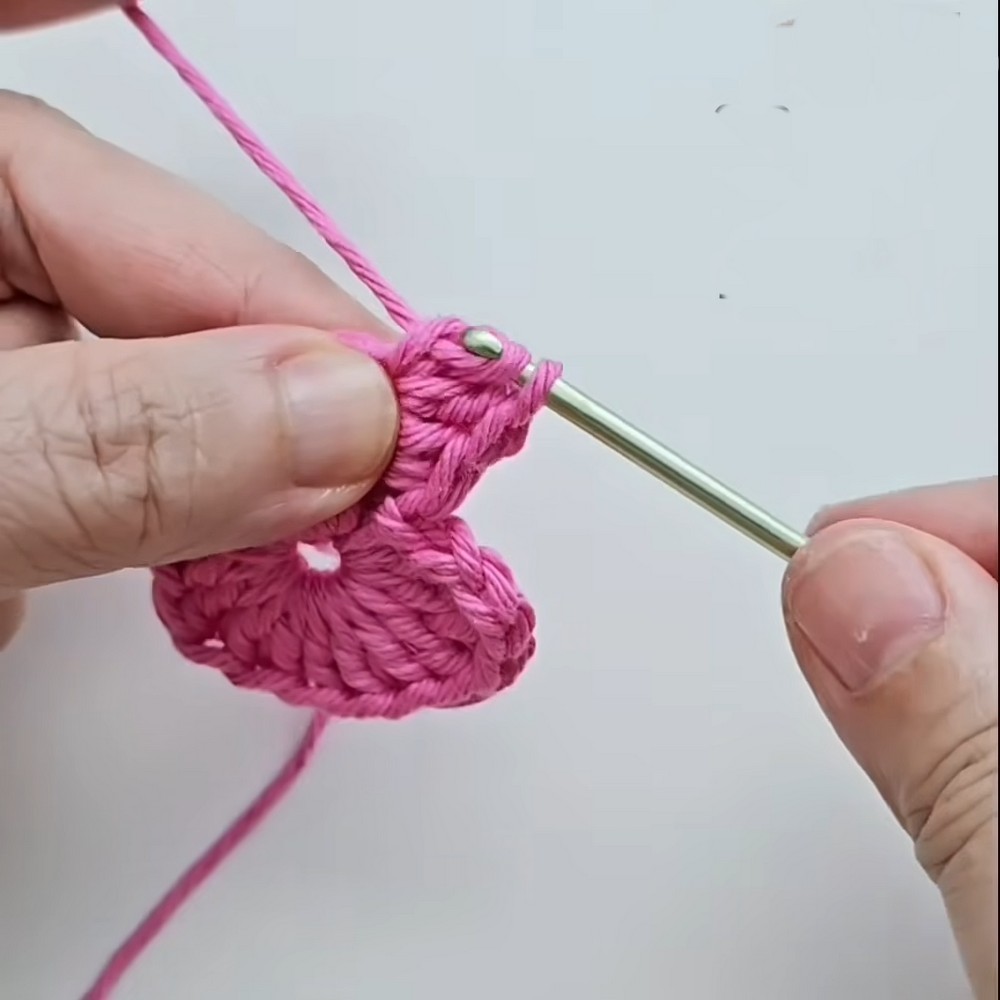
- Create 4 Treble Crochets (TR) again on the other side:
- Follow the same steps as earlier for TRs within the circle.
- Repeat 3 DCs into the circle.
- CH 2.
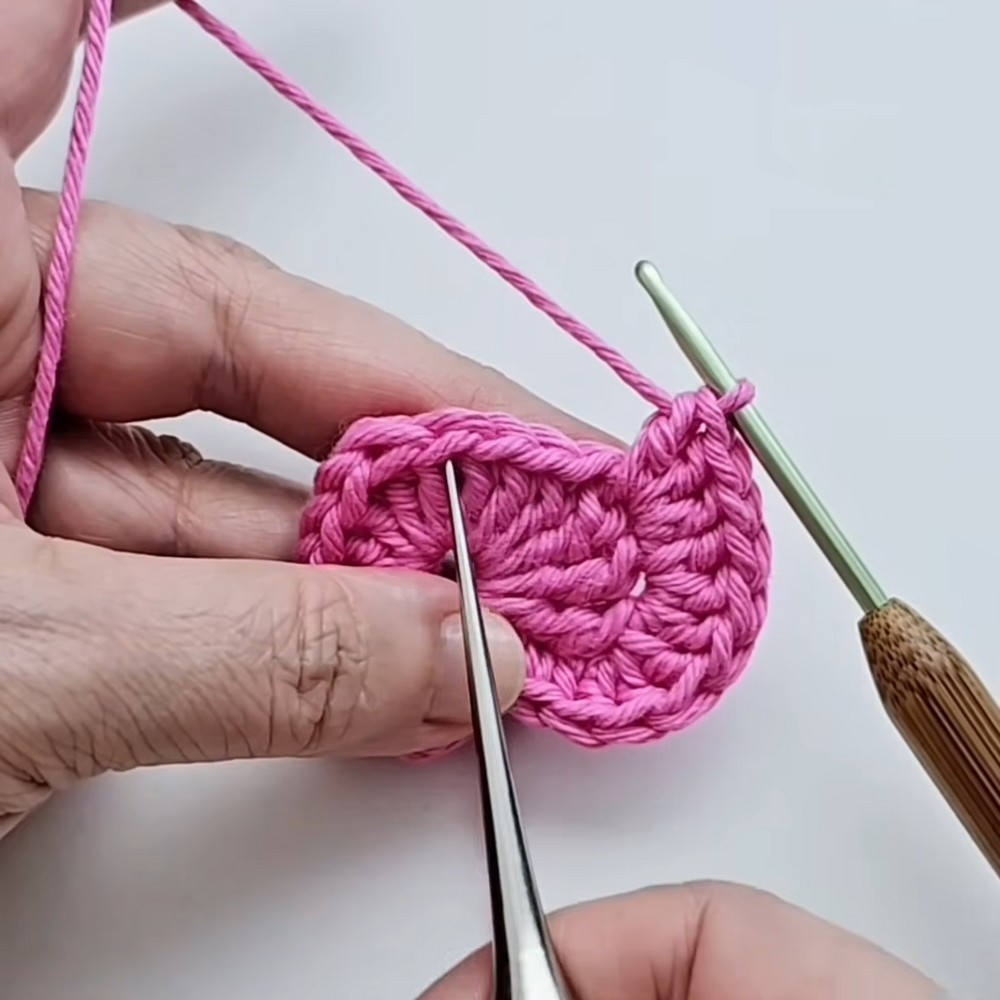
4.Step 4: Complete the Circle
- Work 1 Single Crochet (SC):
- Insert the hook into the circle. YO, pull through two loops.
- Pull the 15 cm starting yarn to tighten and close the circle. This will form the pointed bottom of the heart.
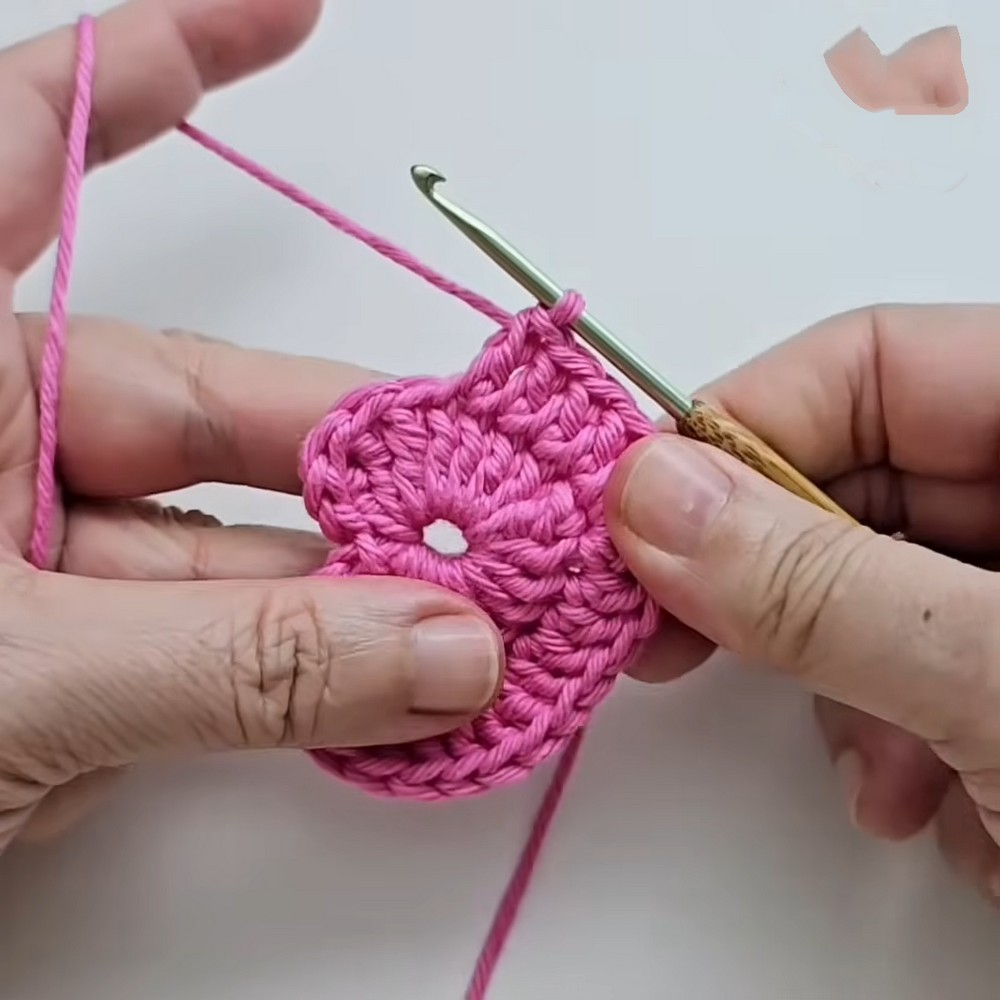
5.Step 5: Form the Top of the Heart
- CH 1 to start the next section.
- Work 2 SCs into the first available space to create a flat base.
- Next, work three sets of 3 DC clusters, dividing evenly into new spaces as you progress:
- For each cluster, YO, pull through two loops, and repeat until each cluster is complete.
- After the last DC cluster, work 4 DCs in the same space.
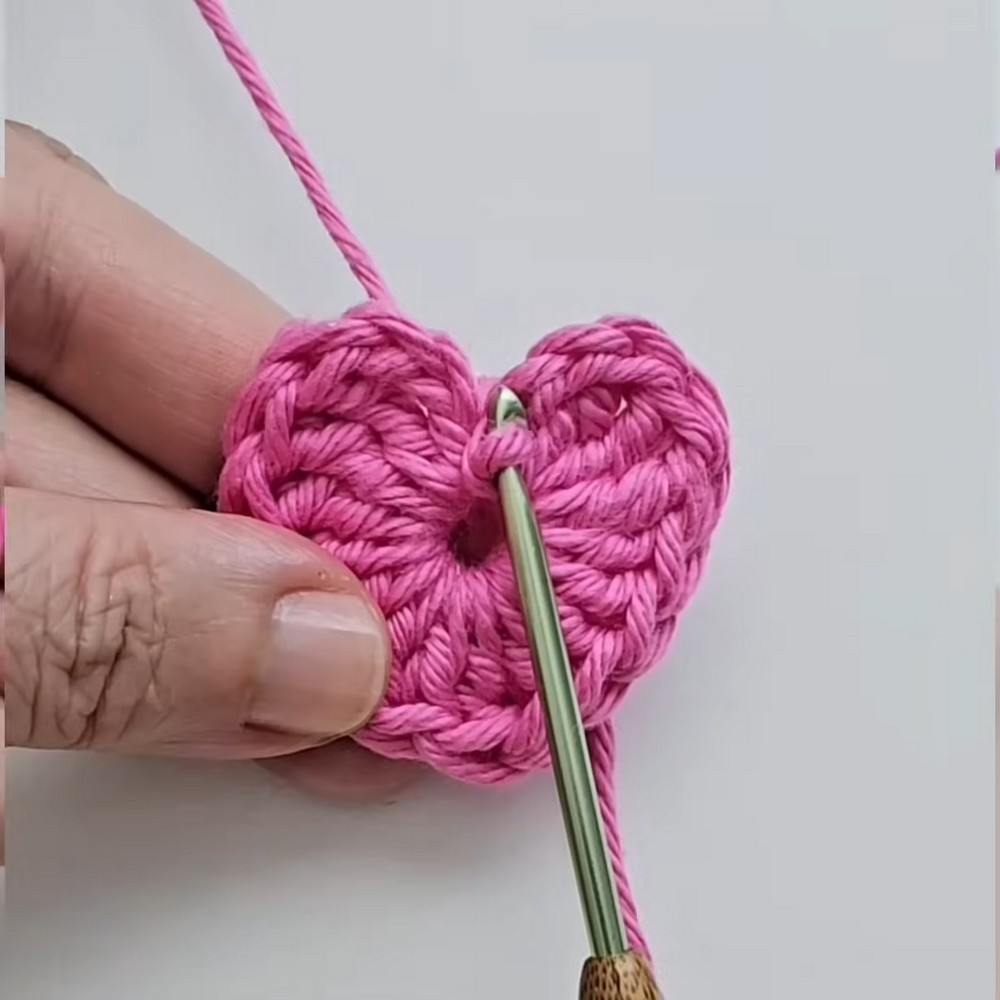
6.Step 6: Create the Dip and Point
- To form the middle dip at the top of the heart:
- Work 1 DC followed by 1 Double DC and another 1 DC, all within the same space.
- Continue with 4 DCs in the subsequent stitches.
- Repeat three sets of 3 DC clusters to replicate the symmetry of the other side of the heart.
- Finish with 2 SCs into the recent ending space to close the section.
7.Step 7: Outline the Heart (Slip Stitches)
- To add a clean edge around the heart, make Slip Stitches (SL ST) along the edge of the heart.
- Insert your hook into the next stitch, YO, and pull through both loops.
- Pay special attention to the middle dip at the top:
- CH 1 to emphasize the heart's point, then continue SL ST along the contour.
- Finish at the topmost stitch.
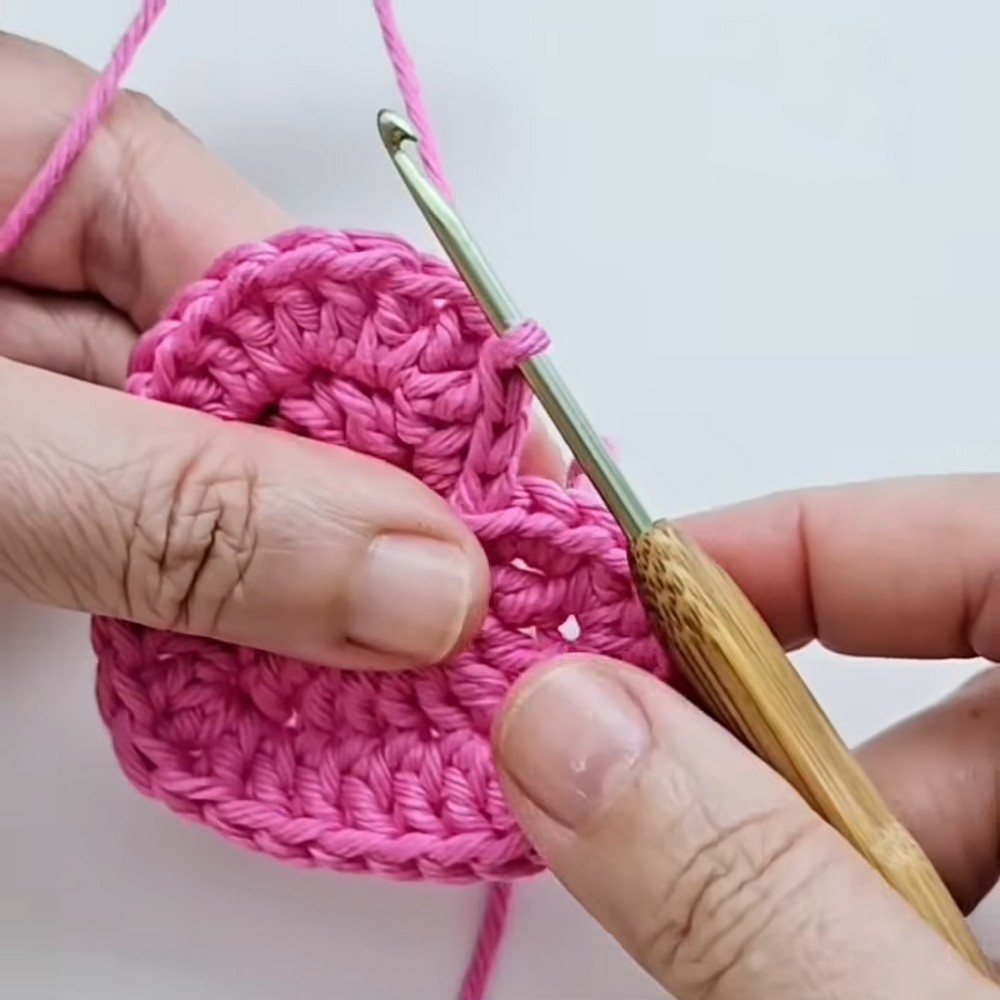
Step 8: Weaving in Ends and Finalizing
- Leave a 15 cm tail, remove the hook, and cut the yarn.
- Use a yarn needle to weave the loose ends securely into the back or follow the contour's stitches to make the edge smooth.
- For a tighter circle or to close small gaps, pull the starting thread gently until the center looks neat and closed. Secure it with a knot before hiding the tail.
Special Techniques
- Magic Circle: This technique gives a clean and adjustable foundation for circular patterns. Ensure the ring is pulled tightly for a seamless look.
- Slip Stitch Contour: Adds a polished outline and extra definition to the project. Skip tight stitches for an even look.
Customization Ideas
- Size Adjustments: To make smaller or larger hearts, change the yarn type and hook size. Finer yarn and smaller hooks produce delicate hearts, while chunky yarn yields larger ones.
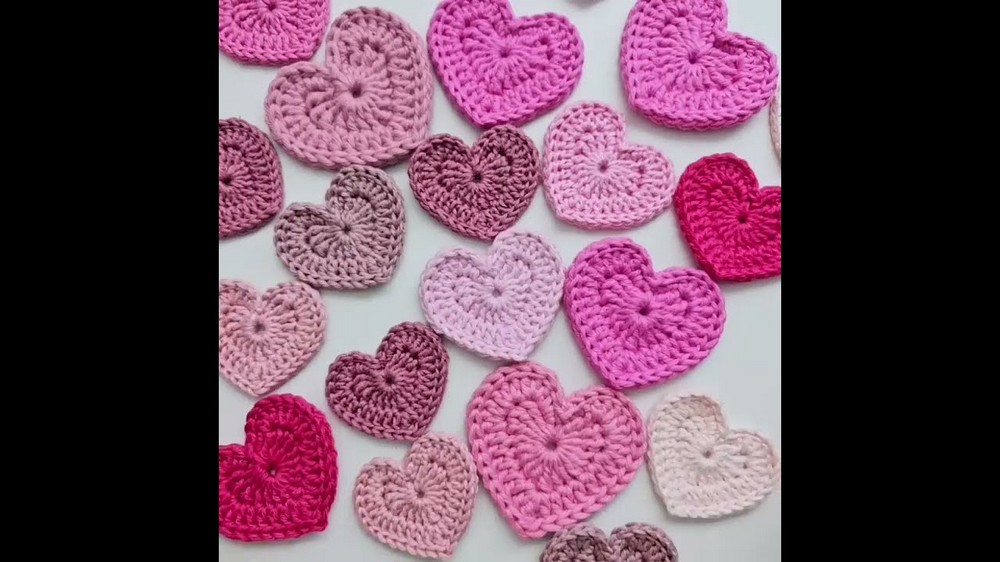
- Multicolor Design: Use different colors for rows or sections (e.g., the outlining row in a contrasting shade).
- Embellishments: Add beads, glitter glue, or buttons for extra flair. Attach a keyring for a functional keychain or dangle it from a bag.
- Two Layer Hearts: Crochet two hearts and sew them together along the edges (leave a small opening for stuffing) to create a 3D heart decoration.
Tips for a Perfect Heart
- Always use an appropriate hook size for your yarn to achieve the desired stitch tension.
- Keep your hand movements smooth and controlled for uniform stitch sizes throughout.
- Double check the symmetry as you mirror the heart on both sides.
Conclusion and Important Remarks
This crochet heart is a fun and creative project that serves as a versatile decor piece or gift. Its neatly defined shape, balanced structure, and customizable design allow for endless possibilities, making it ideal for every crochet enthusiast. Whether placed on clothing, blankets, or simply as a keychain, this crochet heart is a beautiful token that speaks volumes.
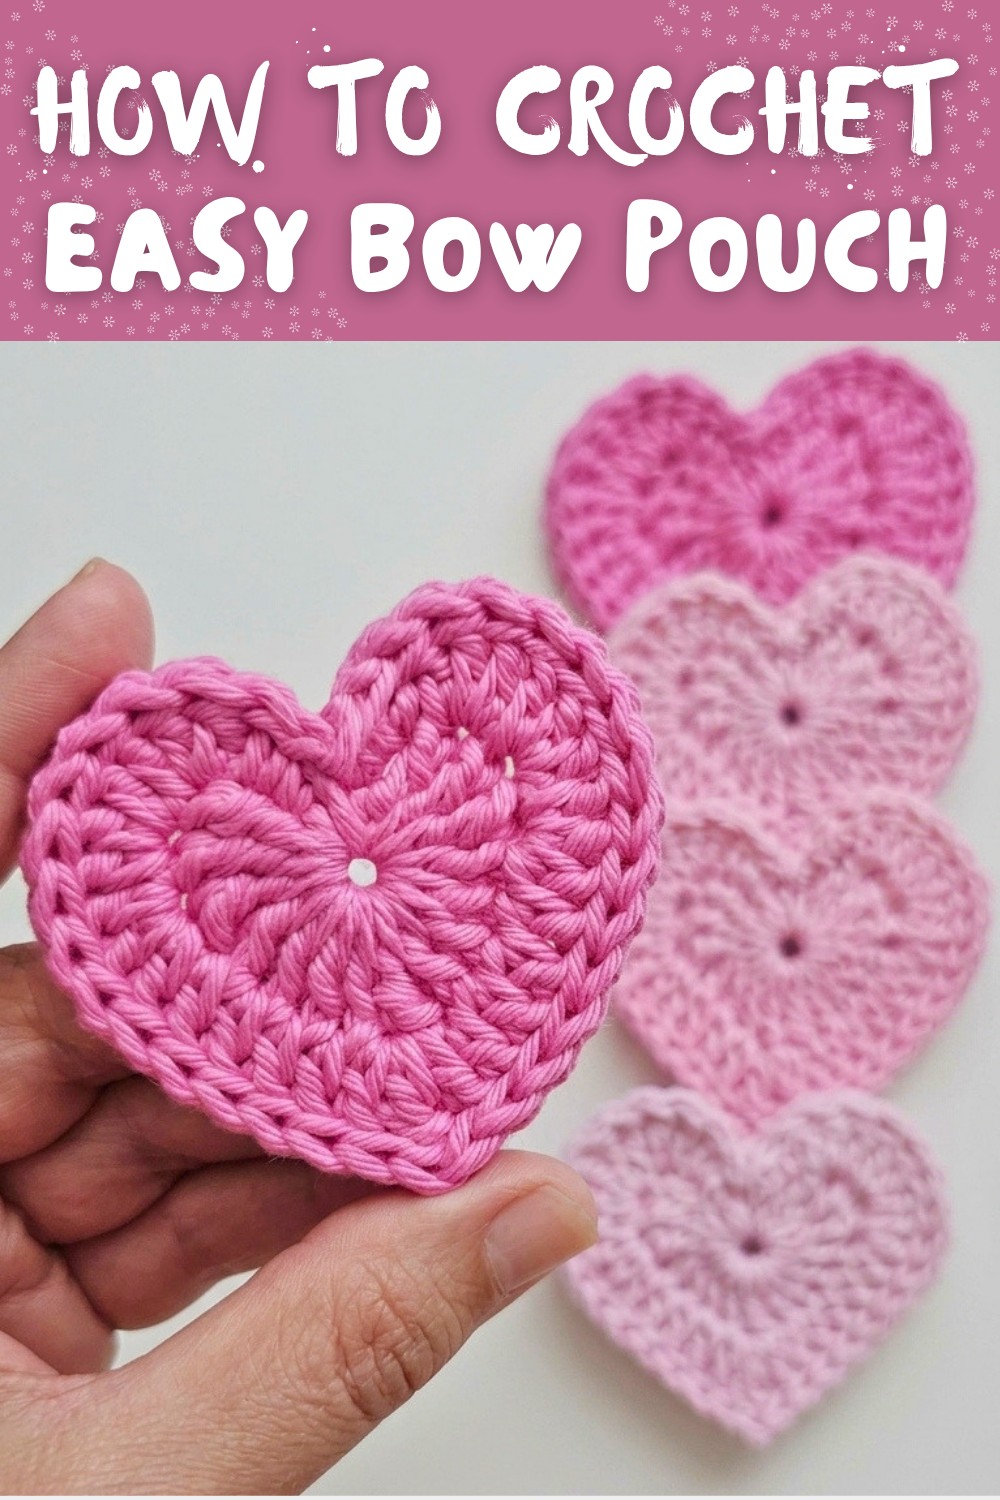
By following these step by step instructions, you'll crochet a stunning heart in no time. Let your creativity shine by experimenting with colors and patterns.