
Free Crochet Headband Pattern That’s Summer’s Cutest Trend
Learn how to make a beautiful and lightweight crochet headband for summer with an easy to follow pattern that is perfect for casual and sunny day outfits.
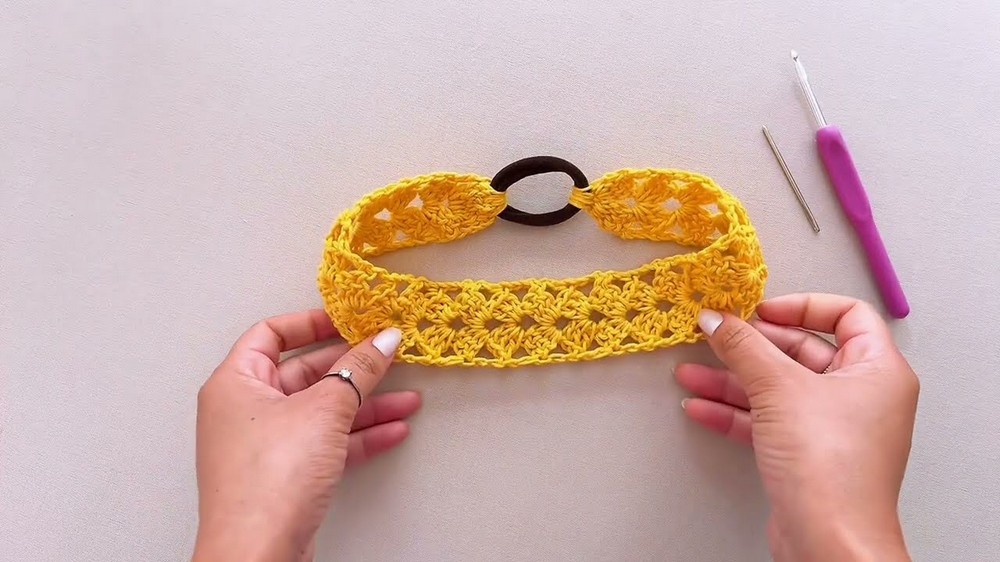
On a warm summer day, nothing feels better than having a lightweight, stylish accessory that keeps your hair in place and adds charm to your outfit. It brings together comfort, beauty, and practicality all in one piece. This crochet headband is not just an everyday hair accessory-it's an easy to make item that anyone can enjoy using or gifting. Its airy and open design makes it breathable and ideal for sunny days, keeping you cool while looking beautiful. The elastic band at the back gives it a snug yet comfortable fit, allowing the headband to stay in place without sliding or feeling too tight.
Adorable Free Crochet Headband Pattern to Complete Your Look
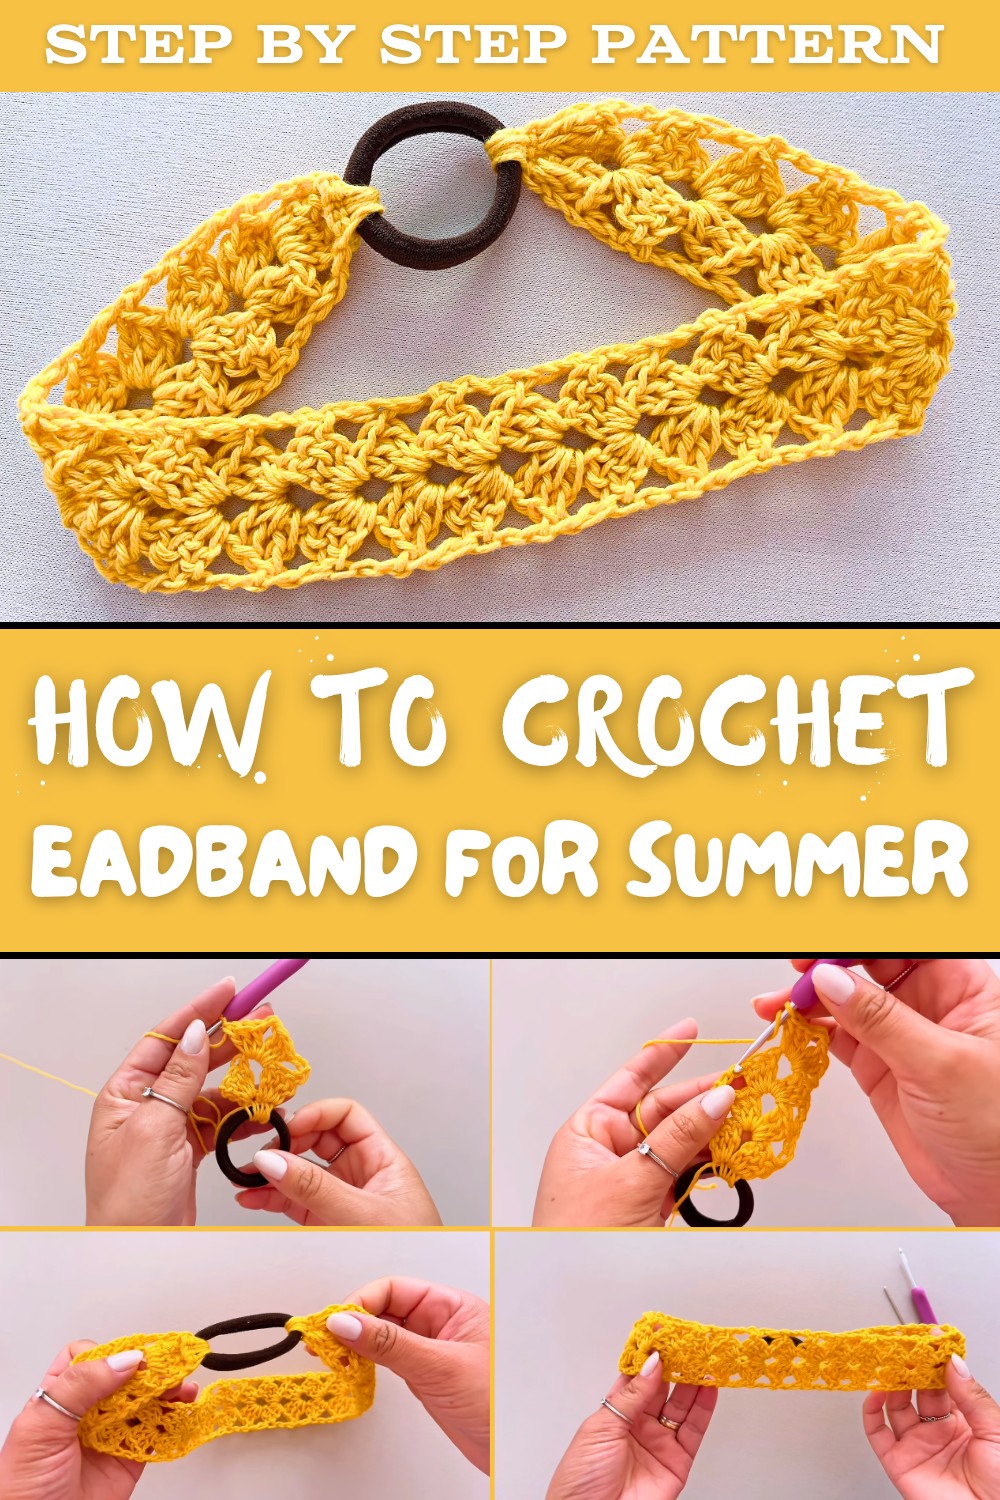
What makes this headband special is its lightweight texture combined with its elegant stitch pattern. These features give it a modern yet timeless look, making it suitable for casual wear or dressing up in summer outfits. Whether you're working outdoors, meeting friends, or enjoying a simple day out, this headband adds a touch of style without any hassle.
Using just a few materials like yarn, a hook, scissors, and a small elastic band, the process to make this crochet headband is quick and uncomplicated. The result is a soft, flexible piece that adjusts naturally to your head shape. Its versatility means you can match it with a variety of colors, outfits, and occasions, making it a unique addition to your wardrobe.
Let this crochet headband bring lightness to hot summer days. It's an accessory you'll not just wear but enjoy every moment you have it on. Simple, elegant, and practical-it's just what every summer day needs.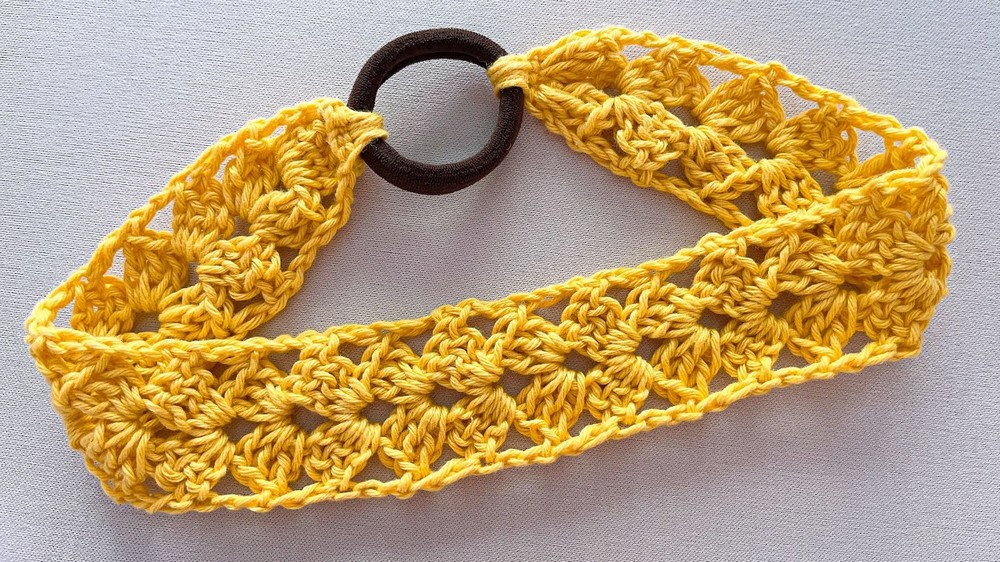
Crochet Elastic Headband Pattern
Materials Needed:
- Yarn: Cisne Natural Algodão (6 ply, 100% cotton), Tex 465. Alternatively, use any lightweight or DK cotton yarn available.
- Hook: 4 mm crochet hook.
- Elastic Band: 1 small elastic band (commonly used for children's hair accessories).
- Tapestry Needle: For weaving in ends and finishing.
- Scissors: For cutting yarn after completion.
Gauge:
14 double crochet (US terminology) and 6 rows = 10 cm (4 inches).
A precise gauge is not crucial for this project, as the elastic band provides adjustability.
Finished Size:
Approximately 42 cm in circumference and 7 cm in width. Adjustments can be made as needed for adults or children.
Special Techniques:
- Magic Ring: A method for starting crocheting in the round, allowing for a tightly closed center. If unfamiliar, use a slip knot and chain two.
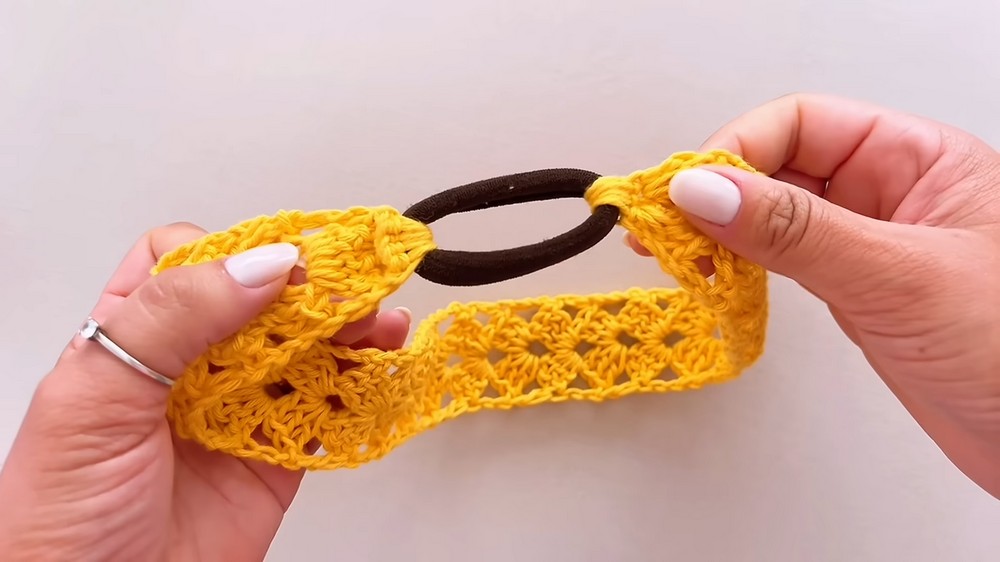
- Working with Elastic: This project incorporates stitches worked around a child sized elastic, providing a snug yet comfortable fit.
Pattern Instructions:
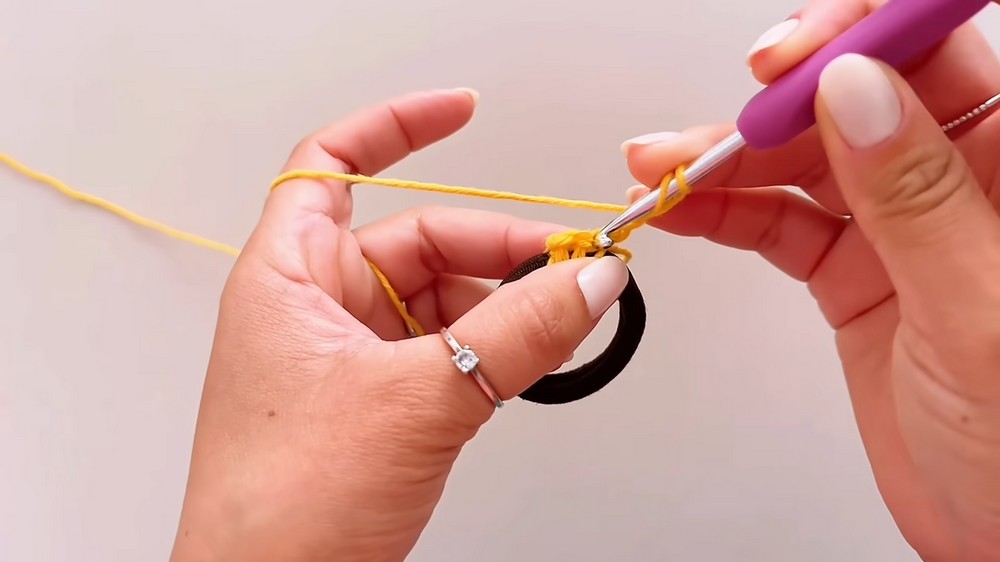
Step 1: Foundation Round with Elastic
- Hold your elastic band and the yarn together. Insert your 4 mm hook into the center of the elastic.
- Pull the yarn through the elastic to create a loop and chain 1 to secure the yarn to the elastic.
- Work 3 single crochet (SC) around the elastic. Ensure the starting yarn tail is crocheted over to avoid weaving it in later.
- Pull your crochet stitches to compact them gently and ensure a snug fit around the elastic.
- Chain 3 to form your first turning chain. Turn your work.
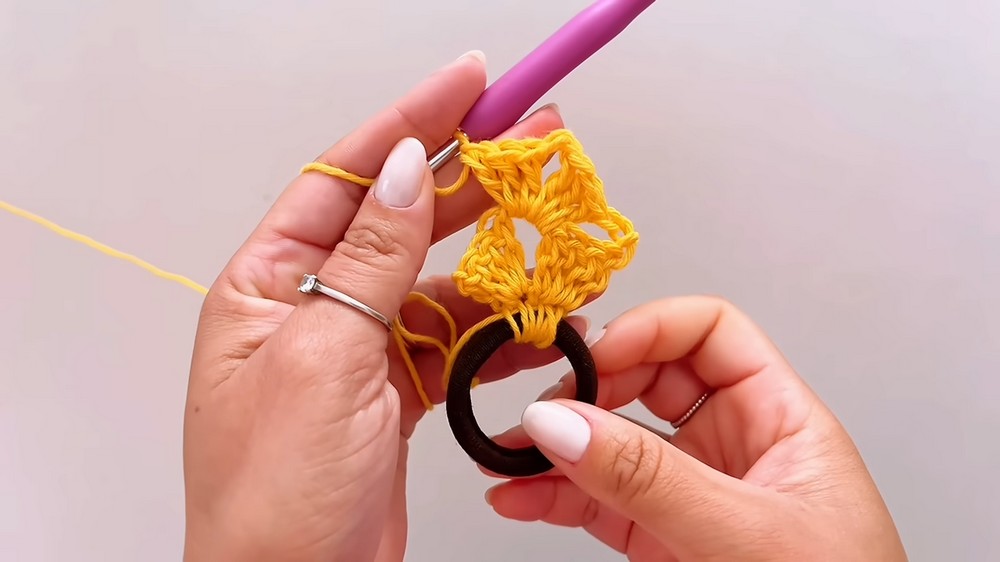
Step 2: Creating the Initial Fan Pattern
- Skip the turning chain and work 3 double crochet (DC) into the first single crochet from the previous round.
- Yarn over, insert your hook into the stitch, pull through, yarn over, pull through 2 loops, yarn over again, and pull through the last 2 loops. Repeat 3 times in the same stitch for a total of 3 DCs.
- Chain 2, skip the next stitch, and work 3 DCs into the following single crochet.
- Work 1 DC into the last stitch from the row (turning chain).
- Chain 3, turn your work, and prepare for the next row.
Step 3: Repeating the Fan Rows
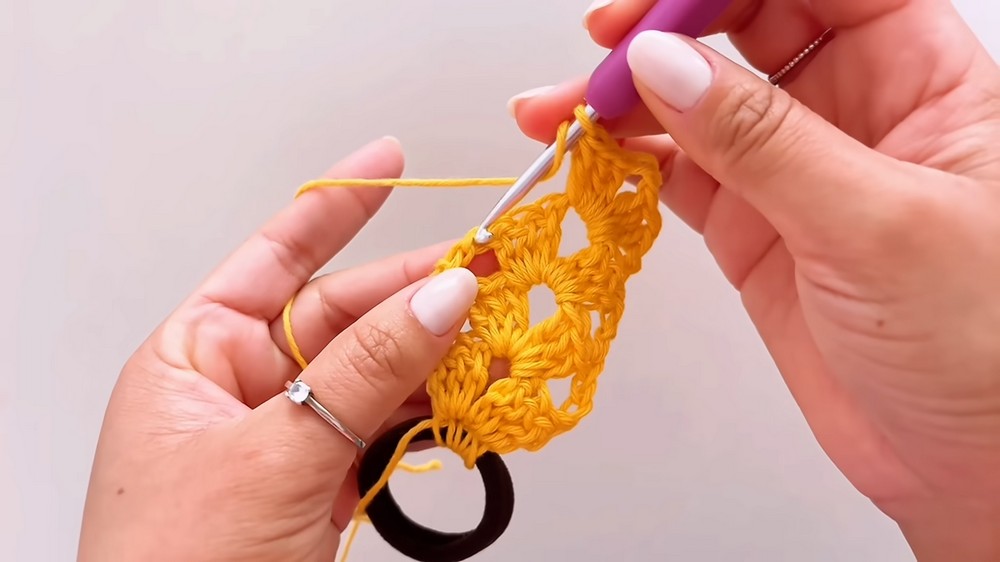
Repeat this pattern for the fan stitch for all rows:
- In the first chain 2 space from the previous row (center of the fan), work 3 DC, chain 2, 3 DC.
- This forms the fan stitch for the current row.
- At the end of each row, work 1 DC into the last stitch of the previous row.
- Chain 3 and turn the work to continue.
Step 4: Measuring the Band
Continue crocheting rows of the fan stitch pattern until the headband reaches your desired length. For an adult, 42 cm is a standard size. For children, 36-38 cm works well.
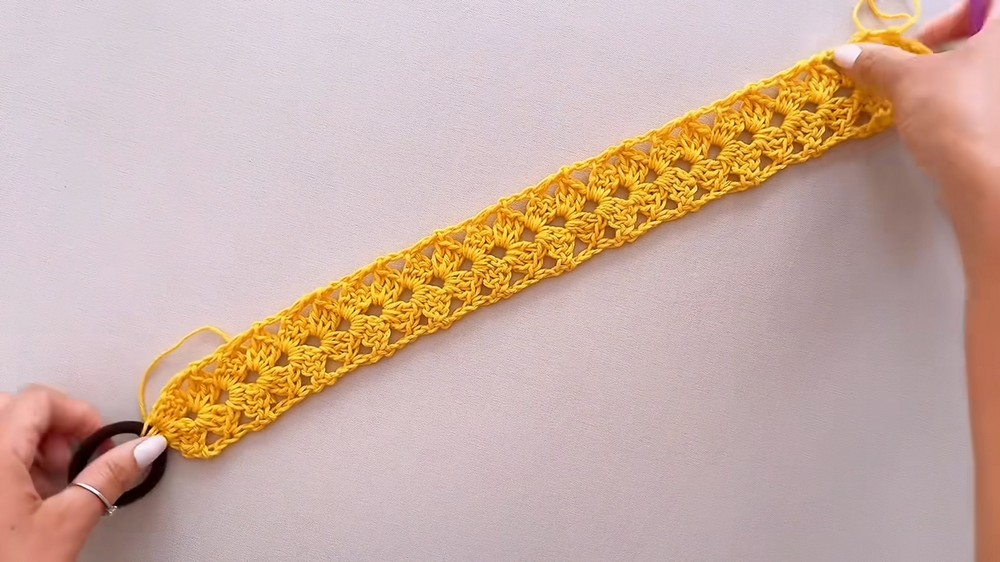
To determine the correct length:
- Lay the band flat and measure it from the edge of the elastic to the opposite edge.
- The elastic will provide stretch, so the crocheted portion should not fully match the wearer's head circumference for a snug fit.
Step 5: Joining the Elastic at the End
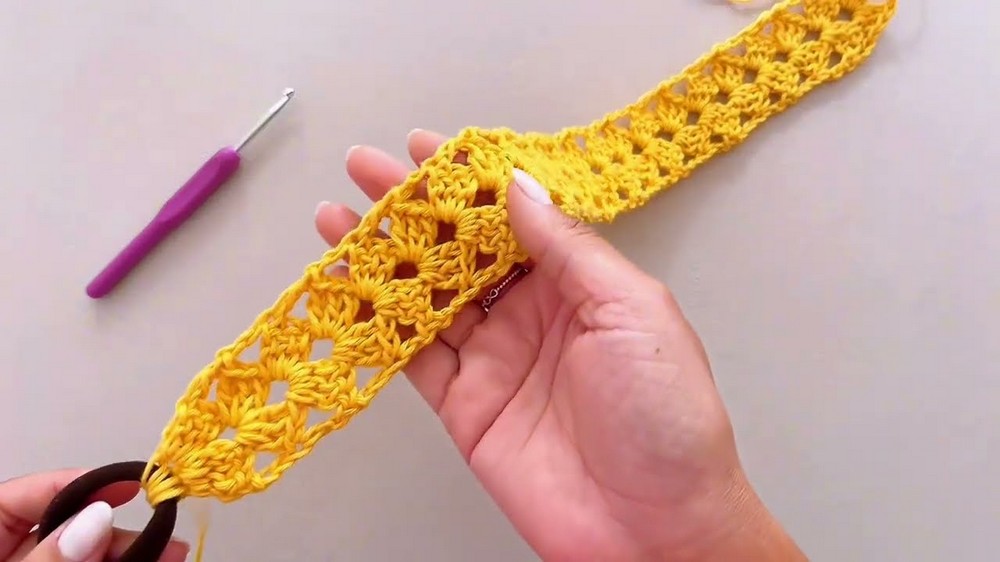
To create a seamless look, attach the elastic band to the other end of the headband:
- Align the elastic band with the edge of the headband.
- With the working yarn, insert the hook into the first stitch and around the elastic band. Pull through both the elastic and the stitch.
- Insert the hook into the next stitch and around the elastic band again. Pull through both.
- Repeat this for every stitch on the edge of the headband to securely attach the elastic.
Finishing:
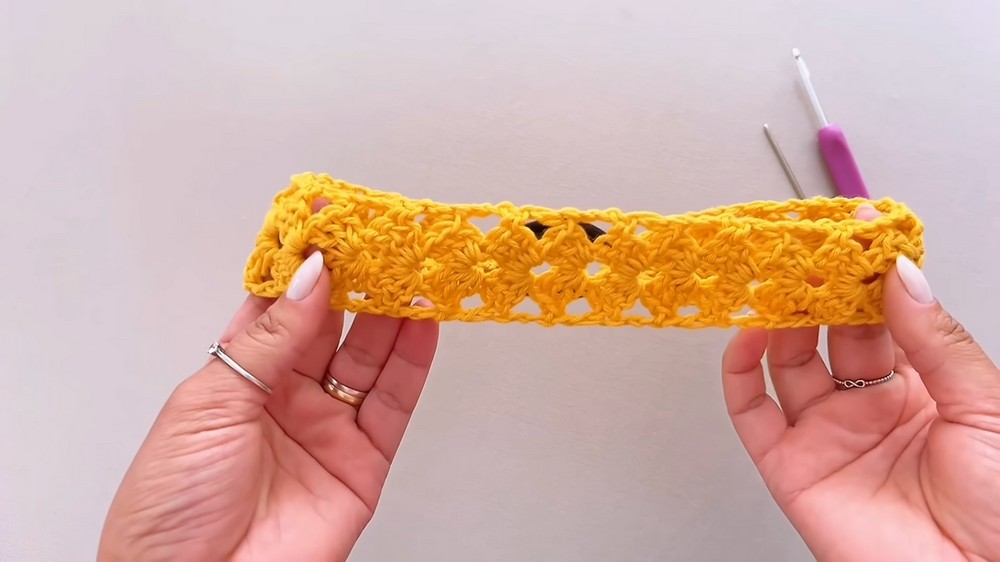
- Cut the yarn, leaving a 10-15 cm tail for weaving.
- Using a tapestry needle, weave in all loose ends on the wrong side of the headband securely. Pass the yarn through multiple stitches to ensure stability.
- Trim away any excess yarn.
Tips for Success:
- Customization:
For a wider headband, increase the number of stitches per row. For a thinner version, reduce the number of DCs in each fan. - Color Options:
Use gradient or striped yarns for a unique look, or alternate colors every few rows to create a bold design. - Adding Detailing:
Sew beads or small embellishments along the outer edges of the fan stitches for extra charm. - Blocking:
If the headband feels stiff, block the finished piece using a water mist and pinning it to shape on a foam mat. Let it dry completely before removing the pins.
Important Notes:
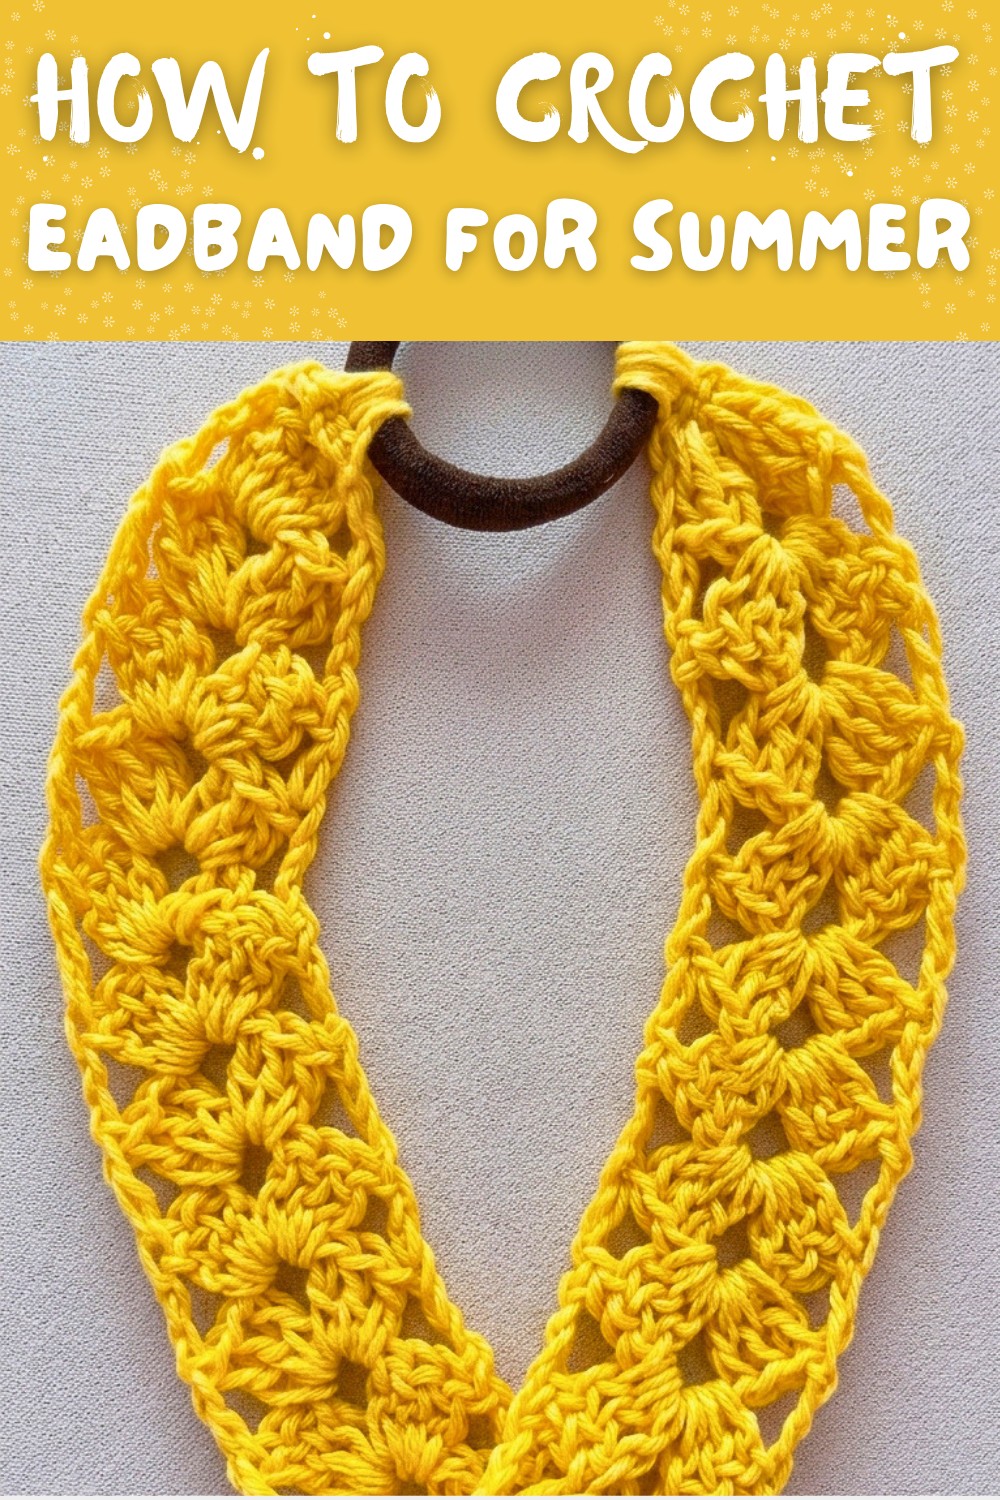
- The fan stitch creates an open and airy fabric, which makes this headband perfect for warmer weather.
- Beginners will find this project manageable, as it uses simple stitches and repetitive rows.
- Ensure that the elastic band is properly covered by the crocheted edges to maintain comfort and prevent irritation during wear.
- Remember to check the stretch of the elastic band after attaching it, ensuring the headband is not too tight or too loose.
Conclusion:
This crochet headband, with its elegant fan stitch and practical elastic band, is a stylish and functional accessory suitable for any wardrobe. It's quick to make, customizable, and perfect for gifting to friends or loved ones. Whether you choose to wear it as a chic summer piece or gift it as a handmade treasure, you'll find joy in both creating and using this headband.
Enjoy the process, and don't forget to experiment with colors and yarn types to make your creation truly one of a kind.