
Free Easy Crochet Shawl Pattern For Fall Layering Use
Turn simple stitches into a wonderful shawl with this free easy crochet pattern, bringing comfort and style to any outfit you wear.
On a quiet evening, as the cool breeze settles in, there's something comforting about draping a soft shawl over your shoulders. The Crochet Shawl Pattern brings this comfort to life with its simple yet stunning style. This shawl isn't just an accessory; it's a warm hug you can wear. With just a few stitches and easy to follow steps, this shawl grows row by row into a beautiful triangle that feels both lightweight and snug. The combination of puff stitches and flowing chains gives it a look that's as elegant as it is inviting. Whether it's a chilly morning or a relaxed evening at home, this shawl wraps you in warmth and style.
Free Easy Crochet Shawl Pattern For Morning Walk Use
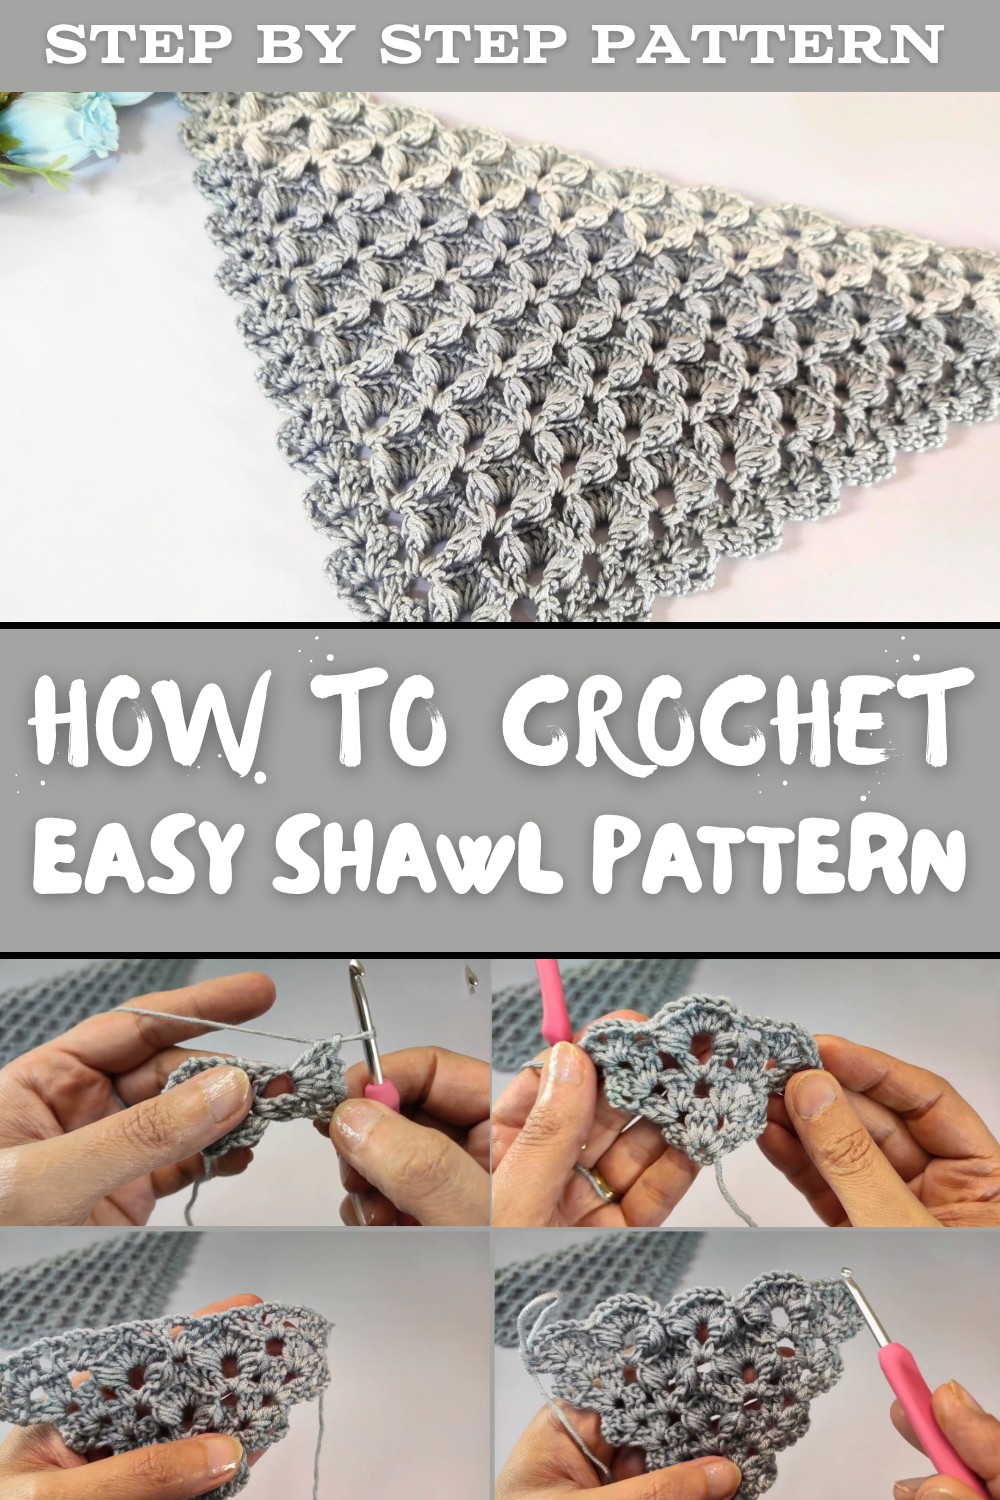
One of the best things about this pattern is how versatile it is. Use bright, cheerful colors for a playful look, or soft neutral shades for a more soothing feel. Add fringes or tassels along the edge to give it a fun, finished touch that matches your personality. This shawl doesn't just look beautiful-it's practical too. Toss it over your outfit for a casual day out or use it as an extra layer for cozy comfort while lounging indoors.
There's something magical about watching it take shape from just yarn and a hook. The soft textures, flowing drape, and warmth it brings make this shawl a special part of your wardrobe. Whether you're looking for everyday coziness or something stylish for special occasions, this Free Easy Crochet Shawl is a lovely and rewarding choice.
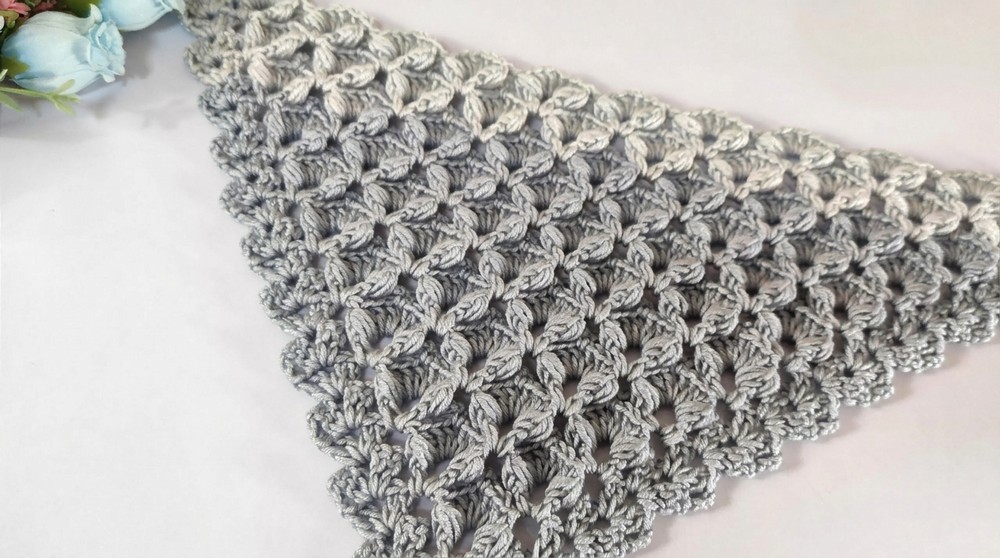
Crochet Shawl Pattern
Materials Needed
- Yarn: Himalaya brand yarn was used in the video (medium weight 4); however, you can use any similar weight yarn you prefer. Soft acrylic, cotton blends, or wool are all good options.
- Crochet Hook: Size 4 mm (or a hook size suitable for the yarn used, as recommended on the yarn label).
- Other Tools:
- Scissors
- Tapestry needle (for weaving in ends)
- Measuring tape
Gauge
- While this pattern does not require an exact gauge, achieving consistent tension will ensure a uniform and polished project.
- 10 cm x 10 cm = Approximately 14 rows of the double crochet stitch.
Finished Size
- The shawl's finished size can be customized to suit your preference. The shawl grows as you repeat the stitch pattern, so continue working until you achieve the desired size.
- Suggested Finished Size: 180 cm (width) x 70 cm (height). Adjust dimensions by crocheting additional rows.
Tips for Success
- Yarn Choice: Choose a lightweight or medium weight yarn for a drapey, comfortable shawl. Bold or gradient colored yarns can add unique visual interest.
- Customizations: Add fringes along the edge for a bohemian flair, or edge the shawl with a decorative border in a contrasting color.
- Practice Puff Stitches: Mastering the puff stitch beforehand will help ensure consistent texture throughout the piece.
- Blocking: Gently block the shawl when completed to define stitches and even out any irregularities.
Pattern Instructions
This shawl is worked from the center out, increasing evenly on both sides to create a triangular shape with a stunning, textured design. The pattern repeats two core rows: Row A (with letter "V" stitches) and Row B (with puff stitches).
Abbreviations
- ch: chain
- dc: double crochet
- st(s): stitch(es)
- sl st: slip stitch
- sp: space
- puff st: puff stitch (explained in Special Techniques)
- rep: repeat
Special Techniques
- Beginning Knot: Create a slip knot to begin the project.
- Puff Stitch (3 Loops):
- Yarn over, insert hook into stitch or space, yarn over, and pull up a loop (you will have 3 loops on the hook).
- Repeat the above step 2 more times (6 loops on hook).
- Yarn over and pull through all 6 loops on hook, then yarn over and close the puff stitch by pulling through the final loop.
Step by Step Pattern
Foundation
- Create a slip knot on your hook.
- Ch 5; join with a sl st in the first chain to form a circular ring.
Row 1 - Foundation Row
- Ch 3 (counts as the first dc of the row).
- Work 2 dc into the ring.
- Ch 1, then work 2 dc into the ring again.
- Ch 2, work 2 dc into the ring, ch 1, and work 2 dc into the ring again.
- You should now have a foundation row consisting of (2 dc, ch 1, 2 dc, ch 2, 2 dc, ch 1, 2 dc).
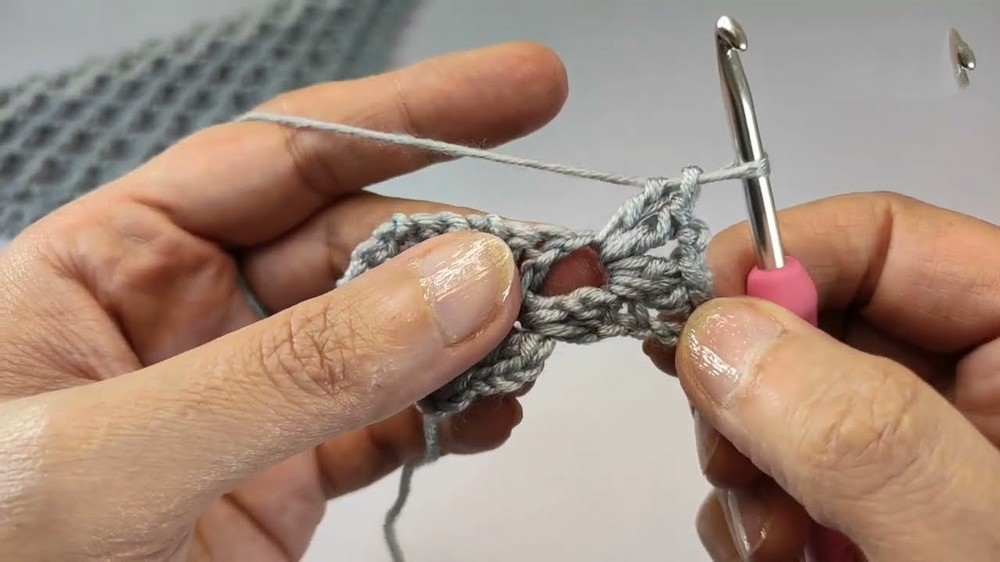
Row 2 - Beginning Shells
- Ch 4 (counts as 1 dc + ch 1), turn work.
- In the first ch 2 sp, work (2 dc, ch 2, 2 dc) to form your first shell.
- In the next ch 2 sp (center point), work (2 dc, ch 2, 2 dc) for the second shell.
- Ch 1; create another shell (2 dc, ch 2, 2 dc) in the last sp along the row.
Row 3 - Introducing "Letter V"
- Ch 4, turn work.
- Work one beginning shell (2 dc, ch 2, 2 dc) in the first ch 2 sp.
- Ch 2, then in the center space, work a "V" stitch: (dc, ch 3, dc).
- Ch 2; end row by working a shell in the last ch 2 sp.
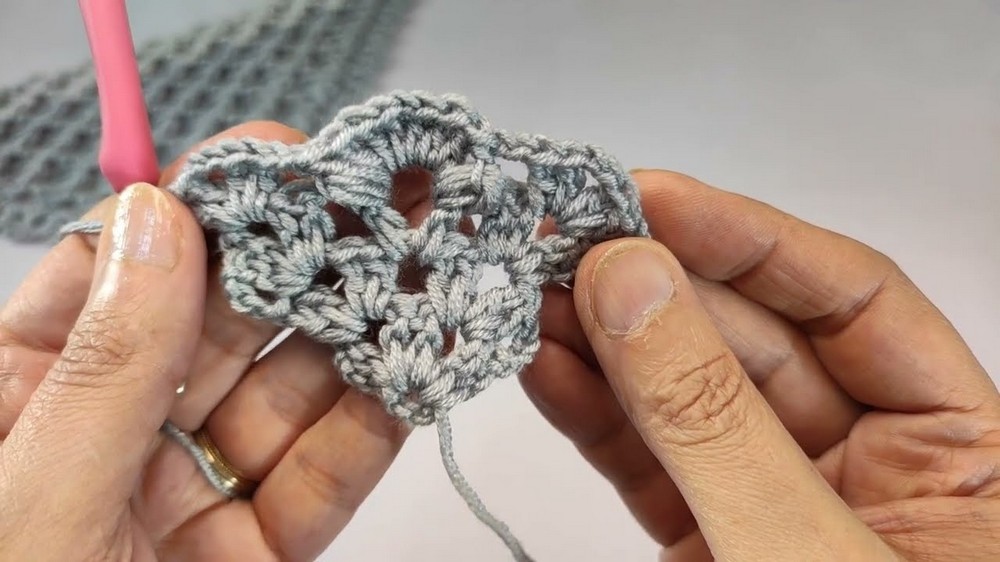
Row 4 - Adding Puff Stitches
- Ch 4, turn work.
- Work a beginning shell in the first ch 2 sp.
- Ch 2. Around the first post of the "V" stitch from Row 3, work a puff stitch (as explained above).
- In the ch 3 space of the V, work (3 dc, ch 1, 3 dc) to form a centerpiece cluster.
- Around the second post of the V, work a second puff stitch.
- Ch 2 and finish row with a shell in the last ch 2 sp.
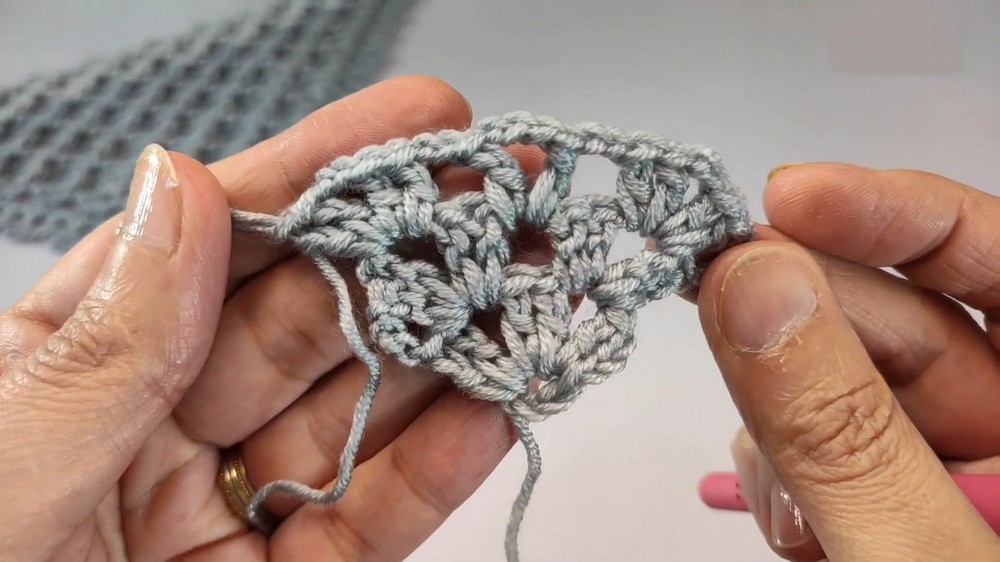
Row 5 - Increasing Letter "V" Stitches
- Ch 4, turn work.
- Work a beginning shell in the first ch 2 sp.
- Ch 2; for each cluster space or chain space, crochet a "V" stitch (dc, ch 3, dc).
- End row with a shell.
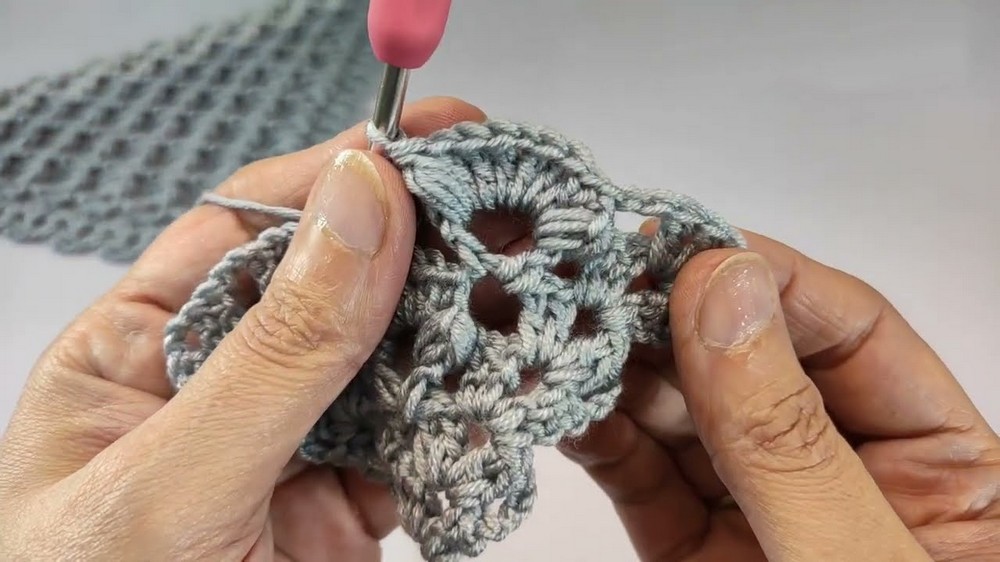
Row 6 - Puff and Cluster Stitches
- Ch 4, turn work.
- Work a shell in the first ch 2 sp.
- Ch 2. Around the first post of each letter "V," work a puff stitch.
- Between the V stitches, create a cluster (3 dc, ch 1, 3 dc).
- Finish row with a shell in the last ch 2 sp.
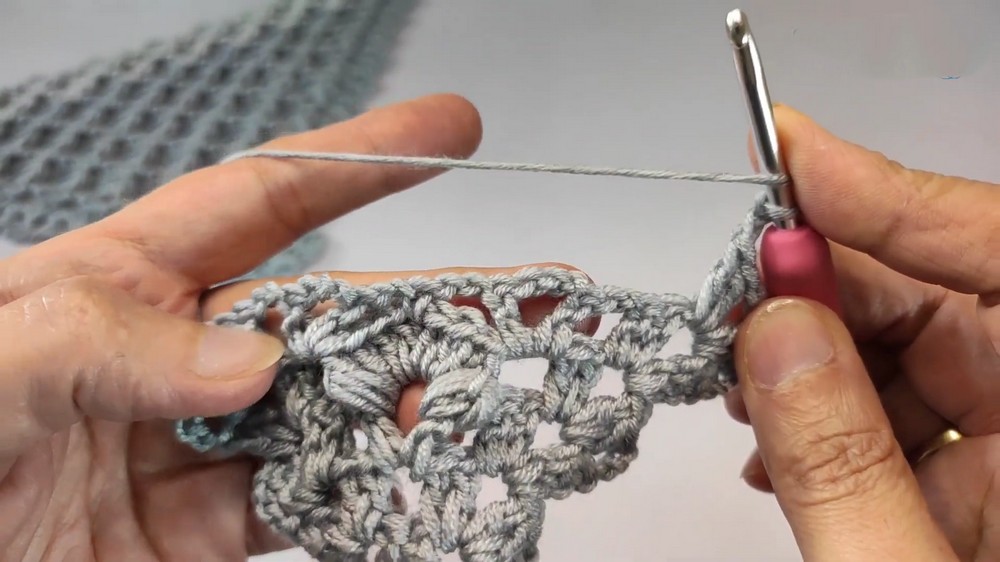
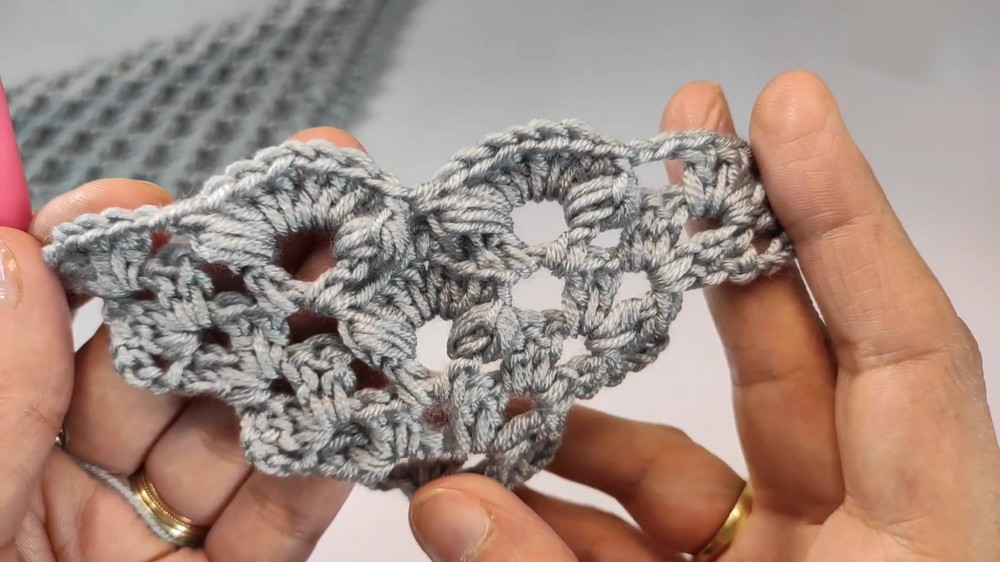
Row 7 Onwards - Repetition
Rows 6 and 7 form the main repeating pattern for the shawl:
- Odd numbered rows (7, 9, etc.): Focus on building additional "V" stitches in each new ch sp.
- Even numbered rows (6, 8, etc.): Alternate puff stitches with clusters for texture.
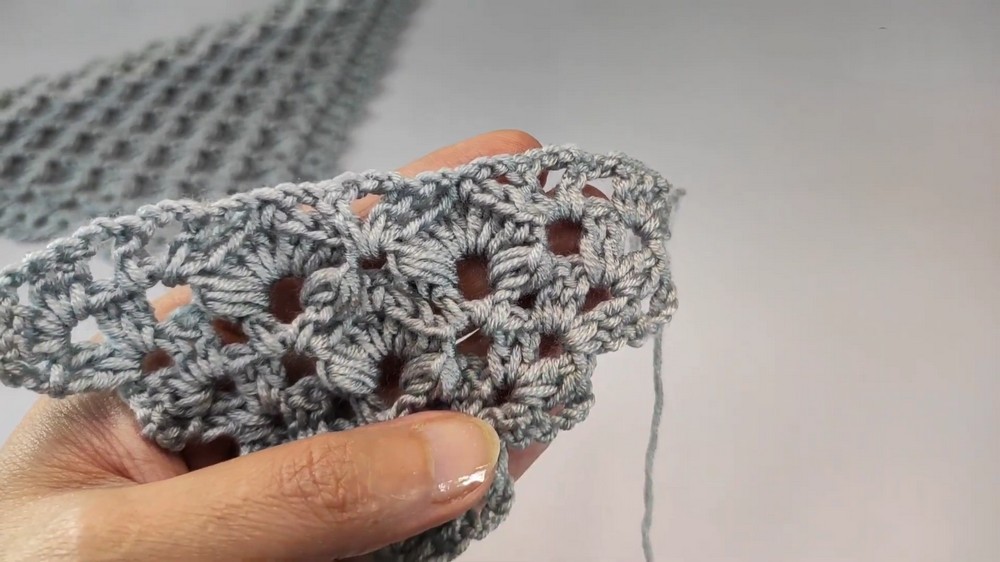
Continue repeating Rows 6 and 7 until the shawl reaches your desired size. Ensure symmetry is maintained by always matching the shells on both sides.
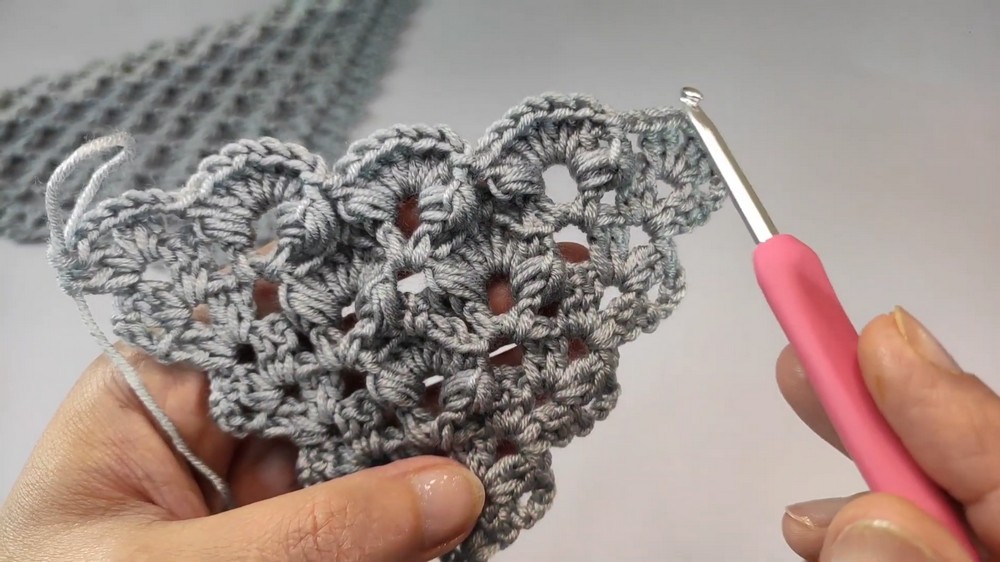
Finishing the Shawl
- Once the shawl reaches your desired size, work one final row using only shells around the edges.
- Weave in all loose ends using the tapestry needle.
- Optional: Add fringes or tassels to the edges for a decorative finish.
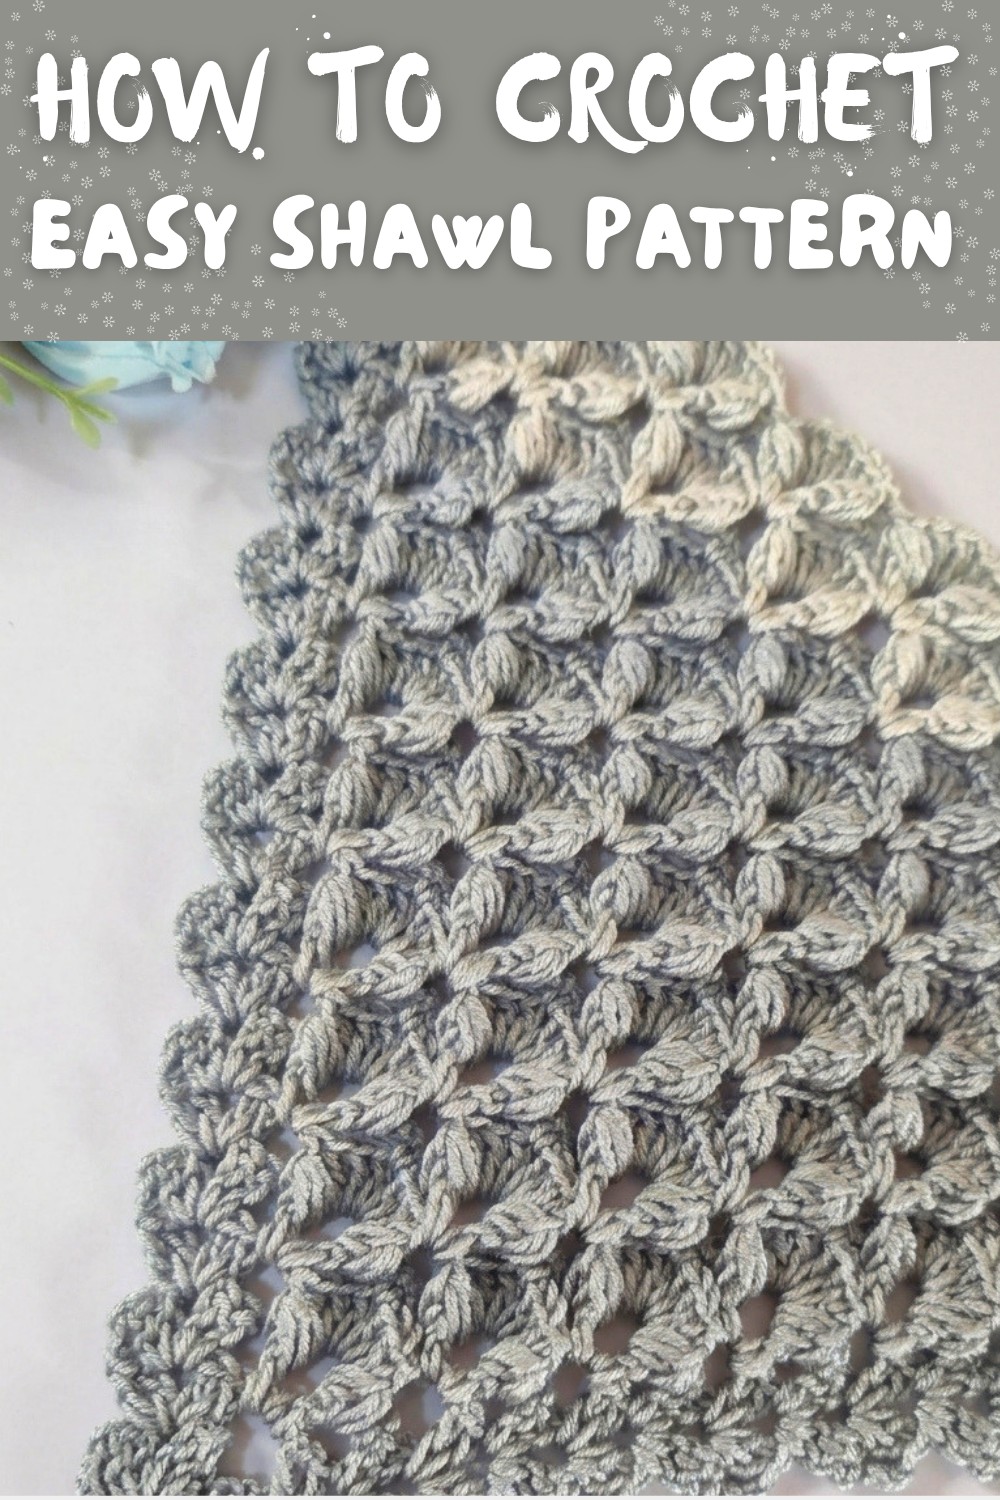
Final Look and Remarks
This shawl features a unique combination of airy spaces, letter "V" details, and plush puff stitches, creating a lace like yet cozy texture. Perfect for cool evenings or as a versatile accessory, it can be adapted to any season by varying the yarn weight.
Take the time to block your shawl to bring out the stitches' structure and flatten any curling edges. Your creation is now ready to wear or gift.
Enjoy the process of creating this timeless crochet shawl, and don't hesitate to customize the design to reflect your personal style.