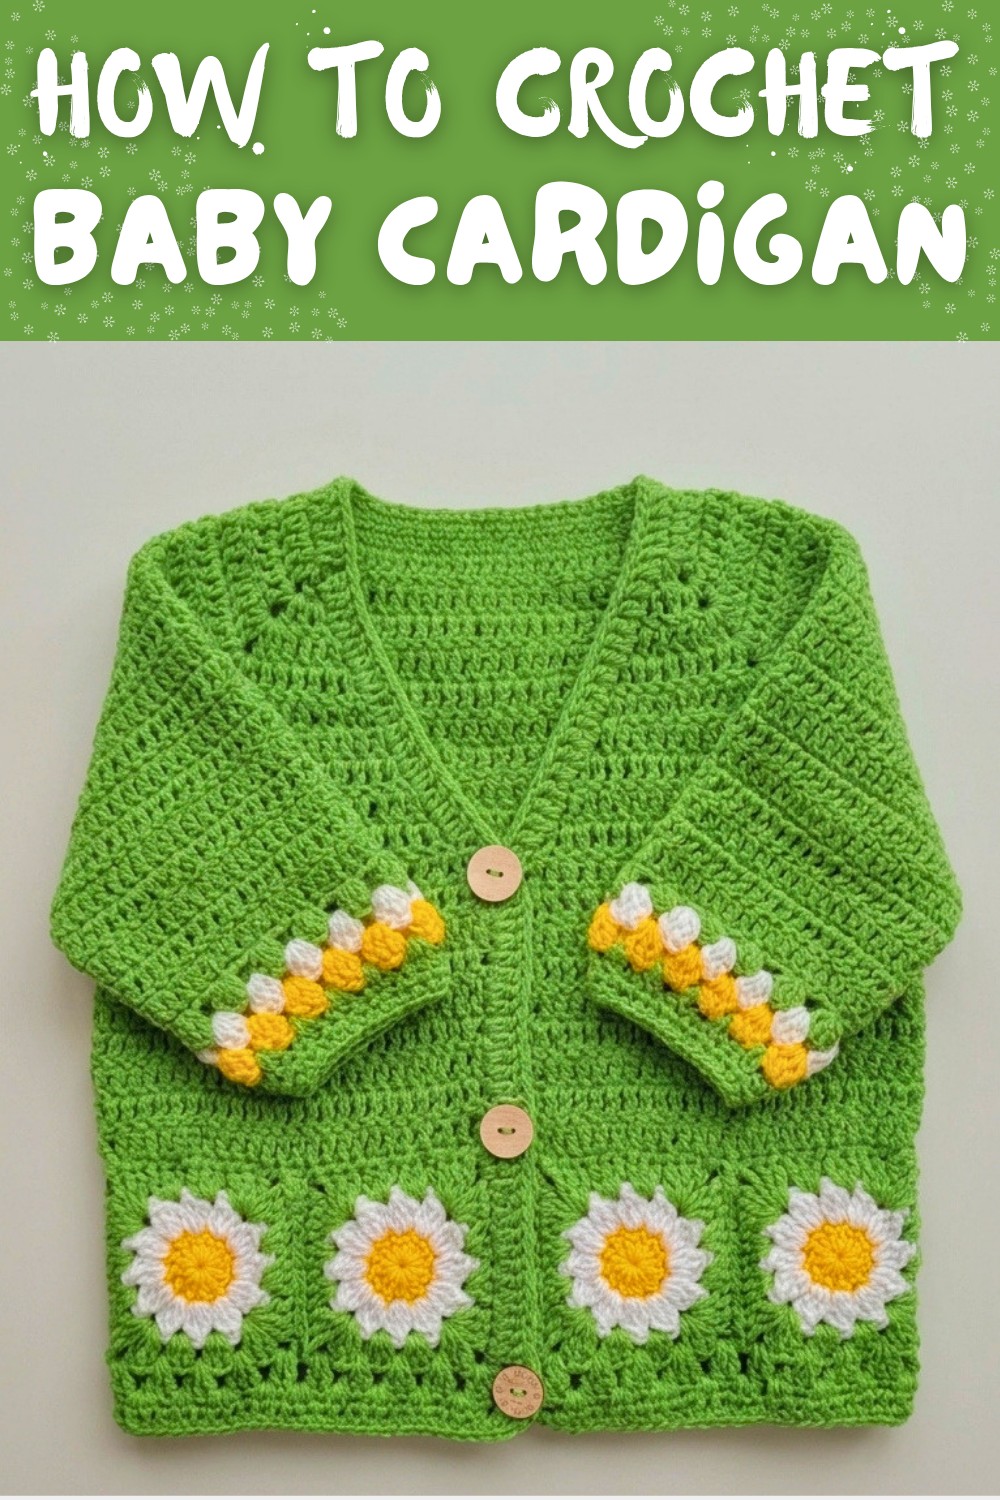
Warm & Sweet Crochet Baby Cardigan Free Pattern
Wrap tiny bundles of joy in warmth and love with a handmade crochet baby cardigan that is easy to stitch and looks adorable on every little one.
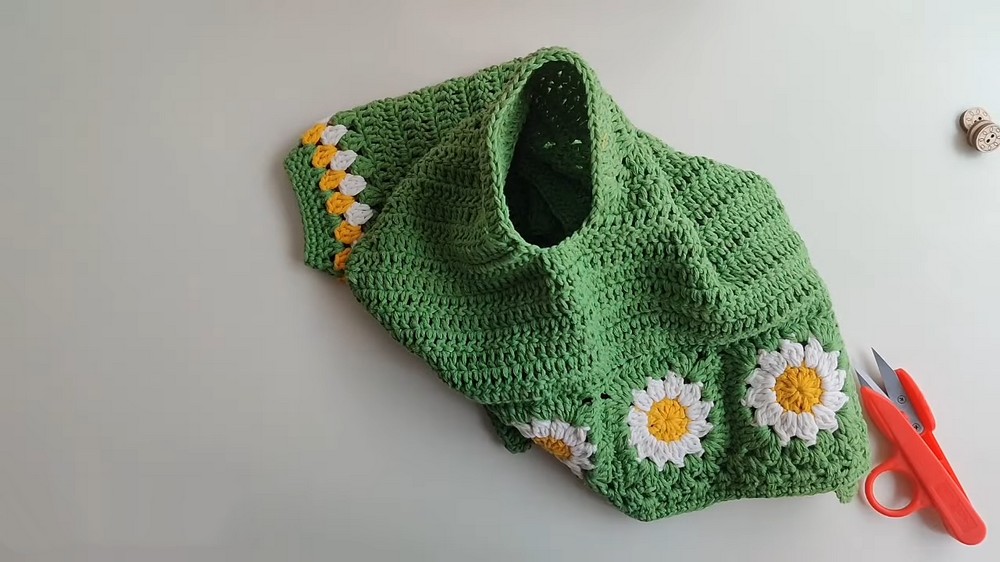
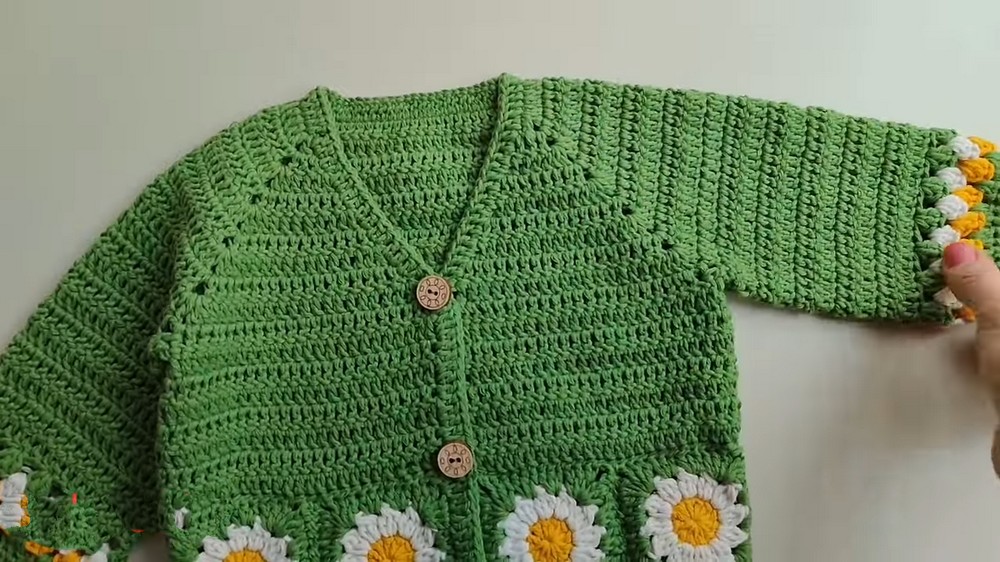
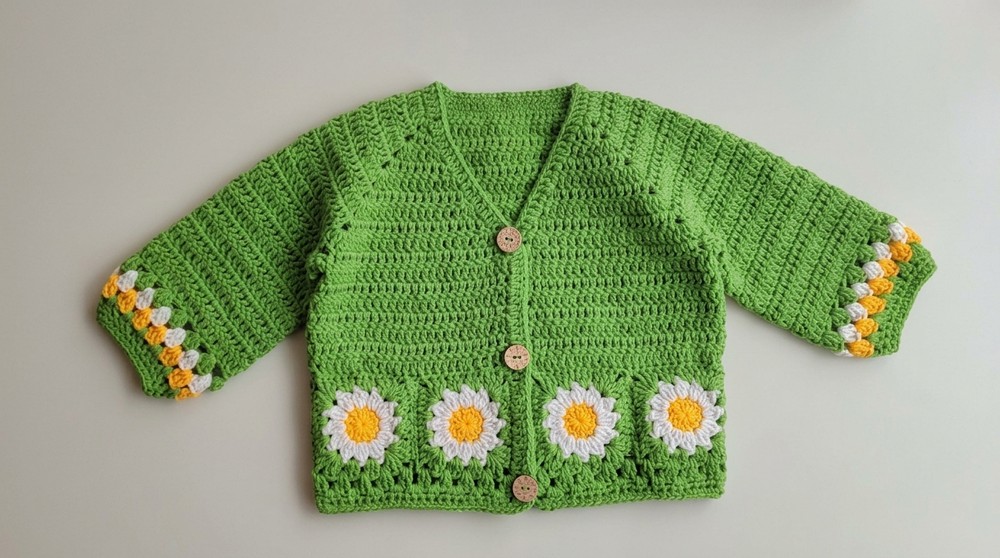
Fashion meets creativity in this delightful pattern, giving you the opportunity to make a cozy and adorable cardigan for little ones. It's the ultimate heartfelt handmade gift for babies or toddlers, offering the perfect balance of charm, warmth, and practicality. You can create a stylish V neck cardigan with beautiful daisy motifs that add a playful yet elegant vibe. The cardigan stands out with its soft textures, neat edges, and eye catching colors. It's lightweight but snug, making it an ideal choice for keeping little ones cozy during chilly days or as a vibrant layering piece for any outfit.
Beginner Friendly Free Crochet Baby Cardigan Pattern

This cardigan can be personalized to fit babies of different ages, from newborns to toddlers, thanks to the simple adjustments provided in the pattern. You can also get creative with color combinations to match any mood, season, or occasion. The addition of buttons on the front not only adds to its functionality but also enhances its charming style.
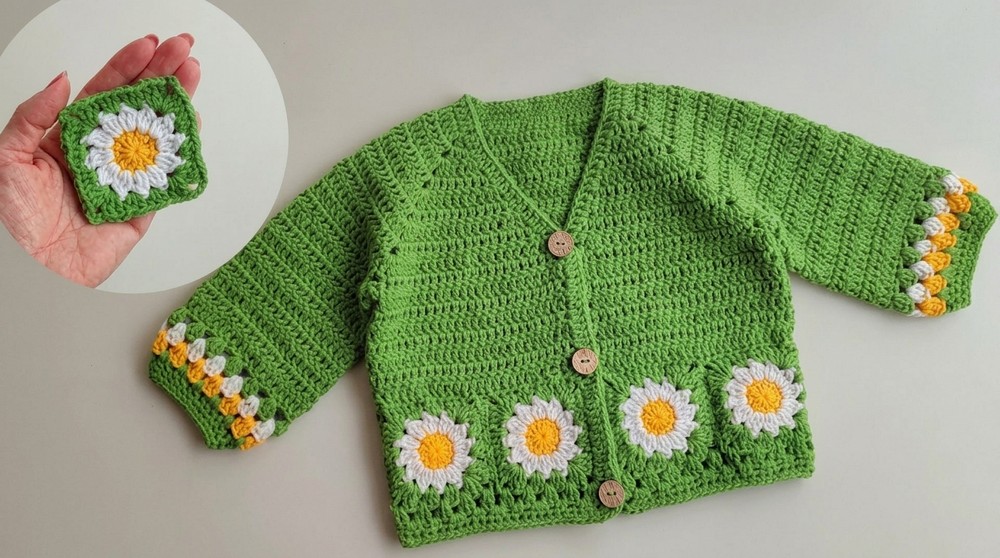
The daisy motifs are what make this cardigan truly unique. These lovely flower details are crocheted separately and carefully attached, giving the piece a standout, personalized touch. Despite its intricate appearance, the design is simple enough for anyone to try, and the finished product looks beautifully professional yet carries the warmth of something made with love.
Whether it's your first crochet project or your twentieth, this is a design you'll truly enjoy making. It's more than just a cardigan-it's a creative journey that combines beauty, care, and fun, leaving behind a piece that brings smiles to both the maker and the wearer.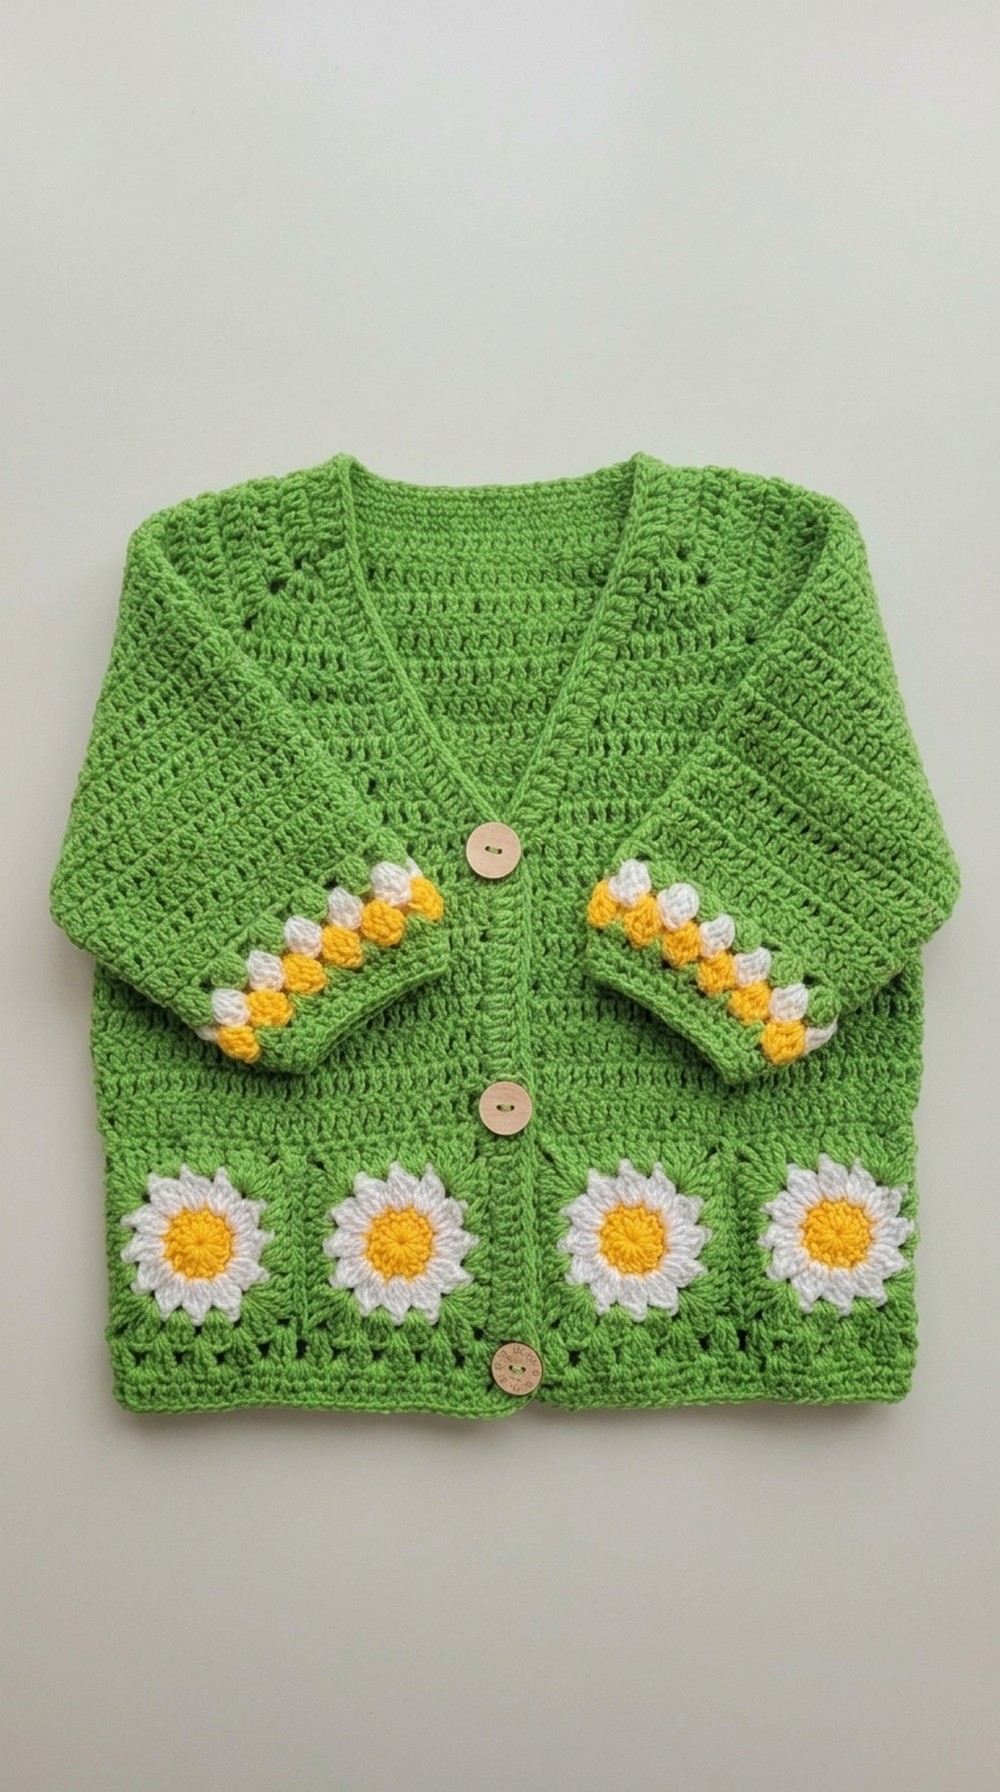
Crochet Baby Cardigan Pattern
Materials Required
- Yarn:
- Silim Cotton Plus by Spaghetti Yarn (use a primary color for the cardigan and additional colors for the daisy motifs including yellow, white, and green).
- Crochet Hook:
- 3.5 mm (you can adjust the hook size to match your tension).
- Other Tools:
- Scissors
- Yarn needle (for sewing motifs and weaving in ends)
- Measuring tape (to ensure proper sizing)
- 3 small buttons for closure.
- Optional: Stitch markers to mark V neck increases and corners.
Key Notes
- Skill Level: Beginner to Intermediate.
- Stitches Used:
- ch (Chain)
- dc (Double Crochet)
- sc (Single Crochet)
- sl st (Slip Stitch)
- inc (Increase: work two sts into one).
- Adjust the number of rows and stitches based on size requirements. Check the final fit frequently.
- Customizable Fit: Modify the chains in the foundation row or the rows in the yoke, body, sleeves, and motifs to make the cardigan larger or smaller.
Pattern Structure
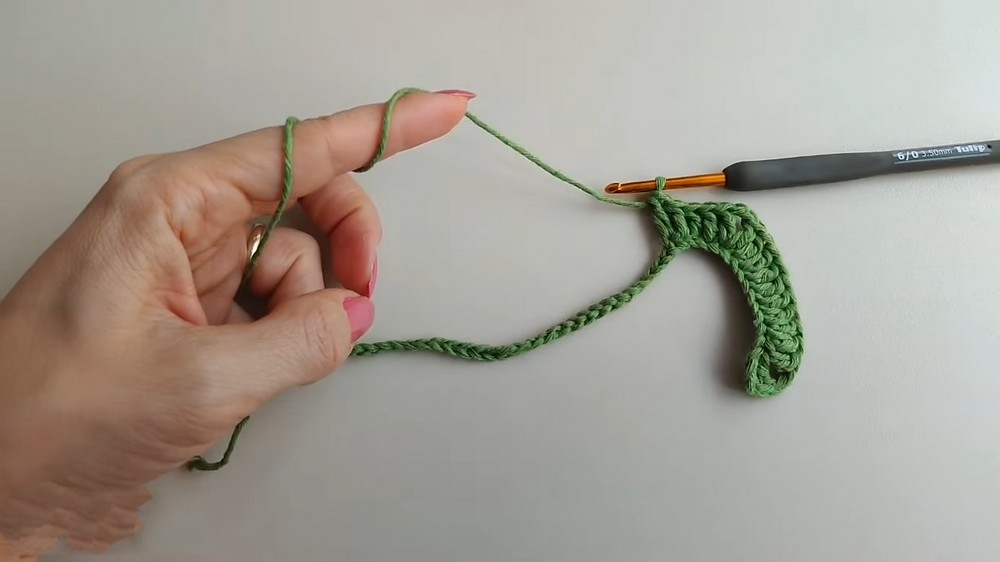
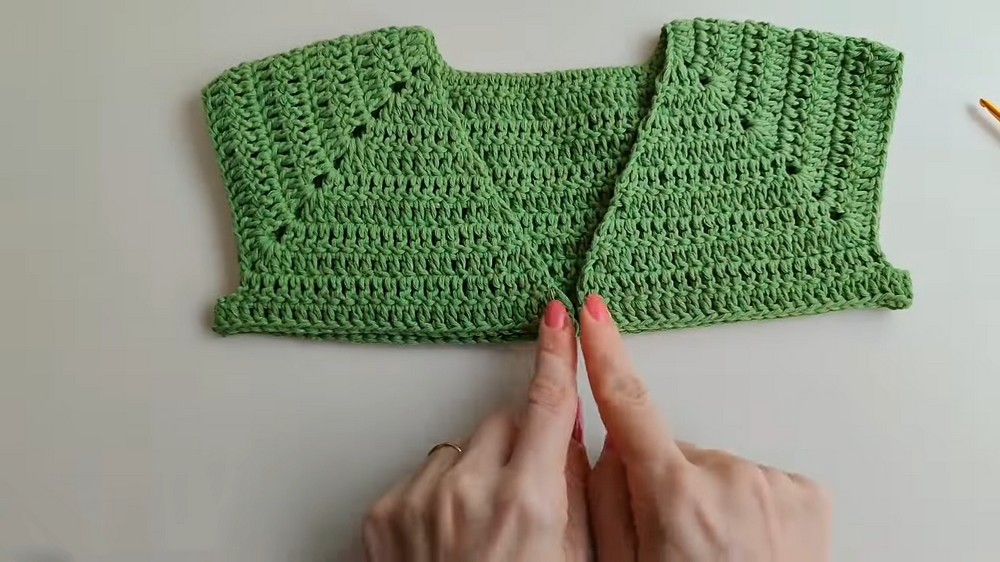
Step 1: Create the V Neck Yoke
- Begin with a foundation chain of 44 chains.
- In Row 1: Skip the first 3 chs (counts as one dc) and work 41 dc across the row (ending with 42 dc).
- On the first row, mark the points for V neck shaping:
- Front Section: (10 dc for the left front section)
- Sleeves: (10 dc for each sleeve section)
- Back Section: (12 dc for back).
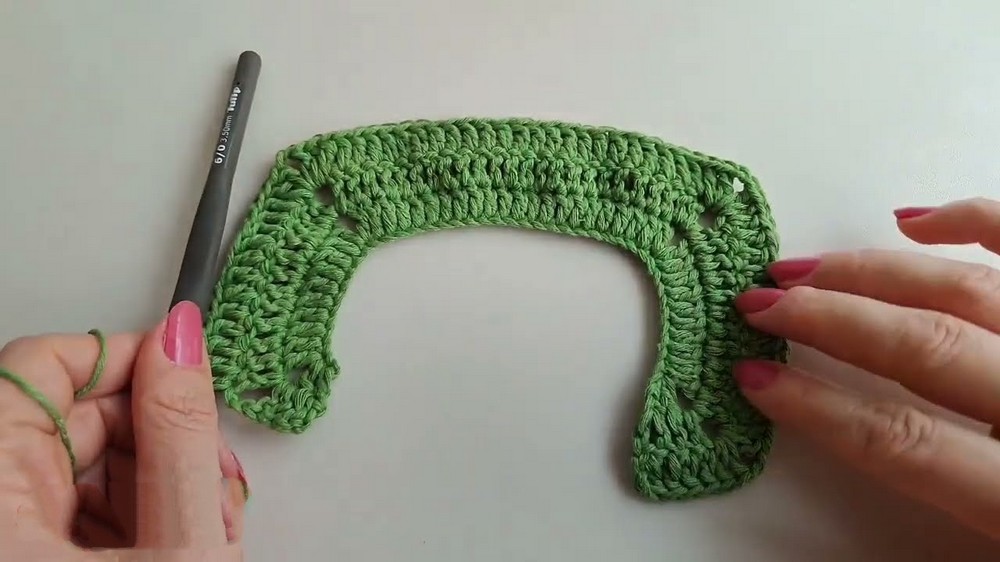
- On the first row, mark the points for V neck shaping:
- Increases for the V neck: At the center front (V point), crochet as follows:
- 1 dc, 2 ch, 1 dc in the same st (this forms the increase).
- For the other corners (sleeve and back separation), add similar dc, ch 2, dc increases.
- Continue crocheting rows, turning at the end of each row. Always increase at the marked points: 1 dc, 2 ch, 1 dc.
- Work until the yoke grows to the desired size:
- For infants: Work up to 4-6 rows (depending on gauge).
- For older children: Work 6-8 rows or until the armhole comfortably fits around the arms.
Step 2: Separate the Sleeves
- Once your yoke is ready, separate the stitches for sleeves:
- Use a chain bridge (e.g., ch 4 for small sizes or 6 for larger sizes) to connect the front and back sections, skipping the sleeve stitches.
- Crochet across the front section, chain for the bridge, skip the sleeve section, and continue across the back panel. Repeat the chain bridge for the second sleeve.
- After separating the sleeves, begin crocheting the body of the cardigan in rows.
Step 3: Crochet the Body
- Crochet back and forth in rows to extend the body of the cardigan.
- Maintain the same stitch pattern but exclude increases for the V-neck at this stage.
- Adjust the length based on preference. The designer worked 9 rows after separating the sleeves to achieve the desired length.
- Optional: Add color block designs or decorative stitches to the lower edge of the cardigan for a creative touch.
Step 4: Work on the Sleeves
- Attach the yarn to the designated armhole section.
- Work 3 dc into every gap around the sleeve opening for an even round.
- Continue crocheting in rounds until the sleeves reach the desired length.
- For tapered sleeves, reduce 1 or 2 stitches every 4-5 rows.
- Add decorative stitches or borders to the sleeve cuffs for a neat finish.
- A standard size will require around 11 rows for the sleeves, but feel free to adjust.
Daisy Motif Instructions
The daisy motifs add a playful and eye catching charm to the cardigan. Make 8 motifs (4 for the back and 2 for each front panel).
Part 1: Create the Daisy's Yellow Center
- Create a magic ring.
- Work 12 dc into the ring and join with a sl st. Pull the ring tight.
- Fasten off, leaving a long tail for sewing the motif.
Part 2: Add White Petals
- Attach white yarn to any stitch from the yellow center. Pull up a loop and ch 3.
- Work 2 dc into the same st, leaving the last loop on the hook (you should have 3 loops now). Pull through all loops to form the petal.
- Ch 2, skip one st, and repeat the process around for a total of 12 petals.
- Fasten off.
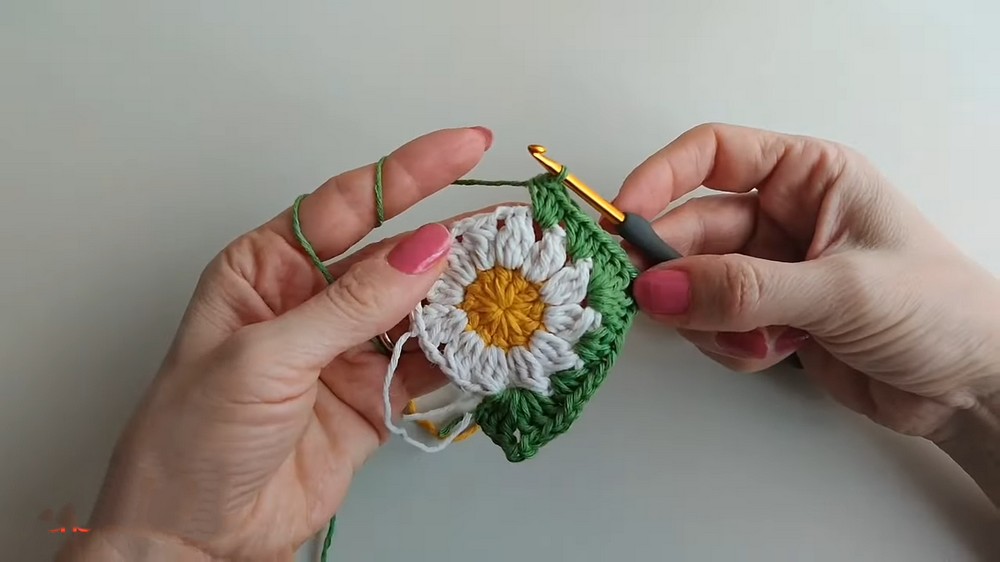
Part 3: Frame the Daisy with Green Border
- Attach green yarn to one petal gap. Work 3 dc, 3 ch, 3 dc into the same space (first corner).
- Continue to the next gap and work 3 dc. Repeat this at every gap, adding corners at every fourth gap to create a square.
- Fasten off and block your motifs for a neat and uniform look.
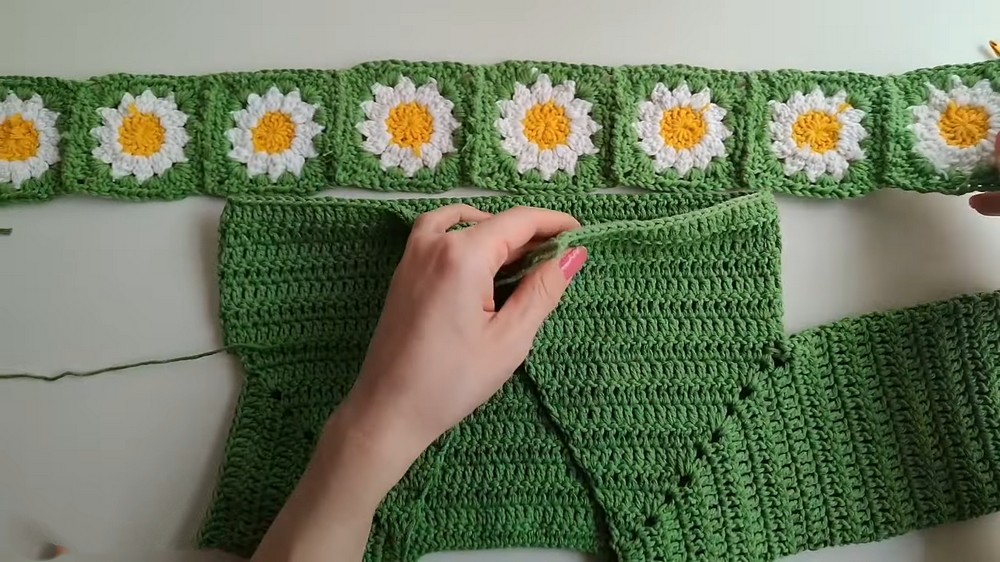
Final Assembly
- Lay out the motifs on the cardigan.
- Back Panel: 4 motifs in a straight line.
- Front Panels: 2 motifs each.
- Use a yarn needle and the green yarn to sew motifs onto the cardigan. Ensure edges align neatly. For a seamless look, use invisible stitches.
Add Button Band and Closure
- Attach yarn to the bottom corner of the right front panel and crochet sc evenly along the edge.
- For the left panel, measure and mark positions for 3 buttonholes.
- To create buttonholes: Skip 2 sc and ch 2. Continue with sc along the row.
- Sew buttons to align with the buttonholes on the opposite panel.
Finishing Touches
- Add a border along the hemline, neckline, and cuffs using a row of sc. This creates a polished and unified look.
- Weave in all loose ends with a yarn needle.
- Block the cardigan to shape it properly.
Maintenance Instructions
- Washing: Wash gently in cold water. Avoid harsh detergents as they can damage the yarn's texture and color.
- Drying: Do not wring the cardigan. Lay it flat on a clean towel and allow it to air dry.
- Storage: Store the cardigan folded to prevent creases or stretching. Avoid hanging as it may distort the shape over time.
Final Tips
- Experiment with colors for the motifs to make each design unique. For younger boys, try neutral or bold tone variations like browns or blues.
- Sizing Adjustments:
- If making a larger size, increase the chain count in the foundation row and proportionally add rows in the yoke and body.
- For older children or adults, consider using a mix of motifs (solid squares, other floral designs, or plain panels).
- Use Stitch Markers: Tracking your increases and decorative edges is easier with markers, ensuring symmetry.
- Gift Idea: Personalized cardigans make wonderful gifts. Use a mix of motifs tailored to the recipient's style.
Final Thoughts
Congratulations, You've created a charming daisy motif V-neck cardigan. This pattern is perfect for any season and adds a handmade touch to your wardrobe. Whether for a family member, a friend, or yourself, this project is sure to bring joy and pride with each wear. Take your time, practice patience, and enjoy turning yarn into art.