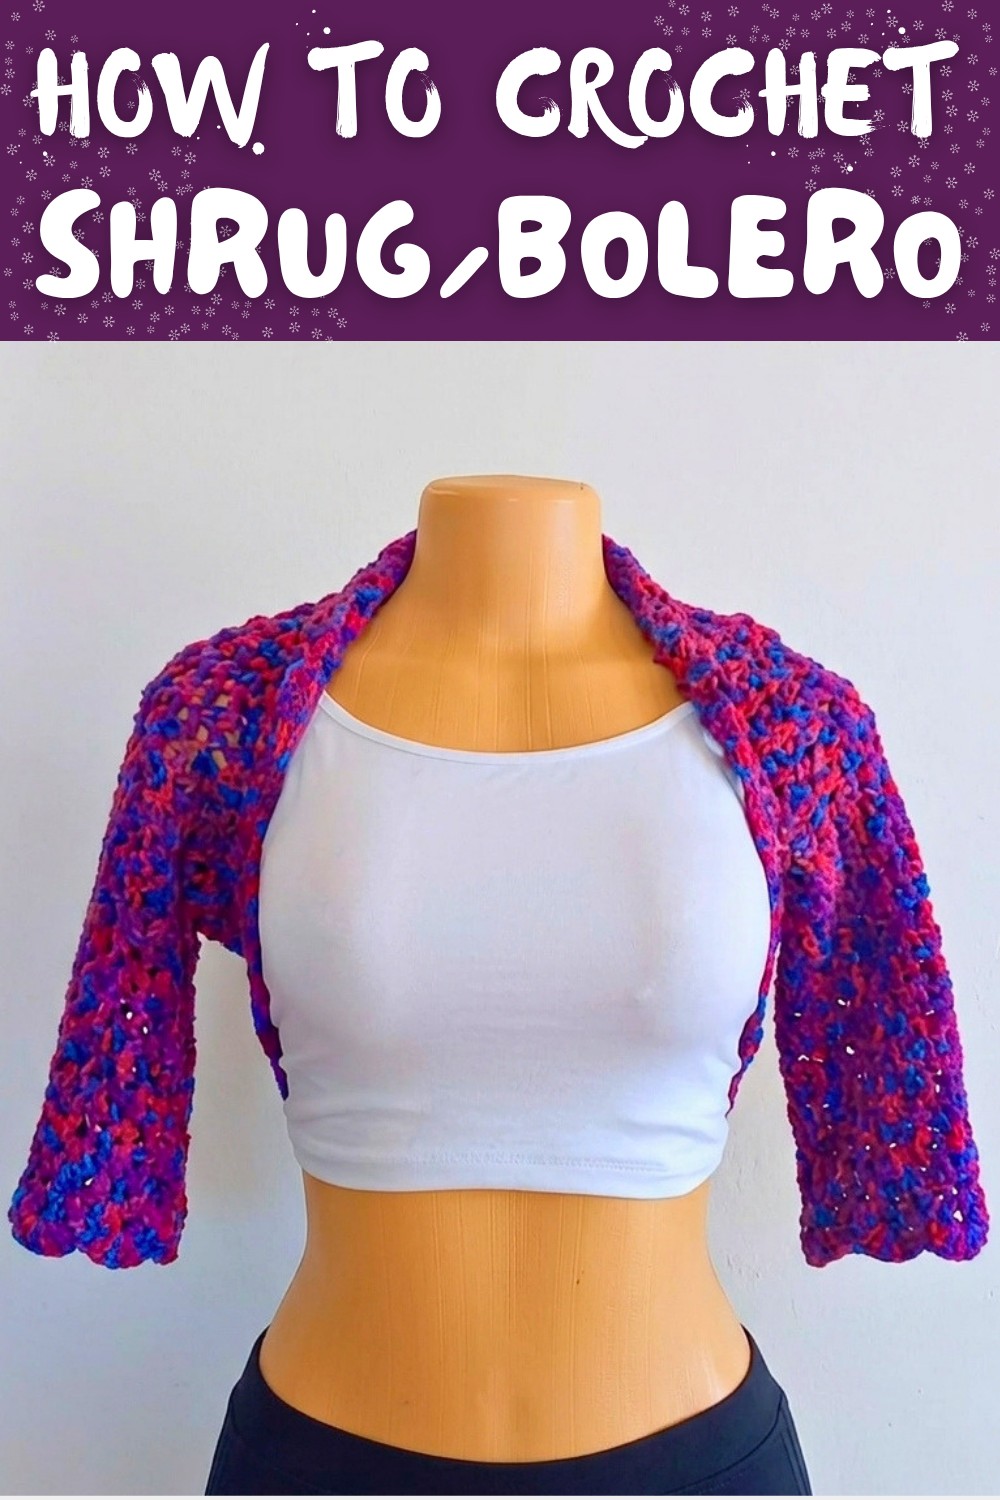
Free Crochet Shrug, Bolero Pattern for a Stylish Layered Look
Fill your closet with handmade charm using this free crochet shrug or bolero design, perfect for layering on cool days or dressing up your outfit.
Crocheting a shrug or bolero is a simple way to add a soft and stylish touch to everyday outfits. A handmade shrug can sit lightly on the shoulders, warm the upper arms, and give a neat finish to dresses, tops, and even casual outfits. This free easy crochet shrug/bolero pattern focuses on comfort and beauty, using easy stitches that still look special. The main stitches are single crochet, double crochet, and the V stitch. The V stitch gives a pretty, lacy look and can also be used for shawls, scarves, baby blankets, and wraps. These stitches are friendly for beginners and still enjoyable for those with more experience.
Relaxed & Cozy Free Crochet Shrug/Bolero Pattern

From this pattern, it is possible to learn how to measure the body in a simple way and turn those measurements into rows and rounds of stitches. There is practice in working straight rows for the main body, then working in rounds for the sleeves. There is also experience with joining pieces neatly and adding edging that looks tidy and finished. By following the steps, confidence grows in reading instructions, counting stitches, and keeping a steady tension.
There can be some difficulties at first. Stitches may sometimes feel too tight or too loose, and it is easy to miss a stitch or add one by mistake. A simple solution is to count stitches at the end of each row, use stitch markers to mark important spots, and pause to check work often. Pulling back a few stitches to fix an error is normal and part of learning. Over time, hands remember the motion, tension becomes steadier, and the shrug or bolero looks smoother and more even.
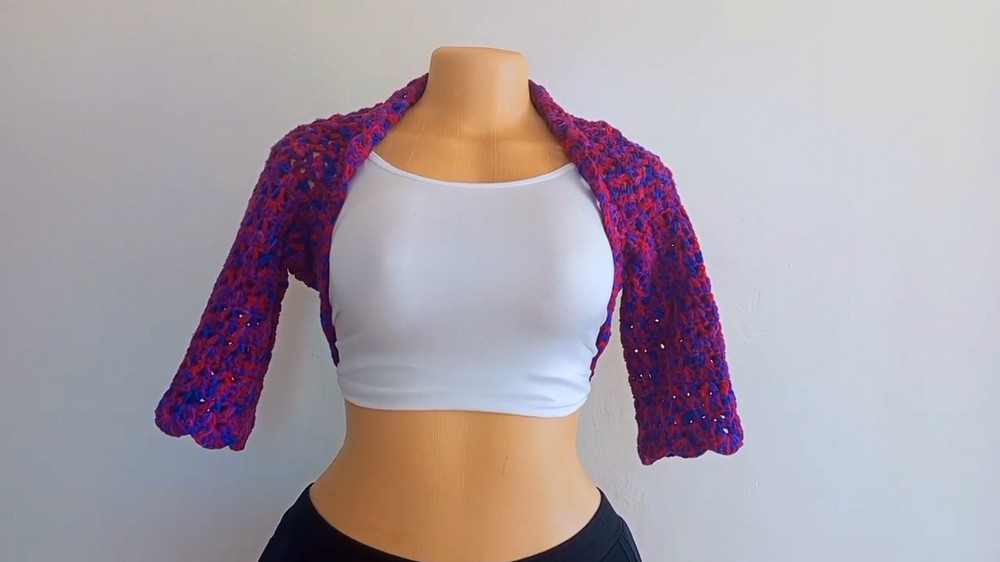
Crochet Bolero Pattern
Quick Overview of the Pattern
- Create a bolero using a combination of single crochets, double crochets, and V stitch patterns.
- Build up rows for the main body based on upper arm measurements.
- Fold and assemble pieces, then crochet the sleeves.
- Add ribbing and edging to finish.
Notes
- This pattern uses basic stitches, making it suitable for beginners and intermediate crocheters.
- All measurements in the pattern are given in inches. Adjust as necessary to fit your body.
- Ensure that chains are counted accurately during setup to avoid mismatches later on.
- Be mindful of the placement of stitches during assembly to achieve a symmetrical finish.
Skill Level
Beginner to Intermediate - Familiarity with basic stitches (single crochet, double crochet, V stitch) and working in rows and rounds is required.
Materials
- Yarn: Rainbow yarn, 5 ply milk cotton yarn (any color of your choice)
- Crochet hook: 4.5mm hook
- Tape measure
- Scissors
- Stitch markers
- Yarn needle for weaving in ends
Measurements / Sizing
- Shoulder to shoulder measurement: For reference, the tutorial uses 18 inches.
- Arm circumference: Measure the round measurement of your upper arm and add 2 inches for comfort. For example, if your arm is 12 inches, the length will be 14 inches.
Gauge (Optional)
Not given in the transcription. Use the provided yarn and hook size to achieve standard gauge tension for this pattern.
Stitch Abbreviations
- CH - Chain
- SC - Single Crochet
- DC - Double Crochet
- V stitch - (DC, CH 1, DC in the same stitch or space)
Special Stitches
- V stitch: A combination of [DC, CH 1, DC] worked into the same stitch or space, creating a V shaped look.
The Crochet Pattern
Main Body
Foundation Chain (Row 1)
- Measure your shoulder to shoulder width. For the example, the width is 18 inches.
- Make a chain that is a multiple of 3 + 2 additional chains. (For example, CH 68 to achieve 18 inches.)
- Row 1:
- CH 1 (counts as a turning chain).
- SC in each chain across.
- At the end of Row 1, you should have the same number of SC as your initial chain count (68 SC).
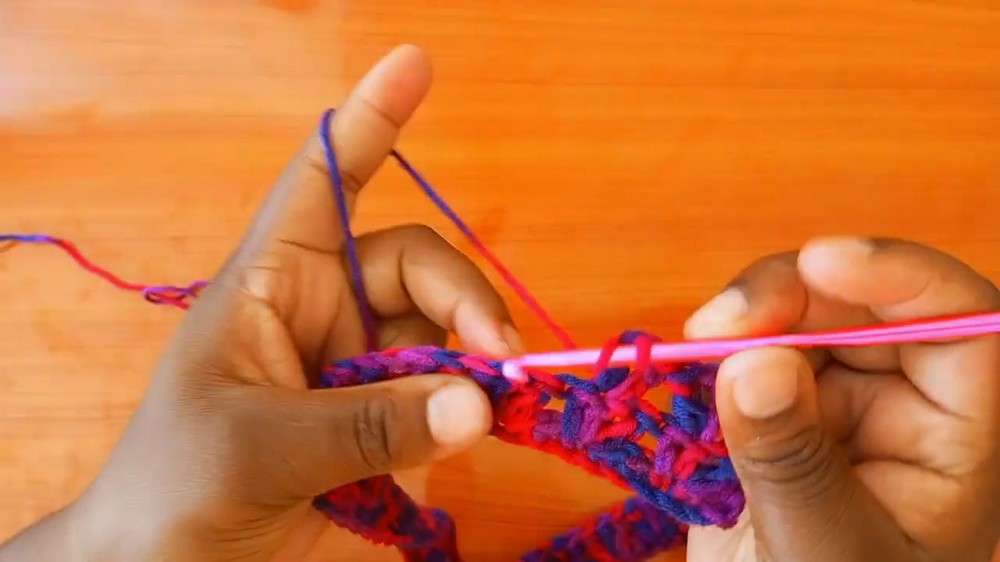
4.Row 2
- CH 3 (counts as 1 DC).
- Skip the next stitch.
- In the third chain, work 3 DC.
- Repeat: Skip the next 2 stitches, then make 3 DC into the following stitch.
- For the final stitch of Row 2: Skip 1 stitch and place 1 DC.
5.Row 3
- CH 3 (counts as 1 DC).
- Locate the middle DC in each 3 DC cluster from Row 2. Work [DC, CH 1, DC] (V stitch).
- Repeat: Work a V stitch in the middle DC of each 3 DC cluster across the row.
- At the end of the row, place 1 DC in the top of the CH 3 to close.
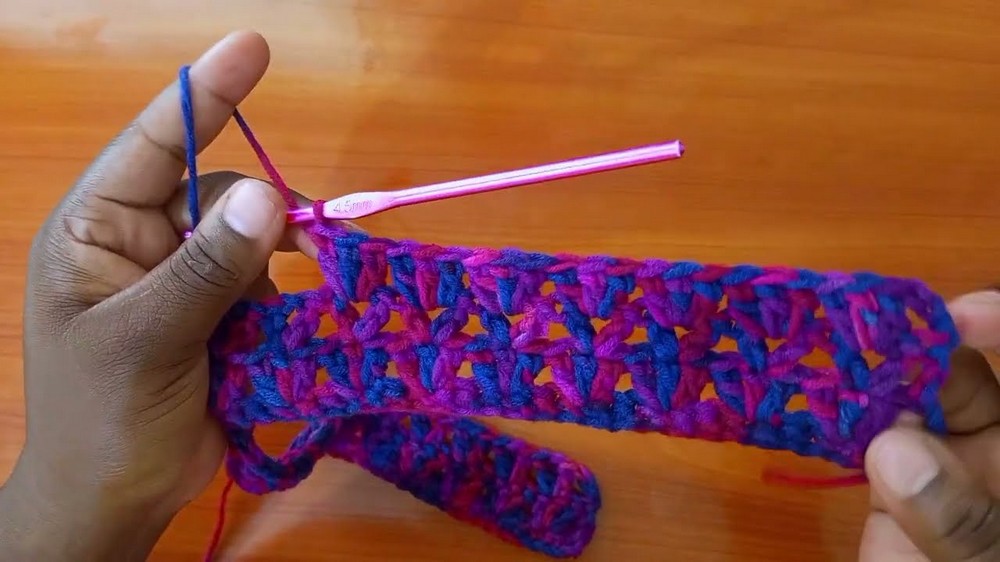
5.Row 4
- CH 3 (counts as 1 DC).
- In each V stitch space created from Row 3, work 3 DC.
- Continue across, placing 3 DC clusters in each V stitch space.
- At the end of the row, place 1 DC in the top of the CH 3 to close.
Repeating Rows
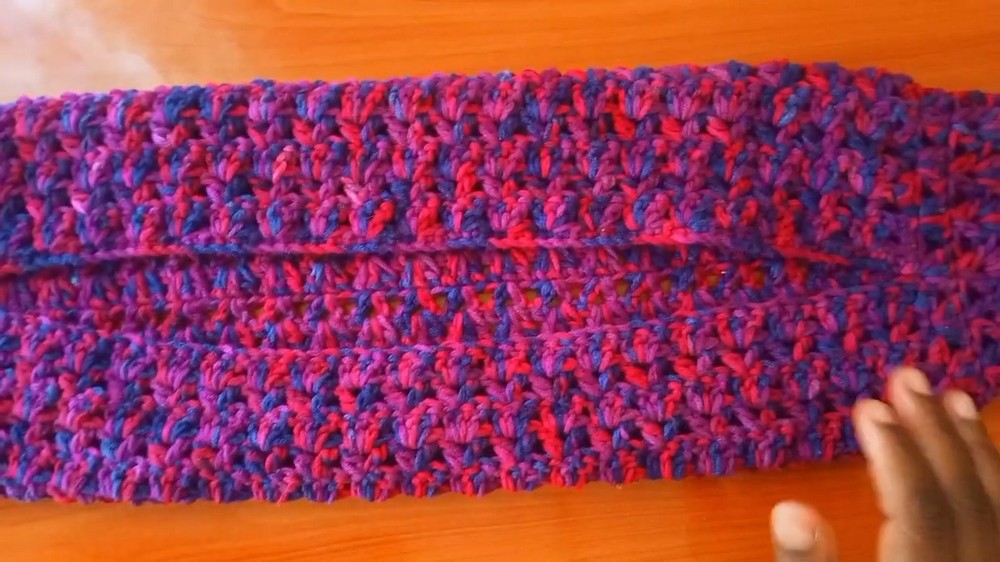
Repeat Rows 3 and 4 until the fabric builds up to the length of your upper arm measurement (circumference + 2 inches). The pattern uses 26 rows to achieve a length of 14 inches.
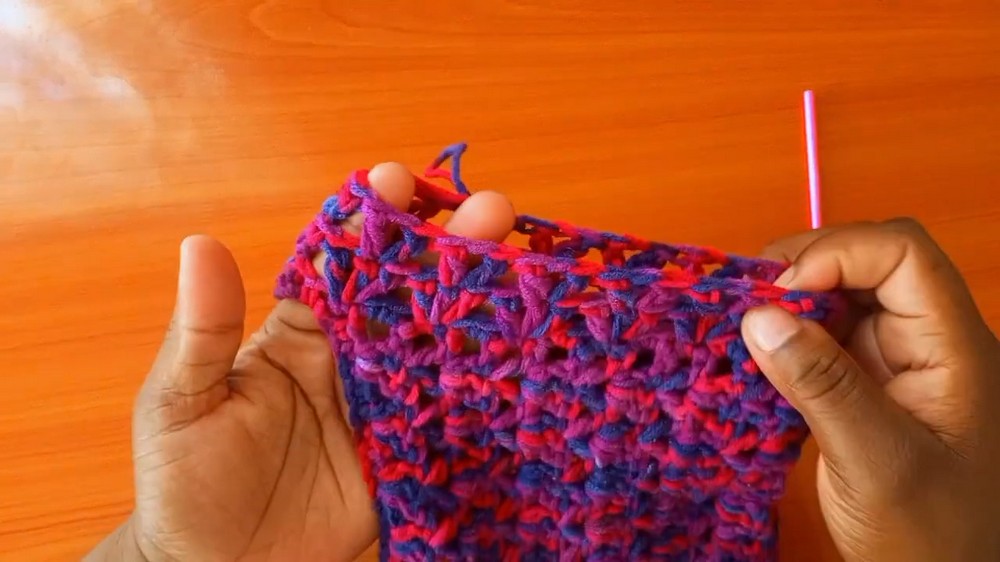
Assembly
- Fold the rectangle in half lengthwise.
- Use your yarn and sewing needle to join the two short edges on both sides.
- Secure the seams tightly and evenly.
Sleeves
Set Up for Sleeves (Round 1)
- Position the bolero with the opening facing up and seam under the arms.
- Join yarn at the point where you want the seam to fall under the arms (use a stitch marker for placement).
1.Round 1 - SC Base Round
- CH 1 to secure yarn.
- Alternate pattern:
- 1 SC in one row.
- 2 SC in the next row.
- Repeat this sequence around the armhole.
- Slip stitch to join the last SC with the starting chain.
2.Round 2 - DC Clusters
- CH 3 (counts as 1 DC).
- Place 3 DC into the same stitch.
- Repeat pattern:
- Skip 2 stitches and place 3 DC into the next stitch.
- Continue the pattern all around.
- Slip stitch at the end to close the round.
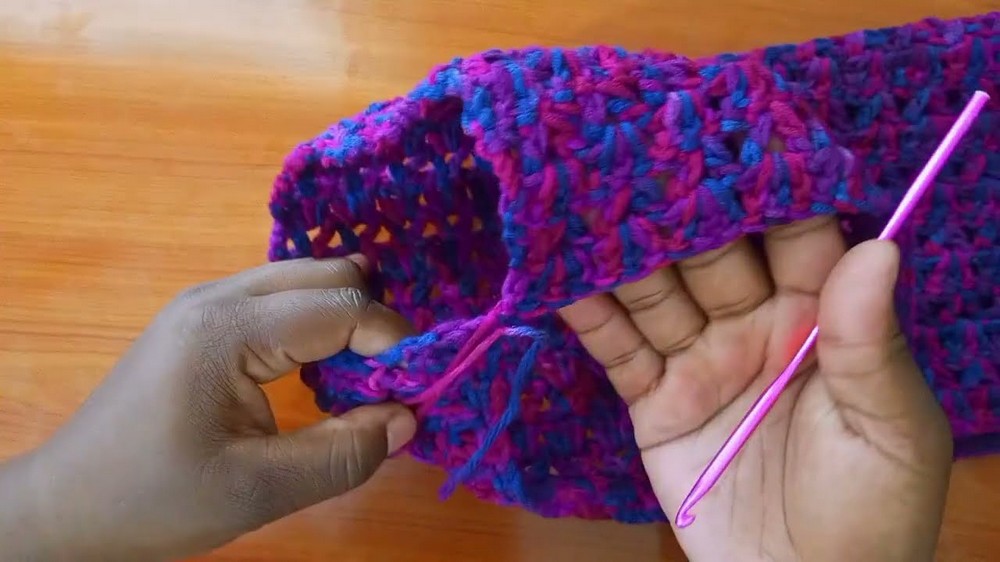
3.Round 3 - V stitches
- Slip stitch into the middle of the first cluster.
- CH 4 (counts as 1 DC + CH 1).
- Place [DC, CH 1, DC] into the middle stitch of each 3 DC cluster.
- Repeat around the sleeve edge.
- At the end, slip stitch to join the round.
4.Repeat Rounds
- Alternately repeat DC Cluster Round and V Stitch Round until sleeve reaches the desired length.
- For medium length sleeves, work a total of 18 rounds.
Ribbing on Sleeves
- Locate spaces between clusters in the last round.
- Pattern:
- Work 6 DC in the space between each cluster.
- Follow with 1 SC.
- Repeat this ribbing pattern around.
- Slip stitch to close, cut yarn, and weave in ends.
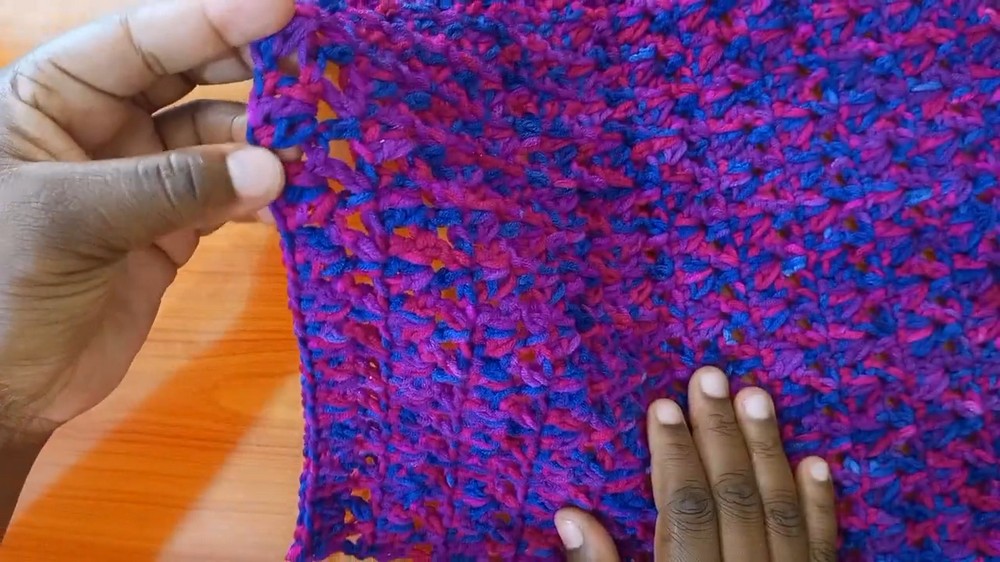
Edging (Bottom and Neckline)
- Identify the middle stitch at the neckline and join the yarn.
- CH 1 to secure, then CH 4 (counts as 1 DC + CH 1).
- Work [DC, CH 1, DC] (V Stitch) into the middle DC of every cluster along the edge.
- When finished, repeat the ribbing process from the sleeves to add edging at the neckline and bottom.
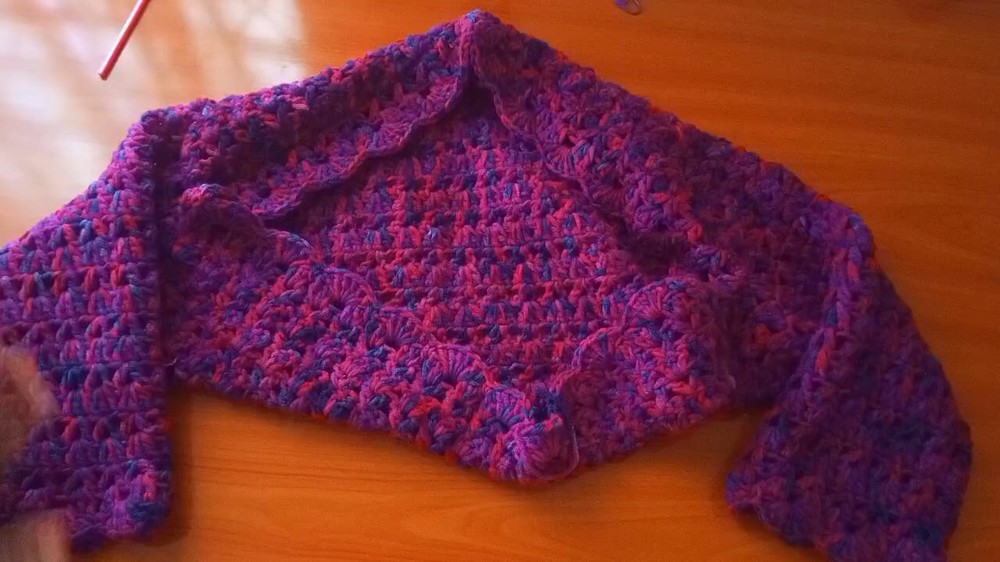
Assembly & Finished Size
Once the edging is completed:
- Weave in all loose ends.
- Ensure seams fall symmetrically under the arms.
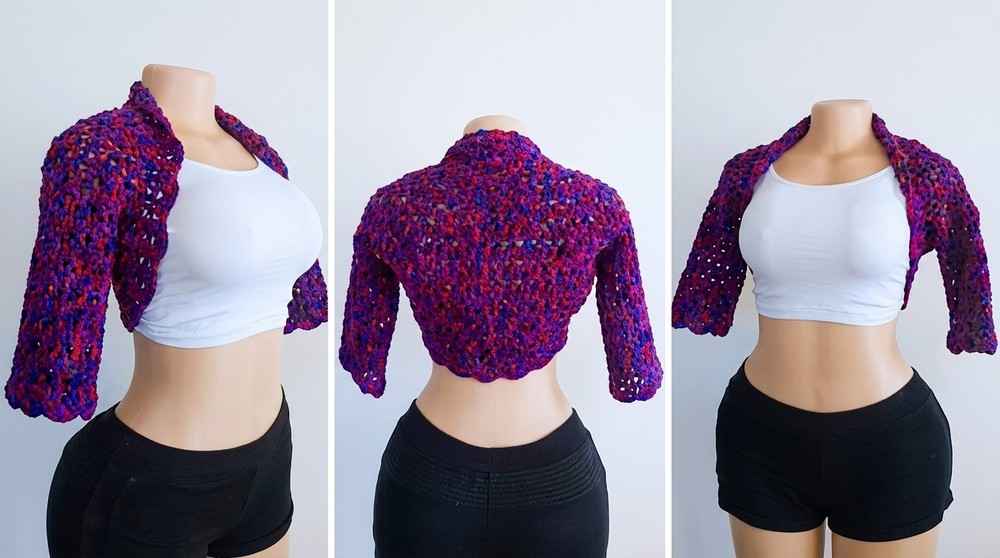
- The bolero includes the main body, sleeves, and neatly finished edges.
Conclusion and Ending Words
Congratulations, your crochet bolero is complete. You've turned simple yarn into a stylish and unique piece, perfect to wear for casual and special occasions alike. Thank you for following along with this pattern.