
Elegant Free Crochet Blouse Pattern with a Timeless Look
A comfortable and stylish option for any occasion is a Crochet Blouse that adds breathable charm to your everyday wardrobe effortlessly.
Want to add something special to your clothes? A crochet blouse pattern is a great idea. A crochet blouse is a top made with yarn and special loops that create small holes. This makes the blouse light and cool to wear.
Free Crochet Blouse Pattern That Combines Style and Comfort
A crochet blouse looks pretty with its different loop designs. Some patterns are easy, while others are a bit harder, so you can choose one you like. Crochet blouses look great with jeans, skirts, or shorts. They look nice and also feel comfortable.
Colors for crochet blouses can be soft, like light pink or blue, giving a gentle look. Or, you can choose bright colors like red or green to stand out. Using good yarn helps keep the colors bright even after washing.
Crochet blouses are not only pretty but also very comfortable. The small holes let air pass through, keeping you cool. Plus, you can make the blouse in the size and style you want, so it fits you just right.
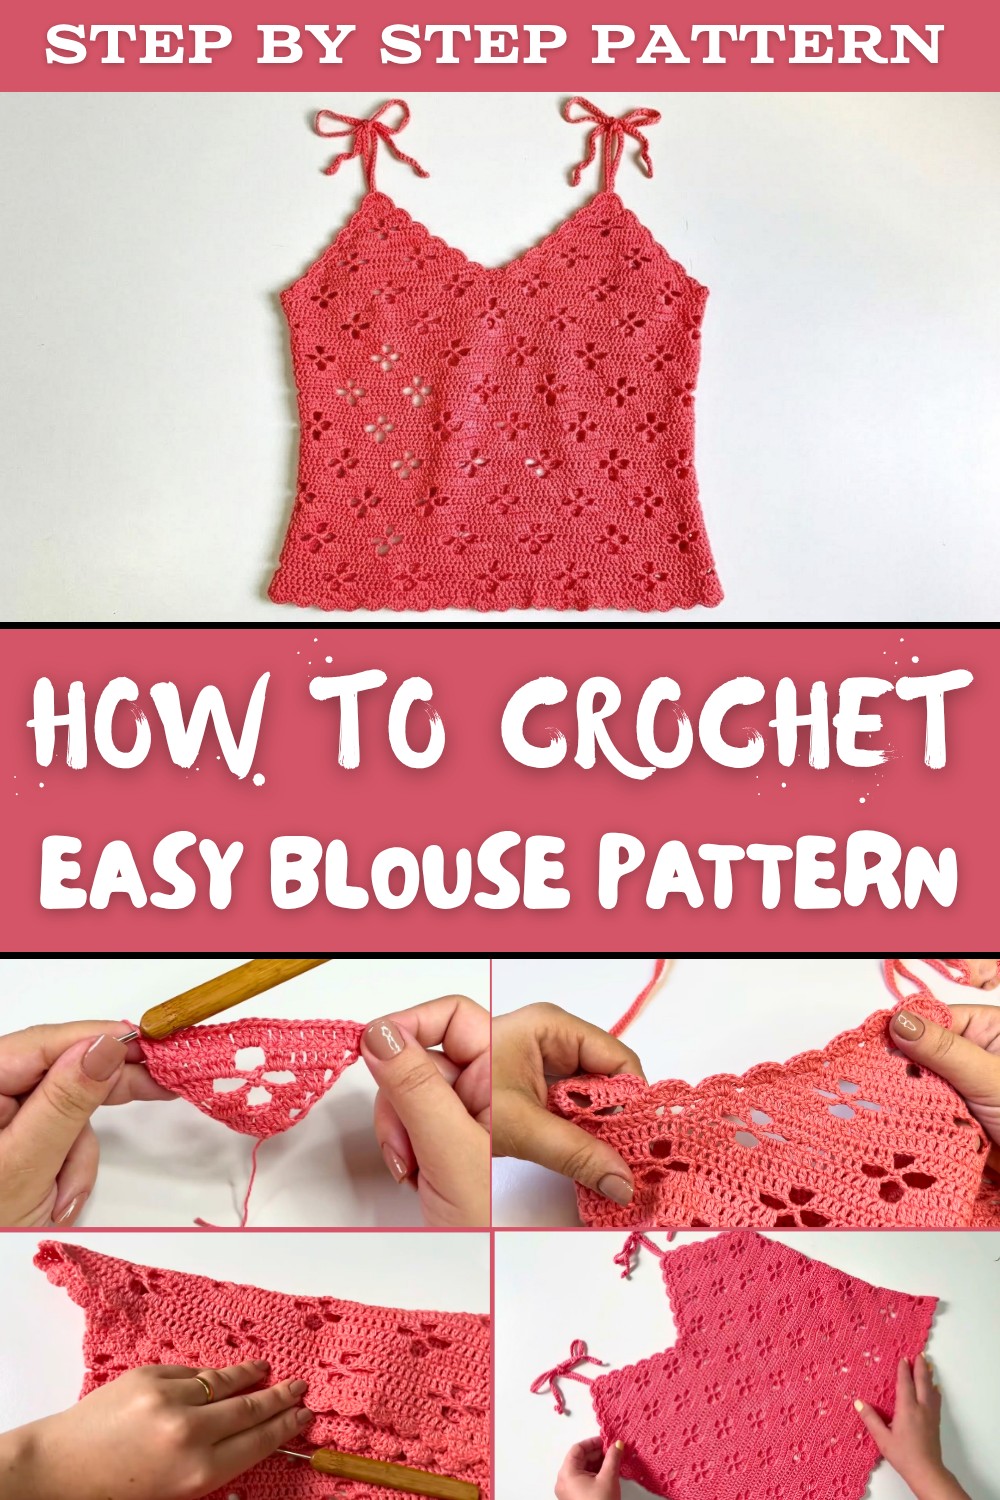
Using a crochet blouse, you can easily dress up a simple outfit. You can wear it at home, to the beach, or during a casual outing with friends. It works well as a light cover-up over a tank top or dress. Using it in different ways makes your wardrobe more flexible and fun.
Making a crochet blouse is easy and fun. It gives you a nice, breathable top that you will enjoy wearing every day.
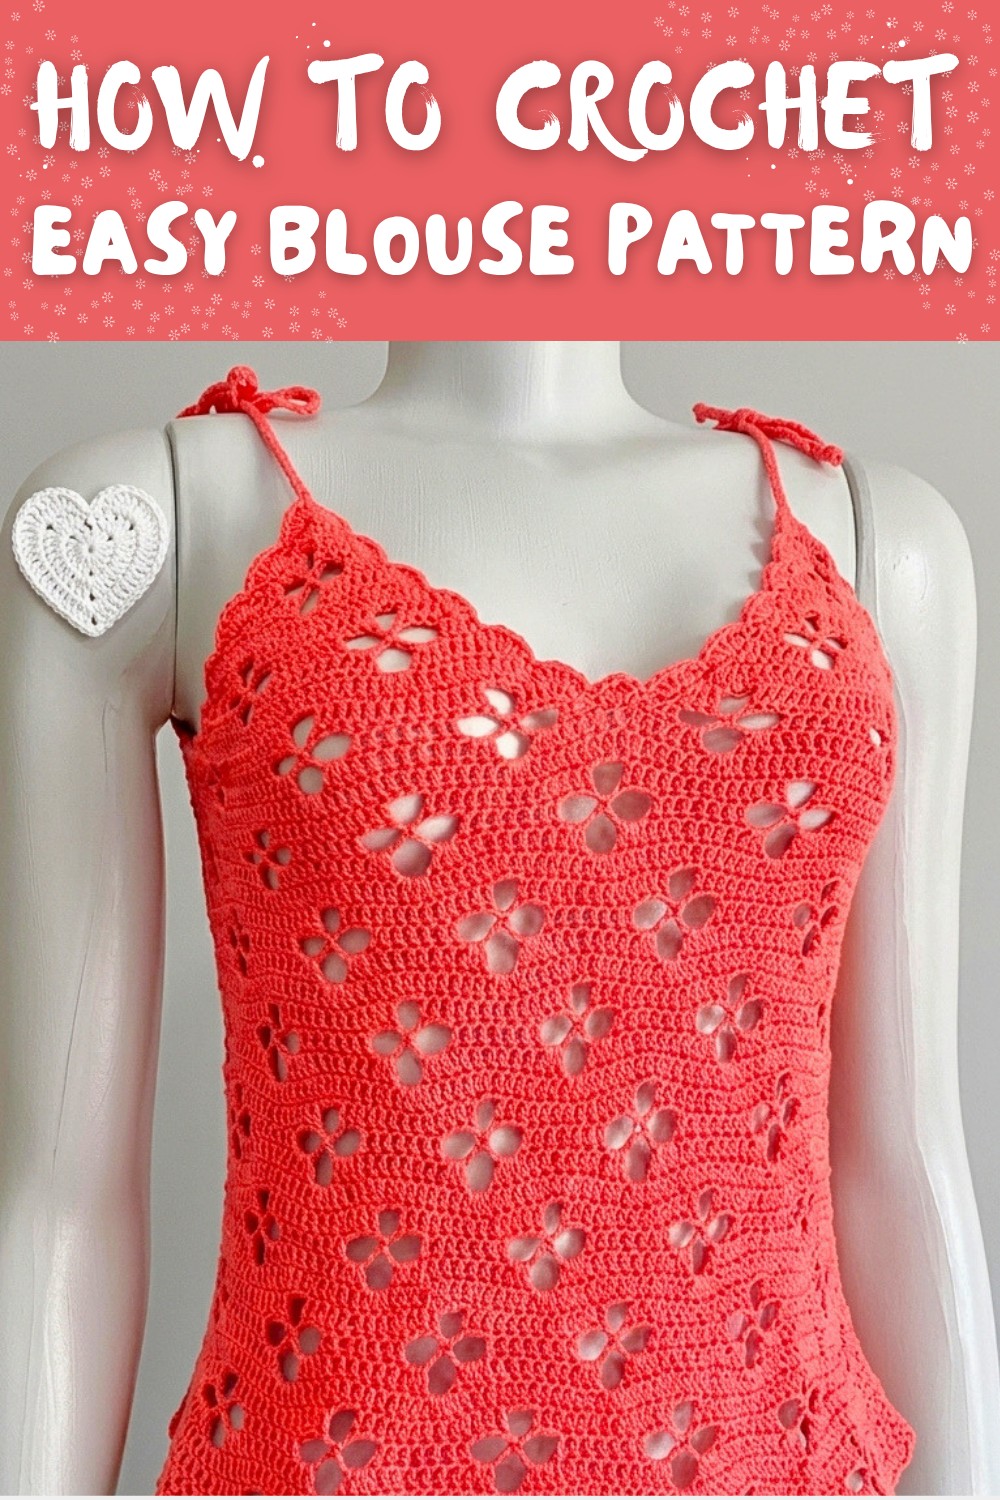
Bandana Stitch Blouse Pattern
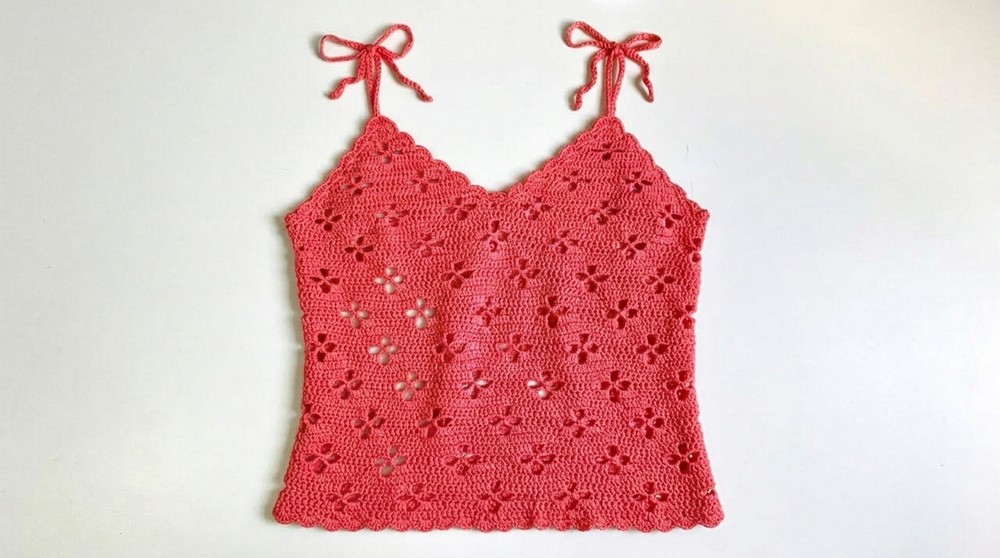
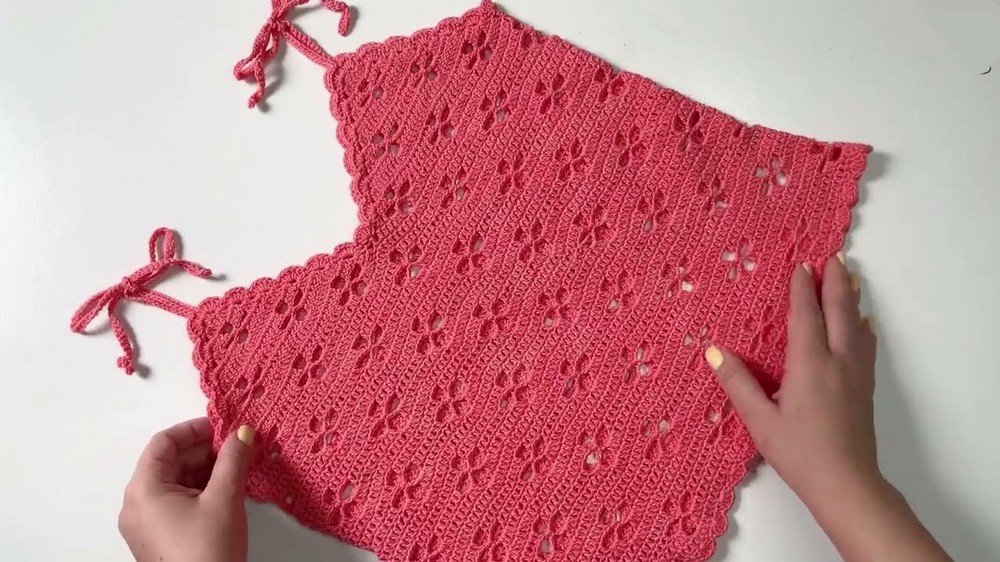
This contemporary blouse is inspired by delicate and geometric stitches typically found in handcrafted bandanas. The design results in a beautiful, airy fabric with intriguing shapes, and is versatile enough for a cropped top, standard blouse, or dress. It features a modular construction from four joined rectangular panels, with an optional adjustable strap. This pattern is graded for sizes XS to XL and supports adjustment for custom sizing, making it ideal for all crocheters seeking both wearable art and a rewarding stitch experience.
Pattern Notes
- This project consists of four identical crocheted panels, joined while working the final row of each.
- Rows are alternated between solid treble crochet and openwork bandana-inspired patterns, with shaping arising through stitch placement.
- Each panel is worked flat, then joined. The body is completed in the round.
- Upper and lower edges are finished with a five double-crochet cluster "shell" border.
- Any yarn thickness and appropriate hook may be used; adjust panels for custom measurements.
- The final row before joining must always be Pattern Row 2 for the motifs to align properly.
Skill Level
Advanced Beginner to Intermediate
Crocheters should know how to work magic rings, double crochet, single crochet, shell clusters, joining as-you-go, and measuring to size. Diagrams are not provided, so confidence in following detailed written instructions is required.
Materials
- 3-ply cotton yarn ("Linhas Corrente" or another similar yarn, adjust tex for sizing as per notes)
- Crochet hook: 1.75 mm (or according to chosen yarn)
- Scissors
- Measuring tape
- Tapestry needle
Measurements / Sizing
Recommended Sizing Guide:
- XS/S/M: 12 rows per panel
- L/XL: 16 rows per panel
To determine custom size:
- Measure bust circumference
- Subtract 10 cm for stretch and fit
- Divide result by 4
- Each finished panel width = (Bust - 10 cm) / 4
Example:
Bust: 90 cm ⇒ (90 - 10) ÷ 4 = 20 cm per panel
Finished panel height: 30 cm (for regular blouse; adjust as desired for cropped or dress)
Gauge
Gauge will vary based on your yarn and hook.
Suggested sample gauge: 12 dc = 5 cm
Main Stitch Pattern:
Alternating rows of solid double crochet and openwork with chain spaces and skipped stitches, explained in detail below.
Stitch Abbreviations
- ch: chain
- sc: single crochet
- dc: double crochet
- sl st: slip stitch
- sp: space
- st(s): stitch(es)
- rep: repeat
Special Stitches
Five dc Shell:
Work 5 dc in a single designated stitch.
Treble Crochet Group Together (3 dc in one stitch or space):
Work 1 dc three times in the same stitch or space.
Crochet Blouse Pattern
Row 2
- Ch 4, (counts as 1 dc + ch 1, always at row starts).
- In turning-ch space: 2 dc.
- 1 dc in each of the 3 dc from the previous row.
- In final turning-ch space: 2 dc, ch 1, 1 dc.
- Turn
Pattern Row 1
- Ch 4 (as before).
- 2 dc in base.
- 1 dc in each of the first 2 sts (the dc from the previous row).
- Ch 3, skip 3 sts, 1 dc in the 4th st, 1 dc in the next st.
- In the end-ch sp: 2 dc, ch 1, 1 dc.
- Turn.
Pattern Row 2
- Ch 4, 2 dc in base.
- 1 dc in next st.
- Ch 4, skip 3 sts, sc in the ch-3 space from previous row.
- Ch 4, skip 3 sts, 1 dc in last st.
- In end-ch sp: 2 dc, ch 1, 1 dc.
- Turn.
Pattern Row 3
- Ch 4, 2 dc in base.
- 1 dc in each of the next 3 sts.
- In first ch-4 space: 3 dc.
- Ch 3.
- In next ch-4 space: 3 dc.
- 1 dc in each of the last 3 sts.
- In end-ch sp: 2 dc, ch 1, 1 dc.
- Turn.
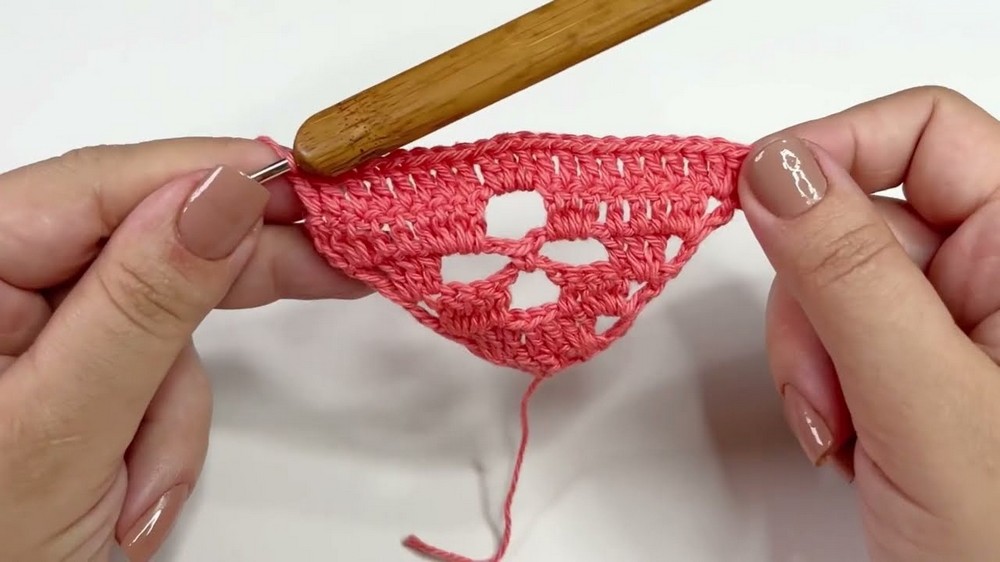
Solid Row
- Ch 4, 2 dc in base.
- 1 dc in every stitch across. When you reach ch-3 spaces, work 3 dc in each space.
- Continue to end of row.
- In end-ch sp: 2 dc, ch 1, 1 dc.
- Turn.
Repeat Pattern Rows as Desired
- Continue working rows, repeating Pattern Rows 1-3 and Solid Row in sequence, until the panel reaches your desired length or until you are ready for the joining stage.
(Tip: All panels must be identical.)
Phase 2: Joining the Pieces
- When you begin the final row for each piece, prepare to join them as you go.
- At the point where you would do a ch-3 (joining space), instead:
- Ch 3,
- Insert hook into the last stitch of the previously finished piece, make 1 sc to join,
- Ch 1,
- Continue with the row as established.
- Repeat this join for all four pieces to form a large tube.
(21:00-23:41)
Phase 3: Working in the Round
- With all four panels connected, join your yarn and begin working in rounds using the established pattern (the sequence of Pattern Rows and Solid Rows).
- Take care to keep the pattern consistent-work 13 stitches between each design motif ("13 stitches between each design").
- Continue to crochet in the round, repeating the pattern sequence, until your blouse reaches the desired length (recommended: about 30 cm from the first full joining row).
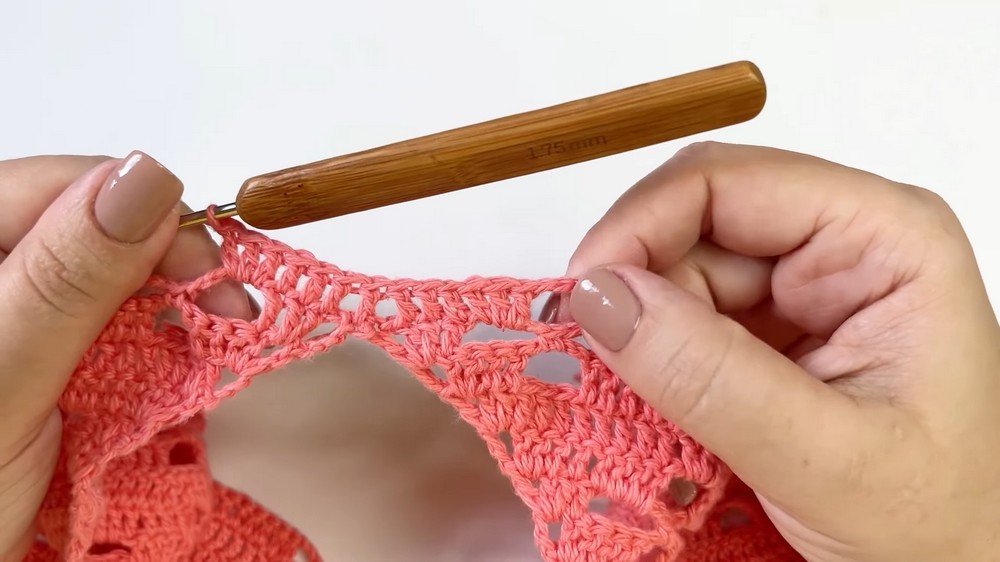
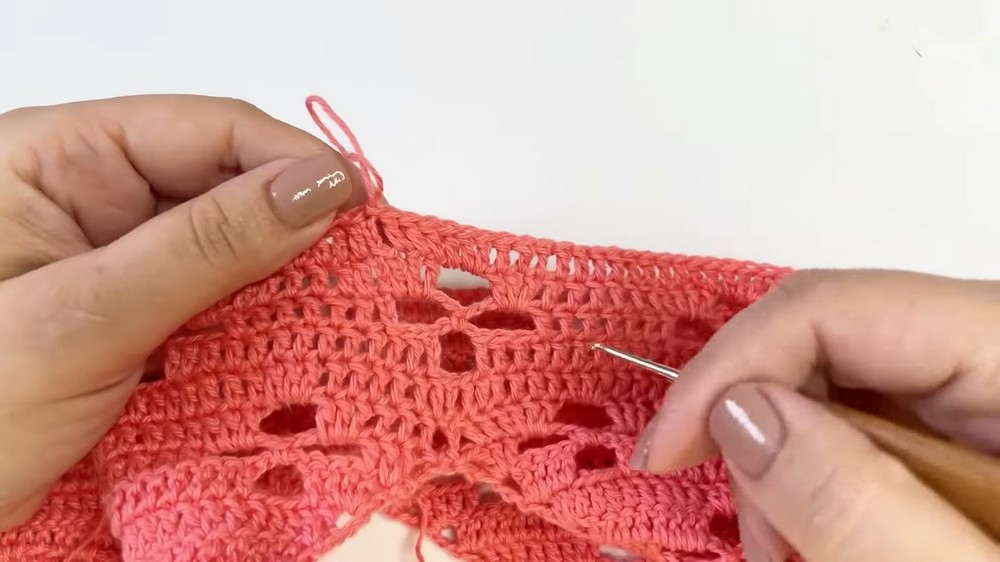
Phase 4: Finishing Touches
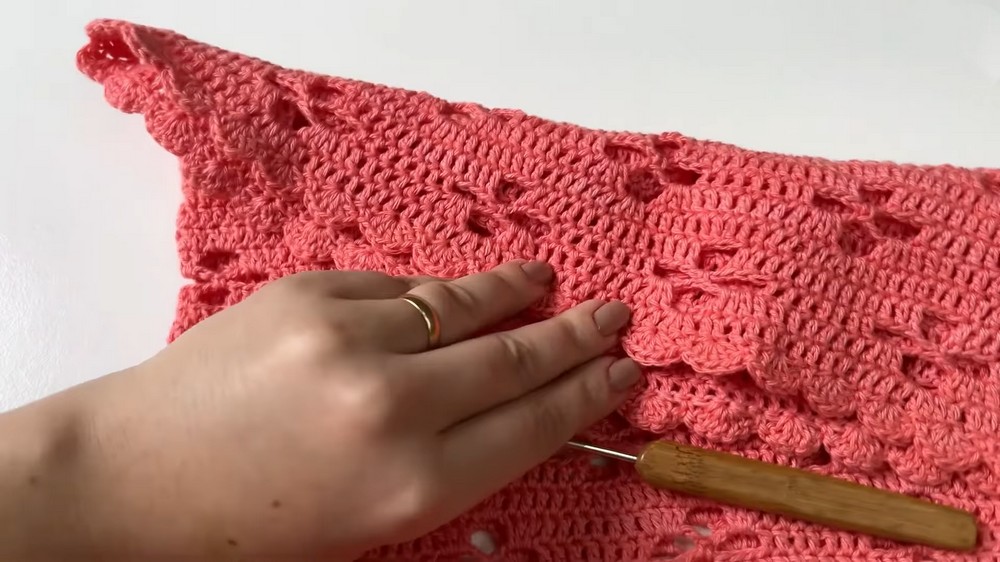
Hem (Cós)
- With right side facing, join yarn to hem edge.
- Ch 1, skip 1 st, 5 dc in next st, skip 1 st, 1 sc in next st, repeat from * around.
- Make the shell (5 dc) clusters all the way around. Join and fasten off.
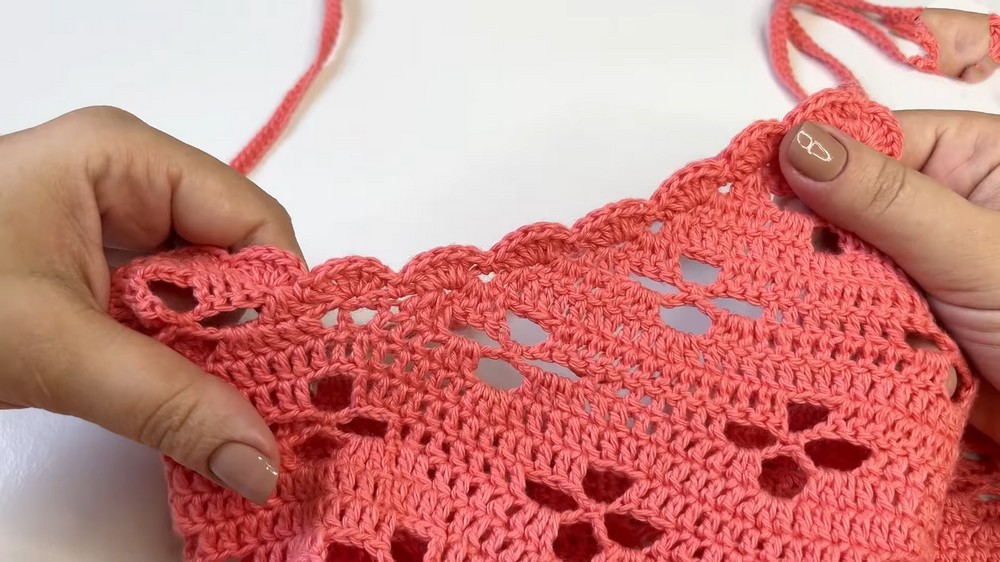
Neckline and Armholes
- Join yarn at one of the joining points of the tube (shoulder or underarm).
- Work clusters of 5 dc (shells) separated by single crochets along each edge (neckline and armholes).
- For both neck and armhole openings:
- 5 dc in 1 st, skip 1, 1 sc in next, repeat around.
- Join and fasten off.
Straps
- Attach yarn at a shoulder or desired strap starting point.
- Ch 70 (or number to fit your measurements).
- Work 1 sc in each ch back towards the panel.
- Fasten off; repeat for the other strap.
Finishing
- Weave in all loose yarn ends securely using a tapestry needle.
Tips for Customization
- Adjust the length of your panels and the rounds worked to customize blouse length, and fit.
- Vary the number of chains in the straps for a perfect fit.
- Use color changes or yarn texture for personalization.
Summary
The Bandana Stitch Blouse is a modular, multi-sized garment inspired by classic bandana patterns. With four joined panels and a decorative shell border, it adapts readily to bespoke sizing and styling. Its construction highlights both skillful stitch placement and simple, repetitive rows, making it accessible but visually dynamic. Whether as a cropped top, blouse, or dress-length piece, it offers immense flexibility and personal customization. Shape, length, and finish can be tuned to the wearer, and the unique pattern repetition invites both beginners and seasoned crocheters to experiment. When finished, this garment's geometry and texture will make it a standout feature in any wardrobe. Thank you for following this comprehensive pattern; may your new blouse bring you pride and joy!