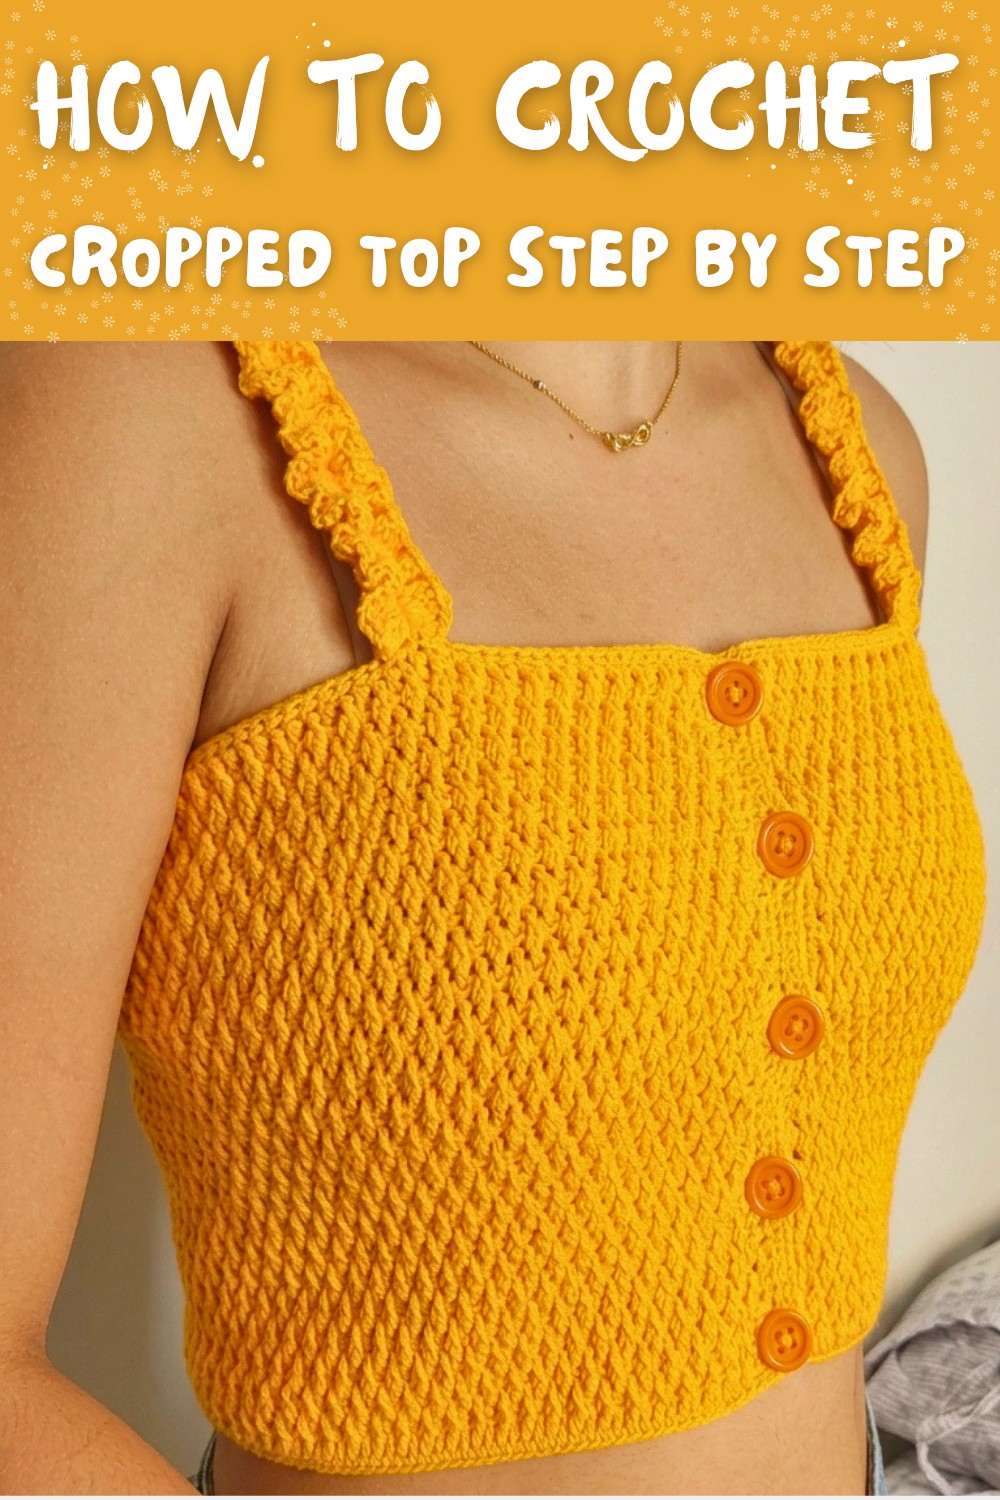
Free Crochet Cropped Top Pattern for Vacation Style
Enjoy making a stylish top with this Free Crochet Cropped Top Step By Step Pattern that is simple to follow and perfect for warm days, holidays, or casual outfits.
Looking for a fun and stylish crochet project? This free crochet cropped top step by step pattern is perfect for adding a handmade, wardrobe essential piece to your collection. Casual yet eye catching, this top offers a snug, flattering fit with thoughtful details that make it stand out. It is lightweight, breathable, and detailed enough to keep things interesting. The shape is simple, with a rectangular body worked flat, but the texture truly steals the spotlight. Using a combination of front post double crochet (FPdc) and regular double crochet stitches, the fabric achieves a structured, ribbed effect that feels both modern and practical.
Cute Free Crochet Cropped Top Pattern
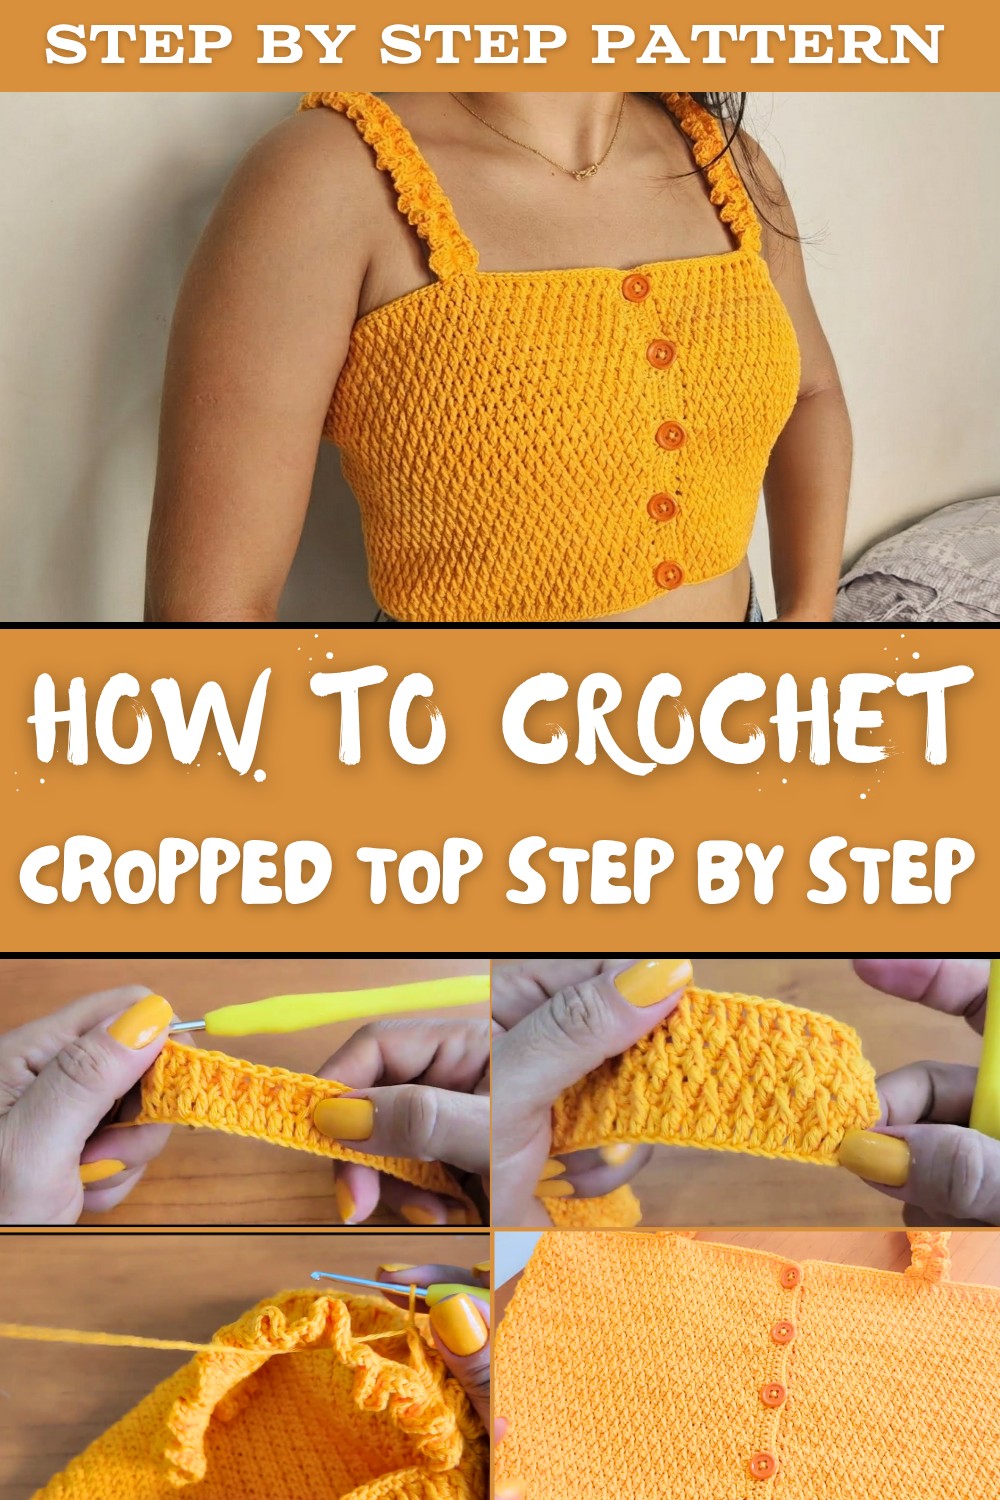
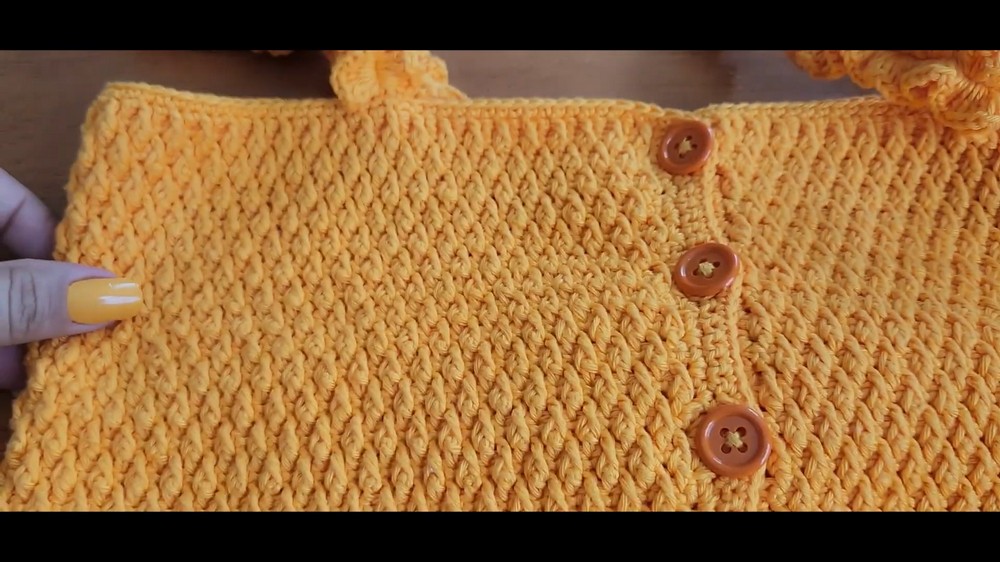
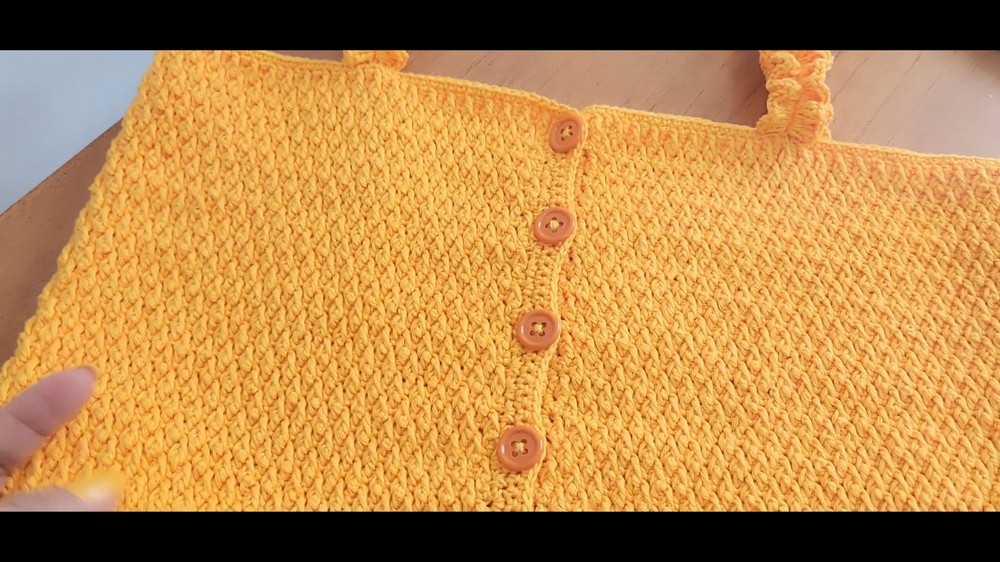
The straps are especially charming, featuring playful, cascading ruffles that add an elegant, feminine touch. With the functional button up closure, the top becomes a versatile garment, allowing you to style it in creative ways. Wear the buttons in the back for a classic, streamlined look or turn them to the front for a fun, casual vibe.
This project is ideal for anyone looking to try their hand at wearable crochet. The structured stitchwork and textured design make it enjoyable without overwhelming the maker. Adding the final touches, like buttons and clean borders, is satisfying and gives the piece a polished, professional finish. Whether paired with high waisted shorts for a relaxed summer outfit or layered over a dress for a more polished appearance, it is a garment that you will reach for time and time again.
With just a few skeins of lightweight yarn, a 2.5 mm crochet hook, and some time, you can bring this beautiful piece to life. It is a great combination of comfort, style, and texture, making it a fantastic project to add to your crochet collection.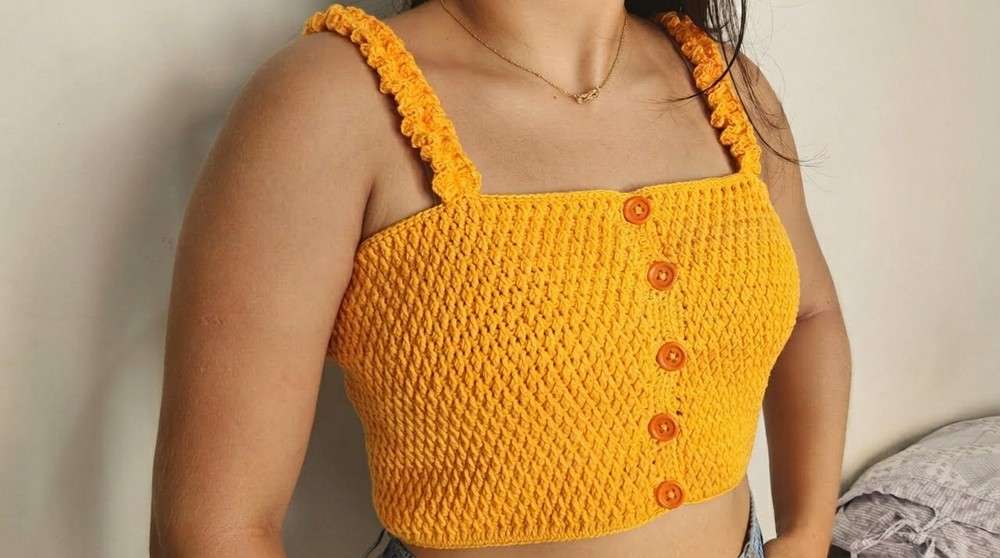
Button Up Cropped Top Crochet Pattern
Introduction
This crochet pattern walks you through creating a fitted, textured, button up cropped top with playful ruffled straps for a fun, stylish look. The top features a beautiful textured pattern using front post double crochet (FPDC) stitches and is designed to be both fashionable and functional with the button up design. Follow these instructions step by step to bring your handmade garment to life.
1. Materials Needed
Gather these materials to get started:
- Yarn: 2 skeins of Linha Charme (approx. 396m each per skein, 100% cotton, sport/DK weight).
- Hook: 2.5mm crochet hook (US C 2 or B 1 depending on brand).
- Extras:
- 5-6 small to medium sized buttons (approx. 15-20mm).
- Matching sewing thread and a sewing needle for attaching the buttons.
- Scissors.
- Stitch markers (optional, for strap positioning).
2. Foundation Chain
The top starts with a foundation chain. Make sure to use an odd number of chains to ensure the pattern works out evenly.
Suggested Chain Counts for Each Size:
- Size Small (P): 181 chains - fits approximately a 90 cm (34-35.5 inches) bust.
- Size Medium (M): 191 chains - fits approximately a 96 cm (36-38 inches) bust.
- Size Large (G): 201 chains - fits approximately a 102 cm (38.5-40 inches) bust.
Tip: Check the fit around the widest part of your bust before proceeding. The top has some natural stretch due to the stitches.
3. Main Body Pattern
This part creates the main body of the top, which is worked flat in rows (starting from the foundation chain) until you reach the desired length.
Step by Step Instructions for the Main Body:
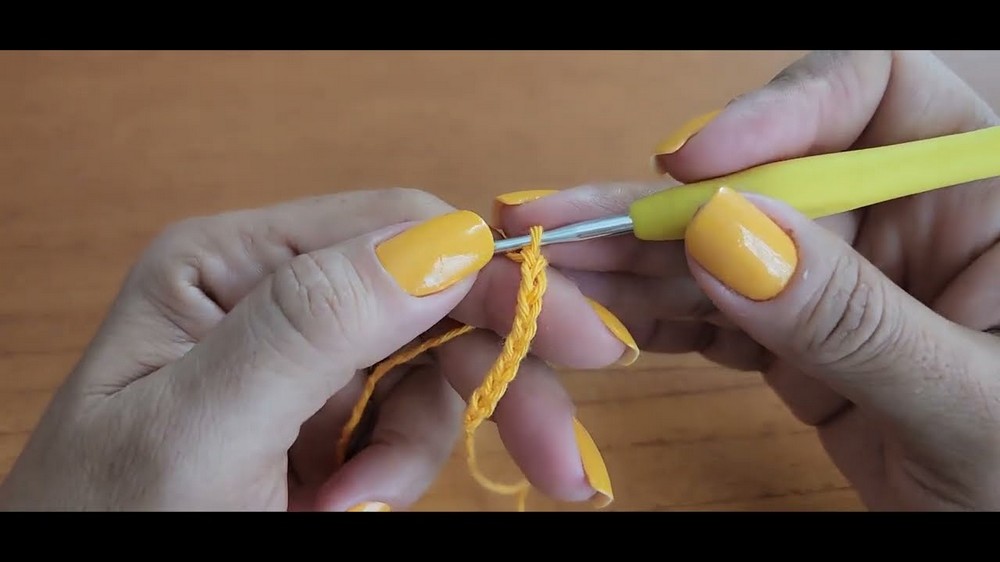
Base Row (Row 1 - RS):
- Starting from the 2nd chain from the hook, work 1 double crochet (DC) into each chain across.
- You will have the same number of stitches as your foundation chain (e.g., 181 stitches for size Small).
- Turn your work.
Row 2 (WS):
- Work 1 single crochet (SC) in each double crochet (DC) from the previous row, beginning with the first stitch.
- This creates a neat base for the next textured row.
- Turn your work.
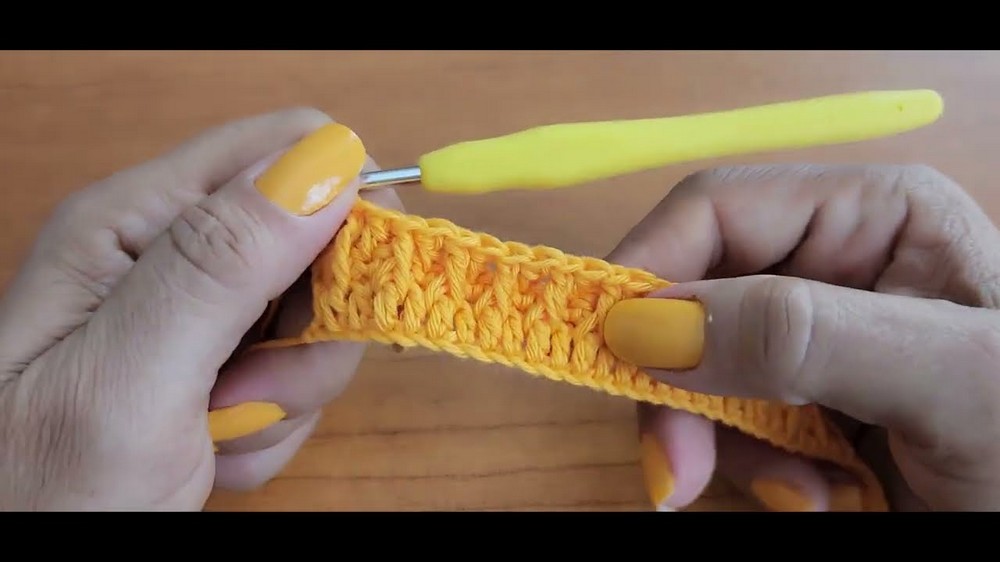
Row 3 (RS - Pattern Row):
- Ch 2 to begin (counts as your first DC).
- Skip the first stitch.
- Start the texture pattern:
- FPDC (Front Post Double Crochet) around the post of the 2nd DC from Row 1.
- 1 DC into the next SC of Row 2.
- Alternate these two stitches (FPDC, DC) across the row.
- End the row with a regular DC in the last stitch.
- Turn your work.
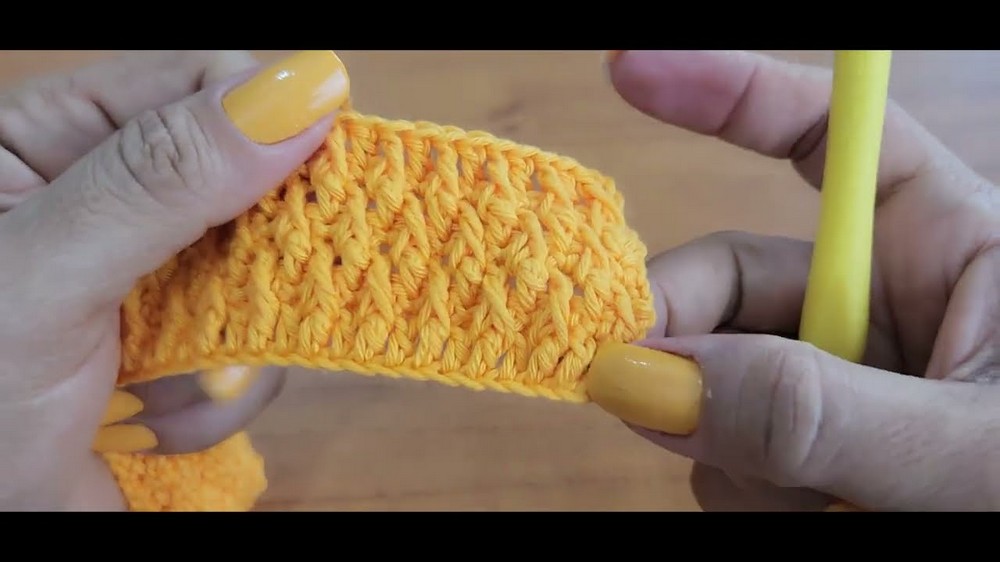
Row 4 (WS):
- Work 1 SC in each stitch across the row.
- This row flattens out the texture and prepares for the offset pattern row.
Row 5 (RS - Offset Row):
- Ch 2 to begin (counts as your first DC).
- Start the offset pattern:
- 1 DC into the next SC from the previous row.
- Then, FPDC around the next DC (hidden/normal DC from Row 3).
- Alternate these two stitches (DC, FPDC) across the row to create the offset texture.
- End the row with 1 DC into the turning chain.
- Turn your work.
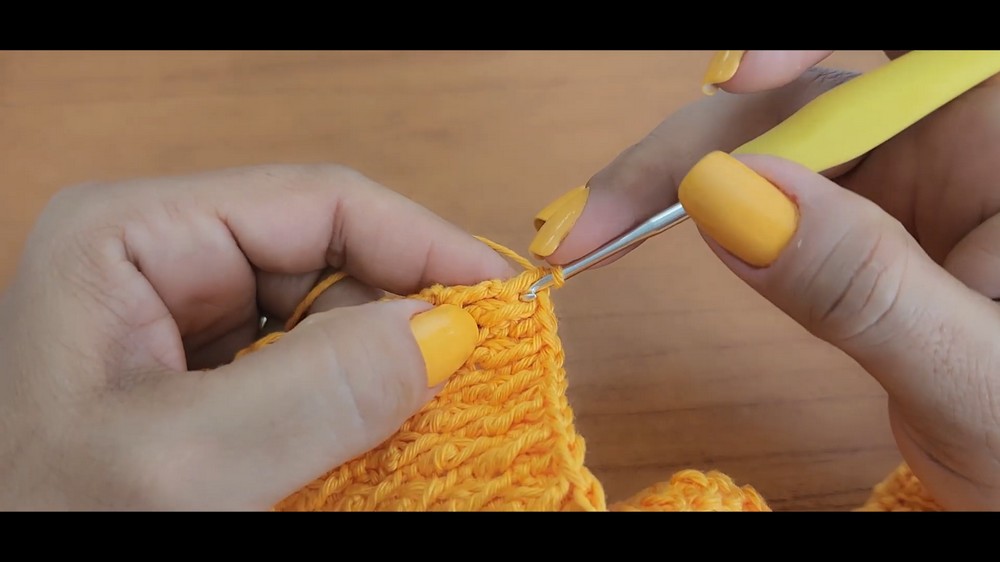
Repeat Rows 3-6
- Alternate these pattern rows (Rows 3 through 6) until the top reaches your desired height.
- For Size Small (P), continue until the fabric measures approximately 22-23 cm (around 8.5-9 inches), finishing on a textured row (Row 3 or Row 5).
4. Button Placket
The button placket is created along the vertical side edges of the body.
Step by Step Instructions:
Side A: Button Sewing Band (Left Side)
- Attach yarn to one vertical edge at the bottom corner.
- Work along the side post spaces of the DC rows:
- For each DC row end, work 2 SC stitches.
- For each SC row end, skip.
- Continue along the entire edge.
- At the top, turn and work 2 additional rows of SC to finish the border cleanly.
- Fasten off and weave in ends.
Side B: Buttonhole Band (Right Side)
- Attach yarn to the opposite vertical edge.
- Repeat the same process to work 2 SC into each DC row end and skip SC rows to match Side A.
- To create buttonholes:
- Start a SC row by working SC across to desired location of buttonhole.
- For a buttonhole, Ch 4 and skip 4 stitches, then continue working SC.
- Maintain consistent buttonhole spacing. For example:
- Skip 7 SC between buttonholes, total of 5 buttonholes across the edge.
- Finish the row with 1 SC.
- Return with 1 final row of SC, working 4 SC into each Ch 4 buttonhole loop.
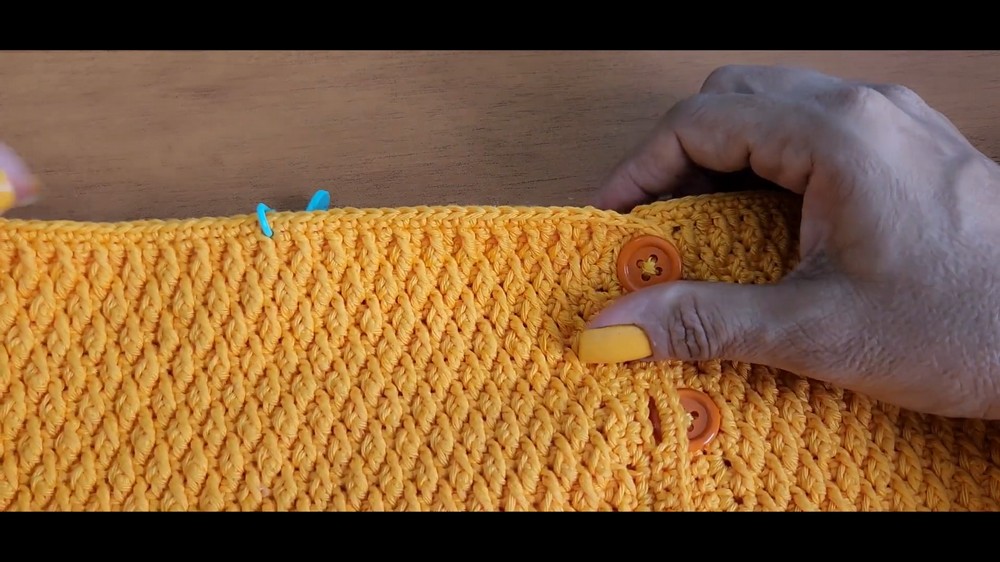
5. Straps & Ruffles
Step by Step Instructions for Straps:
- Positioning:
- Lay the top flat and mark strap positions.
- Count 10 sts inward from the outer edges. Mark this as the front strap starting point.
- Mark the back strap attachment point by counting 22 sts from the front marker inward.
- Strap Base:
- Attach yarn at the strap starting point.
- Work a basic 2 stitch mesh pattern:
- Ch 3 (counts as 1st DC), then DC into the next stitch.
- Repeat for 25 rows to create a strap measuring approximately 30cm (11.8 inches).
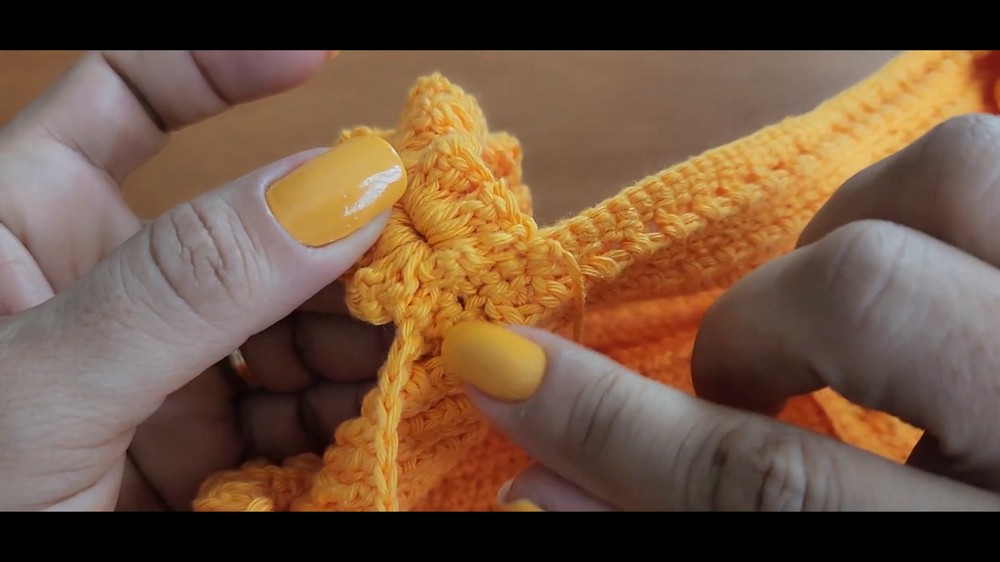
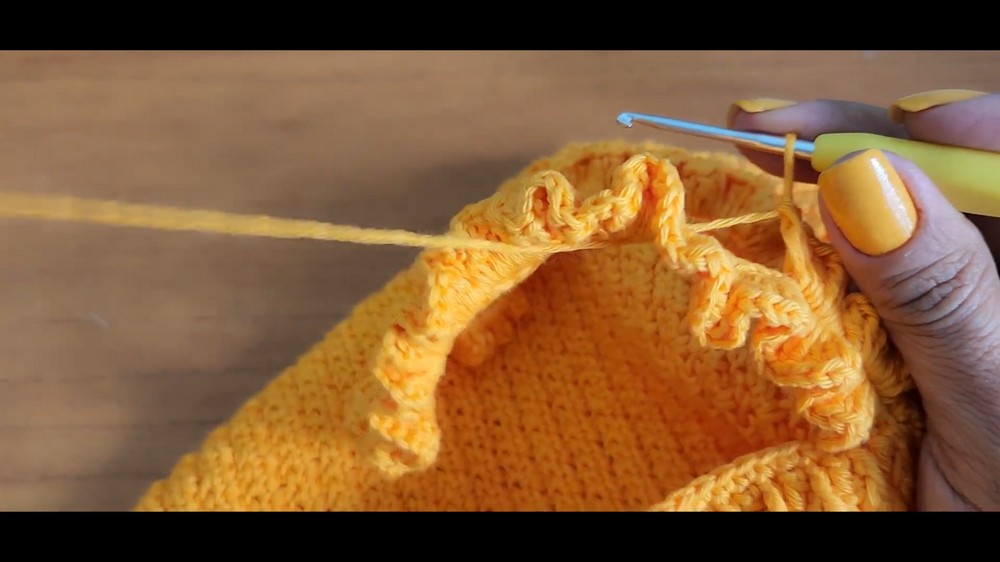
Step by Step Instructions for Ruffles (Fru fru):
- With the strap complete, turn it sideways to work into the side spaces:
- Work 10 DC into each post space along the strap edge to create a dense ruffle.
- At the strap base, sl st into the body stitches and turn.
- Repeat along the opposite side of the strap to create a double sided ruffle.
- Fasten off, weave in ends, and repeat for the other strap.
6. Final Assembly
- Sew Buttons: Attach buttons to the button sewing band, aligning with the buttonholes.
- Finishing Touches: Weave in all loose ends securely with a tapestry needle for a clean finish.
Finished Dimensions for Size Small (P):
- Bust Circumference: Fits ~90 cm (34-35.5 inches).
- Body Length: Approx. 22-23 cm (8.5-9 inches).
- Strap Length: 30 cm (11.8 inches).
Conclusion
Congratulations, Your fitted, button up textured crop top is now complete. The playful ruffle details and elegant, fitted design make it perfect for casual or statement looks.