
Free Crochet Wave Stitch Dress Pattern That Turns Heads
Stitch your own summer-ready style with this FREE Crochet Wave Stitch Dress Pattern, perfect for beginners seeking fun, breezy, and stylish flair.
A warm afternoon calls for something light, airy, and effortlessly chic to wear for a stroll, a coffee date, or a casual outing. The Free Crochet Wave Stitch Dress pattern sits perfectly at the center of attention, featuring soft cotton or linen yarn and flowing wave stitches that give movement and texture to the dress. Perfect for layering over a simple top or pairing with strappy sandals, it suits both relaxed days and informal gatherings.
Fun Free Crochet Wave Stitch Dress Pattern You'll Adore
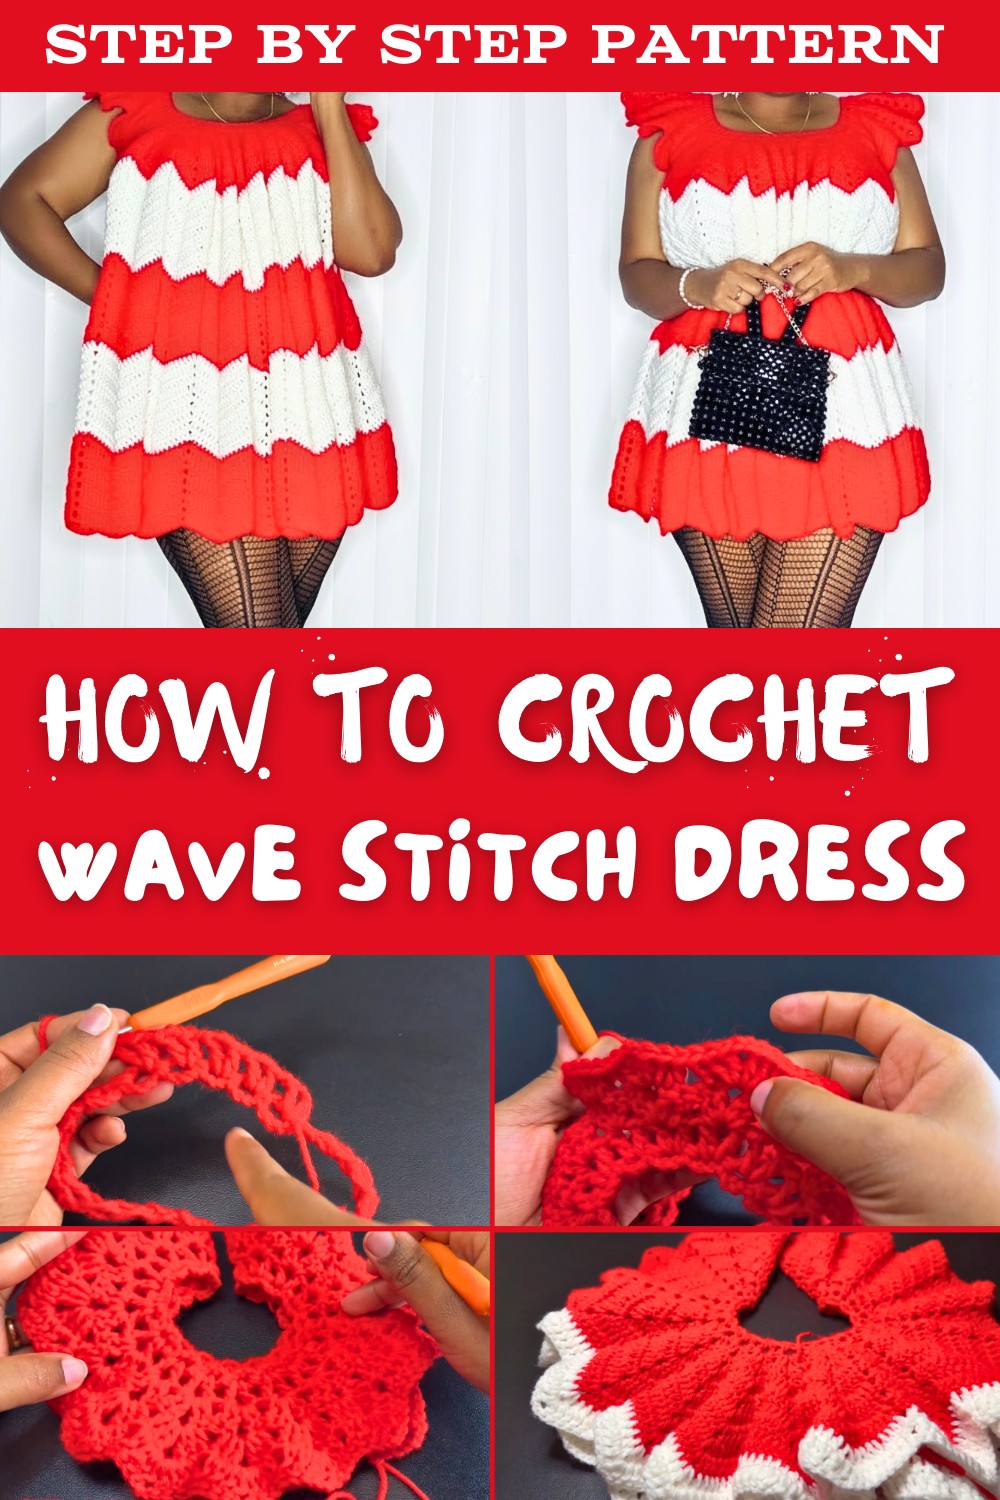
Wearing this dress not only provides comfort but also highlights your personal touch and attention to detail. Its flattering fit, breathable fabric, and elegant waves make it ideal for summer days, beach walks, or weekend get-togethers, while working on it sharpens your crochet skills and leaves you with a versatile piece that stands out in any casual wardrobe.
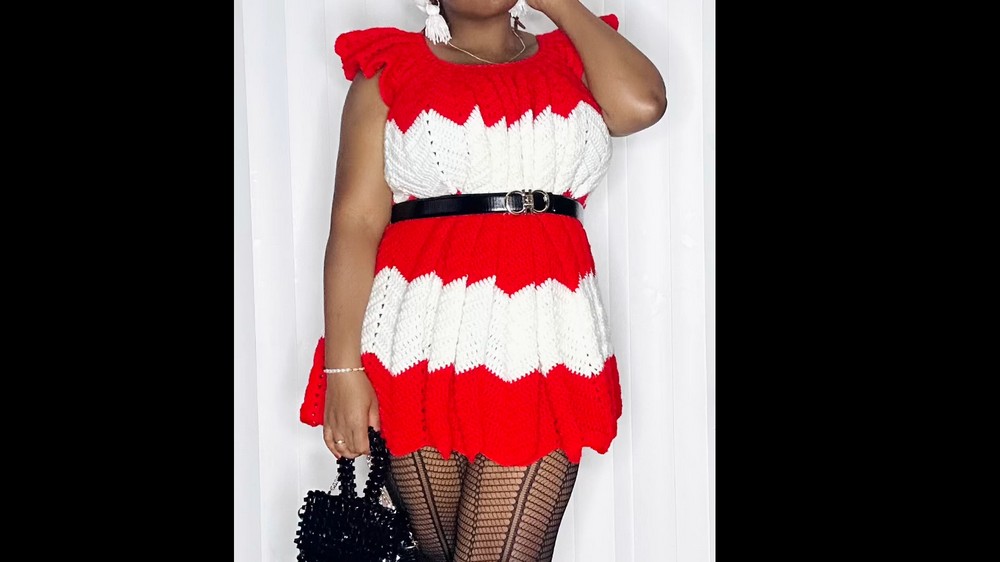
Crochet Wave Stitch Dress Pattern
Materials
- Yarn:
- Medium Weight (Category 4) Acrylic Yarn.
- Suggested Brand: Big Twist Acrylic Yarn.
- You will need at least 2-3 skeins (Exact amount depends on dress length).
- Medium Weight (Category 4) Acrylic Yarn.
- Hook Size:
- 5.0 mm or 5.5 mm crochet hook (use 5.5 mm for a looser stitch).
- Additional Tools:
- Yarn needle (for weaving in ends).
- Stitch markers (2 pieces; for marking armholes).
- Scissors.
- Measuring tape (to customize).
Skill Level
Intermediate - Basic familiarity with double crochet, chain spaces, skipping stitches, and rounds will be required.
Key Abbreviations (US Terminology)
- ch: Chain
- st(s): Stitch(es)
- dc: Double Crochet
- sl st: Slip Stitch
- yo: Yarn Over
Special Notes
- Turning Every Round: Work the project in joined rounds. Turn your work at the end of each round to create a consistent and structured wave pattern.
- Customizing Fit: To make the dress longer or shorter, simply add or reduce the number of rows in the bottom section. Similarly, for wider sleeves, increase the loop count at the start.
- Color Customization: Switch colors at the beginning of a new row or between yarn skeins for a vibrant, striped effect.
Pattern Instructions
Wave Stitch Yoke (Neckline)
Foundation Chain (Loops):
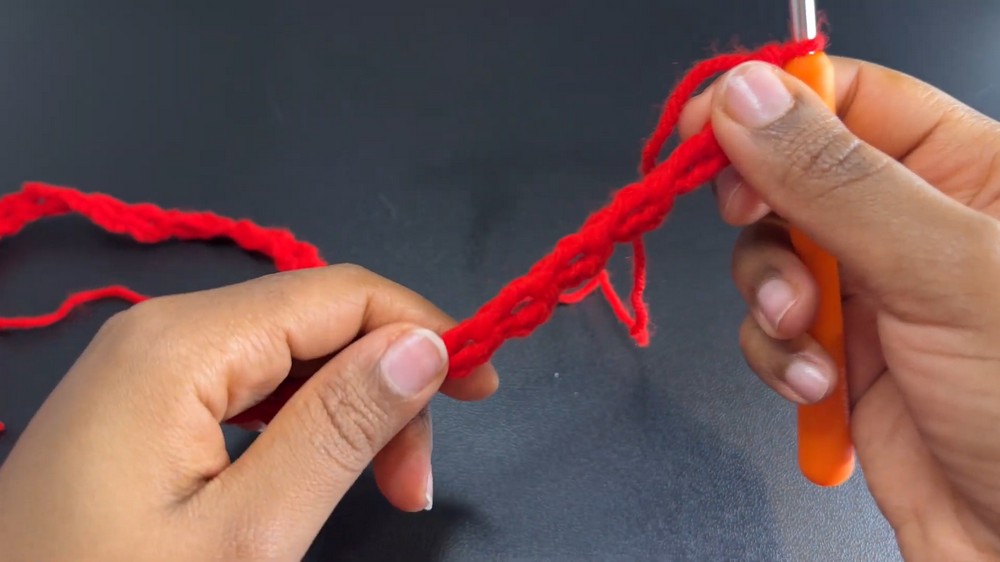
- Begin with a slip knot, and chain 4.
- Yo, and insert your hook into the 4th chain from the hook to create a dc, forming the first loop.
- Chain 3, yo, and make a dc in the same dc loop from before, forming your second loop.
- Repeat this pattern of Ch 3, dc in same loop until the chain creates a loose, flowy yoke that fits over your head comfortably.
- For reference: 38 loops were used for the demonstration.
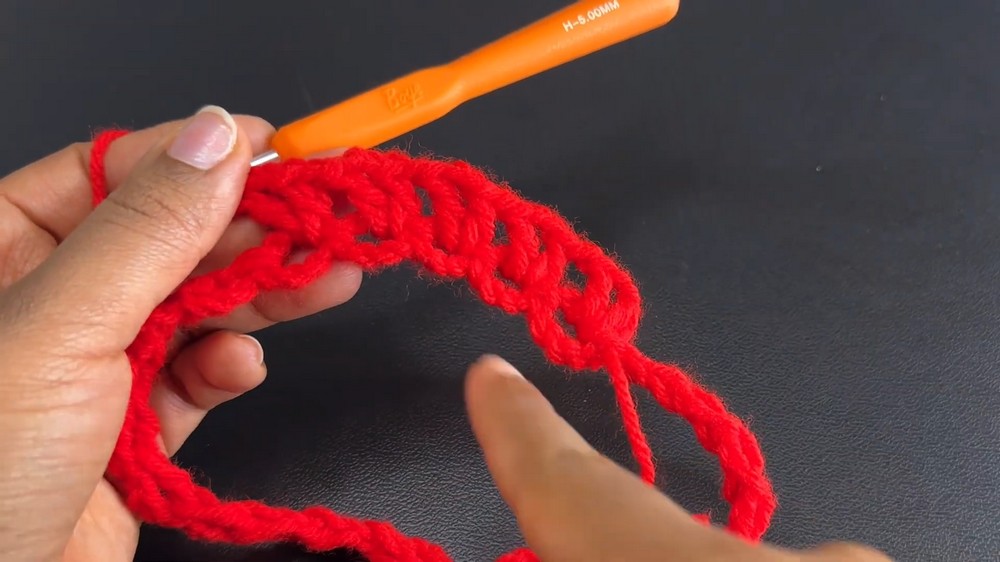
Row 1: Forming the Wave Pattern
- Ensure that the loops are untwisted. Join the loops into a round with a sl st in the first loop.
- Turn your work so that the double crochets are on top and the chains fall below.
- Chain 2 (does not count as a stitch).
- In the same loop, make:
- 1 dc, ch 2, 1 dc (V-stitch).
- Ch 1, and in the next loop, make:
- 1 dc, ch 2, 1 dc (V-stitch) again.
- Continue around, working V-stitches with 1-ch spaces in each loop.
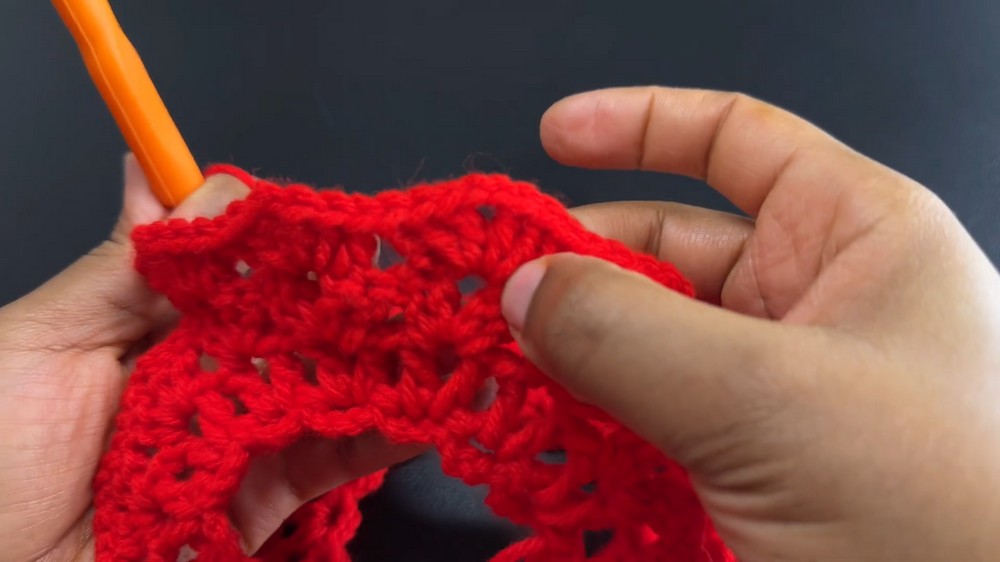
Join: Finish the round by joining to the top of the first dc with a sl st.
Row 2: Forming Shells
- Slip stitch into the next ch-2 space (center of the V-stitch).
- Ch 2, and in the same space, work:
- 2 dc.
- In each ch-2 space of the previous row, create a shell:
- 2 dc, ch 2, 2 dc in the same space.
- Repeat this shell pattern around. Skip the ch-1 spaces between the V-stitches from the previous row.
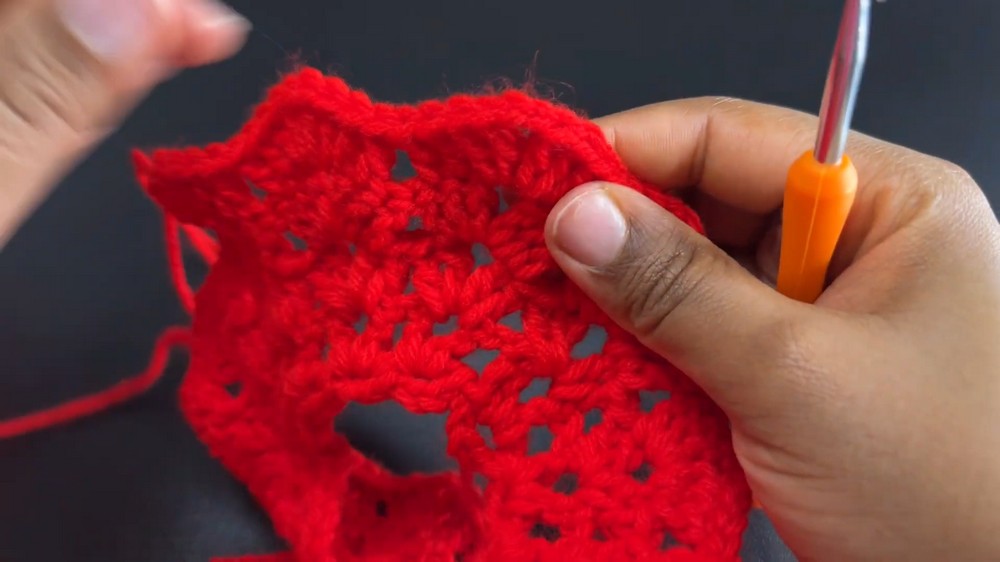
Join: Secure each round with a sl st into the first dc.
Row 3: Adding Double Crochets in the Pattern
- Turn your work at the end of the previous row. Slip stitch into the ch-2 space of the first shell.
- Ch 2, and make:
- 2 dc in the same ch-2 space (start of the shell).
- Dc into the next adjacent stitch of the shell.
- Skip 2 stitches, and dc into the 3rd stitch. Continue the row as follows:
- Shell: Work 2 dc, ch 2, 2 dc in the ch-2 spaces.
- Double Crochet: Place 1 dc in the next stitch before and after every shell to extend the wave pattern horizontally.
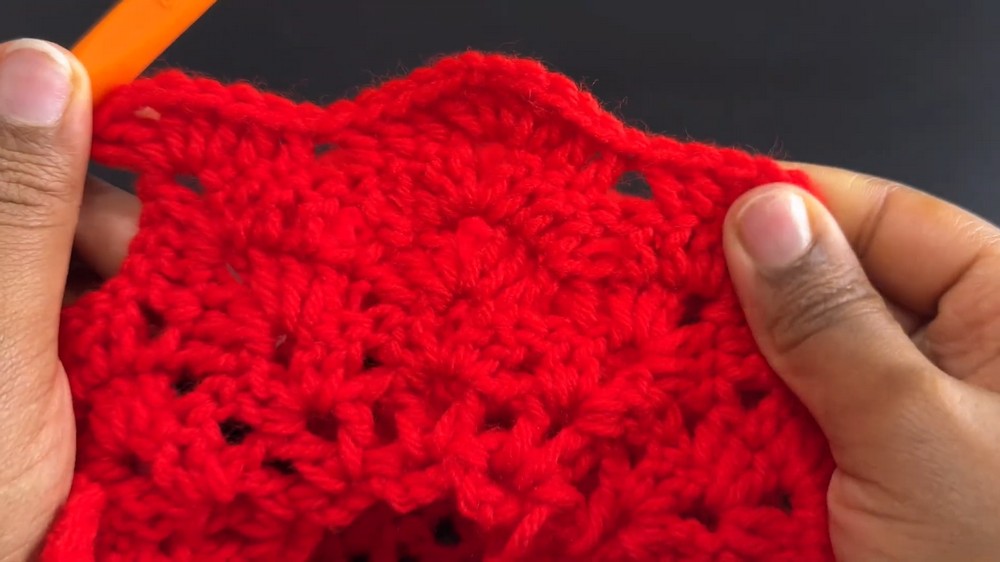
Join: End the row with a sl st into the first dc.
Rows 4-9: Expanding the Yoke
- Repeat Row 3, adding more dc stitches between the shells as follows:
- Row 4: Add 1 dc before and after each shell.
- Row 5: Add 2 dc before and after each shell.
- Row 6: Add 3 dc, and so on.
- Continue until there are 9 rows in total, with shells and skipped sections creating enough space for armholes.
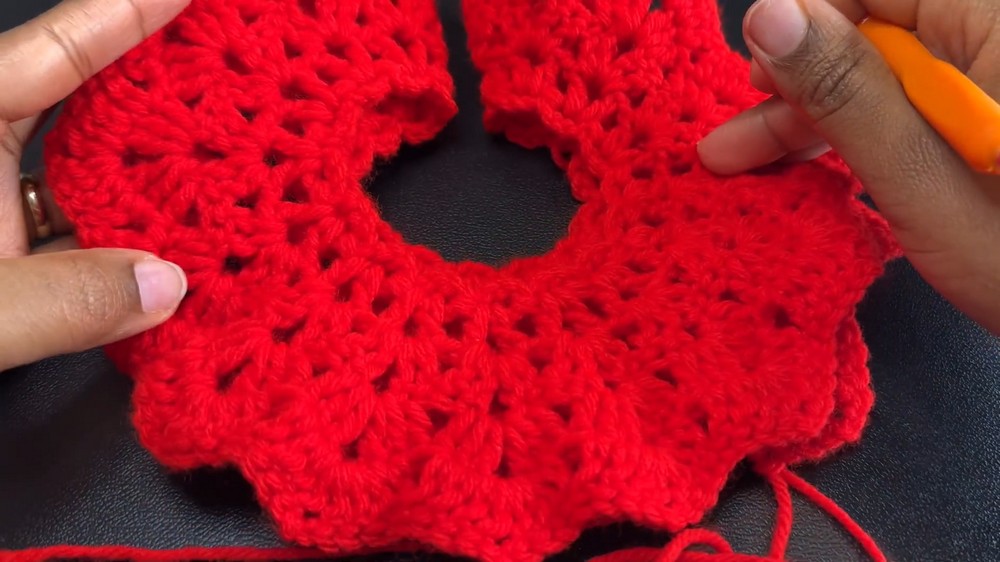
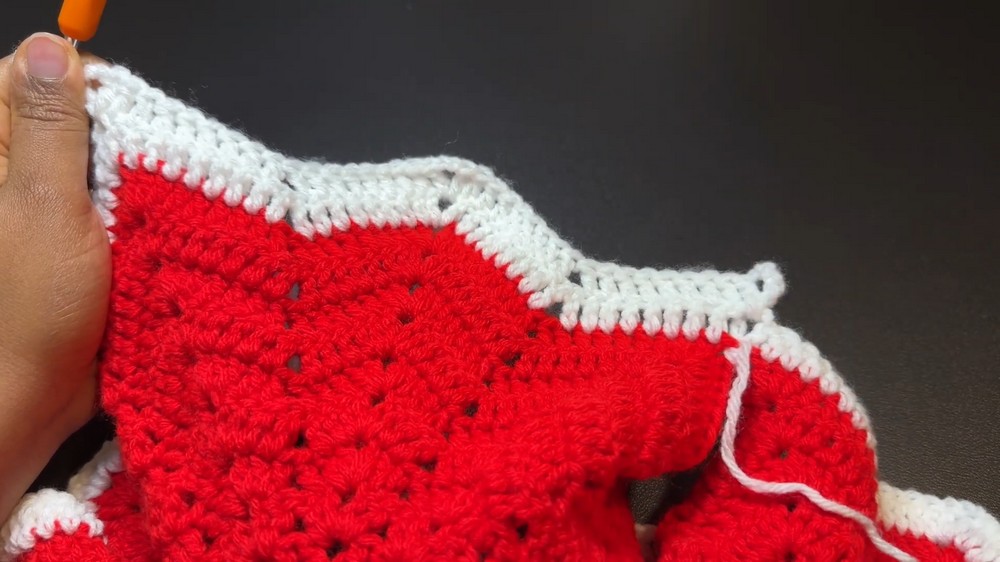
Tip: Ensure an even number of shells and spaced double crochets before splitting for the armholes.
Dividing for Sleeves
- Place stitch markers to designate armhole spaces. For reference:
- Count 5 shells per sleeve.
- Once markers are placed, stop working in the round. Work from the first stitch marker to the next, leaving the armhole spaces unworked.
Body of the Dress
Continuing the Wave Stitch Pattern:
- Attach your yarn at one stitch marker and begin the wave stitch body pattern.
- Rows will consist of:
- Shells (2 dc, ch 2, 2 dc).
- Double Crochets in skipped spaces between shells.
No increases are made moving forward. Maintain the number of stitches evenly for the entire length of the body.
Length
- Continue rows until the dress reaches your desired length.
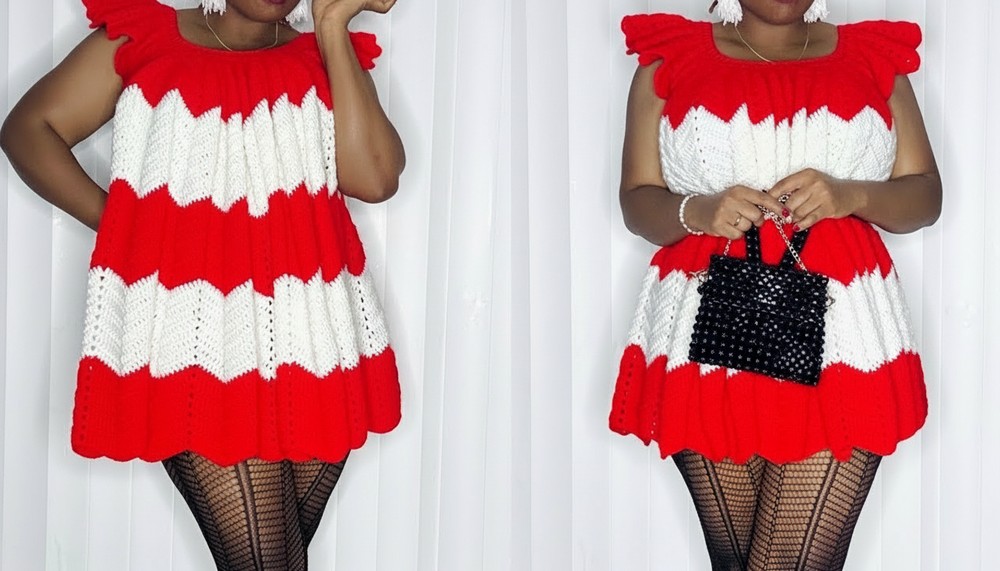
- For the demonstration: The dress was worked for 45 total rounds to reach above-knee length.
Finishing
- Weave in Ends: Securely weave in all loose yarn ends with a yarn needle.
- Blocking: Lightly block the dress to smooth the stitches and even out the edges.
- Optional Sleeves: If desired, add sleeves to the armhole openings by extending the wave stitch pattern with additional rows.
Conclusion
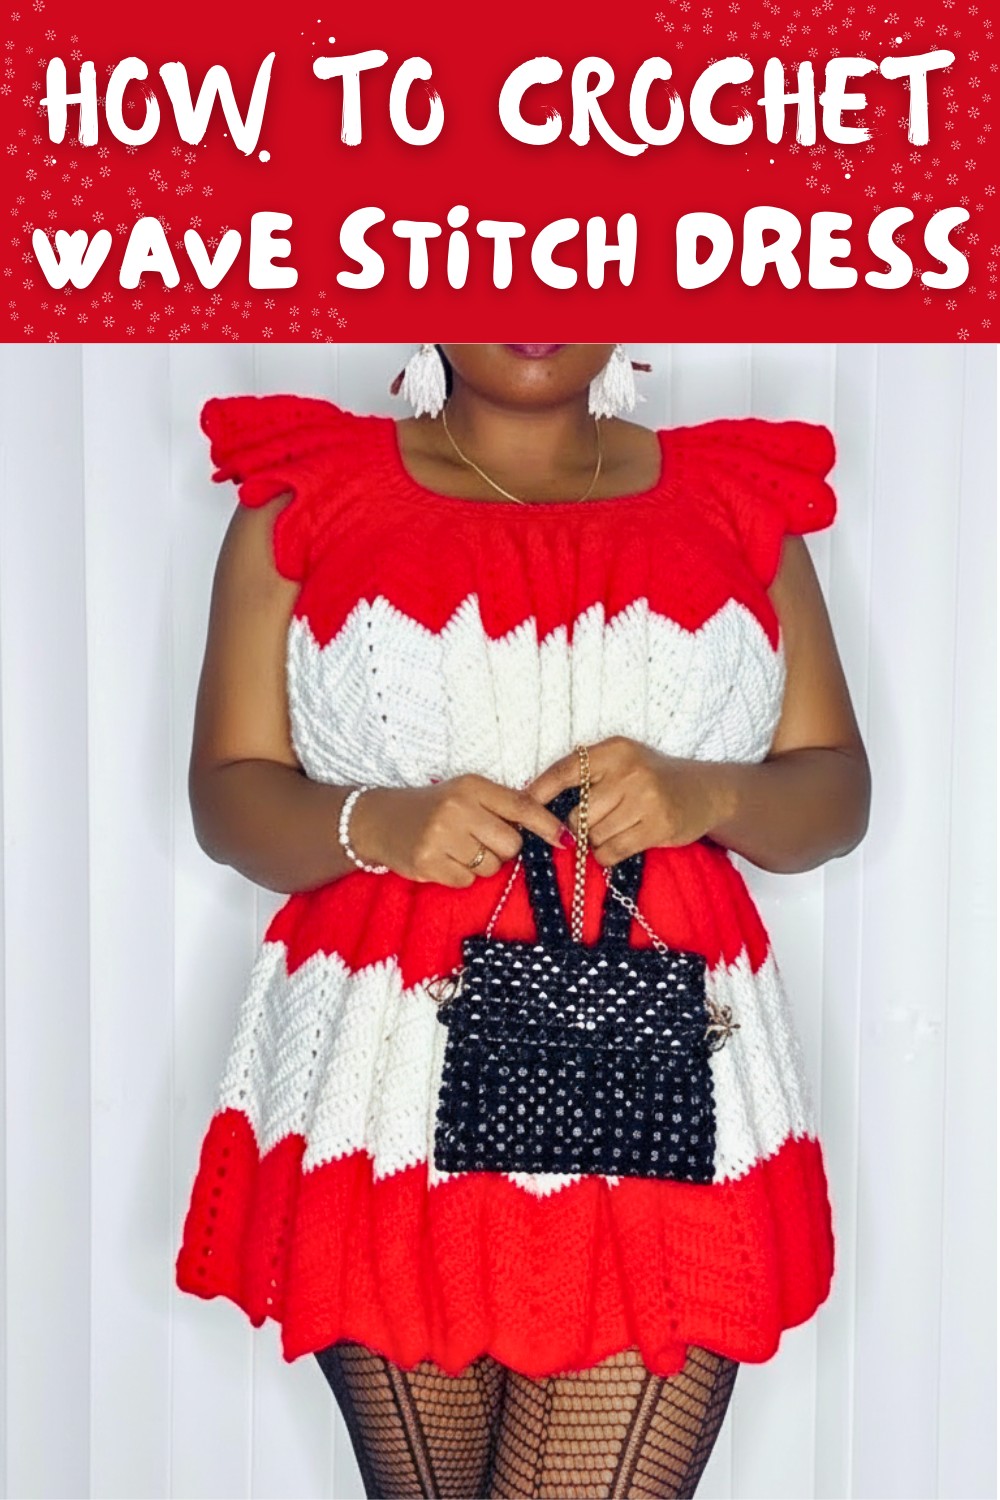
Your Wave Stitch Dress is complete! This versatile, flowy dress is perfect for summer, casual wear, or accessorized for semi-formal occasions. Its custom fit and gradient style (if using ombre yarn) make it a timeless piece.
Pattern Corrections
- Ensure the foundation chain loops are untwisted to avoid warping the neckline.
- When skipping stitches, confirm you have the correct stitch count before and after shells to maintain symmetry.
Tips
- Thread Care: Use smoother yarns for a polished look; avoid yarn that splits easily.
- Stripe Design: Alternate colors every 2-3 rows for defined, clean stripes.
- Gauge Check: Ensure foundation loops fit comfortably over the head before continuing the pattern.