
Free Crochet Bottle Cover Pattern to Add Style
Bring your bottles to life with this free crochet pattern for a cute and exciting cover, great for carrying around or showing off to your friends.
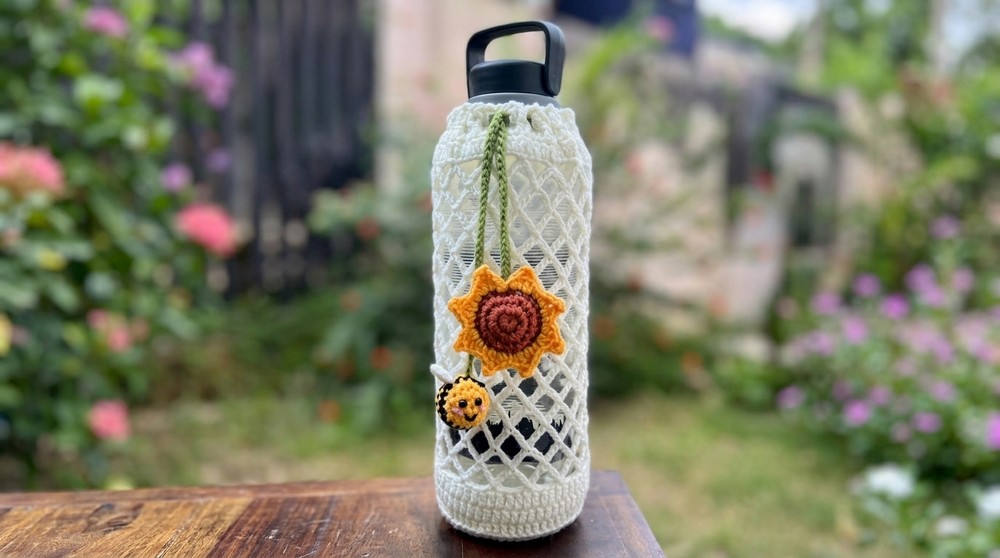
A crochet bottle cover can be a wonderful project for those looking to add practicality and charm to everyday items. This useful bottle cover is an amazing combination of functionality and style. Its solid base offers stability while maintaining a neat texture, and the breathable mesh body introduces an airy and decorative element. The structured top rim, complemented by a reverse single crochet edge, finishes the piece with an elegant touch. The standout detail of this bottle cover is its decorative drawstring closure, which secures your bottle and allows for the easy addition of personal embellishments. Optional charms, such as a sunflower or honeybee, bring character and a playful twist to the pattern, making it both practical for daily use and a statement piece.
Quick and Fun Free Crochet Bottle Cover Pattern to Create
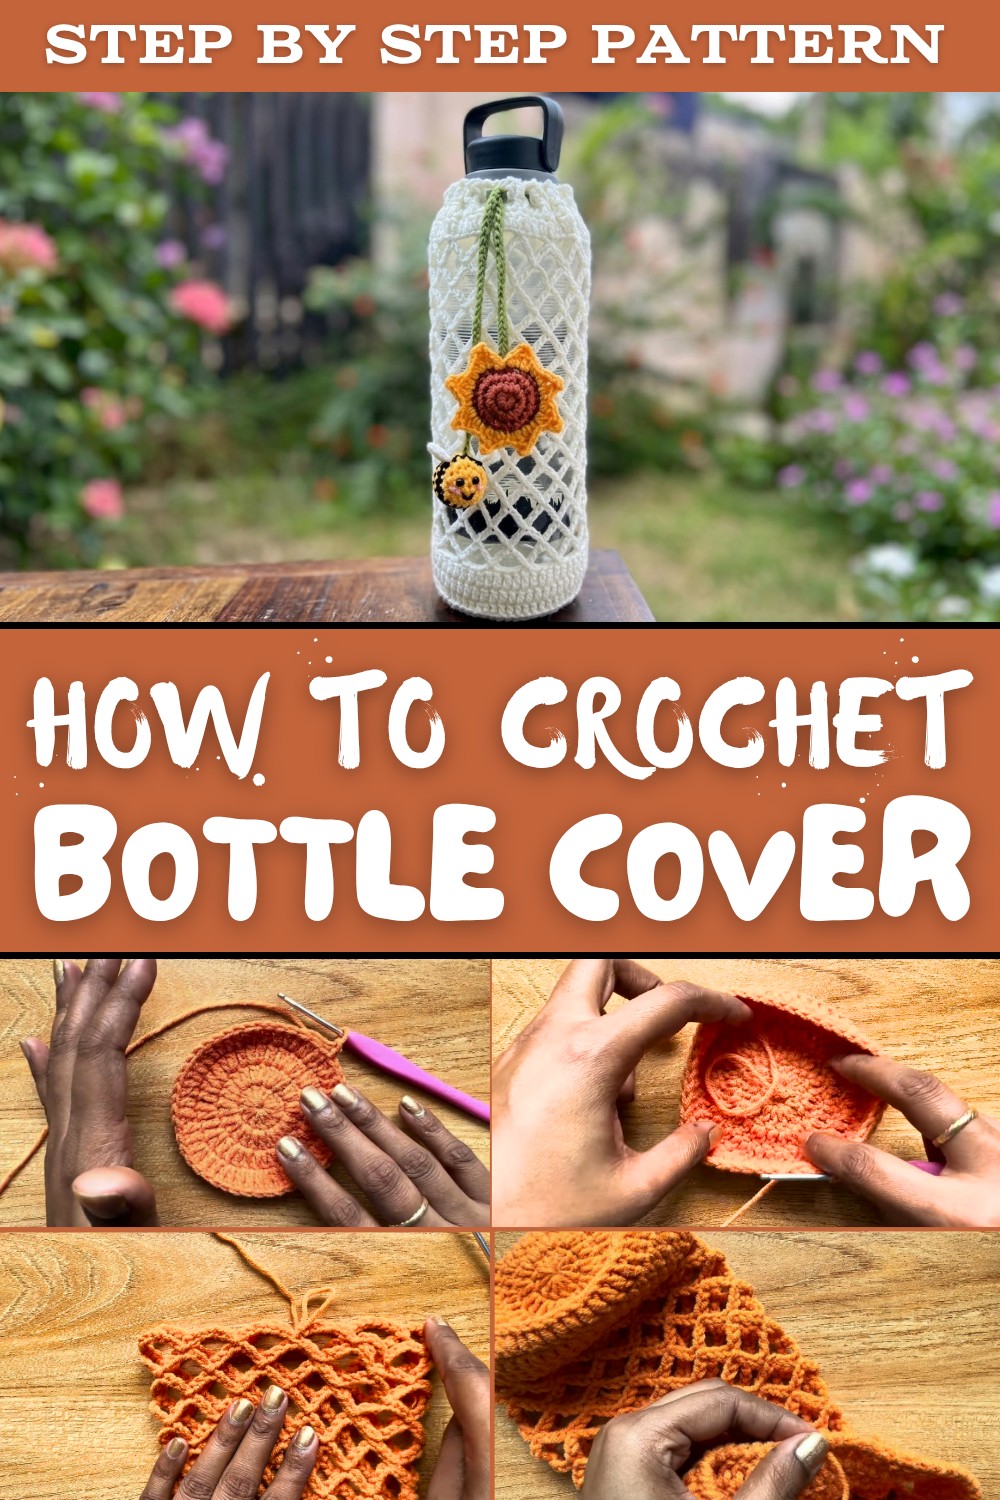
With easy adjustments for size, this bottle holder suits a range of bottle heights and widths, typically accommodating standard 500 ml to 750 ml sizes. Its construction involves working in the round, starting from the flat circular base upward. Beginners and advanced crocheters alike will enjoy the opportunity to practice stitches such as back post double crochet and crab stitch, as these techniques add texture and stretch to the finished piece.
This project is perfect for gifting or personal use, offering something handmade and practical for occasions like birthdays or picnics. This bottle cover is as versatile as it is stylish, offering flexibility in customization for function and aesthetics while remaining a quick and satisfying project for crochet enthusiasts.
Crochet Bottle Cover Pattern
Learn how to make a functional, textured, and decorative crochet bottle cover. Perfect for water bottles, this cover features a solid base, breathable mesh body, thick top border with a reverse single crochet edge, and a drawstring closure that can be decorated with adorable sunflower or honeybee charms.
Quick Overview of the Pattern
- Construction: Worked in the round, starting from the base up to the top rim.
- Design Features:
- Solid double crochet base
- Back post double crochet ridge
- Open mesh lattice body design
- Structured top border
- Customizability:
- Adjustable height and base size to fit any water bottle.
- Finishing: Decorative drawstring cord with optional sunflower or honeybee charms.
Notes
- Turn / Join: Each round is joined with a slip stitch (
sl st) into the first stitch of the round (not the turning chains). - Turning Chains:
Ch-2at the start of double crochet rounds serves as a height spacer and doesn't count as a stitch. - Adjustability:
- Base: Adjust the size by adding or reducing increase rounds as needed.
- Height: Continue working the mesh lattice rounds until you reach the desired bottle height.
Skill Level
Level: Easy / Advanced Beginner
Basic knowledge of stitches (dc, sc, bpdc) and working in the round is required.
Materials Required
- Yarn: 50 g of 4 ply mixed cotton (cotton acrylic blend).
- Hook: 3.0 mm crochet hook.
- Other Tools: Yarn needle (for weaving ends) and scissors.
Finished Dimensions:
- Base Diameter: Approx. 3.5 to 4 inches (adjustable).
- Height: Approx. 7 to 9 inches (customizable).
Gauge:
- For a 4 ply cotton blend and 3.0 mm hook, Rounds 1-3 of the base = ~2.5 inches (6.35 cm) diameter.
Stitch Abbreviations
ch- Chainsl st- Slip Stitchsc- Single Crochetdc- Double Crochetbpdc- Back Post Double Crochetrev sc- Reverse Single Crochet (Crab Stitch)MR- Magic Ringrep- Repeat
Special Stitches
Back Post Double Crochet (bpdc):
- Yarn over, insert hook from back to front to back around the post of the indicated stitch.
- Yarn over, pull up a loop (3 loops on the hook).
- [Yarn over, pull through 2 loops] twice.
Reverse Single Crochet (rev sc) / Crab Stitch:
- Working in the opposite direction of normal crochet, insert hook into the previous stitch (to the right for right handers).
- Yarn over, pull up a loop.
- Yarn over, pull through both loops on the hook.
The Crochet Pattern
Phase 1: The Circular Base
Round 1:
- Create a Magic Ring (
MR),ch 2(does not count as a stitch). - Work
12 dcinto the Magic Ring. - Pull the tail to tighten the loop, closing the center hole.
- Join with a
sl stinto the firstdc.- Total: 12 dc
Round 2:
Ch 2. Work2 dcinto each stitch around.- Join with a
sl stinto the firstdc.- Total: 24 dc
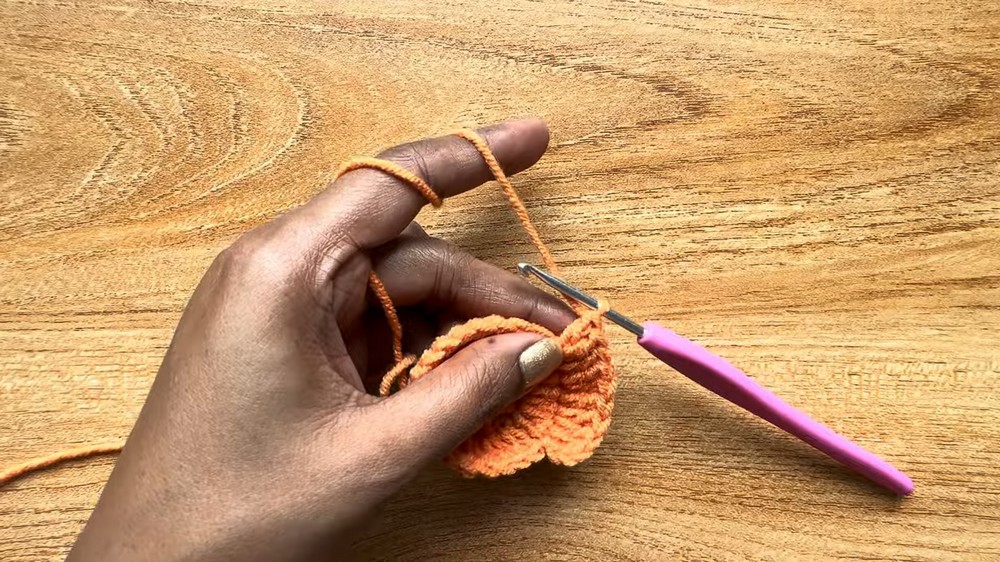
Round 3:
Ch 2.- [1 dc in next stitch, 2 dc in the following stitch], repeat around.
- Join with a
sl stinto the firstdc.- Total: 36 dc
Round 4:
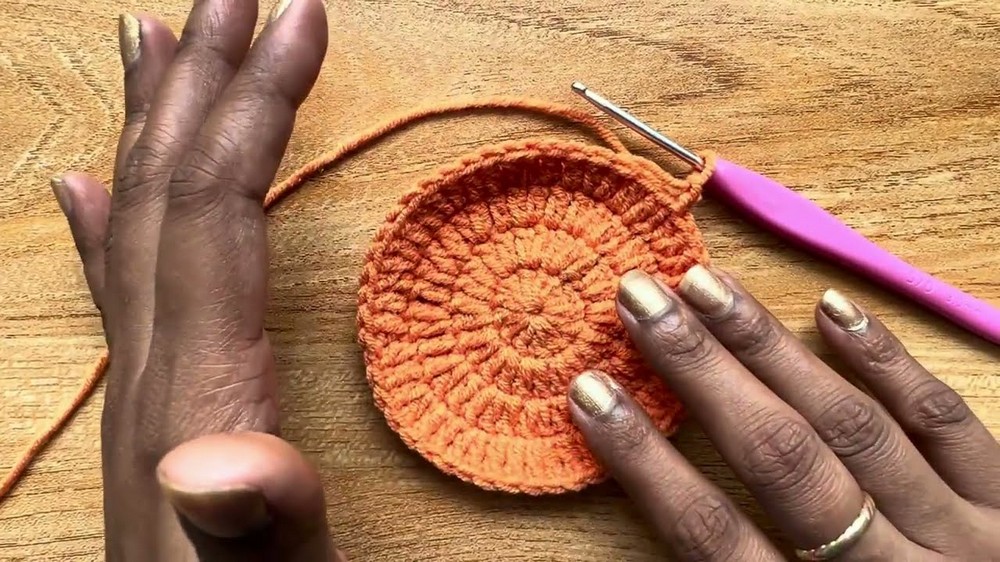
Ch 2.- [1 dc in each of the next 2 sts, 2 dc in the following stitch], repeat around.
- Join with a
sl stinto the firstdc.- Total: 48 dc
Sizing Checkpoint: Place your bottle on top of the base. Add additional increase rounds if needed (e.g., 3 dc, then increase; 4 dc, then increase).
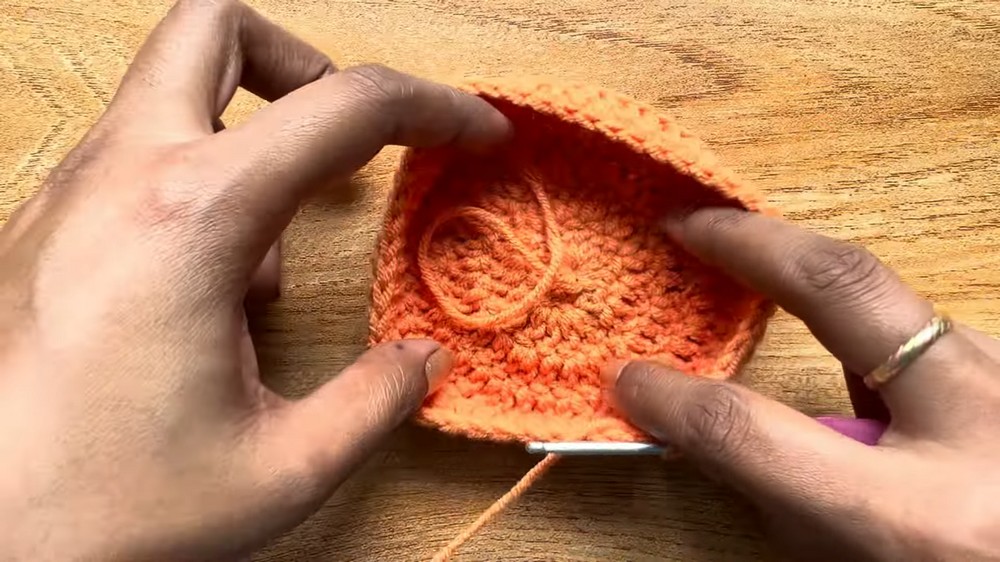
Phase 2: Base to Body Transition
Round 5 (Base Ridge Round):
Ch 2.- Work
1 bpdcaround every stitch from Round 4. - Join with a
sl stinto the firstbpdc.- Total: 48 bpdc
Round 6:
Ch 2. Work1 dcinto each stitch around.- Join with a
sl stinto the firstdc.- Total: 48 dc
Phase 3: Mesh Body Pattern
Round 7 (Setup Round):
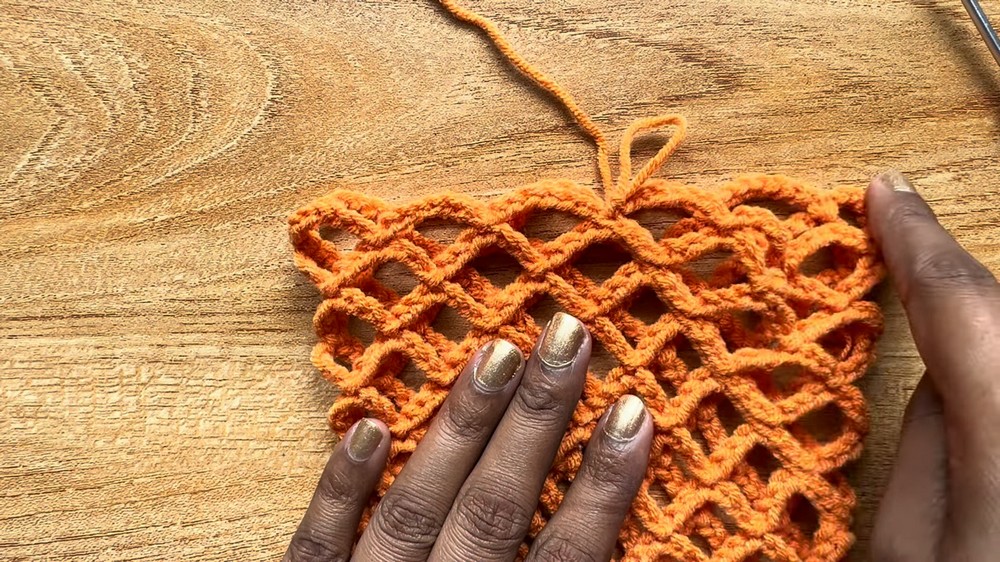
Ch 7, skip 3 stitches, and work1 sl stinto the 4th stitch.- Repeat [Ch 7, skip 3, sl st into the 4th] around.
- Join with a
sl stinto the base of the firstch 7loop.
Round 8:
- Work
sl stacross the first 3 chains to the middle of thech-7loop. Ch 7, work1 sl stinto the middle of the next loop.- Repeat [Ch 7, sl st into loop center] around.
- Continue rounds until reaching desired height. Approx. 15 rounds for a 7 to 9 inch bottle.
Phase 4: Upper Rim & Border
Round 22 (Straighten):
Sl stacross to the middle chain of the current loop.Ch 4, work1 scinto the middle chain of the next loop.- Repeat [Ch 4, 1 sc into loop center] around. Join with a
sl st.
Round 23 to 24:
Ch 2, work1 dcin each stitch around. Join withsl st.
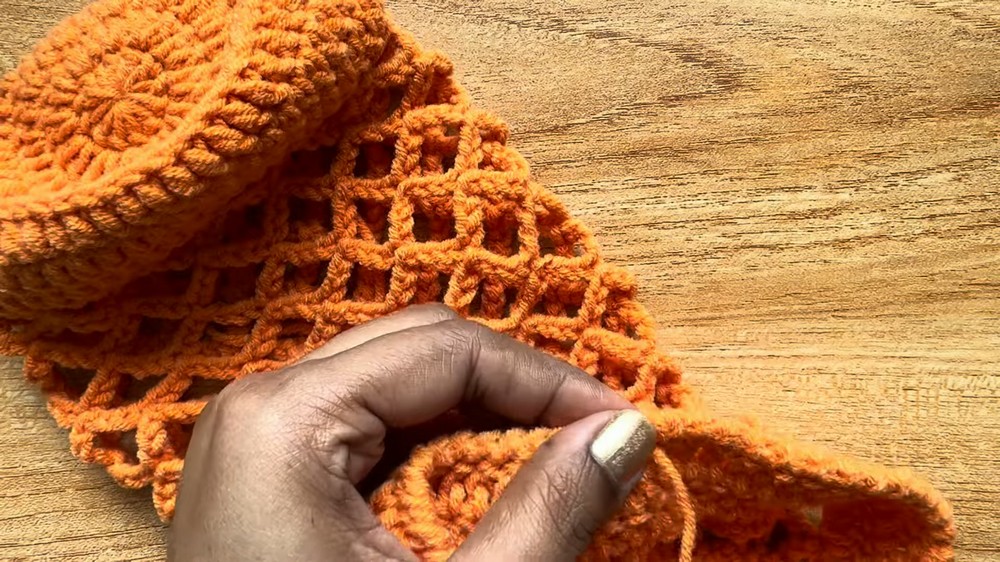
Round 25 (Decorative Border):
Ch 1, work1 rev sc(crab stitch) into each stitch.- Join with a
sl stand fasten off.
Phase 5: Drawstring & Assembly
- Drawstring Cord: Create a chain (
ch 80-100), fasten off. - Weaving: Weave the drawstring through the top border, skipping 2 stitches at a time.
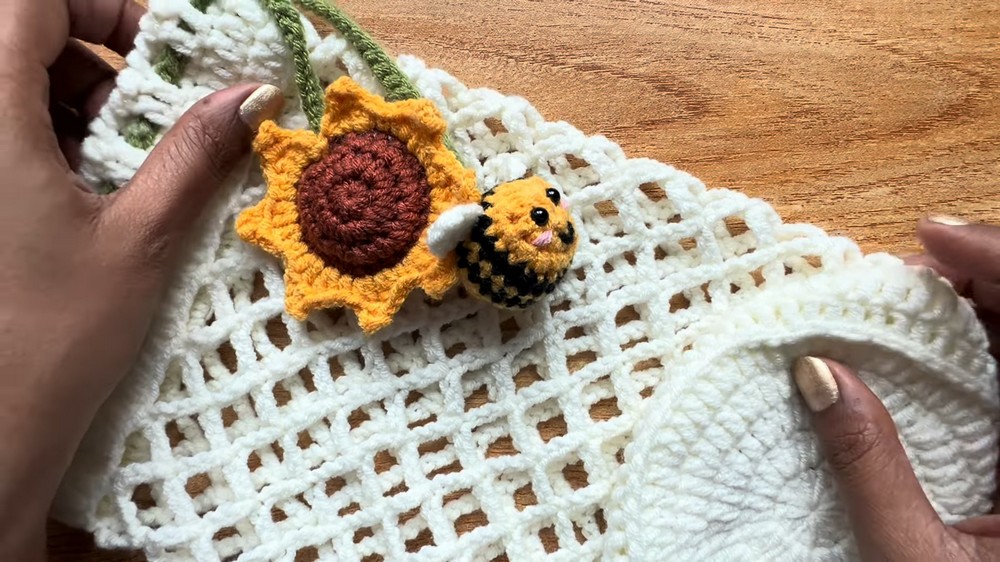
- Charms: Attach sunflower or honeybee crochet charms to cord ends if desired.
Final Look
Your exquisite Crochet Sunflower & Honeybee Bottle Cover is now complete. This textured, durable, and artistic cover is a beautiful way to express your creativity while keeping your bottle safe and stylish. The sunflower and honeybee charms add a whimsical flair, making it a perfect gift or a unique accessory to brighten anyone's day.
Important Remarks
- Always keep your tension consistent while crocheting.
- Use the sunflower and honeybee patterns to crochet delightful add ons.
- Measure your bottle to customize the size and ensure a snug fit.
- If you face difficulties with any techniques, feel free to consult the designated pattern for clarity.
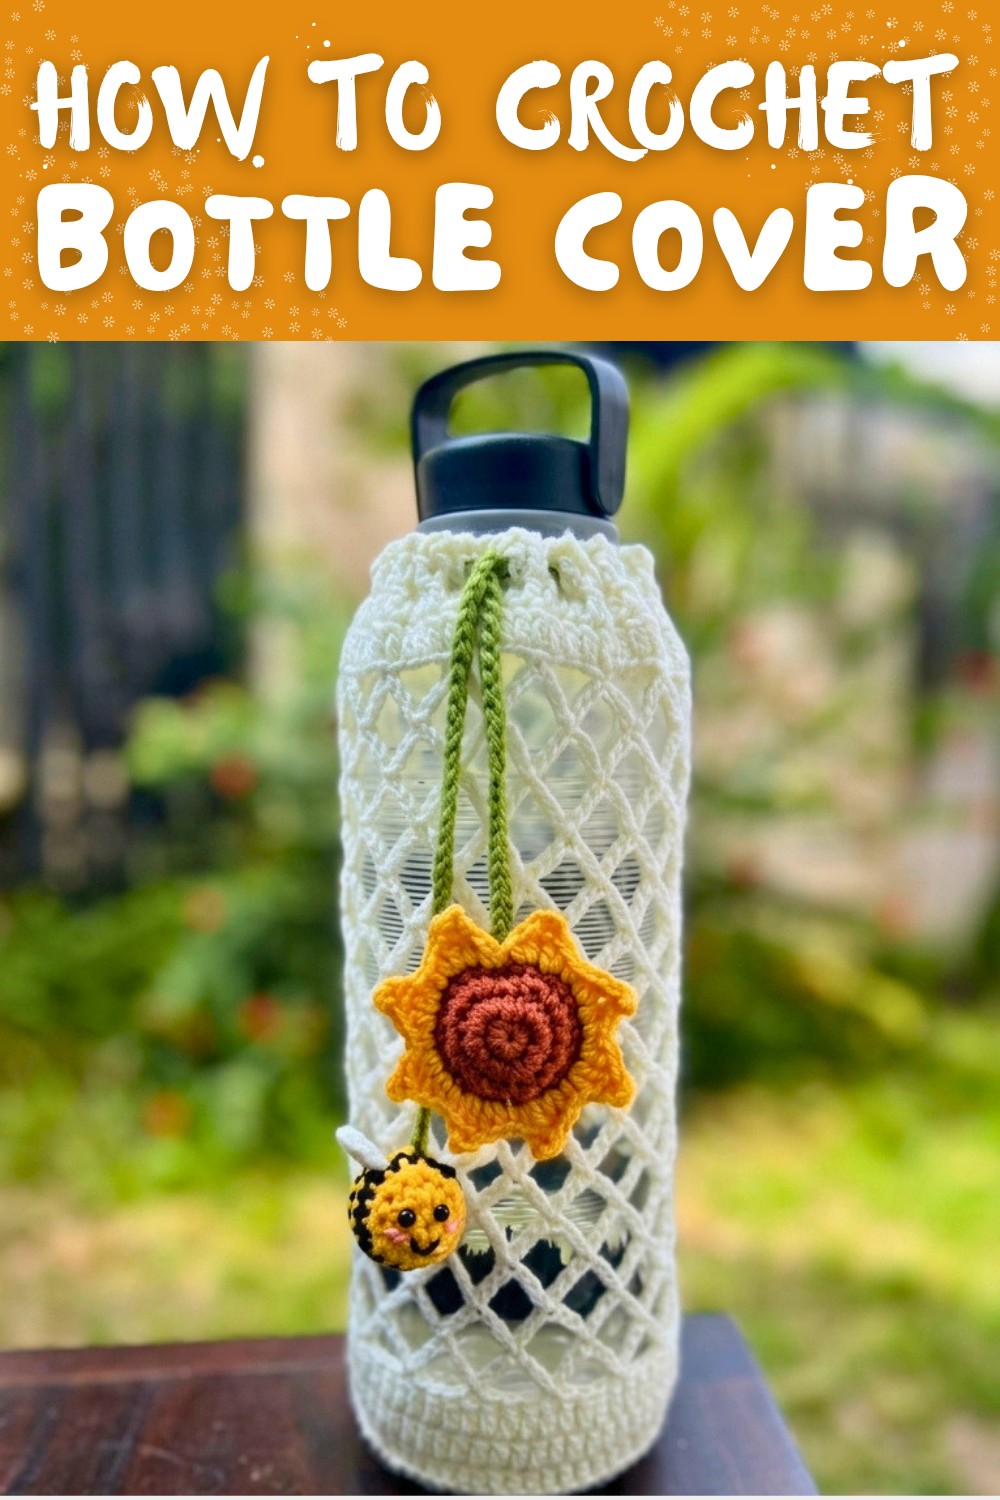
Your crochet bottle cover is now ready, Perfect for everyday use or as a thoughtful gift, this stylish and functional project combines creativity and practicality. Have fun customizing it with colors, designs, and charms.