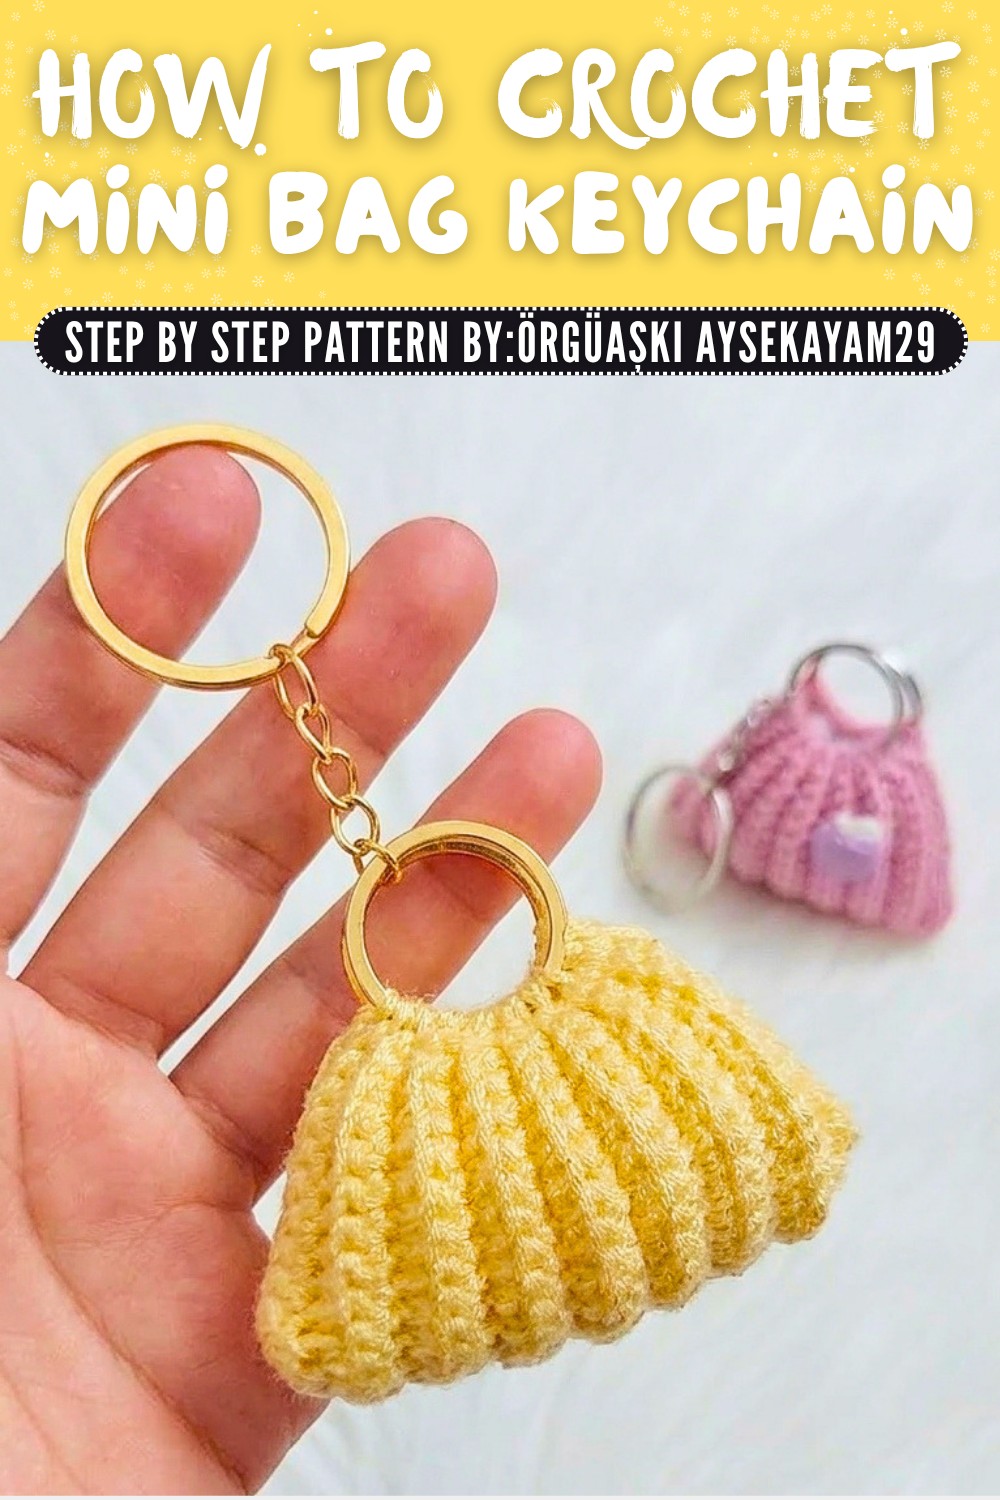
Crochet Mini Bag Keychain Free Pattern To Spruce Up Your Style
Decorate your keys or bags with a cute and charming crochet mini bag keychain made from this simple and free pattern that's fun and perfect for beginners.
Making a small bag keychain is a fun and practical way to enjoy crochet. This project results in a mini accessory that's perfect for keeping small items like coins or keys. It's lightweight, easy to carry, and can add a lovely touch to your backpacks, handbags, or even as a unique gift for friends and family. What makes this small crochet project so pleasant is the use of simple single crochet stitches. By working in the back loops, you'll achieve a neat, textured finish that makes the bag look polished and stylish.
Free Crochet Mini Bag keychain Pattern That's Perfect for You
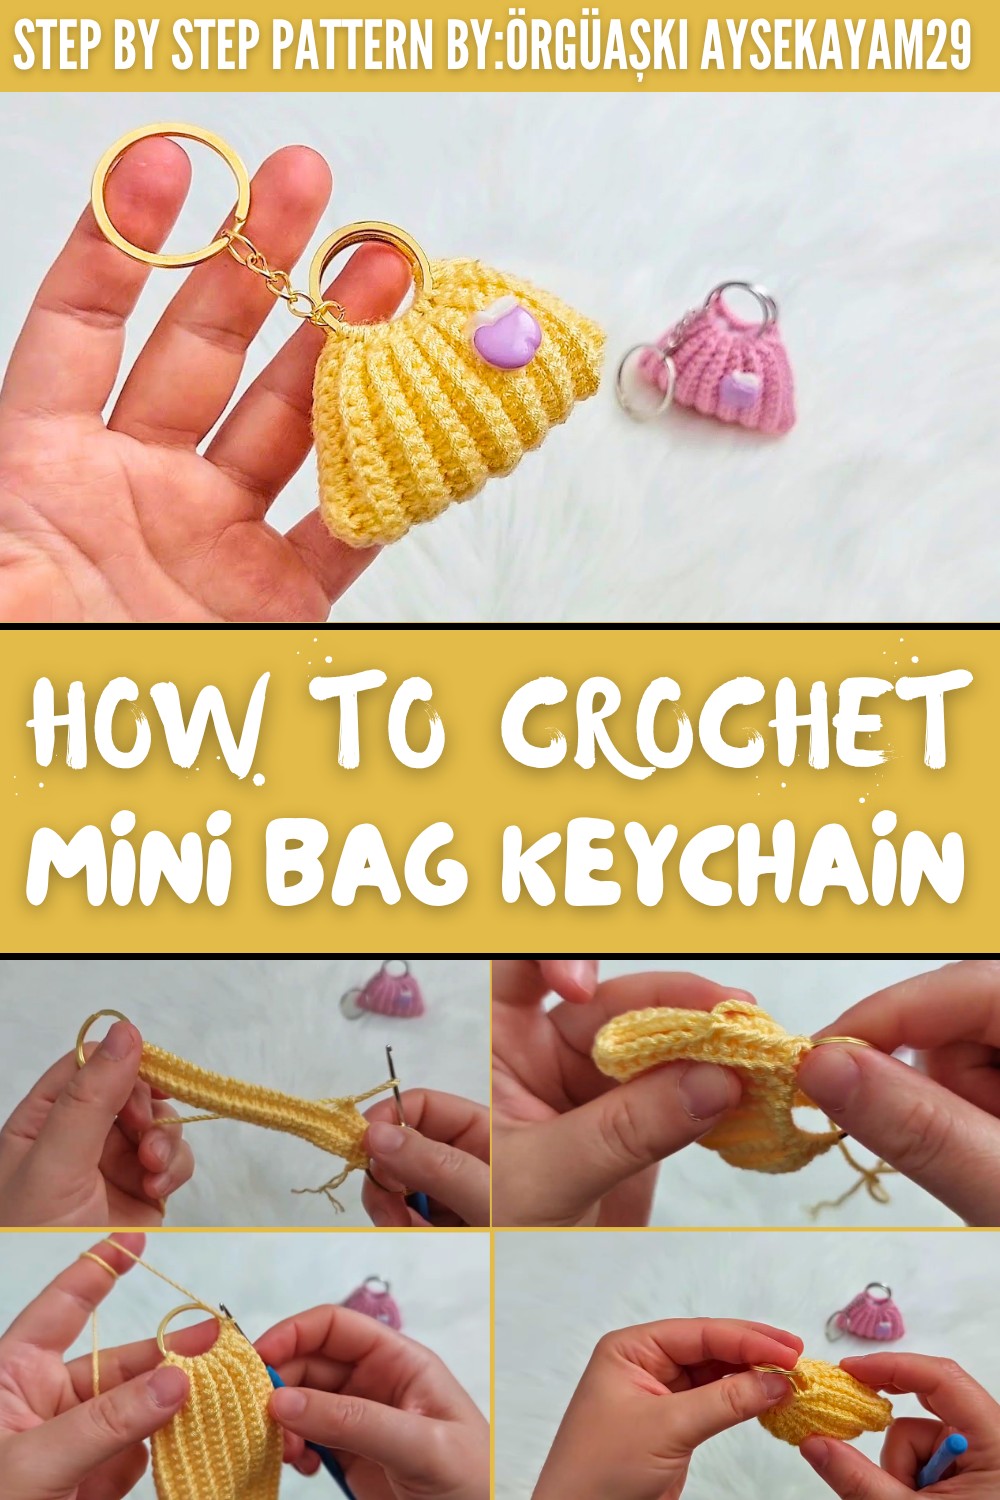
In this pattern, you'll learn how to work the rows into a rectangle shape, how to sew edges together to form the bag, and how to turn it inside out for a smooth look. You'll also use fillings like silicone or fiberfill to make the bag stand firm and give it a cute, puffy appearance. Finally, by attaching a keychain ring and a small decorative button, your mini bag will be ready to use or gift.
The best part is that this stitch and approach can be used for so many other small items. With the skills you gain from this pattern, you can make things like coin holders, mini pouches, key covers, or even small gift pouches for special occasions. Slight adjustments in size and color are all you need to repurpose this idea into something new and useful. This is a great project for beginners or anyone looking for a quick and enjoyable way to practice crochet.
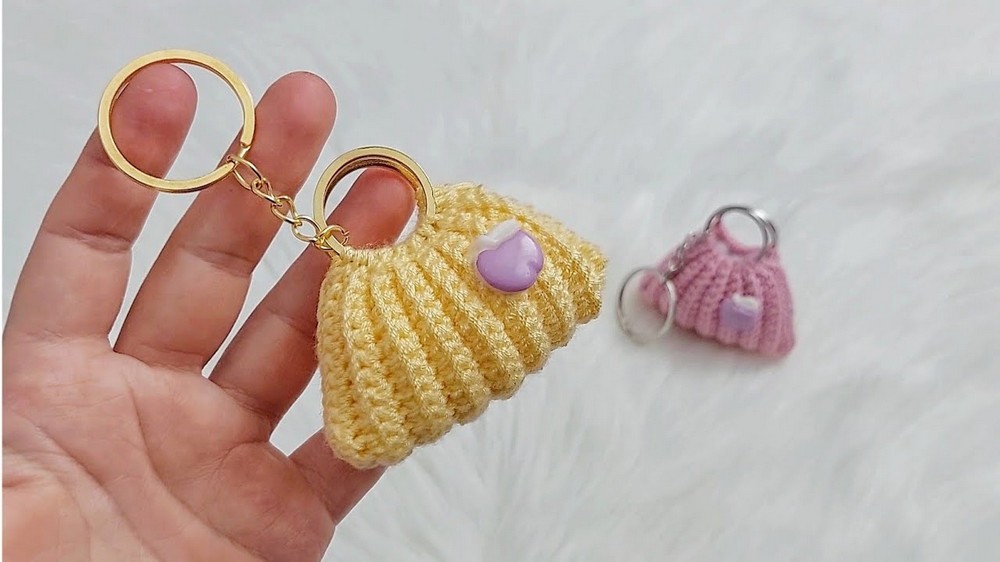
Crochet Mini Bag Keychain
Introduction
This keychain project is not only simple but also extremely stylish and practical. You can gift it to loved ones or keep it for yourself and enjoy making a cute, personalized accessory. Follow along as I show you the step-by-step process to create this lovely keychain.
Quick Overview of Pattern
Here's an outline of what you'll be doing:
- Create the base shape of the mini bag with a foundation chain and single crochets.
- Knit single crochets in rows until you've created a small bag-like structure.
- Assemble the bag using silicone glue and sewing techniques.
- Add a filling inside to give the bag its shape.
- Attach the button and keychain to finish the design.
Notes
- Tension: Work with medium tension for neat and compact stitches.
- Consistency: Ensure you work 25 single crochets in each row for even sizing.
- Customization: You can modify the size of the bag by adjusting the initial chain and number of rows.
- Exact Match: Follow the steps carefully, as we'll use slip stitches for shaping and rows for structure.
- Buttons and keychain size: Depending on your preferences, choose either small or large buttons/keychains.
- Filling: Use silicone or any soft stuffing to give volume to your bag.
Skill Level
Beginner to Intermediate - As you'll be working with basic stitches like chain, single crochet, and slip stitch, this pattern is great for beginners. However, keeping track of stitch counts and creating a neat seam may require a little extra patience.
Materials
- Crochet Hook: Size 1.75 mm to 2 mm hook
- Yarn: Fine cotton or acrylic yarn in your preferred color
- Small Button: For decoration (used a button with an "E" design in this case)
- Keychains: 1 large keychain and 2 small ones
- Plastic chains or metal handles: Optional, for creating a handle
- Silicone gun and silicone filling: To fill and shape the tiny bag
- Tapestry Needle: For sewing
- Scissors
Measurements / Sizing
Using the above materials, you'll create a bag approximately:
- Height: 1.5-2 inches (4-5 cm)
- Width: 2-2.5 inches (5-6 cm)
Gauge
Gauge is not critical for this project but for reference:
- 4 single crochets and 4 rows = 1 inch
Stitch Abbreviations
- sc - single crochet
- ch - chain
- sl st - slip stitch
- st(s) - stitch(es)
Special Stitches
Single Crochet (sc):
- Insert the hook into the specified stitch.
- Yarn over and pull up a loop (2 loops on the hook).
- Yarn over again and pull through both loops on the hook.
Slip Stitch (sl st):
- Insert your hook into the specified stitch.
- Yarn over and pull through the stitch and the loop on your hook in a single motion.
Step-by-Step Instructions
1.Step 1: Foundation Chain
- Begin with a slip knot on your hook.
- Chain 25 stitches.
2.Step 2: Row 1
- Work into the back bump of the chain (this creates a neat edge):
- Skip the first stitch.
- Insert your hook into the 2nd chain from the hook and make 1 single crochet (SC).
- Continue working 1 sc into each remaining chain, counting carefully to ensure 25 sc are made.
- At the end of Row 1:
- Join by making 1 slip stitch (sl st) into the first sc at the beginning of the row.
- Turn your work so the stitches face the correct direction.
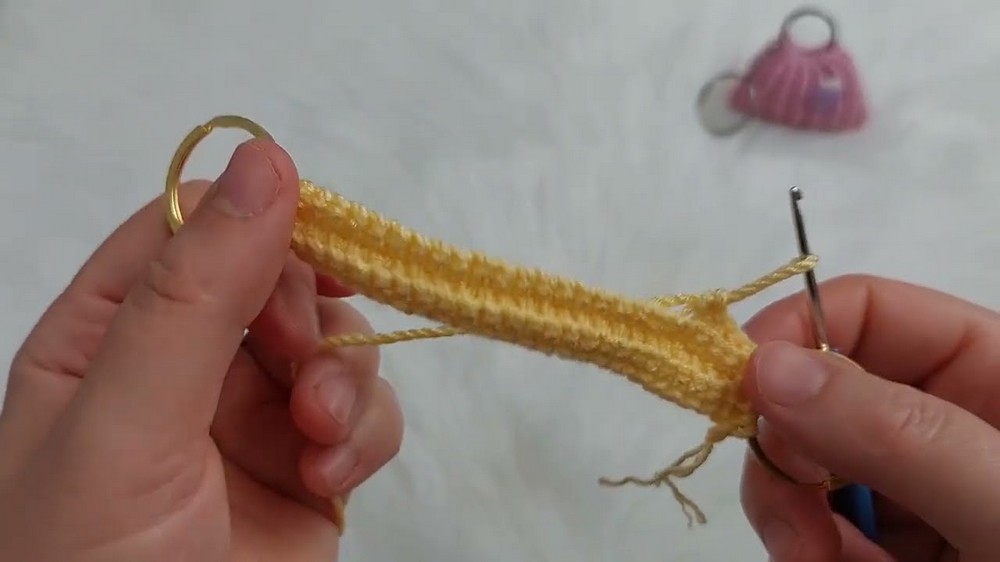
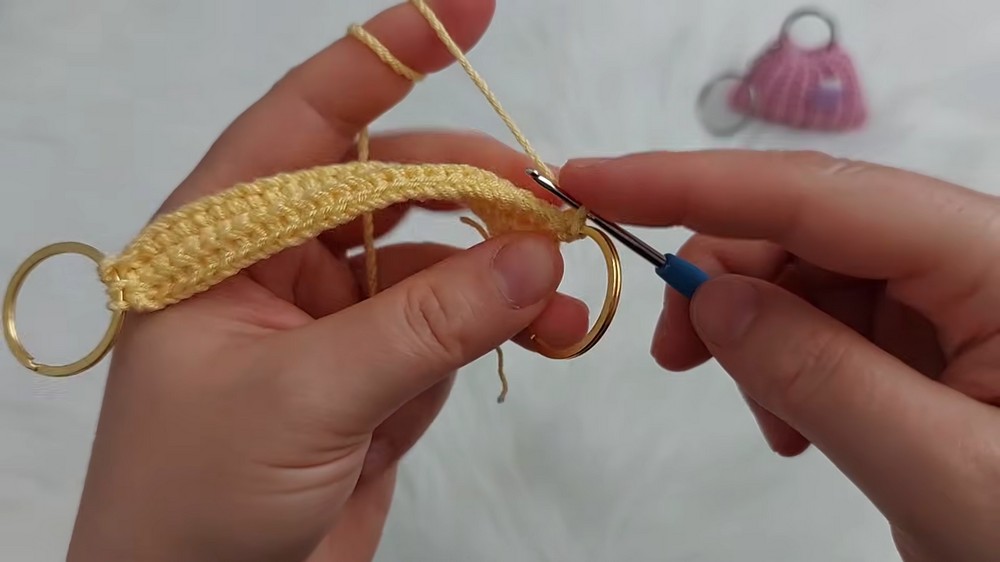
3.Step 3: Creating Texture with Back Loop Crochets
- From Row 2 onward, work into the back loop (BLO) only:
- Insert hook into the back loop of the first sc and make 1 sc into this stitch.
- Continue working sc in BLO for each of the remaining stitches across.
- At the end of the row:
- Join with sl st into the first sc.
- Do not chain up - simply turn your work directly after making the slip stitch.
4.Step 4: Repeat Rows for Texture and Length
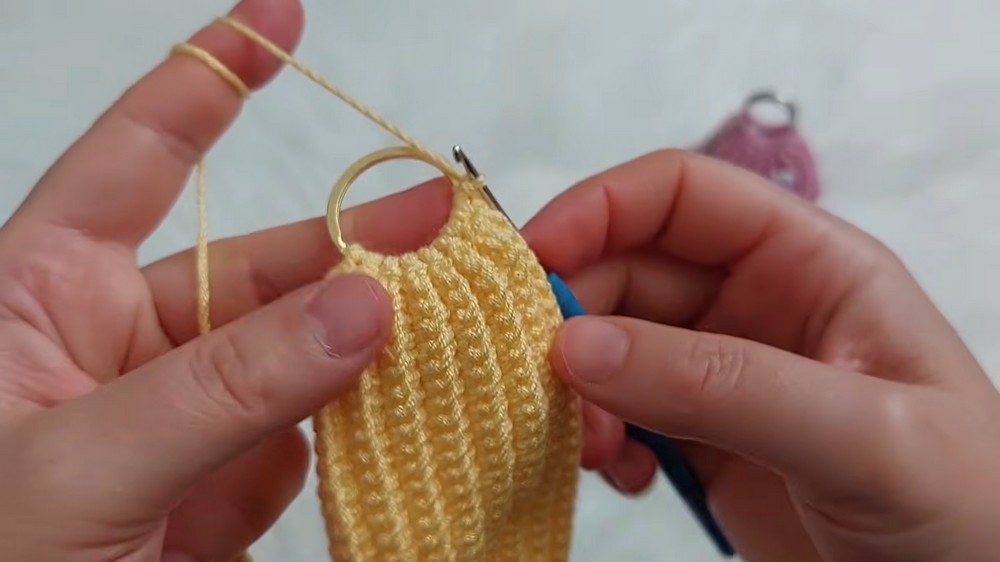
- Repeat Step 3 (Row 2) for a total of 18 rows.Note: Each row will consist of:
- 25 single crochets (sc) worked in the back loop only.
- Slip stitch (sl st) for joining.
- Turning the work in each row.
5.Step 5: Completing the Crochet Body
Once the 18 rows are finished:
- Work a final sl st at the end of the last row to secure the work.
- Chain 1, cut the yarn, and leave a long tail of approximately 20-30 cm for sewing.
6.Step 6: Sewing the Bag Together
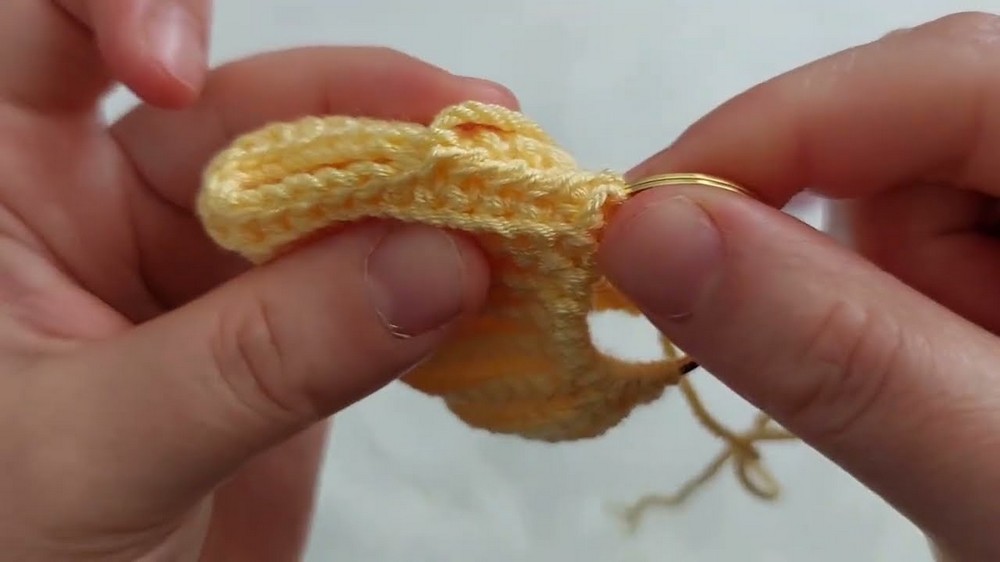
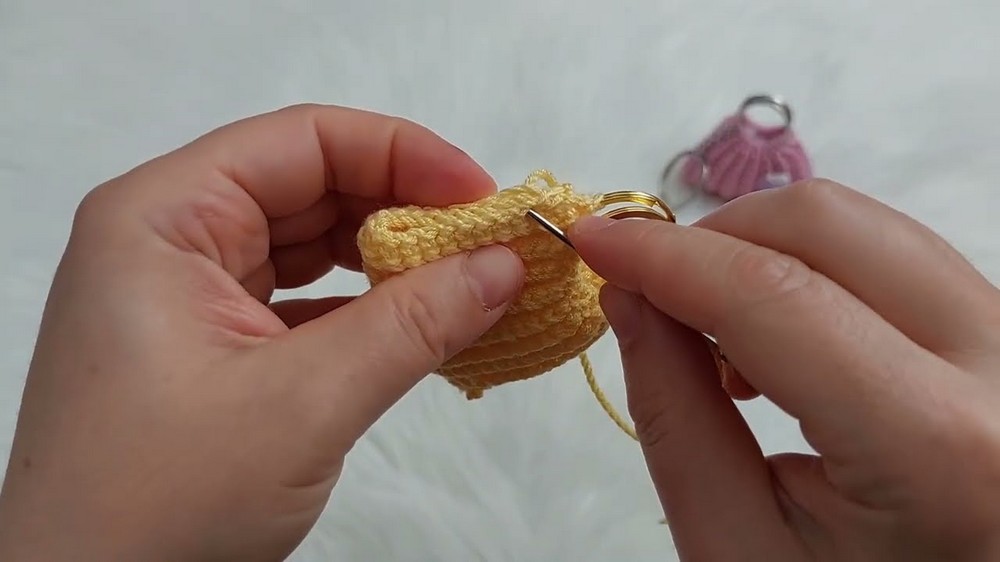
- Fold the crocheted rectangle piece lengthwise so the short sides meet.
- Thread the tapestry needle with the long tail of yarn.
- Sew the two open sides together by:
- Insert the needle into the outer loops of each stitch along both edges.
- Pull the thread gently after each stitch to ensure the edges close tightly together.
- Repeat stitch by stitch until you reach the end of the edge.
- Tie a secure knot at the end of the seam to prevent unraveling.
- Repeat the sewing process for the other side of the bag.
- Once both sides are sewn, tie another knot to secure the thread.
7.Step 7: Turning the Bag Inside Out
- Once the edges are sewn, you must turn the bag inside out to hide the seams:
- Gently push out the corners using the handle of the crochet hook to ensure they are well-defined.
- Work slowly as the opening will feel tight due to the stitches.
- Now the bag is ready for stuffing and embellishment.
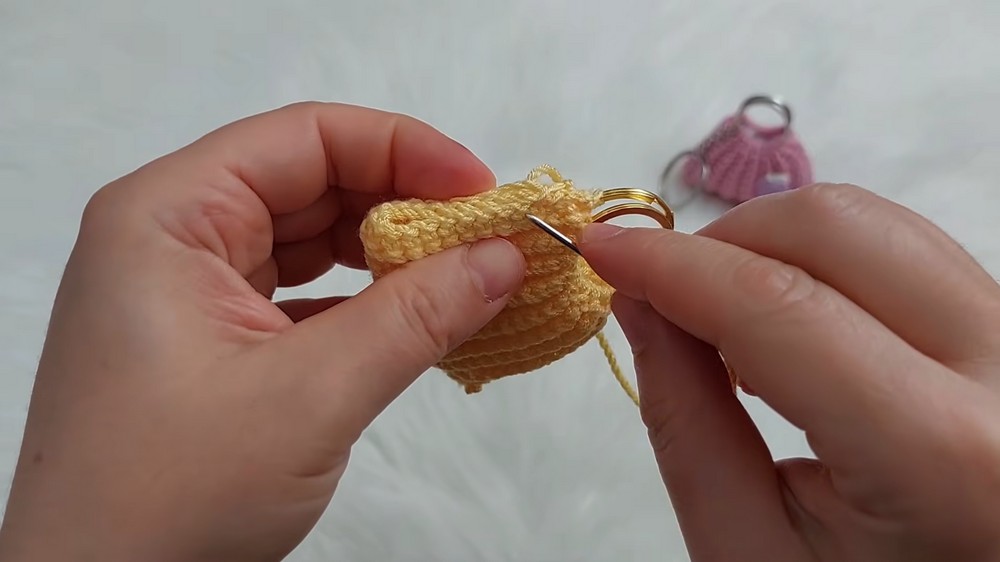
8.Step 8: Filling the Bag
- Use silicone filling or fiberfill to fill the bag.
- Begin by inserting some filling into the opening.
- Push the filling into the corners using the handle of your crochet hook or your fingers.
- Press the bag lightly to check how much more stuffing you need. Fill until the bag feels firm or reaches your desired fullness.
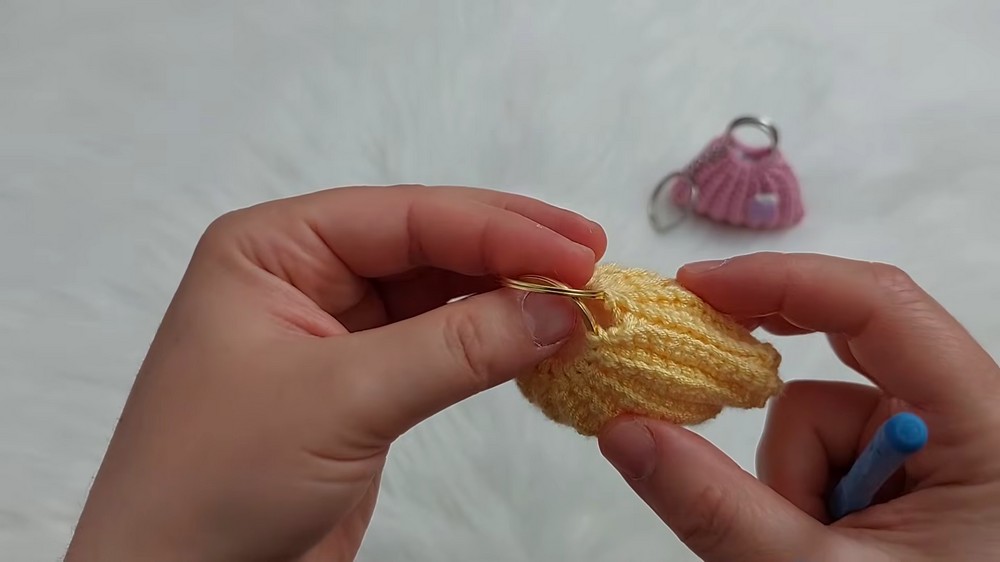
9.Step 9: Attaching Keychains
- Take the large keychain ring and attach it to the top center part of the bag.
- Attach the two small keychain rings to the opposite ends of the top of the bag to create handles.
- Use either a glue gun or secure sewing stitches to attach them.
Step 10: Adding Decorative Embellishments
- Use the silicone glue gun to attach the small "E" button (or any similar decorative piece) onto the front center of the bag.
- Apply glue carefully and firmly press the button to ensure it adheres to the bag.
- Let the glue set completely to ensure a strong hold before use.
Final Look
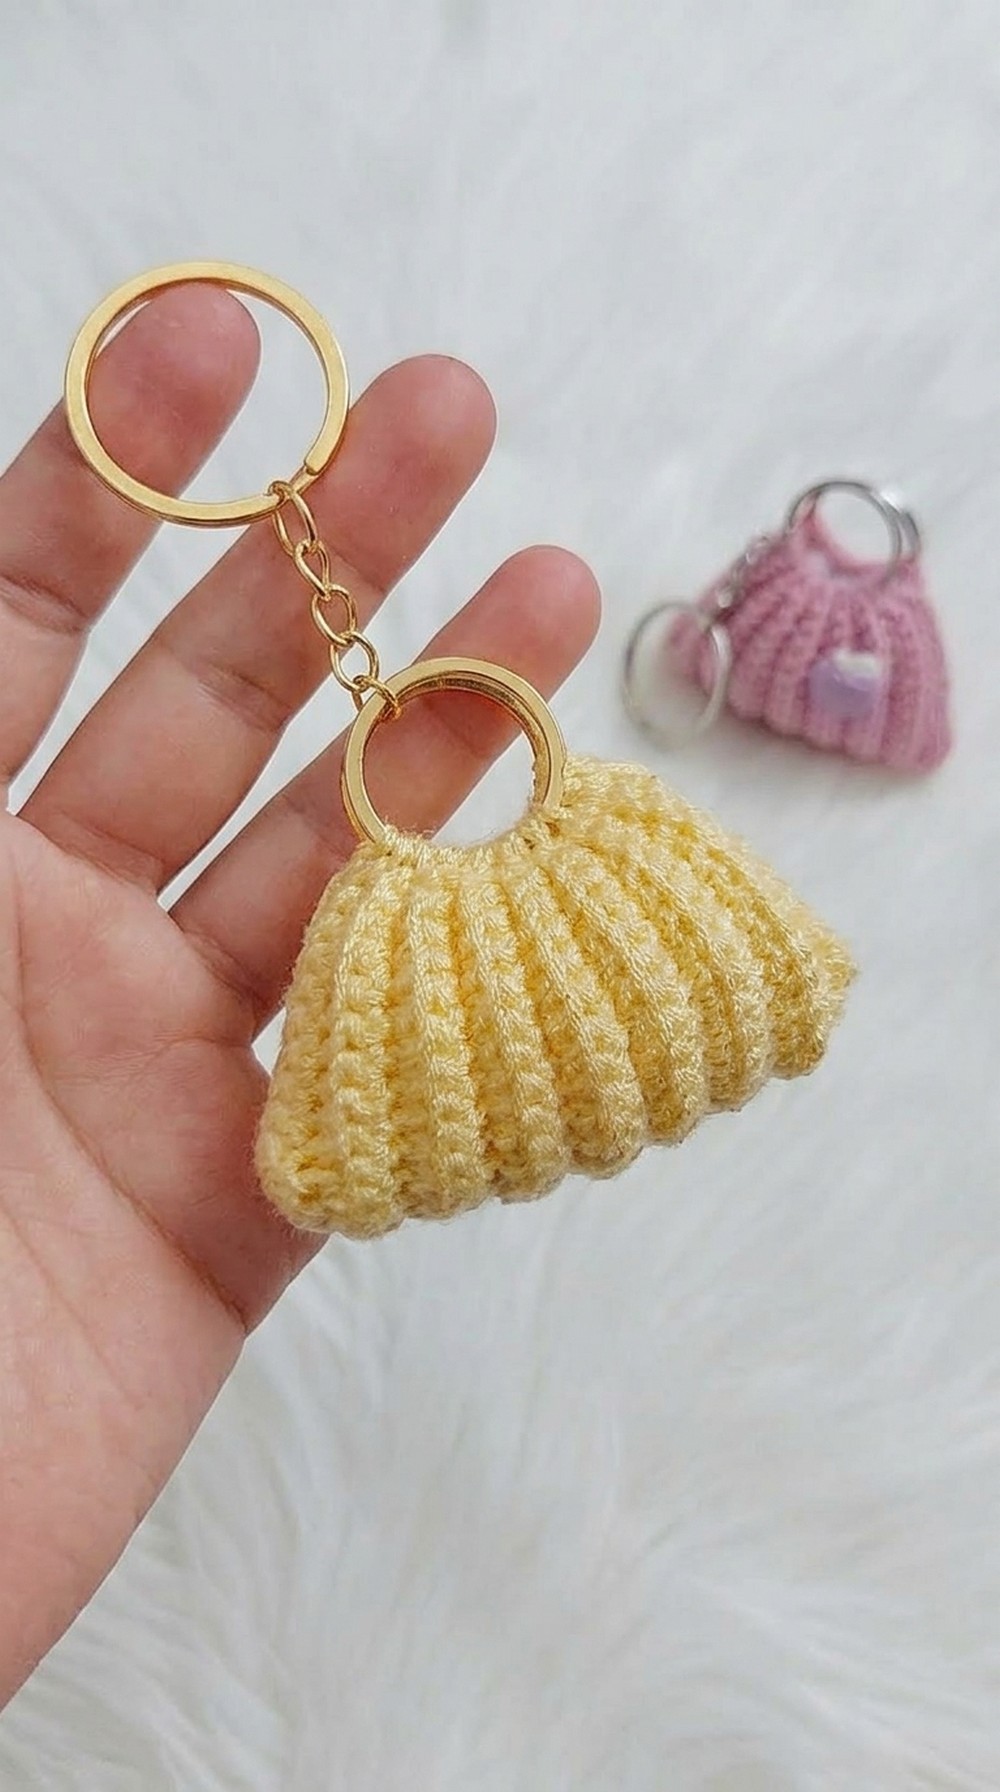
The finished miniature handbag keychain will:
- Be compact yet adorable, measuring approximately 1.5-2 inches high and 2-2.5 inches wide.
- Feature a textured body with neat ribbing.
- Include a button decoration and small keychain rings as handles.
- Have a firm, filled structure that holds its shape securely.
Conclusion
Congratulations, You've completed your crochet miniature handbag keychain. This stylish project is perfect as a thoughtful gift for loved ones or as a functional accessory for your own collection. Its customizable design allows you to make adjustments to size, colors, and decorations based on your preference.