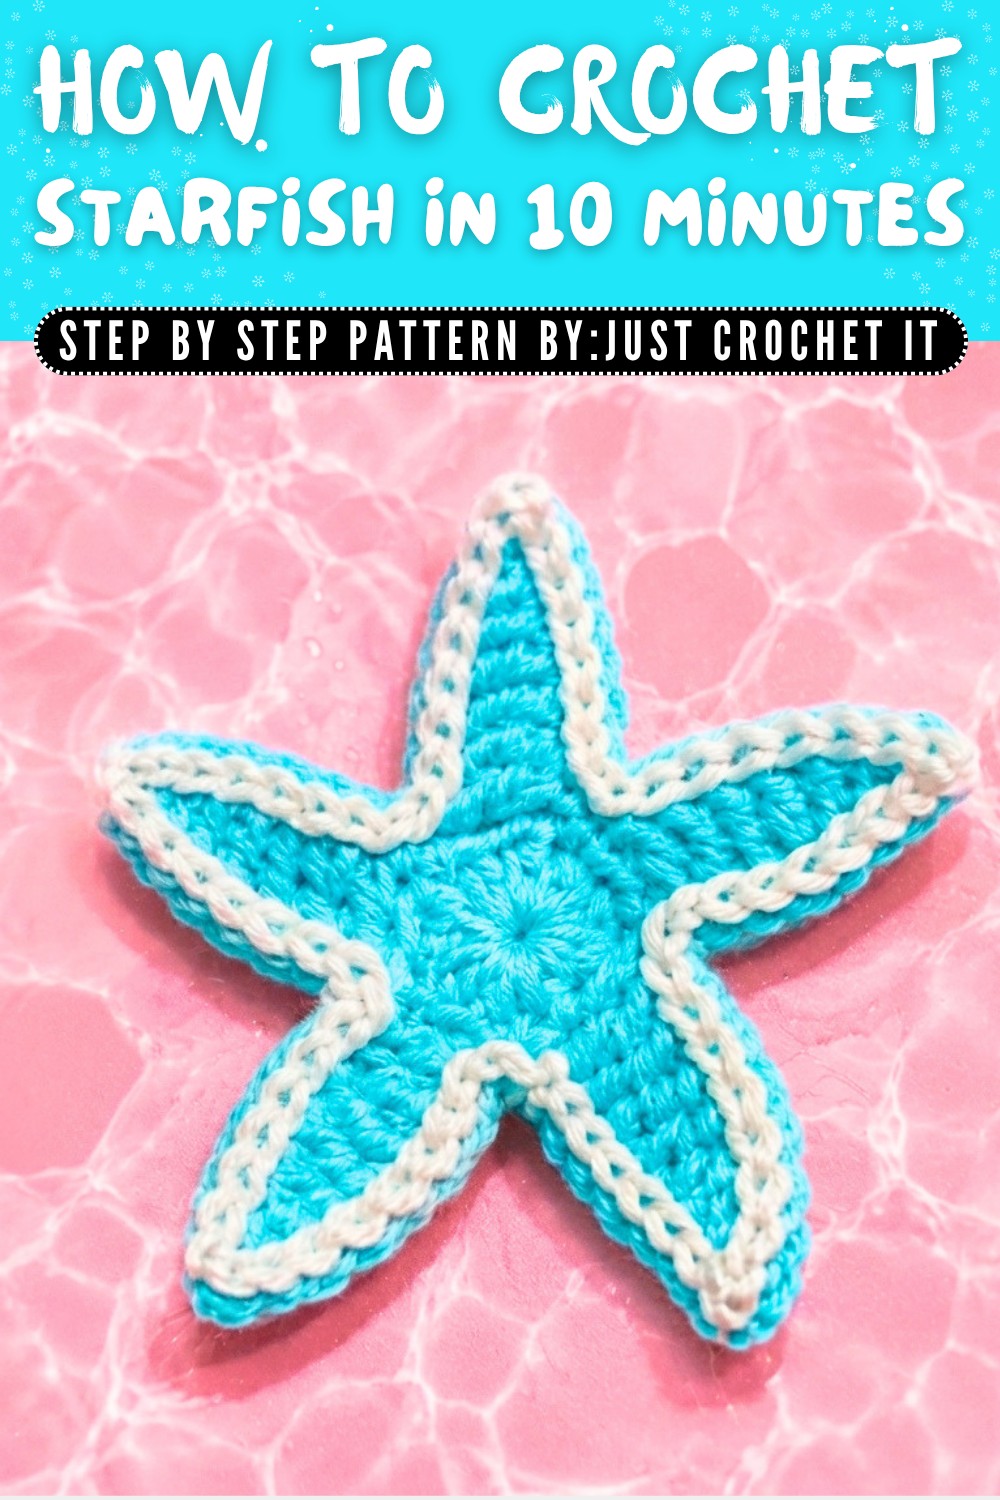
Crochet Starfish In 10 Minutes Free Pattern for Bags and Beach Style
Learn how to make a cute and colorful crochet starfish in just a few minutes with this simple and fun pattern perfect for gifts, decorations, or keychains.
There is a simple idea to make something small but adorable-a starfish that could be crocheted in just a matter of minutes. Bright in colors and soft to touch, this starfish quickly became a favorite for adding a playful charm to everyday objects. It's not just about how quick and easy it is to make, but about the joy it brings while being used as keychains, hair clips, or cute decorations hung around the home.
Crochet Starfish In 10 Minutes Free Pattern for Handmade Gifts
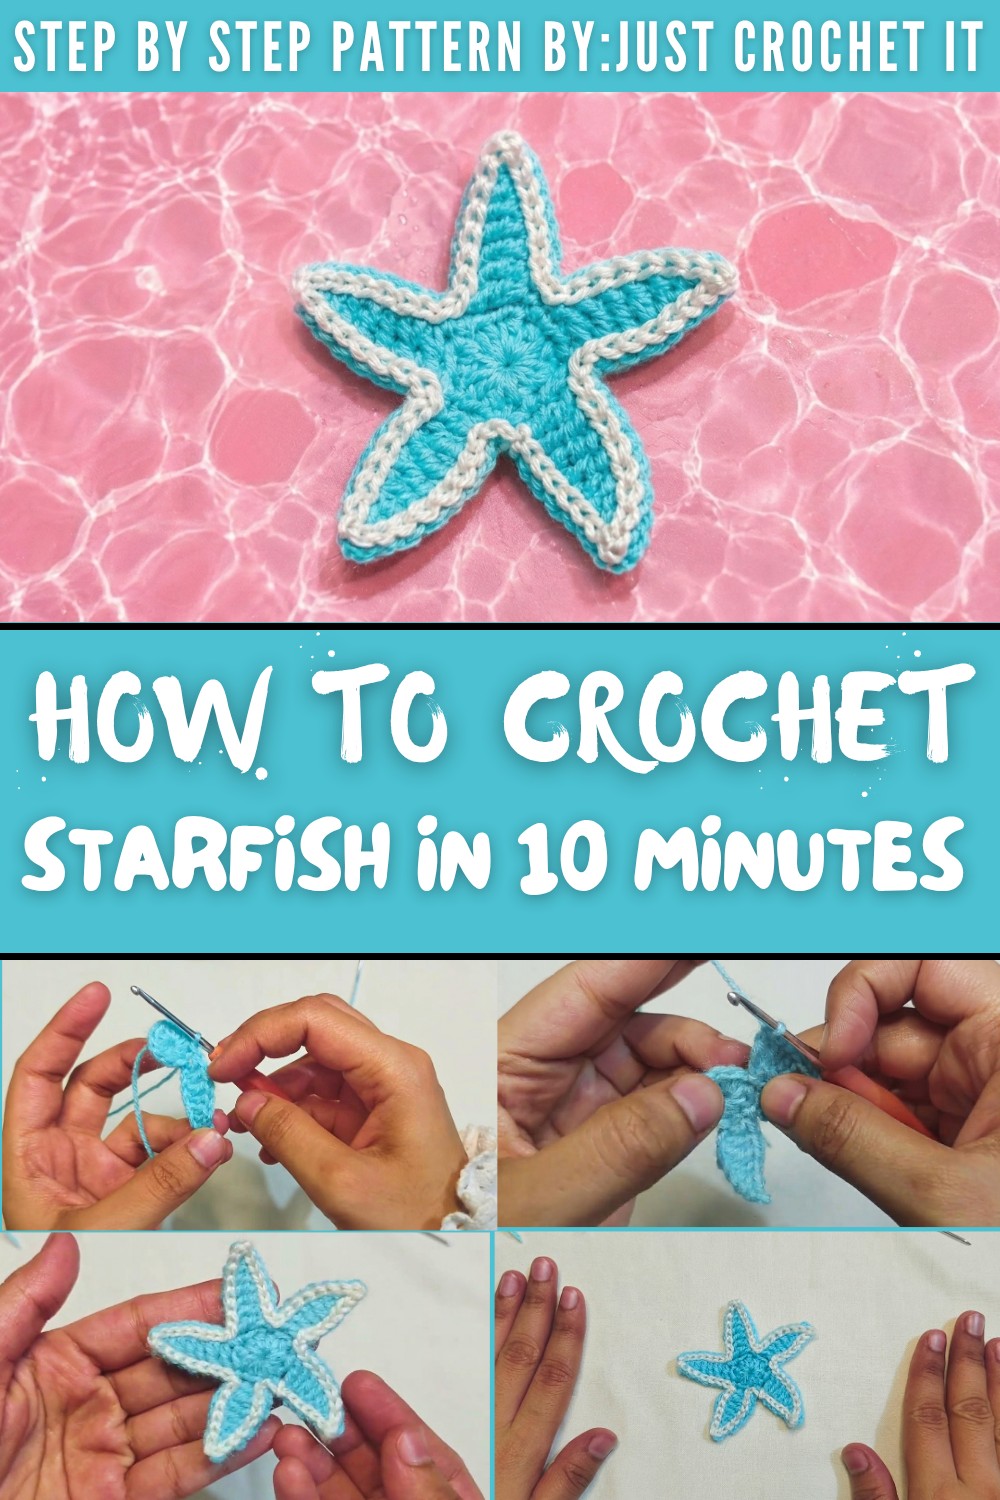
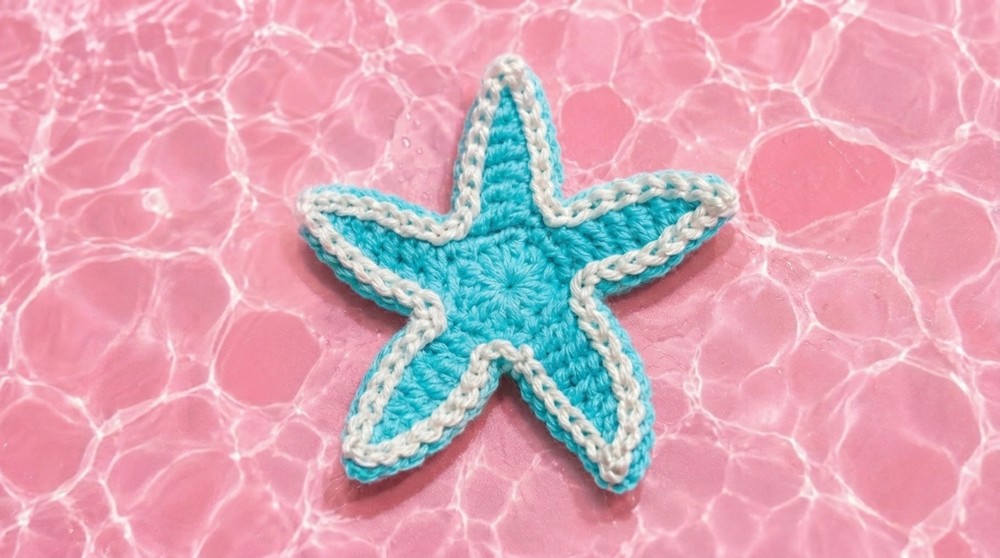
This starfish stands out with its five perfect arms and a neat border that highlights its curves and points. Using two colors gives it a cheerful and lively appearance, perfect for brightening up even the dullest corners. Soft acrylic yarn makes it durable yet light, ensuring it lasts long and keeps its beauty intact.
Anyone can follow this easy guide to stitch every loop and tighten every knot to form the base circle. The neat, rounded edges and star like arms make it look magical yet simple. Adding the border with a second color gives it a polished and charming finish, making the starfish truly eye catching.
While it might look like just a small decoration, it has the power to turn plain objects into something delightful and meaningful. Attach it to a backpack for some personality or hang it by your desk for a touch of cheerfulness. With nothing complicated needed-just yarn, a needle, and scissors-this starfish is the perfect choice for anyone looking to make something special and practical.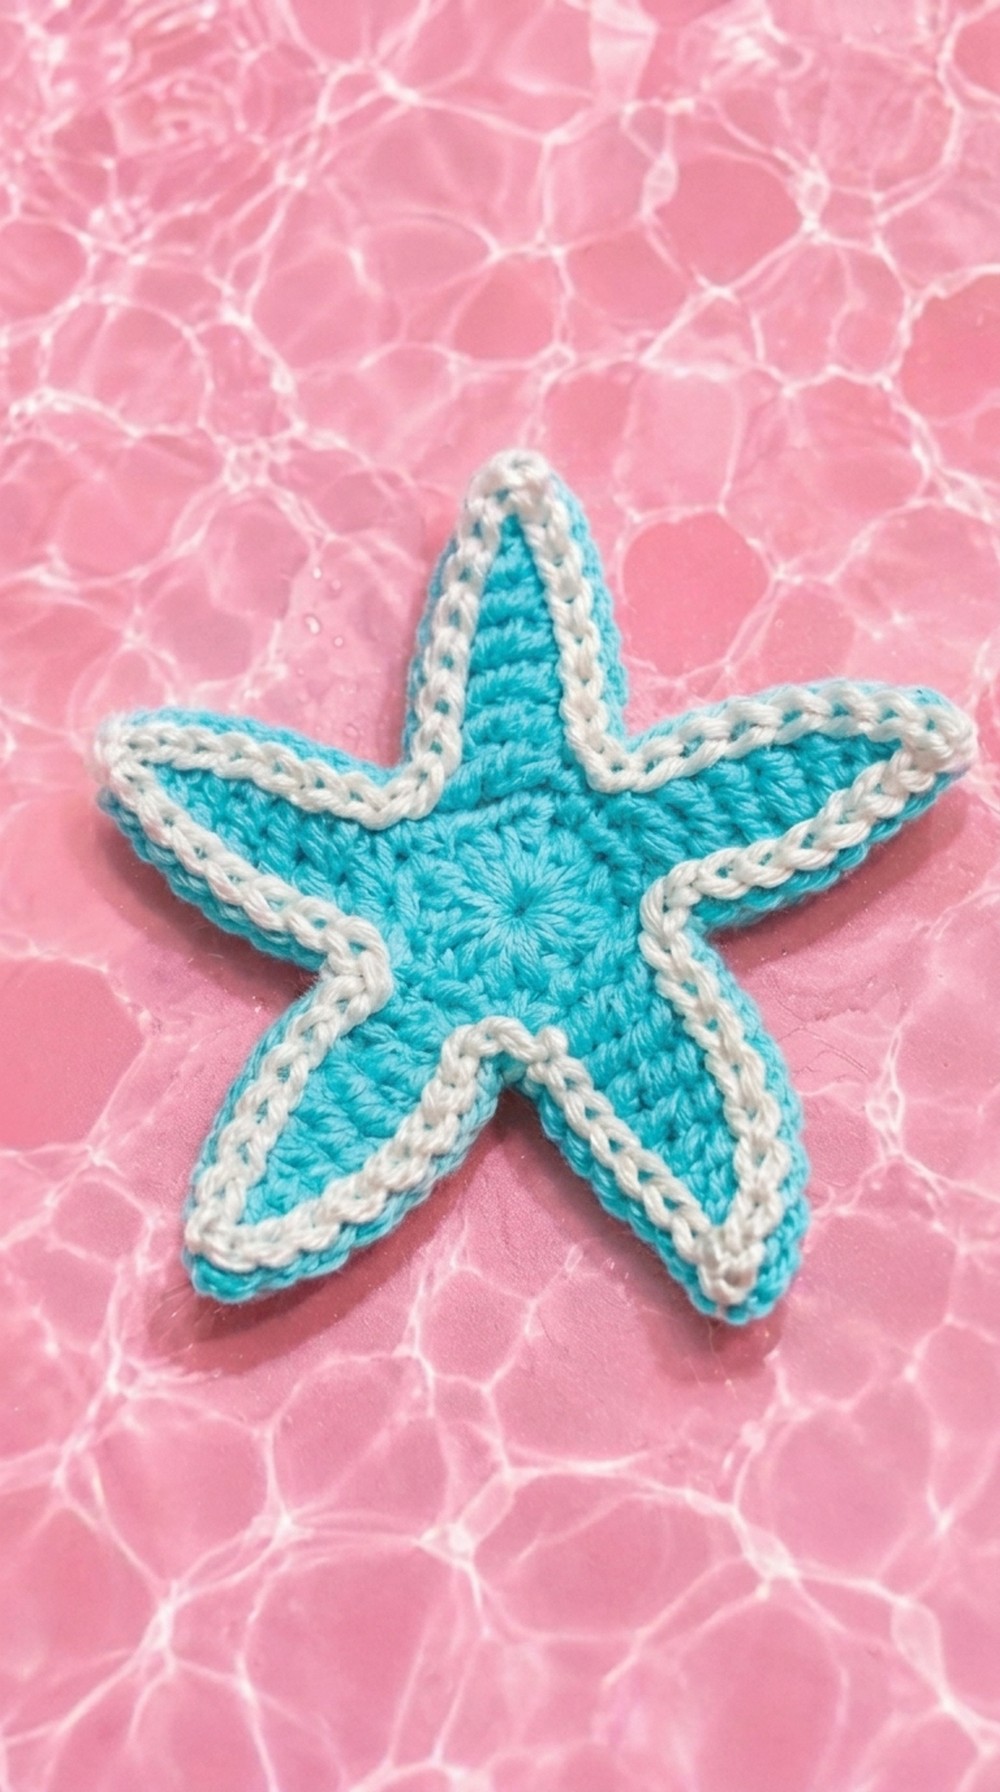
Crochet Starfish In 10 Minutes Pattern
Materials Needed
To begin the project, ensure you have the following:
- Yarn: Blue and cream colored four ply 100% acrylic yarn (or any color combination of your choice).
- Hook: A 2.5 mm crochet hook is recommended, although a slightly larger hook may work depending on the style you prefer.
- Darning Needle: Needed for weaving in ends.
- Scissors: For cutting yarn tidily.
- Optional Accessories: Clips or keychain rings to use the starfish creatively.
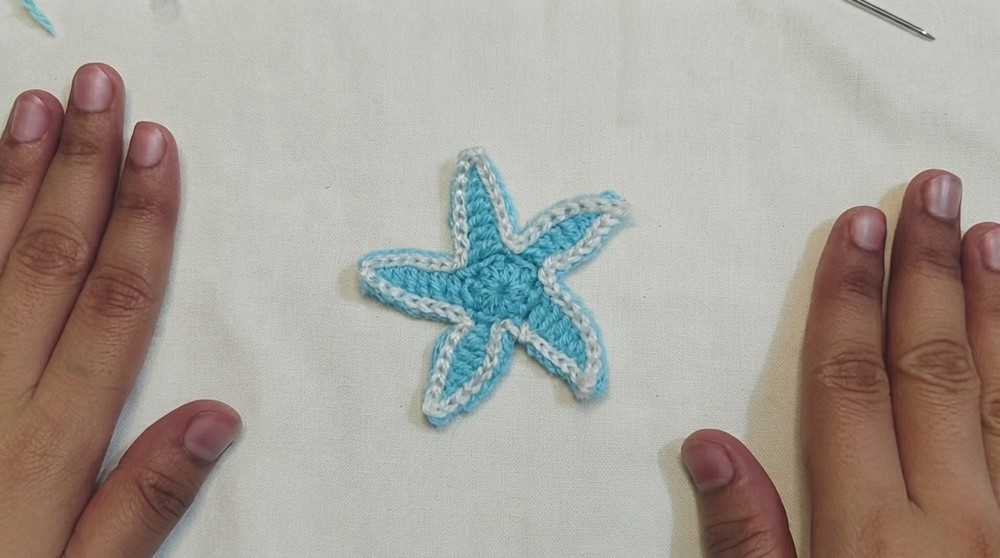
These materials make this pattern simple and accessible for all levels of crocheters.
Step by Step Pattern Instructions
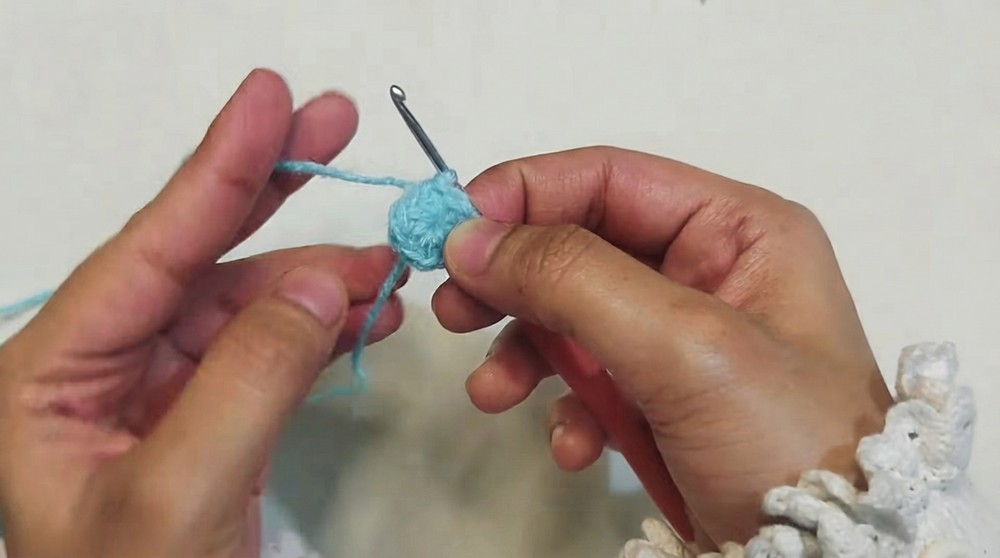
1. Starting with a Magic Circle
- Use the blue yarn to create a magic circle.
- Wrap the yarn around two fingers and form an "X". Slide your hook under the first strand, pick up the second strand, and pull through to form a circle.
- Chain one to secure the circle.
2. Creating the Base Circle
- Into the magic circle, make 10 half double crochets:
- For each half double crochet:
- Yarn over, insert your hook into the circle, and pull up a loop (three loops on hook).
- Yarn over again and pull through all three loops.
- Repeat this step nine more times for a total of ten stitches.
- For each half double crochet:
- Tighten the Magic Ring: Hold the stitches and pull the tail of the circle firmly to close, creating a small, neat circle.
- Slip Stitch: Join the circle by slip stitching into the first half double crochet.
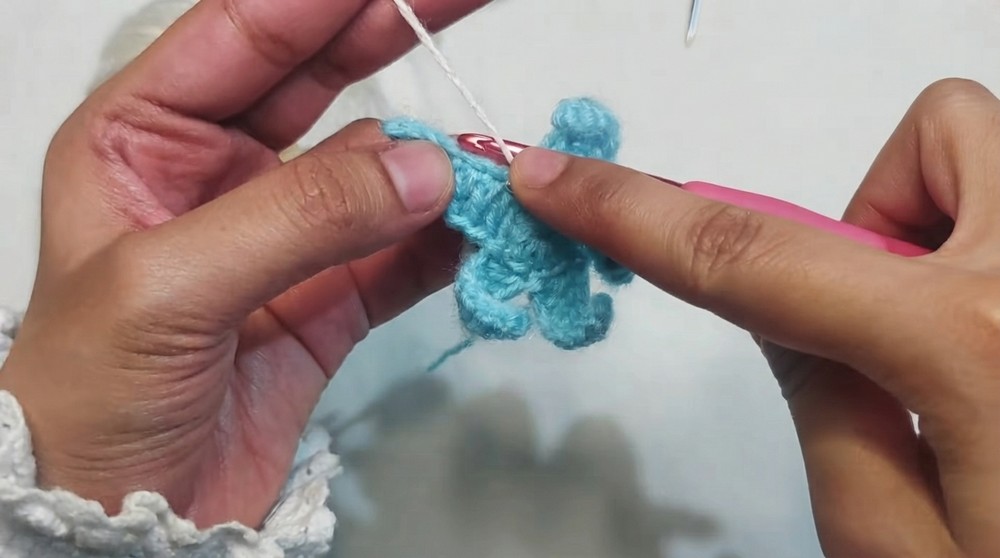
3. Creating the Starfish Arms
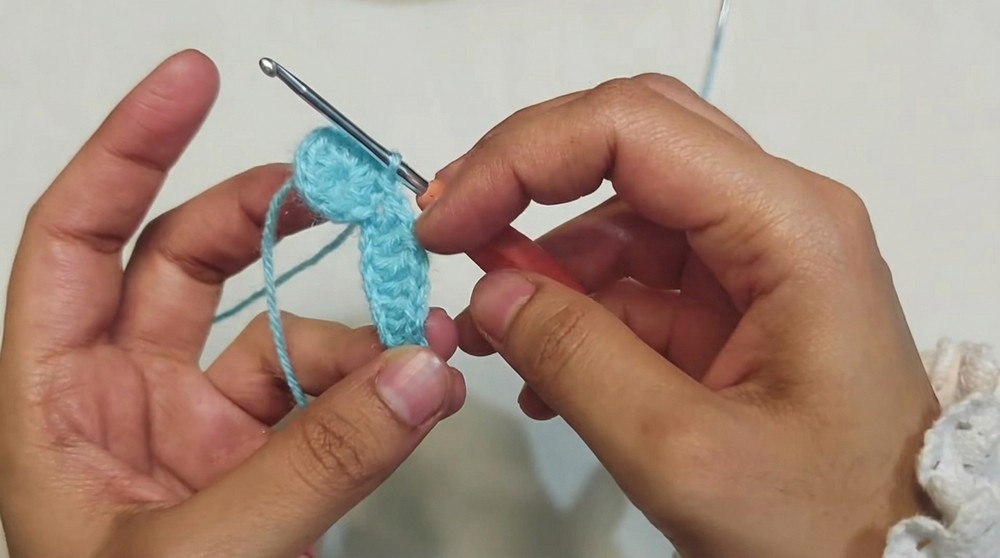
Each arm of the starfish is formed using the following steps:
- Chain Eight:
- Start by chaining eight stitches for the arm.
- Work Backward from Second Chain:
- Skip the first chain (closest to the hook) and work into the second chain:
- Slip Stitch in the second chain to create the pointed tip of the arm.
- Single Crochet into the next stitch.
- Half Double Crochet into the next stitch.
- Double Crochet into the next four chains to form the broader part of the arm.
- Skip the first chain (closest to the hook) and work into the second chain:
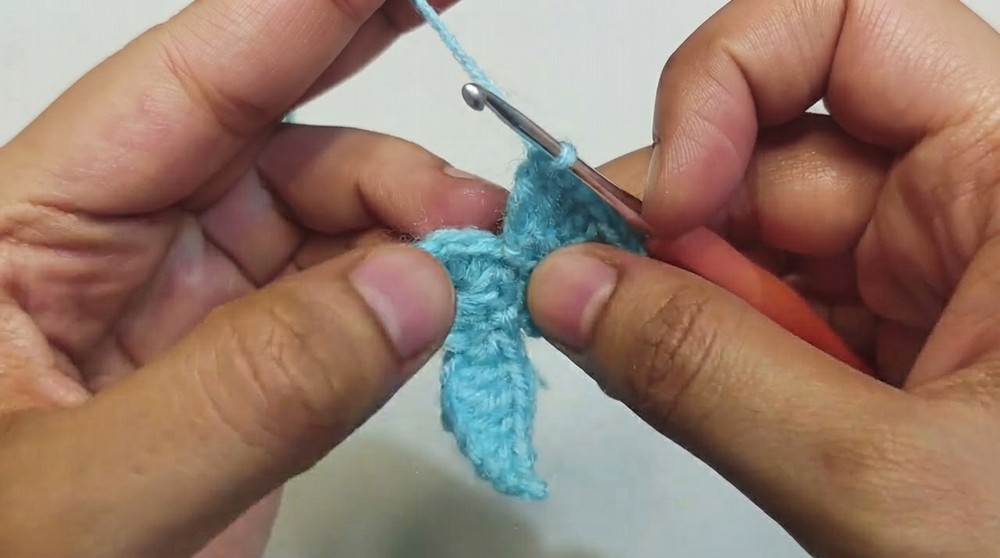
- Skip One Stitch on Base Circle:
- Once the arm is completed, skip one half double crochet stitch on the base circle and slip stitch into the following half double crochet stitch to attach it.
- Repeat Steps for Remaining Arms:
- Follow the same process (chain eight, slip stitch, single crochet, half double crochet, double crochet) to create the next four arms of the starfish.
- Remember: Skip one base circle stitch between arms, as this ensures the arms look evenly spaced and broad.
4. Securing the Star Base
- Once all five arms are completed, chain one to secure the stitches.
- Cut a short length of yarn, pull it through the final stitch, and tighten it securely. The base of the starfish is now complete.
Adding the Border
To give the starfish a clean, polished look, you'll add a contrasting color border (cream in this example).
Steps for Adding the Border:
- Create a Slip Knot with Cream Yarn:
- Use the cream yarn to make a slip knot.
- Attach Cream Yarn:
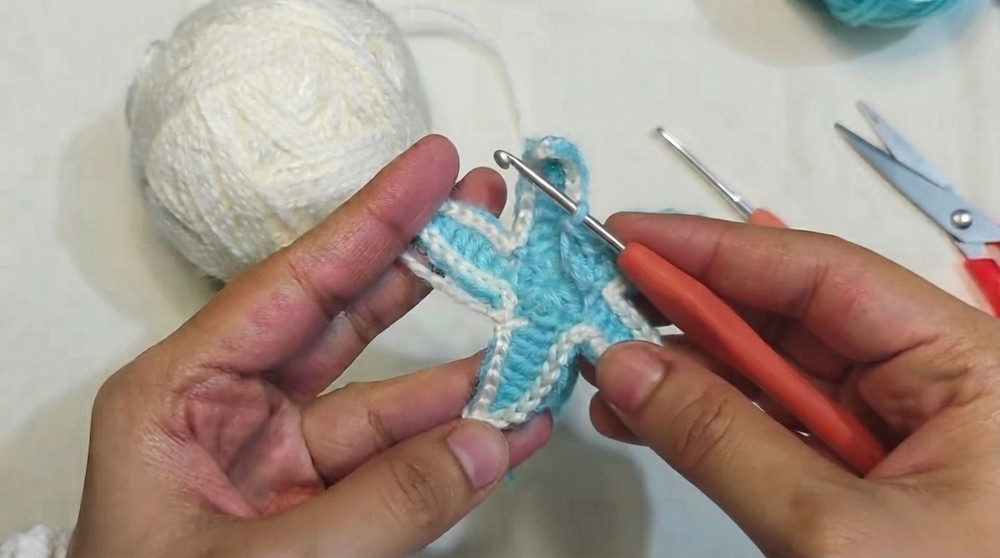
- Pick any arm of the starfish to start. Insert your hook into the tip of the arm and pull the cream yarn through to attach.
- Slip Stitch Around the Arms:
- Chain one, then continue making slip stitches around the edge of the arm.
- At the point of the arm (tip), add one chain to make the edge sharp and defined.
- Continue slip stitching and adding a chain at each tip until the arm's perimeter is complete.
- Repeat for All Arms:
- Repeat the slip stitch and chain method for the remaining four arms.
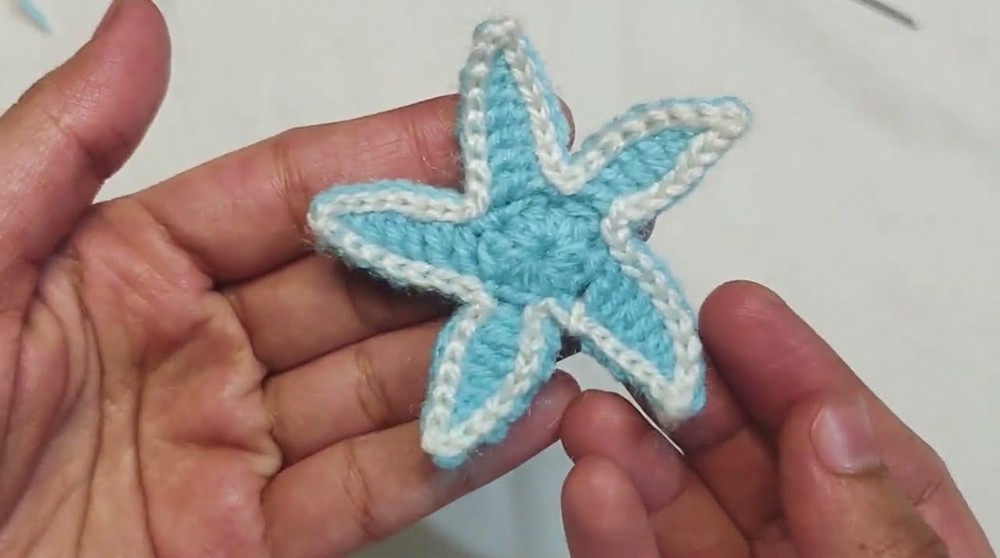
- Finish the Border:
- Once the border is complete, chain one, cut the yarn, and pull through the final stitch to secure.
Finishing Touches
After completing the crochet work, the starfish needs some final adjustments:
- Weave in Ends:
- Use the darning needle to weave in the loose yarn ends both from the blue star base and the cream border.
- Trim excess yarn close to the fabric for neatness.
- Final Clean Up:
- Check for any uneven edges and adjust the stitches gently to smooth them out.
- Optional Additions:
- Attach clips, keychain rings, or other accessories to transform your starfish into useful items. For example:
- Multiple starfish can be linked to create a decorative belt or garland.
- Individual pieces can be attached to backpacks as charming accessories.
- Attach clips, keychain rings, or other accessories to transform your starfish into useful items. For example:
Tips and Suggestions
- Choose High Quality Yarn: Using 100% acrylic yarn ensures durability for keychains or clips.
- Practice the Magic Circle: The magic circle is central to this project. If you're new to it, take time to practice tightening and forming the circle with ease.
- Experiment with Colors: Feel free to swap blue and cream with other vibrant colors like yellow, pink, or green for a playful touch.
- Keep Consistent Tension: Maintaining uniform tension throughout stitches ensures the starfish arms look even and symmetrical.
- Personalize the Design: Add embellishments such as sequins, beads, or embroidery to give the starfish an extra sparkle.
Final Words
This crochet starfish pattern is a delightful project for anyone looking to create something quick, adorable, and practical. Whether used as bookmarks, keychains, or decorations, the versatility of the starfish paired with easy to follow instructions makes it suitable for all skill levels. Enjoy experimenting with colors and designs to make your starfish unique.