
Crochet Cute Paw Bookmark Free Pattern That Makes Reading Fun
Enhance your reading experience with this Free Crochet Cute Paw Bookmark Pattern, a charming bookmark that is both adorable and practical.
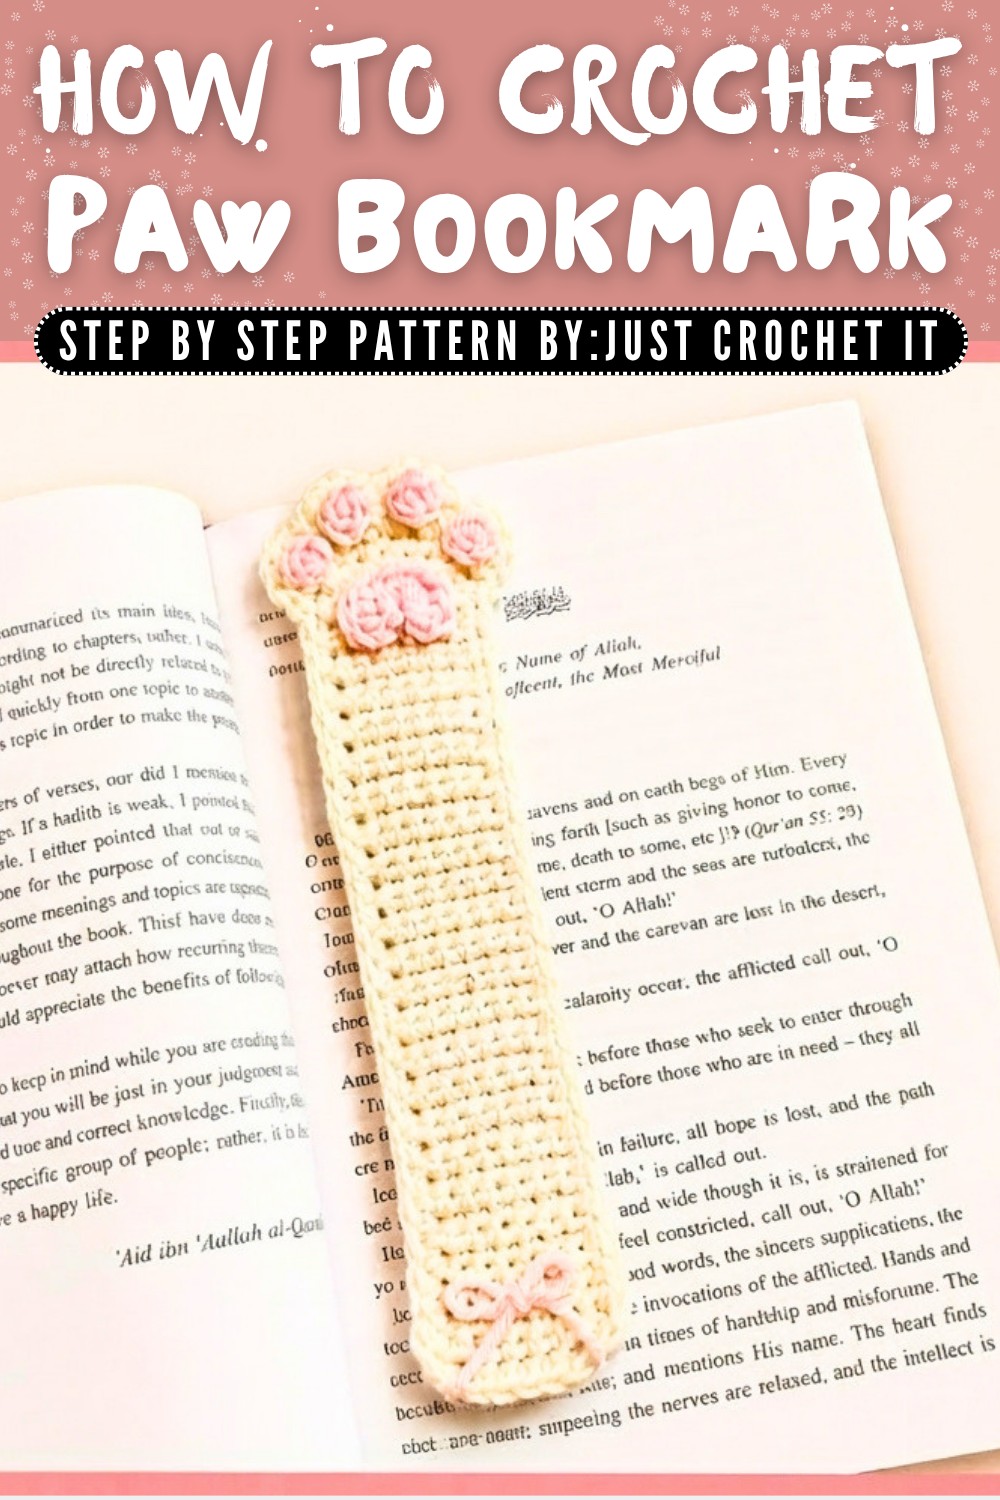
This bookmark is perfect for people who love crochet and animals, especially cats. It is a fun project that anyone can follow, even beginners. The design features a beautiful soft cream base paired with cute pink paw detailing, making it a wonderful gift for friends or for keeping your books organized. The paw print detail at the top of the bookmark adds a playful and artistic touch. The smooth cream colored stitches offer a perfect base to highlight the delicate pink circles and the larger paw pad, creating an charming contrast. The bookmark is lightweight, soft, and simple, making it ideal for keeping your spot in any book.
Crochet a Paw Bookmark Free Pattern That Brightens Every Page
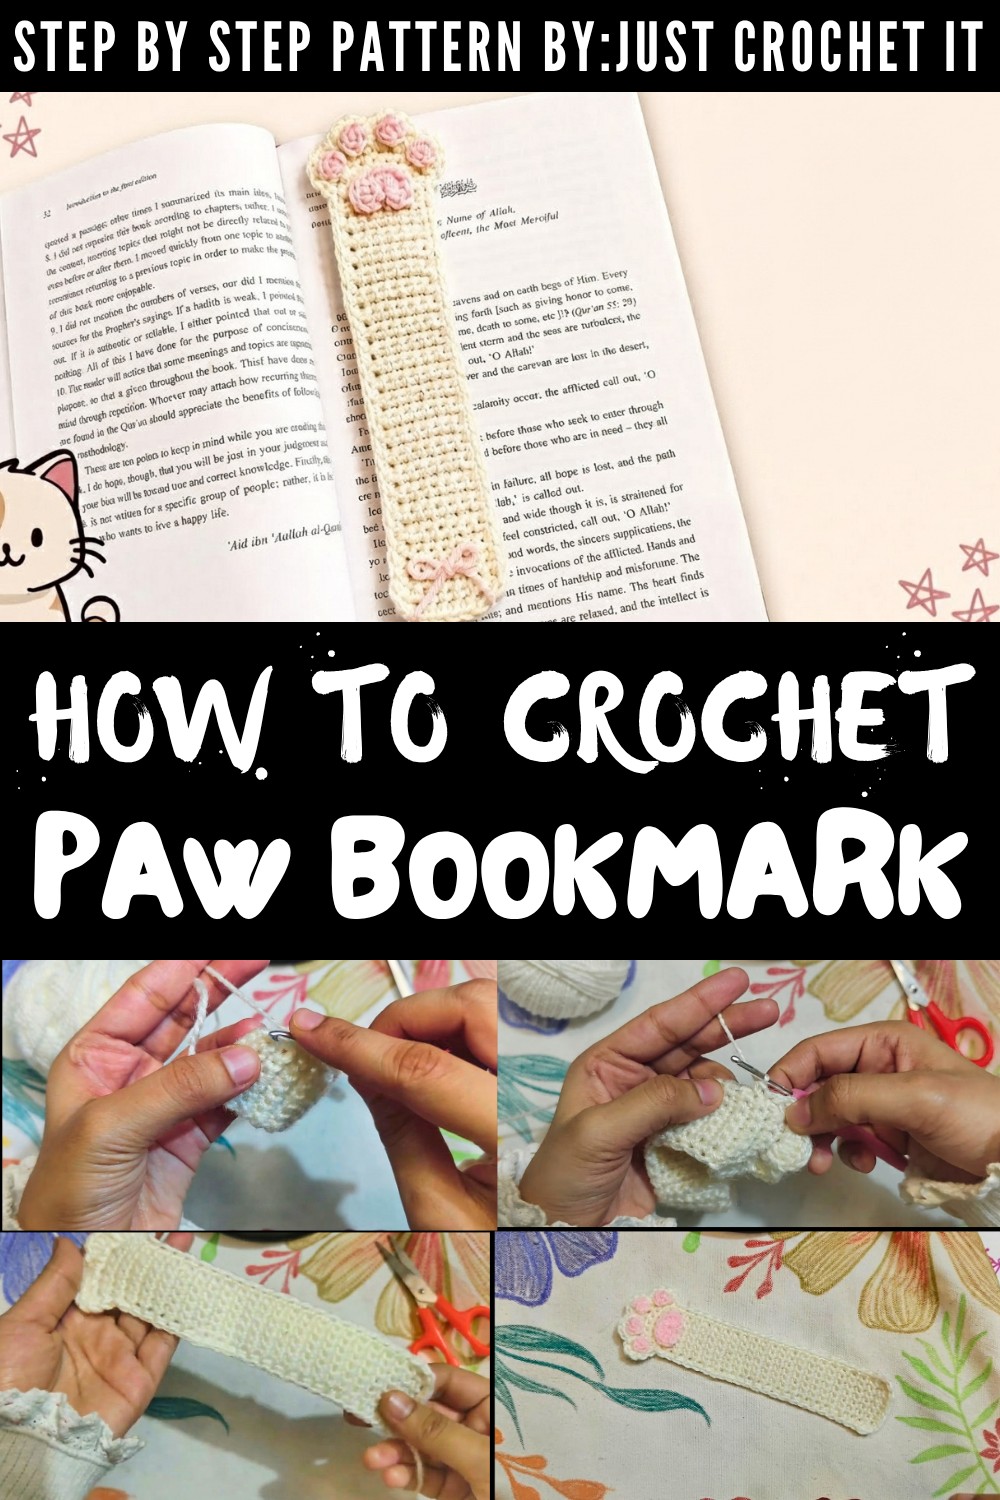
It is not just attractive, but also practical. The 7.5 inch length makes it ideal for most book sizes, and it is easy to carry in your bag or use in your journals. Plus, you can personalize it with your favorite colors or add small decorations like a tiny bow at the bottom to make it unique.
Using high quality acrylic yarn, this bookmark is durable and long lasting. The crochet pattern includes simple stitches like single crochet, double crochet, and slip stitches, so it is easy to complete even if you are just learning to crochet.
This pattern is not only a great crochet project but also a way to improve your crochet skills. You will practice creating a small "paw" design and learn how to add neat borders to your work. Try it today to create a bookmark that is full of charm and handmade love.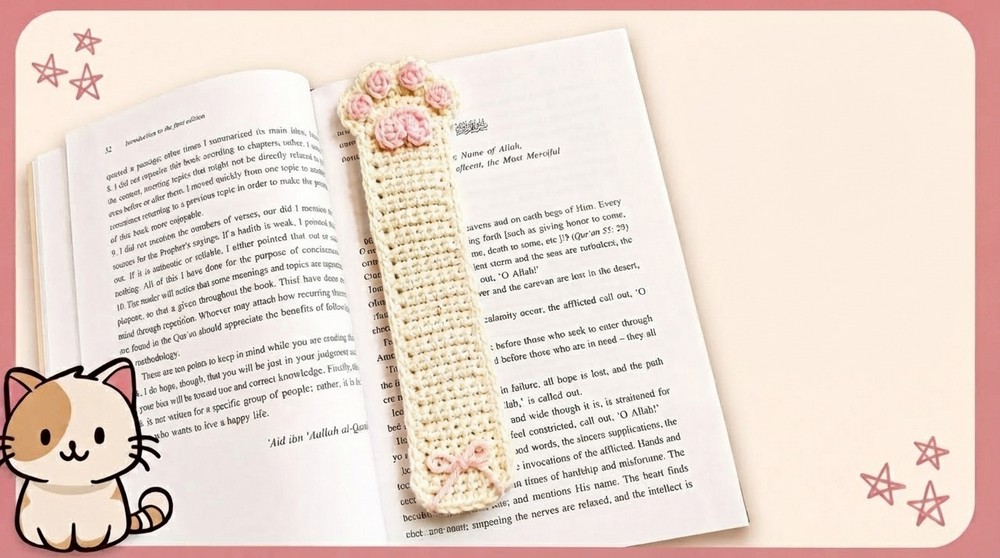
Crochet Cat Paw Bookmark Pattern
Materials You Will Need
To begin, gather the following materials:
- Yarn:
- Cream colored thin four ply acrylic yarn for the bookmark base.
- Baby pink colored thin four ply acrylic yarn for the cat paw decoration.
- Tools:
- A 3mm crochet hook (change to smaller or larger sizes depending on your preference).
- Darning needle for weaving in yarn ends.
- Fabric glue or B7000 glue (to securely attach decorative elements).
- Scissors for cutting yarn.
Techniques and Stitches Used
Before starting the pattern, familiarize yourself with these basic crochet stitches:
- Slip Knot: To start your work.
- Chain (CH): The foundation for most crochet projects.
- Single Crochet (SC): A basic and versatile stitch used for creating a firm fabric.
- Double Crochet (DC): A taller stitch that adds texture.
- Half Double Crochet (HDC): Similar to DC but slightly shorter.
- Magic Circle: A method to create a tight, adjustable center for circular designs.
- Slip Stitch (SS): Used for joining stitches or giving a neat finish.
Step by Step Instructions
Part 1: Creating the Bookmark Base
- Start the Base:
- Take the cream colored yarn and create a slip knot.
- Insert the 3mm crochet hook into the slip knot.
- Foundation Chain:
- Chain 8 stitches (CH 8). This will form the width of your bookmark.
- First Row (Row 1):
- Skip the first chain (closest to the hook) and begin working into the second chain.
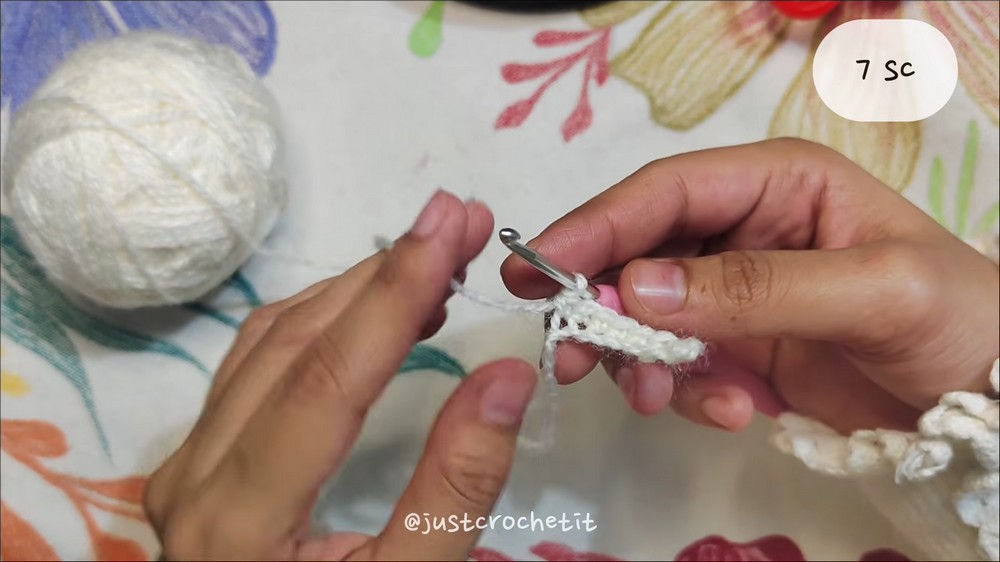
- Make 7 single crochets (SC), one in each chain, until you reach the end.
- Turn your work to begin the next row.
- Subsequent Rows:
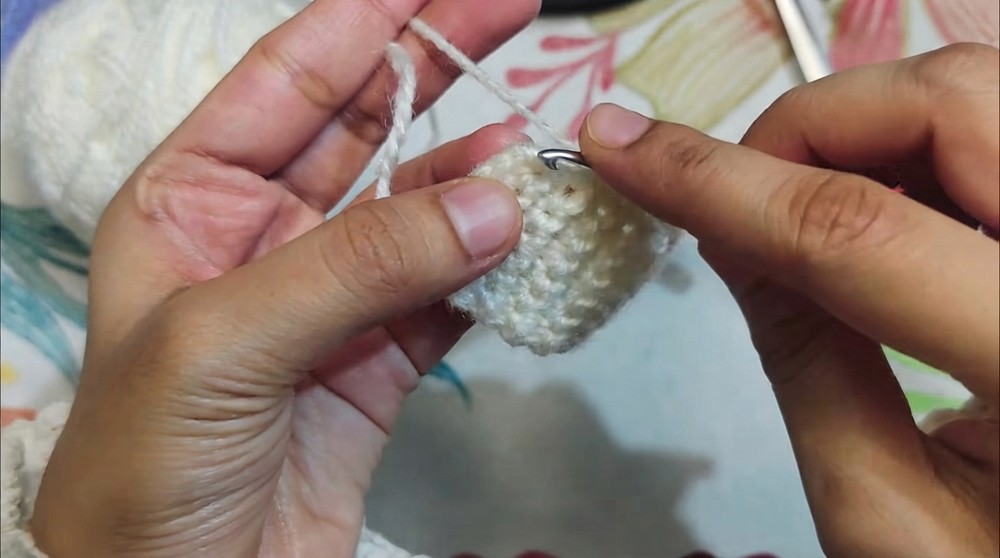
- Do not chain 1 at the start of each row. Instead, directly insert your hook into the first stitch of the previous row and work a single crochet (this is a technique to avoid gaps along the edges).
- Continue making 7 single crochets (SC) in each row.
- Repeat for a total of 25 rows (you can adjust the length by increasing or decreasing the number of rows).
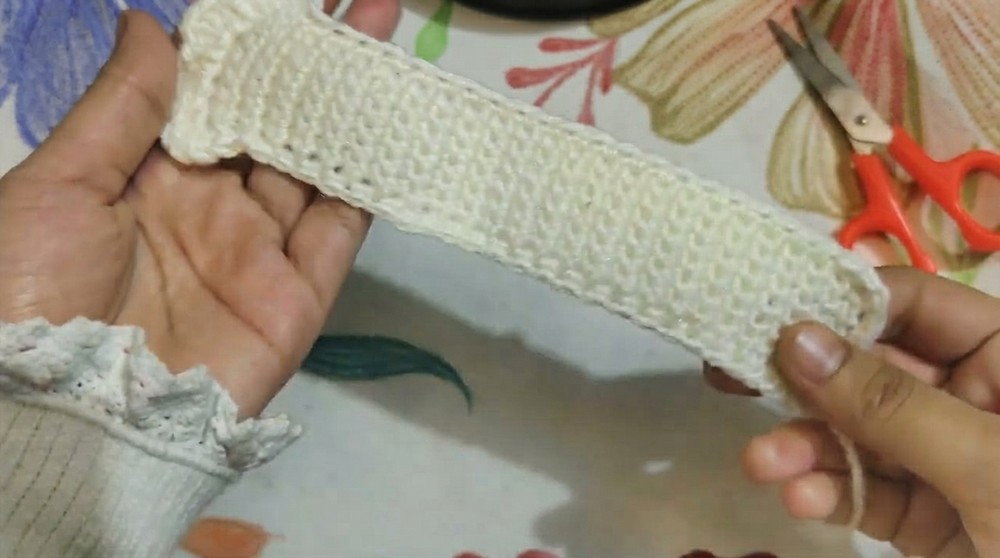
- Finishing the Base:
- After completing the desired number of rows, chain 1 and fasten off the yarn.
- Your rectangular bookmark base is now complete.
Part 2: Adding a Border
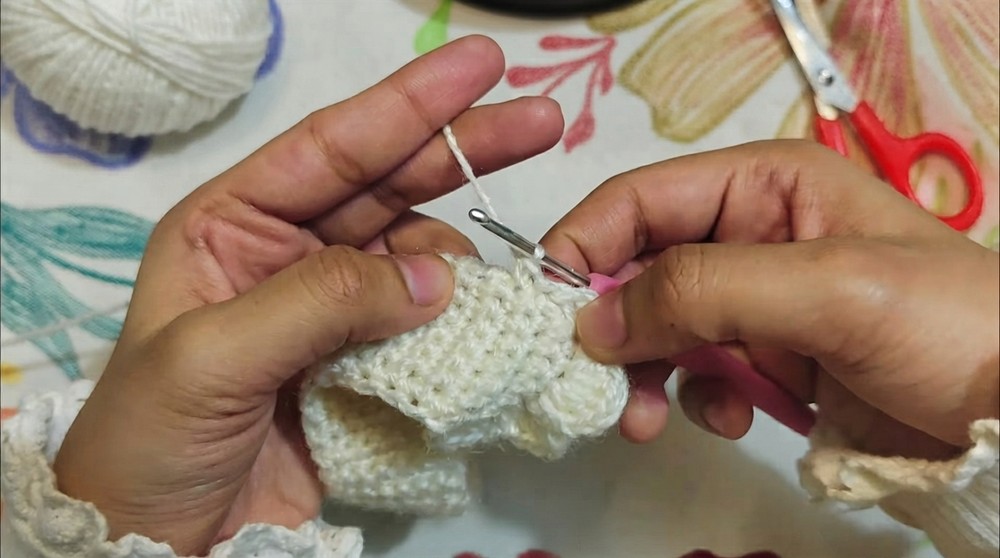
- Attach Yarn for Border:
- Using the cream colored yarn, insert your hook into the first stitch of the foundation row.
- Pull up a loop of yarn and chain 1 to secure.
- Creating the Border:
- Work single crochets (SC) evenly around all sides of the bookmark to create a clean border.
- Take care to place one SC in each stitch along the edges and one SC in each row on the shorter sides.
- Stop adding SCs when you reach the second row on the bookmark base.
Part 3: Crocheting the Cat Paw Design
Step 1: Small Pink Paw Pads
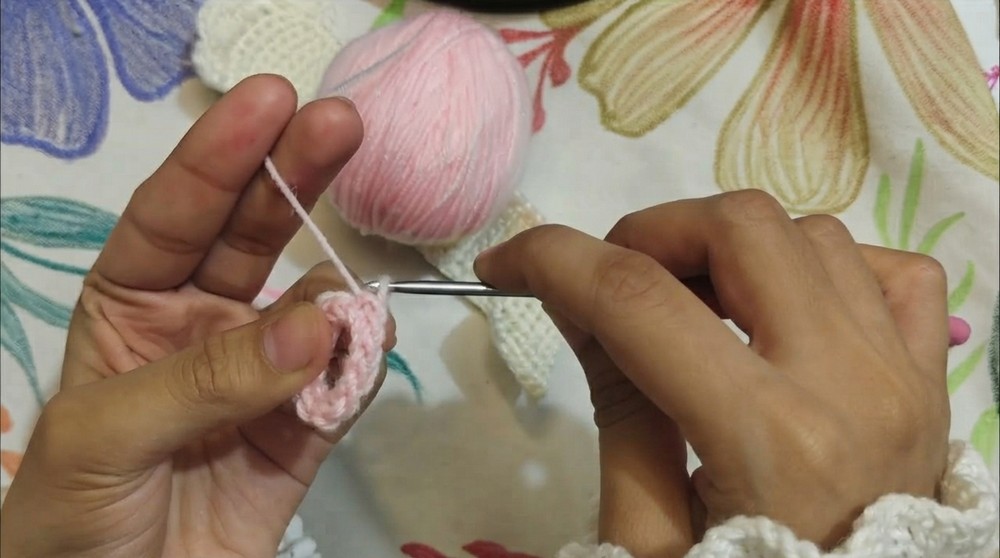
- Forming the Small Circles:
- Using baby pink yarn, create a magic circle.
- Chain 1 to secure the circle.
- Work 4 single crochets (SC) into the magic circle.
- Pull the tail tight to close the center of the circle.
- Finishing the Circles:
- Slip stitch into the first SC to close the round.
- Chain 1, fasten off the yarn, and trim the yarn tail.
- Repeat this process to make 4 small circles.
Step 2: Large Pink Paw Pad
- Creating the Shape:
- Form a magic circle using the baby pink yarn.
- Chain 2 and work the following stitches into the circle:
- 2 double crochets (DC)
- 2 half double crochets (HDC)
- 1 single crochet (SC)
- Mirroring the Other Side:
- After the SC, continue as follows:
- 2 half double crochets (HDC)
- 2 double crochets (DC)
- After the SC, continue as follows:
- Finishing the Large Paw Pad:
- Chain 2 and slip stitch into the magic circle.
- Pull the magic circle tight to close the center.
- Chain 1, fasten off, and trim the yarn tail.
Part 4: Attaching the Paw Design to the Bookmark
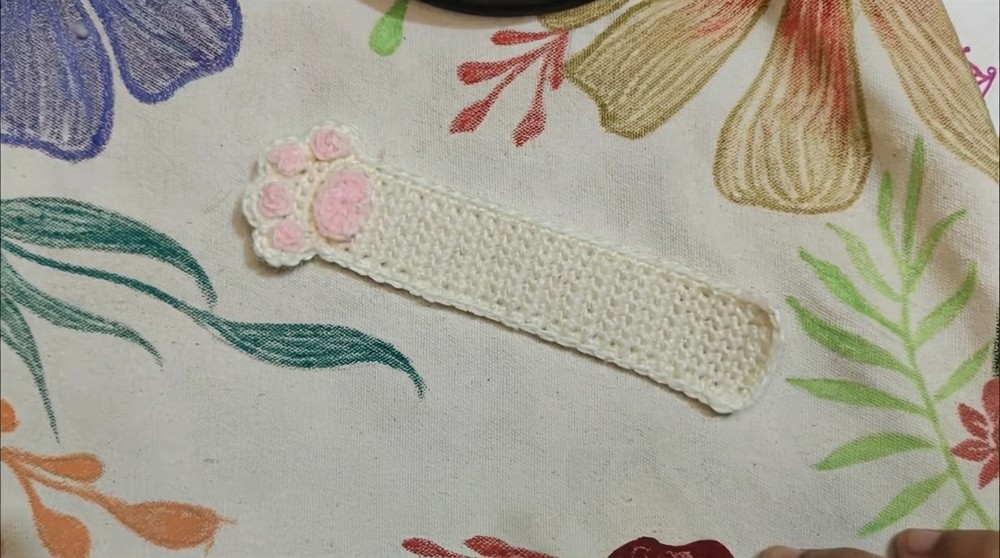
- Arranging the Paw:
- Position the large pink paw pad at the top of the bookmark base.
- Arrange the four small circles above the large pad to form a paw-like design.
- Securing the Pieces:
- Use fabric glue or B7000 glue to firmly attach the large and small paw pads to the bookmark base.
- Press down gently to ensure a strong bond.
Optional Bow Decoration
- Creating the Bow:
- Use the baby pink yarn to create a small bow.
- Attach the bow to the base of the bookmark using fabric glue.
Finishing Touches
- Weaving in Ends:
- Use the darning needle to weave in any remaining yarn tails.
- Once woven securely, trim excess yarn carefully.
- Allow Glue to Dry:
- Ensure the glue is fully dried before handling the bookmark to prevent the decorations from detaching.
Final Notes and Tips
- Customization Ideas:
- Play with different color combinations or yarn textures to personalize the bookmark.
- Add additional embellishments such as beads, embroidered initials, or tassels for a unique look.
- Glue Selection:
- If you prefer a faster drying time, B7000 glue is highly effective and durable. However, fabric glue is also a great alternative for beginners.
- Maintenance Tips:
- To keep your bookmark looking neat, avoid exposing it to dirt or extreme humidity.
- Lightly hand clean with a soft, damp cloth if needed.
Conclusion
By following this pattern, you'll create a delightful crochet bookmark that showcases your creativity. The cat paw design makes it an adorable addition for bookmarks or a heartfelt handmade gift for loved ones. Whether you're a crochet beginner or experienced, this project is enjoyable, rewarding, and an excellent way to explore embellishment techniques.