
Crochet Baby Shoes Free Pattern for Sweet First Steps
Little feet stay cozy and adorable with this Free Crochet Baby Shoes Pattern that's easy, exciting, and a joy to create
Are you ready to create something absolutely adorable that will melt hearts? As someone who's loved crocheting for years, I've found a deep joy in making thoughtful, handmade gifts for loved ones-especially when it's for the tiniest members of the family. Let's talk about a delightful project: Crochet Baby Shoes Free Pattern. These soft, little booties are not just a creative way to use your yarn stash, but also make for a truly heartfelt keepsake.
Crochet Baby Shoes Free Pattern for Special Days

These baby shoes are seriously charming. Tiny, symmetrical booties with a delicate strap or an optional bow for that perfect finishing touch. The texture is soft and smooth, with just the right thickness to keep a baby's tiny feet snug and warm.
The shape is beautifully crocheted with a rounded sole and a neat upper part, making them look both stylish and cozy. Available in pastel or vibrant colors (your choice), these shoes are a decor worthy addition to a nursery, a standout gift at a baby shower, or simply an accessory to make those first baby photos even more precious.
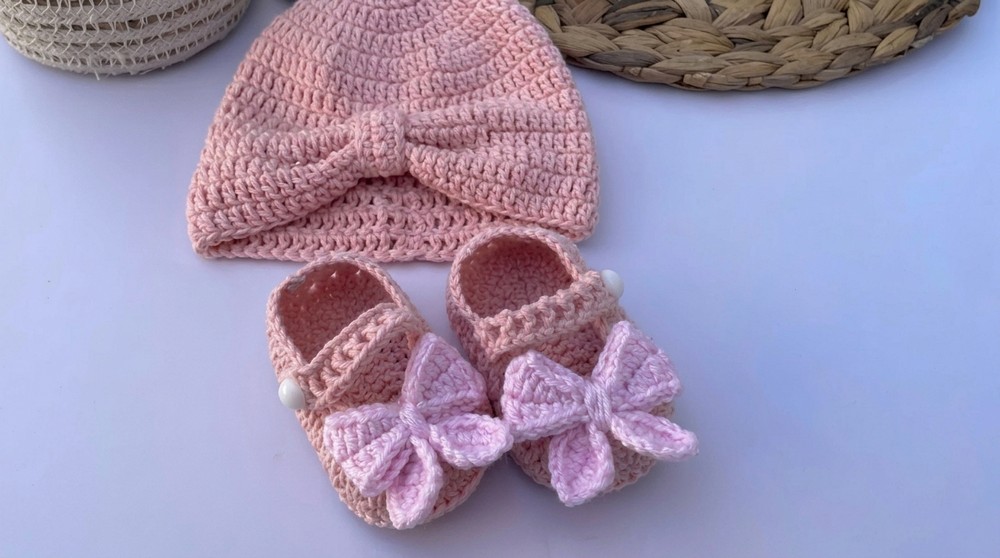
Handmade baby shoes carry incredible gifting value, and they'll surely be cherished by any parent. They're not only practical as soft, wearable baby footwear, but they also make for wonderful collectibles or decorative pieces. No matter your skill level, this project is a true joy to work on-so go ahead and pick up your hook. You'll love every stitch of it.
Crochet Baby Shoes Pattern
Materials:
- Yarn: Alize Cotton Gold (sports weight yarn or an equivalent cotton blend).
- Hook: 3.5 mm crochet hook (use larger hooks and thicker yarn for bigger sizes).
- Accessories:
- Stitch marker (to mark the first stitch in each round).
- Scissors.
- Button (optional, for strap).
- Tapestry needle (for weaving in ends).

Gauge:
- 10 double crochets and 5 rows = 5 cm x 5 cm square with 3.5 mm hook.
Finished Size:
- Sole length: Approximately 9.5 cm.
Features of the Pattern:
- The sole is worked using basic increases to form an oval shape.
- A seamless transition to the main part of the bootie avoids gaps for a neat finish.
- The strap and optional decoration allow for customization to match preferences.
Pattern Instructions
Step 1: Start with the Sole
Round 1:
- Make a slip knot and chain 12 (the base).
- Add 3 more chains (these count as the first double crochet [dc]).
(Total: 15 chains) - Work as follows:
- Skip 3 chains. In the 4th chain, make 2 double crochets (dc).
- Work 1 dc in each of the next 10 chains.
- In the last chain of the row, make 7 dc to create a rounded end.
- Move to the other side of the foundation chain:
- Work 1 dc in each of the next 10 chains.
- In the final chain at the other end, make 2 dc.
- Close the round with a slip stitch into the 3rd chain of the initial 3 chains.
(Total stitches after Round 1: 34)

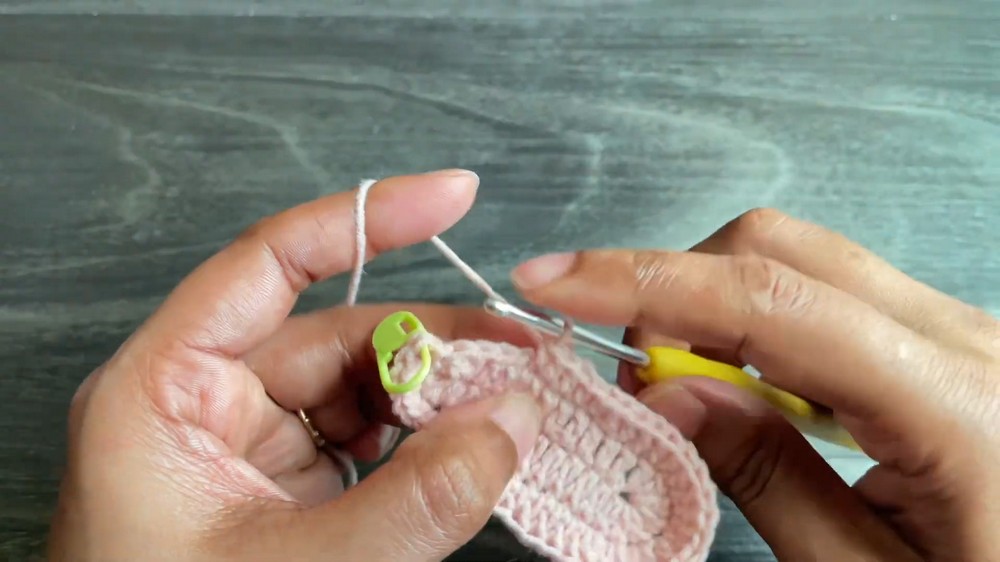
Round 2:
- Chain 1.
- Work 2 single crochets (sc) into each of the first 3 stitches.
- Work 1 sc in the next 10 stitches, moving along the side of the base.
- In the rounded toe section, work 2 sc into each of the next 7 stitches for increasing.
- Work 1 sc in each of the next 10 stitches down the opposite side.
- Work 2 sc in the final 3 stitches.
- Join with a slip stitch to the first single crochet of the round.
(Total stitches after Round 2: 50)


Round 3:
- Chain 3 (counts as the first dc). Place a stitch marker here.
- Increase sequence for shaping the sole:
- Work 1 dc in the next stitch, then 2 dc in the next. Repeat this 3 times.
- Work 1 dc in each of the next 10 stitches.
- In the toe area, alternate 2 dc in one stitch and 1 dc in the next, repeating this increase 3 more times.
- In the center section, work 2 dc in each of the next two stitches.
- Near the heel, alternate 1 dc, 2 dc in three sets of stitches.
- Work 1 dc in each of the next 10 stitches, balancing the shape at the sides.
- Join with a slip stitch to the beginning chain 3.
(Total stitches after Round 3: 70)
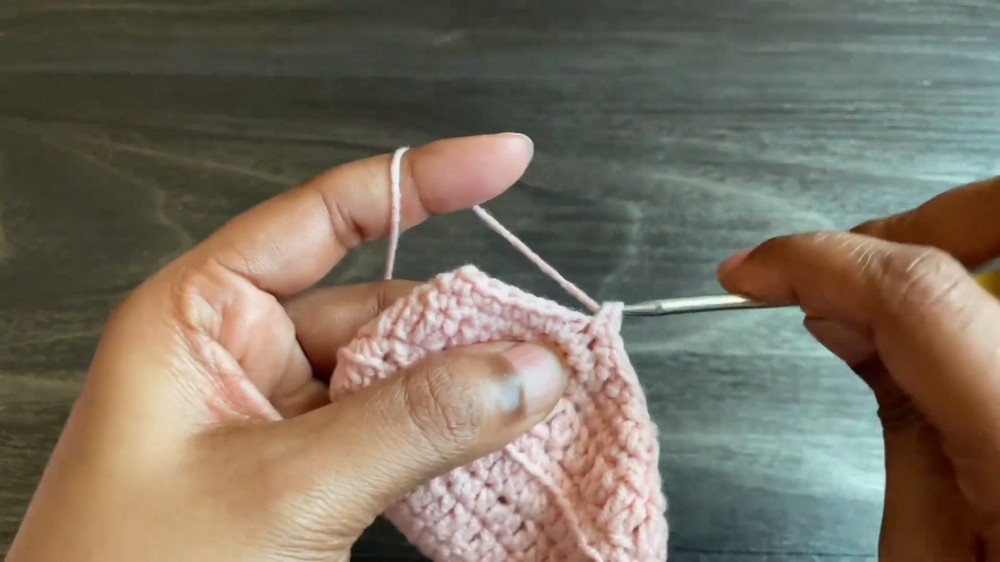
Step 2: Form the Main Body
Once the sole is complete (approx. 9.5 cm in length), you will begin the upper body section.
Round 4 (Back Loop Single Crochet):
- Chain 1.
- In this round, you'll crochet into back loops only:
- Insert into the back loop of the stitch while also catching the bump behind the back loop to reduce gaps, and work 1 sc in each stitch around.
- Close the round with a slip stitch into the first single crochet.
Round 5 (Cluster Increase):
- Chain 3 (counts as the first dc). Mark this with a stitch marker.
- Increase by working 2 dc into every other stitch:
- Skip one stitch, work 2 dc into the next stitch. Repeat around.
- Close the round with a slip stitch.
Round 6 (Shaping the Toe):
- Chain 1. Work 1 sc in the next 16 stitches.
- At the rounded toe, work 1 single crochet by skipping 1 stitch, repeating this 12 times for shaping.
- Continue with 1 sc in each of the remaining stitches until the round is complete.
- Join with a slip stitch to the first sc.
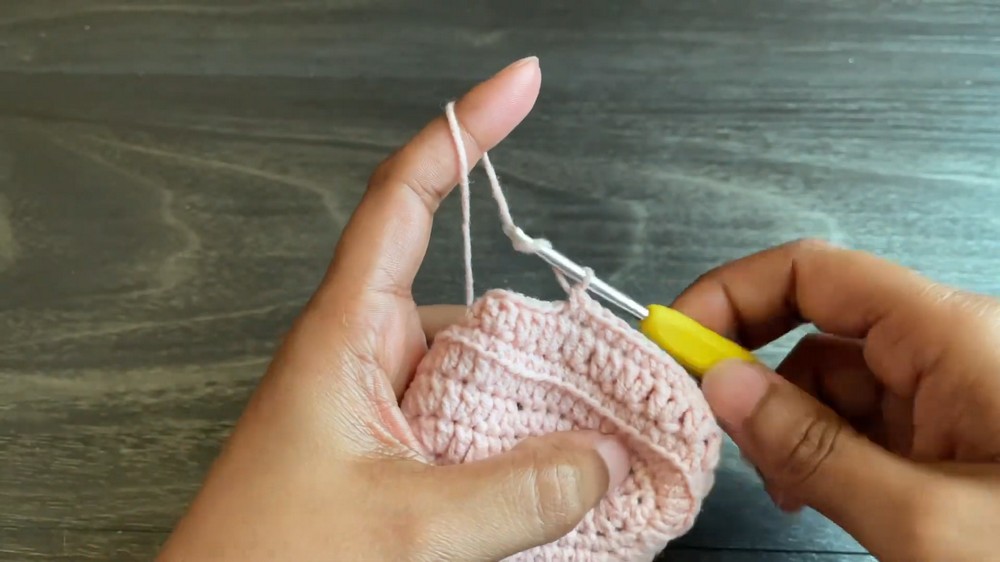
(This round helps form the shape of the toe and gives structure to the shoe.)
Round 7 (Final Smoothing):
- Chain 1.
- Work 1 sc in the first 5 stitches.
- On the toe section, skip one stitch and work 1 sc in the next, repeating this 9 times, maintaining smooth shaping.
- Finish the rest of the round with single crochets back to the heel.
- Join the round with a slip stitch.
At the end of this round, the main body of the bootie is complete.
Step 3: Create the Strap
The strap secures the bootie on the baby's foot and adds a decorative touch.
- Attach the Yarn:
- Count 8 stitches from the center back seam of the shoe.
- Insert the hook into the 9th stitch and attach the yarn with a slip stitch.
- Chain:
- Chain 19, then add 3 more chains (the turning chain for double crochets).
- Work Pattern across Strap:
- Skip the first 3 chains after the turning chains.
- Work 1 dc, then chain 1, skip 1 chain, and work 1 dc into the next.
- Repeat this pattern until you reach the end of the chain.
- Secure the Strap:
- Skip one stitch near the edge of the shoe, and secure the strap with a slip stitch into the next stitch.
- Fasten off and weave in ends.

Optional Enhancements
- Add a Button:
Attach a decorative button to one side of the strap where it meets the edge of the shoe. This adds flair and ensures the strap stays in place. - Bows or Flowers:
You can further embellish the bootie with a bow or a crochet flower. Attach these to the front of the toe for a delicate touch. - Experiment with Colors:
To personalize the booties, consider using contrasting yarns for the strap or sole.

Conclusion
Your adorable baby booties are now complete. These booties feature a sturdy sole, a structured toe, and a stylish strap. The design provides comfort and flexibility for little feet, while also making an excellent gift for baby showers or newborns.
Enjoy experimenting with colors, embellishments, and sizing options for a truly unique and creative project.
