
Free Crochet Doily Pattern for Elegant Table Decor Ideas
Decorate your space with soft detail using this Free Crochet Doily Pattern, featuring a pretty crochet design for home decoration.
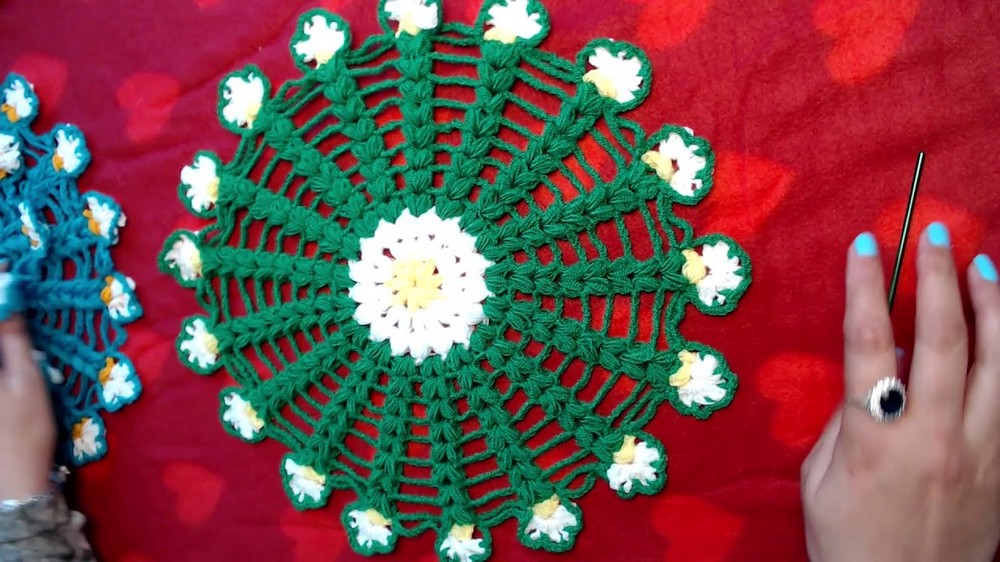
Crochet doilies are a joy to make and bring a touch of elegance to any space. This Free Crochet Doily Pattern is easy to follow and creates a stunning design filled with neat and eye catching details. Made with puff stitches, chains, and single crochets, the pattern blends style with simplicity in a way that's perfect for both beginners and experienced crocheters. This doily features soft, textured puff stitches that form a lovely circular design. The combination of soft colors like lemon yellow, bottle green, and white adds charm and brightness while giving the piece a delicate and artistic feel.
Free Crochet Doily Pattern for Vintage Home Charm

Measuring approximately 13.5 inches, this doily looks beautiful on tables, shelves, or even as a frame for centerpieces. The rounded petals and circular layers in the pattern are its most unique features-they create an impressive look, while still being light and airy. The process is straightforward, making it fun to create. Whether you keep it for decorating your own home or gift it to someone special, this handmade doily will always bring smiles.
Another tip to help your project look professional is blocking, where you wet the finished doily and gently shape it on a flat surface. This ensures it lays flat and retains its beautiful shape. Best of all, this free pattern allows you to customize colors, making each doily unique. Wouldn't it be wonderful to create something both elegant and practical? This doily is not just a decoration, it's a work of art that you make with your own hands. Try this free pattern today and enjoy creating something truly special.

Complete Crochet Pattern for a Puff Stitch Doily
1. Necessary Materials
To get started, ensure you have the following materials:
- Yarn:
- The project uses Crystal Yarn by Ice Yarn or any fine weight yarn.
- You'll need approximately 900 meters of yarn per 100g.
- Colors used in the video: Lemon yellow, white, and green (feel free to choose your own combination).
- Hook Size: 3mm crochet hook.
- Scissors: For trimming excess yarn.
- Tapestry Needle: For weaving in ends after finishing.
2. Finished Size
The finished doily measures approximately 13.5 inches (34 cm) in diameter. This size can be adjusted by adding or subtracting rounds.
3. Techniques Used
- Puff Stitch: Yarn over, insert the hook into the stitch, and pull up three or more loops (depending on the round). Then pull through all loops at once, securing it with a chain.
- Single Crochet (sc): Insert the hook into the stitch, yarn over, pull through, yarn over again, and pull through both loops on the hook.
- Double Crochet (dc): Yarn over, insert the hook into the stitch, yarn over again, pull through, then pull through two loops twice.
- Chain Stitch: Yarn over, pull through the active loop to form a chain.
4. Gauge
Gauge is not critical for this pattern since it's more decorative than fitted. However, keep your tension consistent for an even look.
5. Instructions
Round 1: Foundation Ring
- Create a slip knot and chain 7.
- Slip stitch into the first chain to form a ring.
Round 2: Puff Stitches
- Chain 1, then work puff stitches as follows:
- Yarn over, insert the hook into the ring, pull up a loop, and repeat this process three times.
- Pull through all loops on the hook and chain 1 to secure the stitch.
- Chain 2, then repeat the puff stitch eight more times, separated by chain 2.
- You should have 9 puff stitches in total. Slip stitch into the first puff stitch to close the round and fasten off.
Round 3: Adding White Yarn
- Attach white yarn to any chain 2 space. Chain 1 to secure the yarn.
- In the same space, work:
- 1 puff stitch, chain 2, and 1 puff stitch.
- Move to the next chain 2 space and repeat the sequence: puff stitch, chain 2, puff stitch, chain 2.
- At the end of this round, you should have 18 puff stitches (two per chain 2 space).
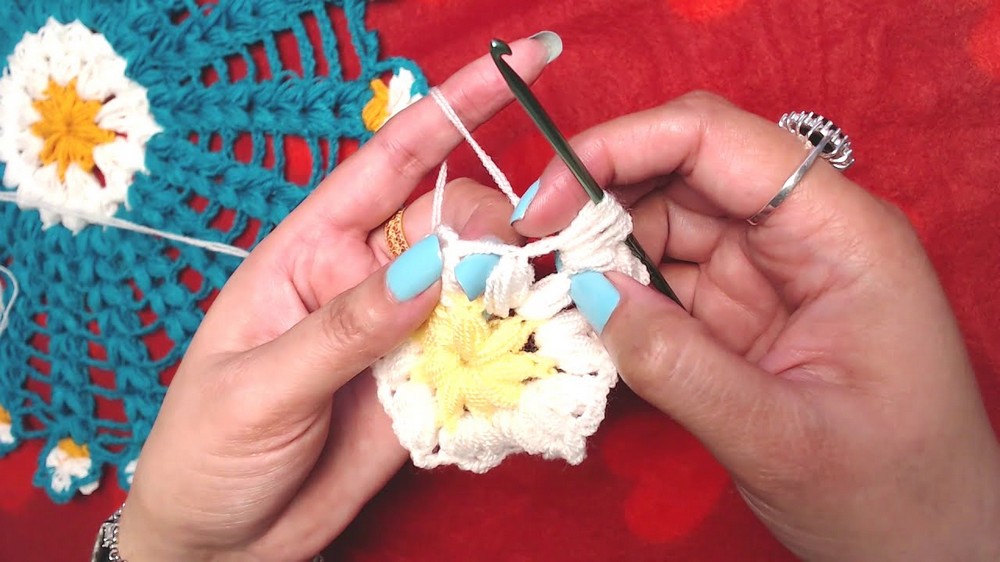
Round 4: Connecting Puff Stitches
- Slip stitch into the top of the first puff stitch, then into the adjoining chain 2 space.
- Start the first connected puff stitch:
- Half complete a puff stitch in one chain 2 space and complete it in the next chain 2 space to form a connected puff.
- Chain 2 before starting the next puff stitch pair.
- Continue until all chain 2 spaces are used, closing the round with a slip stitch.
Round 5: Adding Green Yarn
- Attach green yarn to any chain 2 space.
- Create two puff stitches separated by chain 2 in the same space.
- Chain 1, then move to the next chain 2 space. Repeat this pattern around the doily.
- Join the round with a slip stitch.

Round 6 Onward: Expanding the Chains
Begin forming a chain lace effect around your puff stitches. Each round increases the chain length between puff stitch sets:
- Round 6: Chain 2 between puff stitch sets.
- Round 7: Chain 3.
- Continue increasing by 1 chain stitch per round until your desired size is achieved.

Round 8: Adding Yellow Petals
- Attach yellow yarn to any puff stitch.
- Chain 3, yarn over, pull up a loop 4 times, pull through all loops to form a puff petal. Secure with a chain.
- Create 3 puff petals per puff stitch, with petals evenly spaced.

Round 9: White Accent Around Petals
- For each set of petals, attach white yarn into the base chain of the petal group.
- Chain 3, work 2 double crochets, and chain 3.
- Single crochet around the base chain.
- Repeat this sequence for all petals.
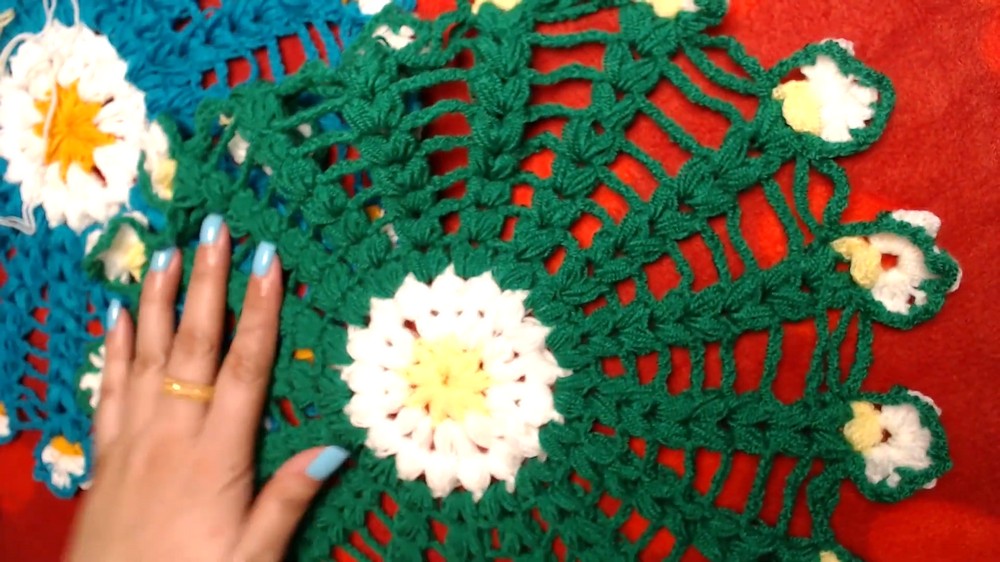
Round 10: Final Green Border
- Attach green yarn to puff petal bases.
- Chain 3, single crochet into the next space, and continue around.
- After every 9 chains, add a single crochet for structure.
- Repeat the chain stitching until the round is complete.
6. Customization Ideas
- Color Combinations:
- Experiment with seasonal colors (e.g., autumn tones, winter white).
- Use metallic yarns or glitter threads for a festive touch.
- Adjust Size:
- To make a larger doily, continue adding rounds with expanded chains between puff stitches.
- To make a smaller doily, stop at a smaller number of rounds.
- Edging Options:
- Add picot edging for a playful, lacy touch.
- Incorporate beads into the final round for added elegance.
- Multi Use:
- Use as coasters, wall hangings, table centerpieces, or placemats.

7. Tips for Success
- Master Puff Stitches: Practice making puff stitches consistent in height and volume.
- Work With Light Hands: Tension control is crucial to prevent the yarn from splitting during puff stitches.
- Blocking Your Doily:
- Blocking ensures the doily lies flat and is evenly shaped:
- Submerge the finished doily in water, gently press out excess water, and pin it flat to dry on a flat surface.
- Blocking ensures the doily lies flat and is evenly shaped:
- Save Your Yarn: Puff stitches use more yarn-keep extra handy to avoid running out.
8. Important Notes
- The puff stitch technique in this pattern creates a textured and durable doily with a neat appearance.
- Pay attention to the chain lace sections, ensuring proper spacing and placement between puff stitches and petals.
- Block the final piece for best results, as puff stitches can naturally curl inward before being fully stretched.
Final Remarks
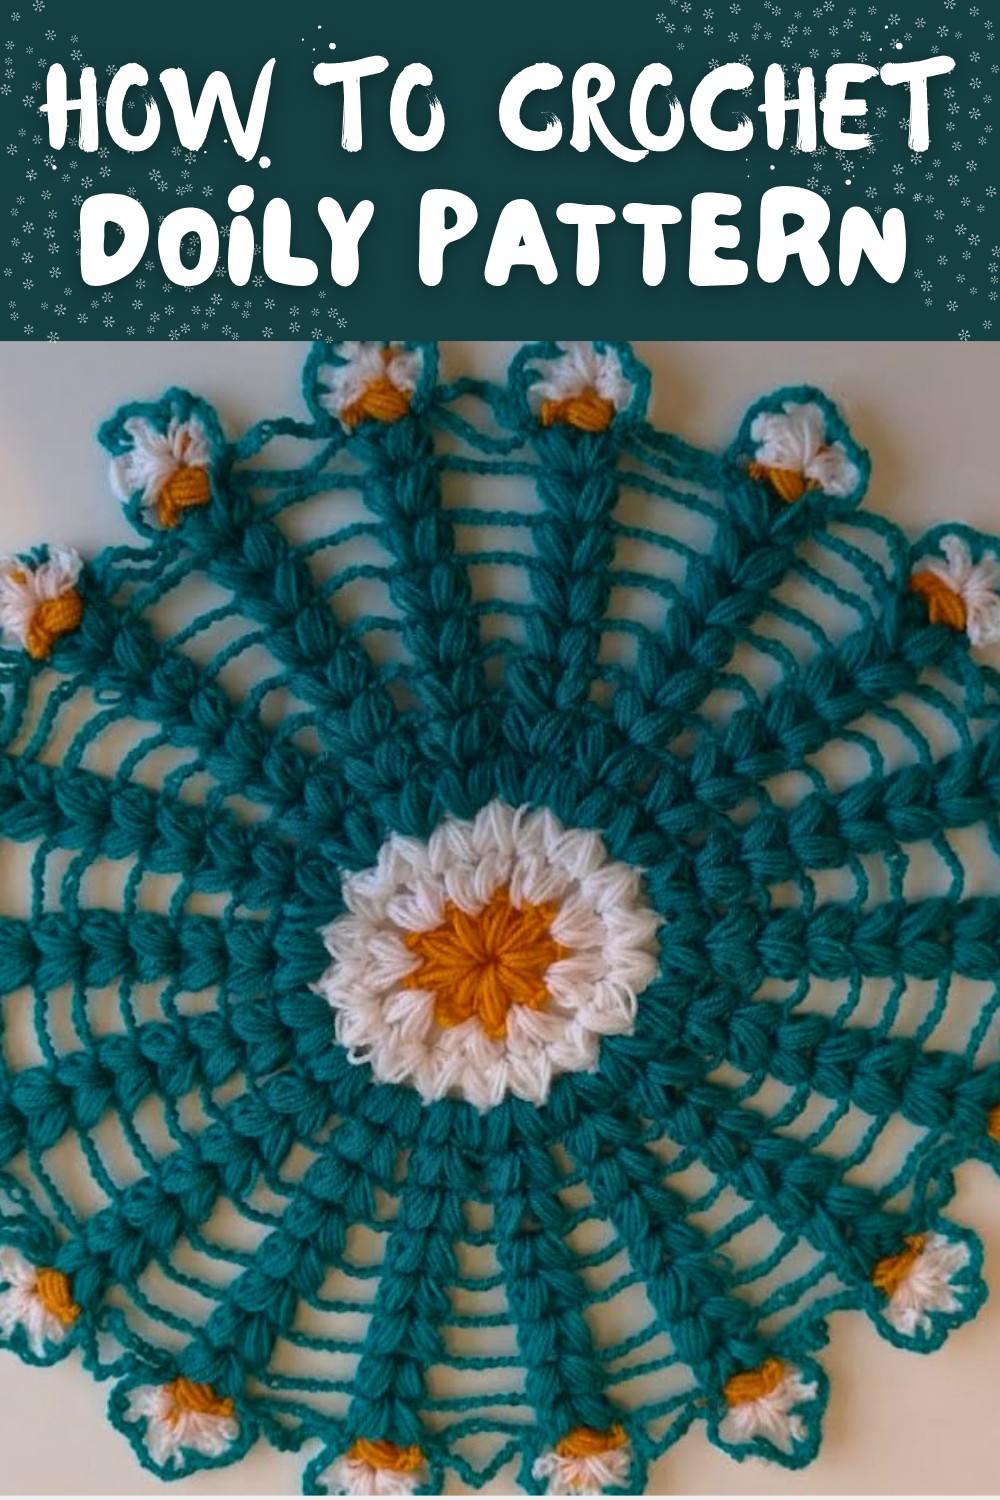
Your crochet doily is now complete-a stunning piece of handmade art. The combination of puff stitches and chain laces results in a chic, airy design that earns compliments whether you use it as a decorative element or give it as a heartfelt gift. Take pride in your creativity and enjoy your crocheting journey with this beautiful piece of craftsmanship.