
Crochet Free Cat Bucket Beach Hat Pattern with Simple Guide
Enjoy sunny days with this stylish Free Crochet Bucket Beach Hat Pattern that offers comfort and charm perfect for casual outdoor fun.
A perfect hat can make your sunny days even better. It shields your face from strong sunlight and keeps you cool when the heat rises. Making your own hat is a fun way to add a personal touch to your summer outfit. The Crochet Bucket Beach Hat pattern is a wonderful choice for this. It uses soft yarn that feels gentle against your skin and lets air flow so your head stays comfortable. This hat fits loosely enough to be relaxing while still offering good shade. It works beautifully for many outdoor activities like walks on the beach, picnics in the park, or casual shopping trips.
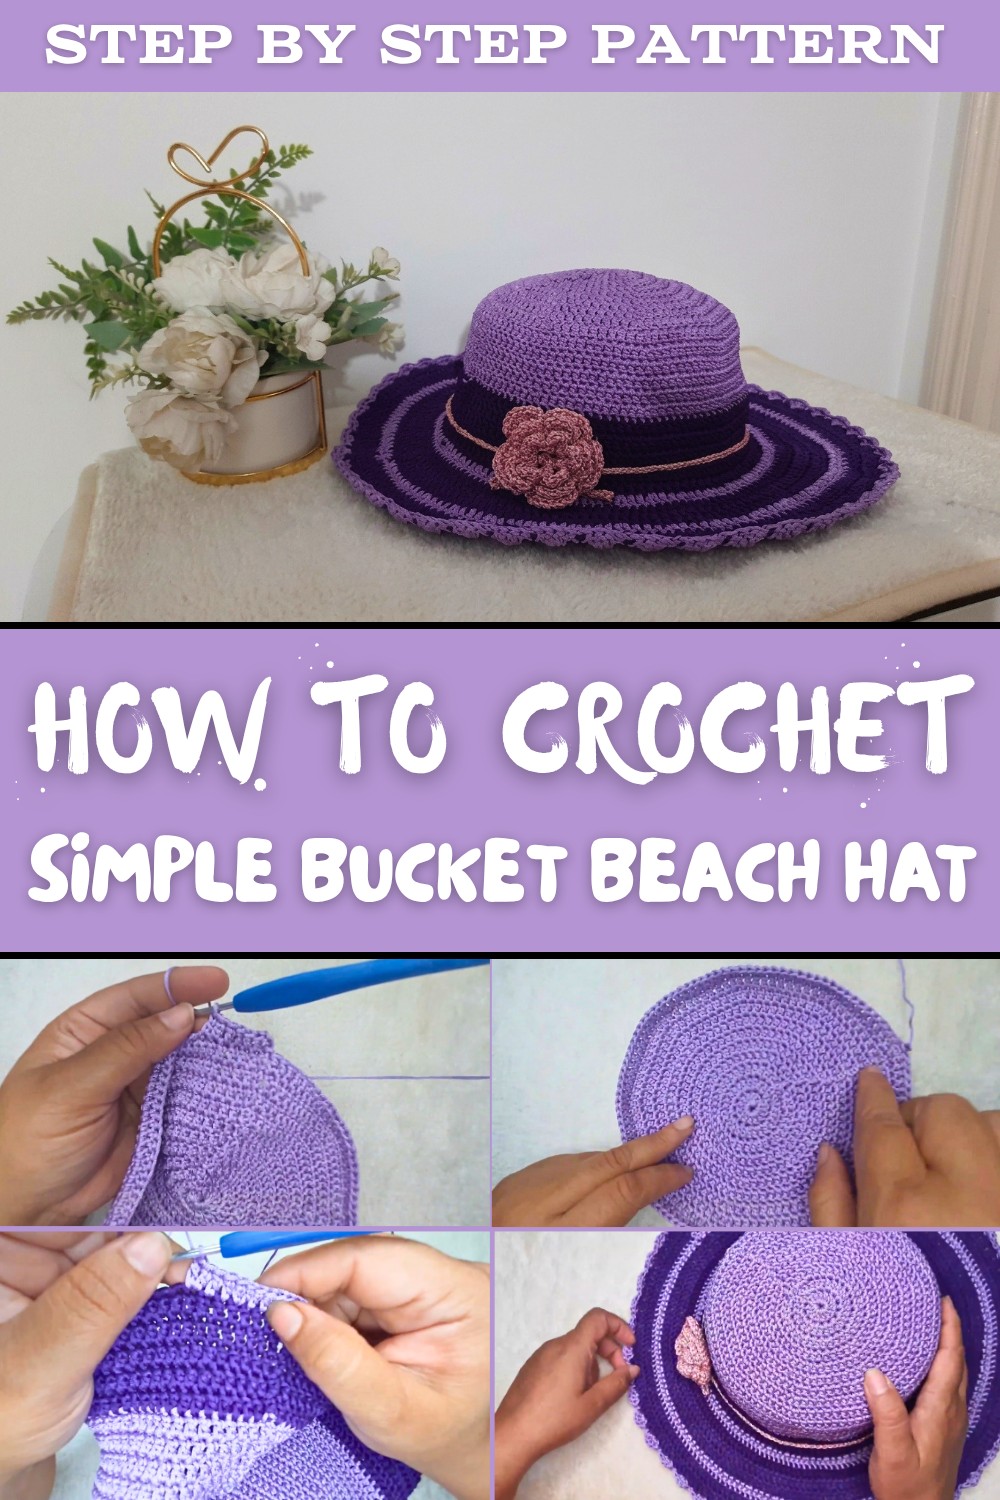
Free Crochet Cat Bucket Beach Hat Pattern for Stylish Sun Protection
You can pick any color that makes you happy or matches your clothes easily. The bucket shape is stylish while being simple and practical. It pairs well with sunglasses, light scarves, or even beachwear to create a fresh look that stands out without trying too hard. Beginners will find this pattern straightforward and enjoyable, making it a great project to learn new skills.
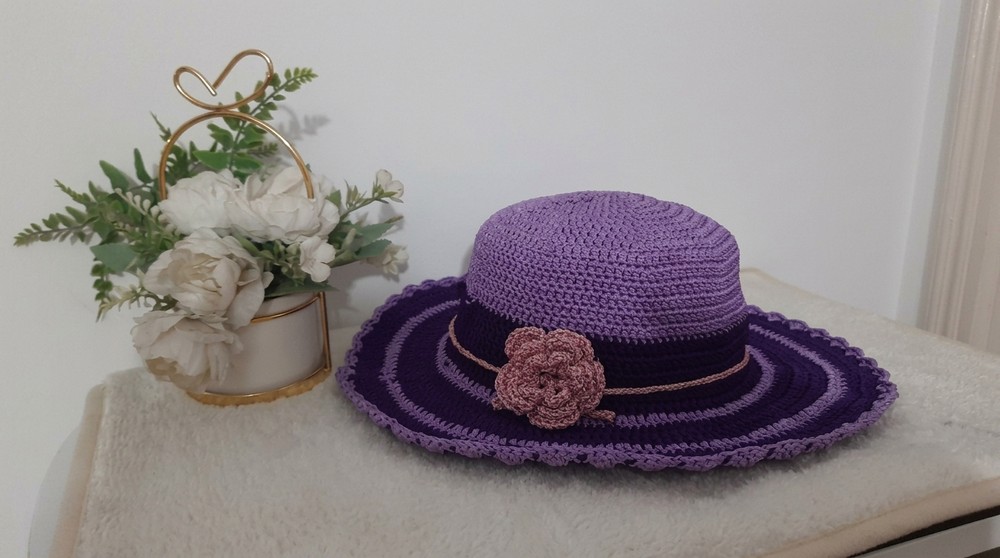
Plus, handmade hats have a special charm that store-bought ones can't match. With this Crochet Bucket Beach Hat pattern you not only get sun protection but also a lovely accessory that expresses your unique style. Whether you want to keep cool on vacation or just enjoy some sunny days close to home this hat is a smart and beautiful choice. It combines comfort, function, and fashion in one easy-to-make item that you will reach for again and again.
Simple Double Crochet Beach Bucket Hat Crochet Pattern
Enjoy the feel of the ocean breeze with this easy and stylish beach bucket hat! Worked entirely using double crochet stitches, this pattern captures the serene waves of the sea in its texture and shape. The hat is worked in soft cotton yarn in complementary shades with a pretty textured border and is perfect for breezy beach days or casual outings. Follow this comprehensive guide designed for all skill levels and create your own cozy yet breezy bucket hat.
Before You Begin Crocheting
- Yarn choice: Soft cotton yarn with subtle sheen preferred; recommended DK/light worsted weight. This pattern uses two tones of lavender for a delicate ombré effect.
- Hook size: 3.3 mm crochet hook used; adjust if needed for your tension to ensure correct fit.
- Basic crochet knowledge: Familiarity with double crochet stitch, working in rounds, increases, and changing colors.
- Tools: Yarn needle for weaving ends, stitch markers for round counting (optional), scissors.
- Measure your head circumference for custom fit and adjust rows as needed - see sizing notes below.
- Keep stitches even and yarn tension relaxed but consistent to maintain fabric shape.
Important Details About This Design
- Entire hat is constructed with double crochet stitches for a uniform, wave-like texture.
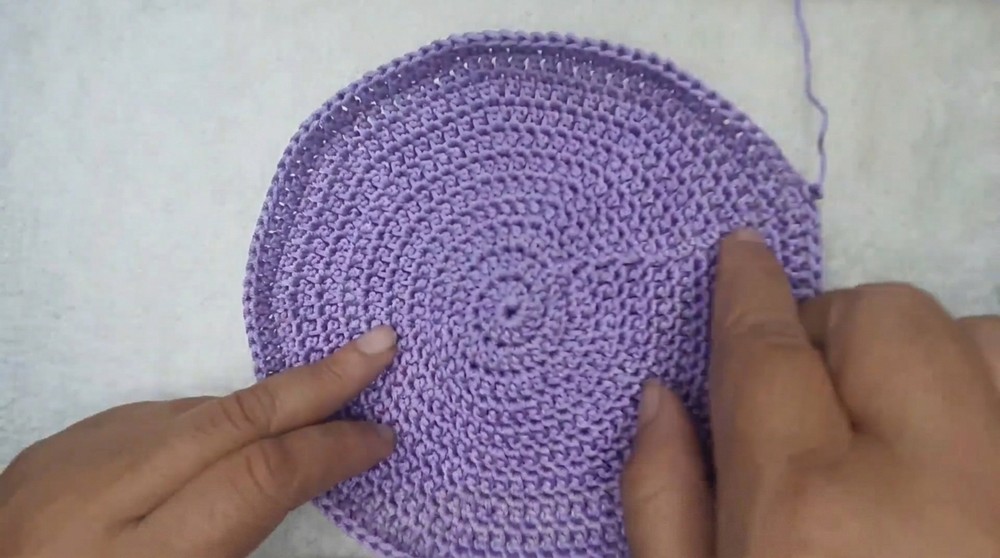
- Pattern begins with a flat crochet circle formed by gradual increases for a smooth crown.
- Rounded crown diameter grows over 11 rounds with defined increase placement.
- Following rounds are worked in simple double crochet stitches without increases, forming the vertical sidewall of the hat.
- Color can be changed at any point; this pattern features a shift to a darker lavender shade after base shaping.
- The signature border features clusters of four double crochets spaced evenly with slip stitch spaces for a scalloped effect.
- Multiple sizes possible by adding rows of increases and adjusting sidewall height, customizable by wearer measurement.
- The pattern is beginner-friendly, focusing on repetition and basic crochet techniques.
Overview of Hat Construction
- Create a foundational flat circle with smooth increases for crown shape.
- Work several rounds of double crochet around without increases to create the hat's vertical sidewall height.
- Resume increases in structured rounds to expand the brim area for sun protection and style.
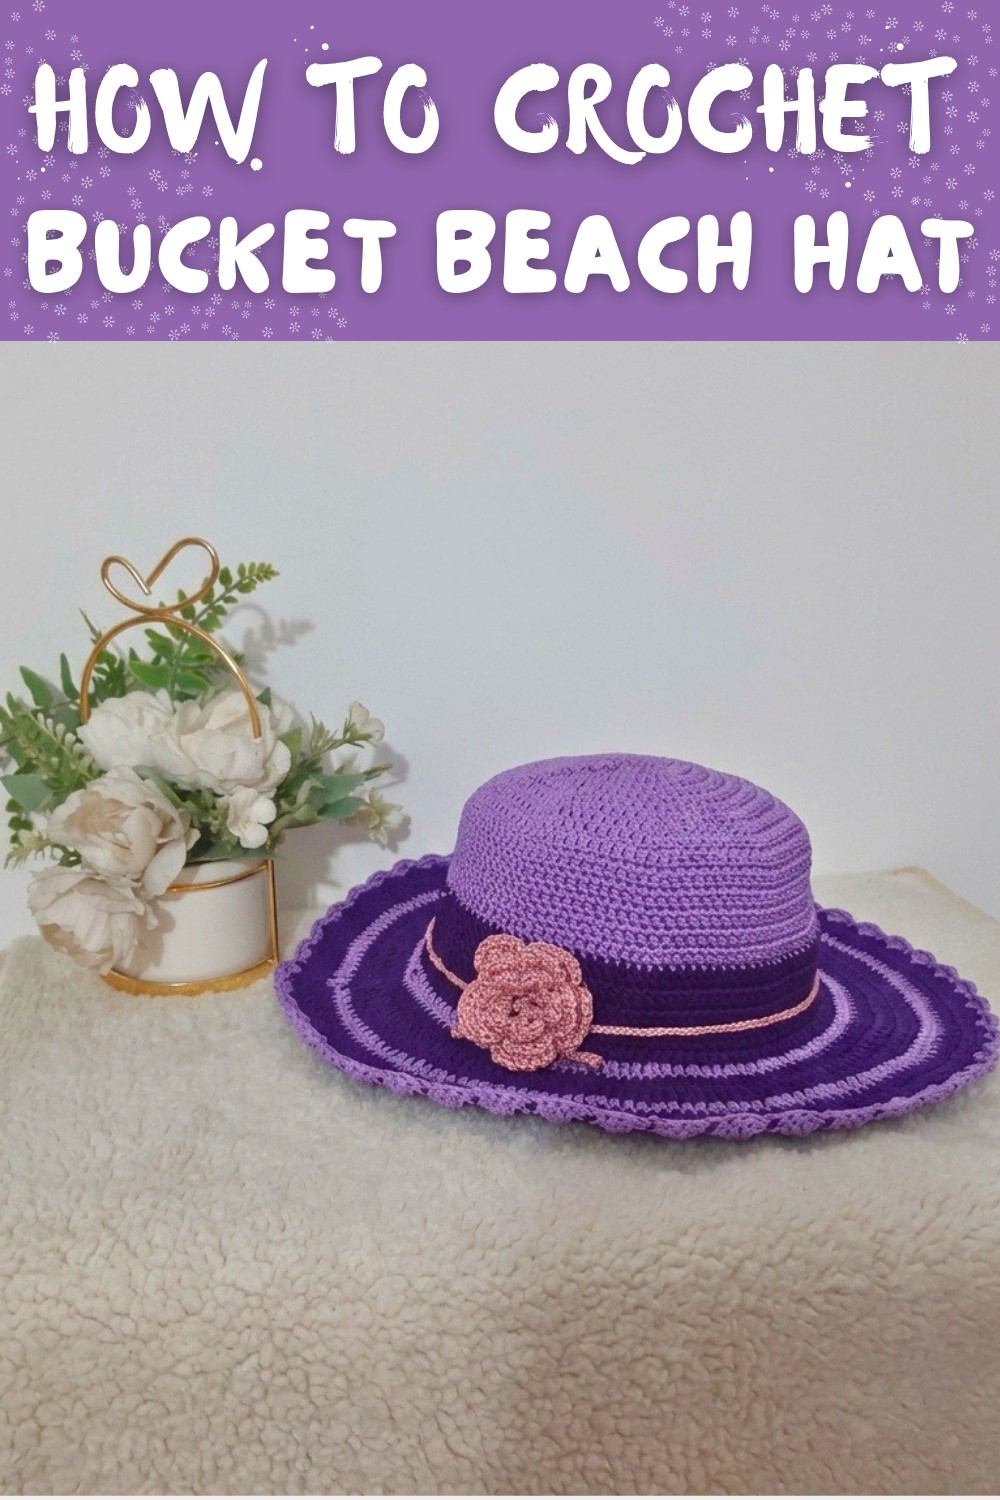
- Finish with a decorative crocheted border with distinct shell-like scallops.
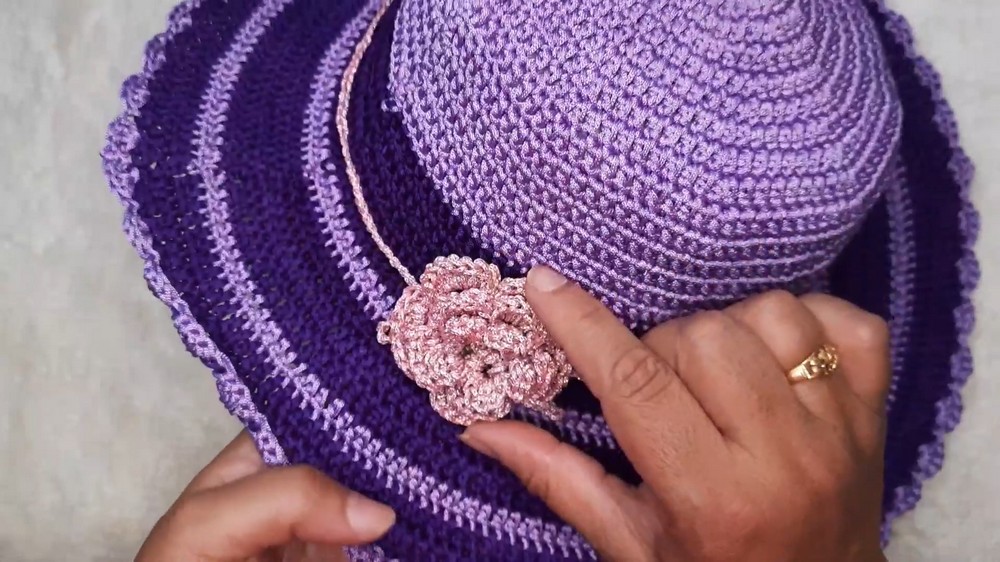
- Optional flower embellishment shown in video can be added for ornamentation (instructions in linked project).
Recommended Experience Level
Beginner to Intermediate:
- Basic knowledge of double crochet (dc) stitch and working in rounds.
- Understanding of increase stitches and chain stitches.
- Familiarity with color changes and slip stitches for finishing.
Final Dimensions of Completed Hat
- Crown diameter after initial rounds: approximately 7 inches (18 cm).
- Total height to brim edge: customizable; here approximately 8-9 inches (20-23 cm) after sidewall and brim rounds.
- Circumference adjusts with increase rounds to fit adult head sizes; measure as you go.
Materials Checklist
- DK-weight 100% cotton yarn, two shades (light lavender for crown and wall, dark lavender for brim and border) approximately 150-200 grams total.
- Crochet hook size 3.3 mm (or adjust per tension).
- Scissors, yarn needle.
- Stitch markers to track rounds (optional).
Approximate Gauge
- Not critical but sample gauge: 14 dc stitches × 8 rows = 4 inches (10 cm) in double crochet using 3.3 mm hook and cotton yarn.
- Adjust hook size if needed for desired tension and fit.
Crochet Terminology and Abbreviations
- ch = chain
- dc = double crochet
- sl st = slip stitch
- inc = increase (2 stitches worked into one stitch)
- st(s) = stitch(es)
- round (rnd) = complete circular crochet row
Key Special Techniques
- Basic Magic Circle or Chain Ring:
Starting round method for a tight, adjustable center for flat circle. - Increasing in Rounds:
Working two double crochet stitches in one stitch to increase round diameter smoothly. - Slip Stitch Joining:
Joining rounds without adding height for seamless round transitions.
Pattern Instructions
Part 1: Crocheting the Crown (Rounds 1-11)
Round 1:
- Make magic circle or chain 4 and join to form ring.
- Ch 3 (counts as dc).
- Work 13 dc into ring. (Total 14 dc including starting chain 3.)
- Join with sl st to top of chain 3.
Round 2:
- Ch 3 (counts as dc).
- 2 dc in next stitch, 1 dc in next stitch, repeat this increase pattern around.
- Join with sl st.
- (Total 21 dc.)
Round 3:
- Ch 3.
- 2 dc in first stitch, 1 dc in next 2 stitches, repeat around.
- Join with sl st.
- (28 dc)
Round 4:
- Ch 3.
- 2 dc in first stitch, 1 dc in next 3 stitches, repeat around.
- Join with sl st.
- (35 dc)
Round 5:
- Ch 3.
- 2 dc in first stitch, 1 dc in next 4 stitches, repeat around.
- Join with sl st.
- (42 dc)
Round 6:
- Ch 3.
- 2 dc in first stitch, 1 dc in next 5 stitches, repeat around.
- Join with sl st.
- (49 dc)
Round 7:
- Ch 3.
- 2 dc in first stitch, 1 dc in next 6 stitches, repeat around.
- Join with sl st.
- (56 dc)
Round 8:
- Ch 3.
- 2 dc in first stitch, 1 dc in next 7 stitches, repeat around.
- Join with sl st.
- (63 dc)
Round 9:
- Ch 3.
- 2 dc in first stitch, 1 dc in next 8 stitches, repeat around.
- Join with sl st.
- (70 dc)
Round 10:
- Ch 3.
- 2 dc in first stitch, 1 dc in next 9 stitches, repeat around.
- Join with sl st.
- (77 dc)

Round 11:
- Ch 3.
- 2 dc in first stitch, 1 dc in next 10 stitches, repeat around.
- Join with sl st.
- (84 dc - crown completed)
At this point, crown should sit flat. This completes the shaping of the crown.
Part 2: Creating the Sidewalls (Rounds 12-14)
Rounds 12 to 14:
- Ch 3 (counts as dc).
- Dc in each stitch around (no increases).
- Join each round with sl st.
- (Maintain stitch count from previous round, 84 dc each round.)
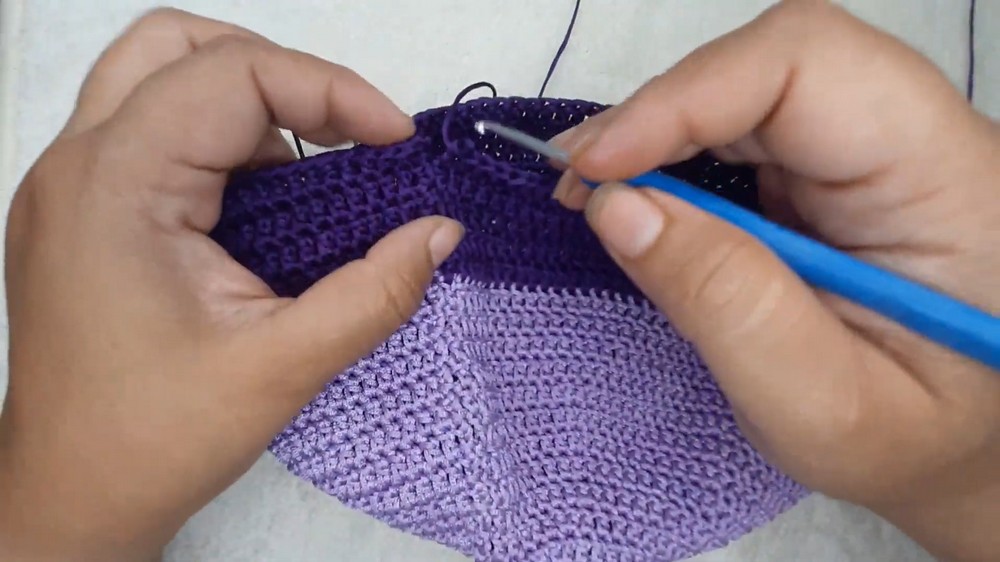
This builds the vertical walls of the hat.
Part 3: Expanding the Brim (Round 15 and beyond)
Round 15 (First Increase Round):
- Ch 3.
- 11 dc in consecutive stitches, 2 dc in next stitch (inc), repeat to end.
- Join with sl st.
- (Increases widen the brim.)

Rounds 16 to 20:
- Ch 3.
- Dc in each stitch around (no increases).
- Join with sl st.
Build side brim length - try on the hat and adjust rounds for desired brim size.
Round 21 (Second Increase Round):
- Ch 3.
- 2 dc in each of next 2 stitches, 2 dc together in next stitch, repeat around.
- Join with sl st.
Rounds 22 to 24:
- Ch 3, dc in each stitch around without increases.
- Join with sl st.
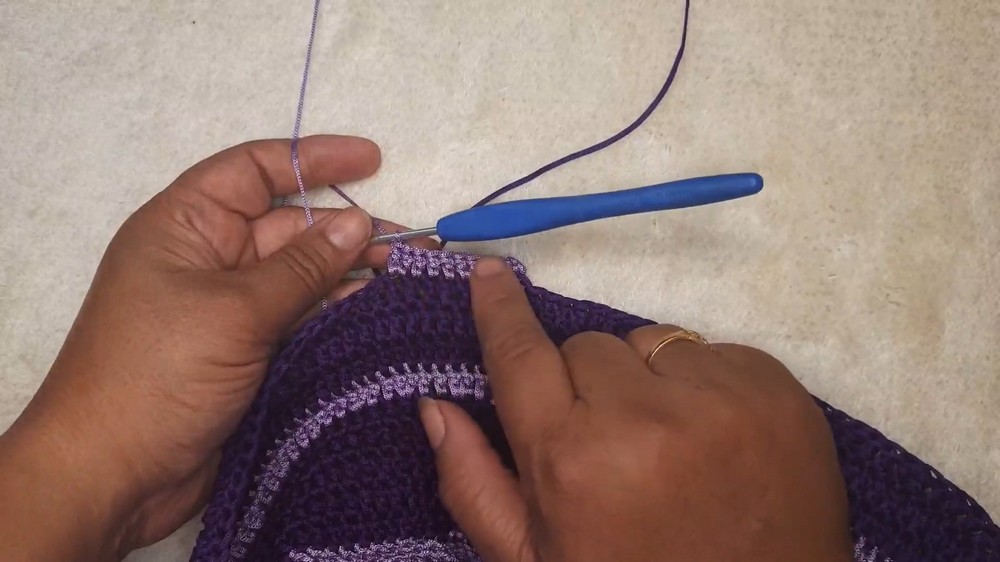
Round 25 (Third Increase Round):
- Ch 3.
- 3 dc in consecutive stitches, 2 dc in next stitch (inc), repeat around.
- Join with sl st.
Rounds 26 to 28:
- Ch 3, dc in each stitch around without increases.
- Join with sl st.
Part 4: Decorative Border Edging
Border Round:
- Change yarn color back to initial shade or desired accent color.
- Sl st to join color change.
- Ch 1.
- 4 dc in one stitch, skip next stitch, sl st in next, repeat around.
- Join with sl st to first dc.
This creates an airy scalloped border adding texture and finished look.
Pattern Notes for Beginners
- The pattern grows from a flat circle by well-placed increases every round to keep smooth edges.
- Sidewall is built in even rows of double crochets to build height without changing shape.
- Increases on the brim widen the hat slowly for sun protection and an aesthetic flair.
- The final border is decorative, simple to crochet, and adds subtle, classy waves contrasting body stitches.
Finishing and Assembly
- Weave in all loose yarn ends with a tapestry needle.
- Wet block the hat gently on a flat surface or shaped head block to smooth and even stitches.
- Adjust brim height or width by adding or subtracting increase rounds before border.
- Optional: Add flower appliques or embellishments for a personal touch.
Troubleshooting Tips
- Hat doesn't lie flat: Check increases are evenly spaced and correct stitch counts.
- Hat too tight: Use a larger hook or loosen tension.
- Edges curl after rounds: Block hat or add more increase rounds as needed for canopy curve.
- Uneven border scallops: Count stitches carefully and maintain consistent tension when making 4-dc clusters and slip stitch skips.
Versatile Projects Using This Technique
- Adapt this bucket hat pattern with color bands or stripes.
- Use the border stitch to embellish scarves, blankets, or baby clothes.
- Combine with crocheted coastal-themed bags or slippers for matching sets.
- Transform brim size for sun hats, beach hats, or casual indoor wear.
- Create colorful flowers, appliques, or badges using the flat circle method.