
Free Crochet Baby Headband Pattern For Cute Little Smiles
Celebrate precious moments with this Free Crochet Baby Headband Pattern that build a lovely accessory for babies and thoughtful gifts.
Headbands are a simple way to turn a small piece of yarn into something very special and beautiful. Think of a soft band that gently sits around a baby's head, with a pretty center knot and tiny raised bumps that look like little pearls. That is what this Free Crochet Baby Headband Pattern gives you. It takes a few easy stitches and turns them into a lovely accessory. This pattern is friendly for people who are still learning. You mostly use double crochet stitches and a playful bobble stitch that makes cute round bumps. Step by step, these stitches form a band that is soft, flexible, and comfortable for babies. The design can also fit toddlers and even adults if you make the band a bit longer, so the same pattern can be used for the whole family.
Crochet Baby Headband Free Pattern for Tiny Fashion Lovers
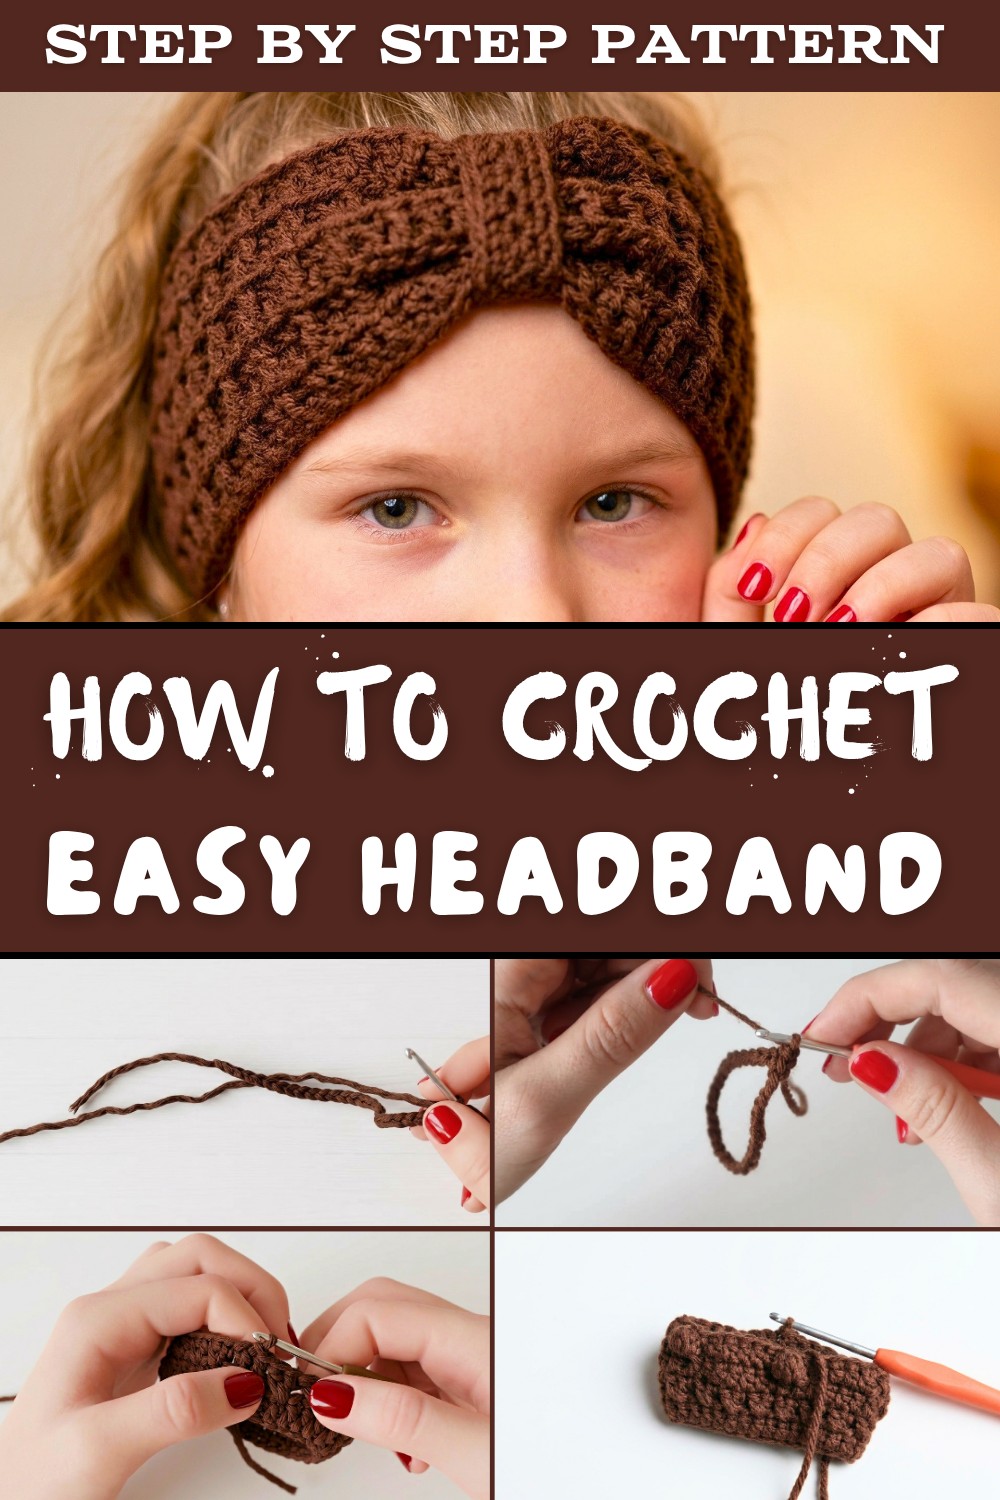
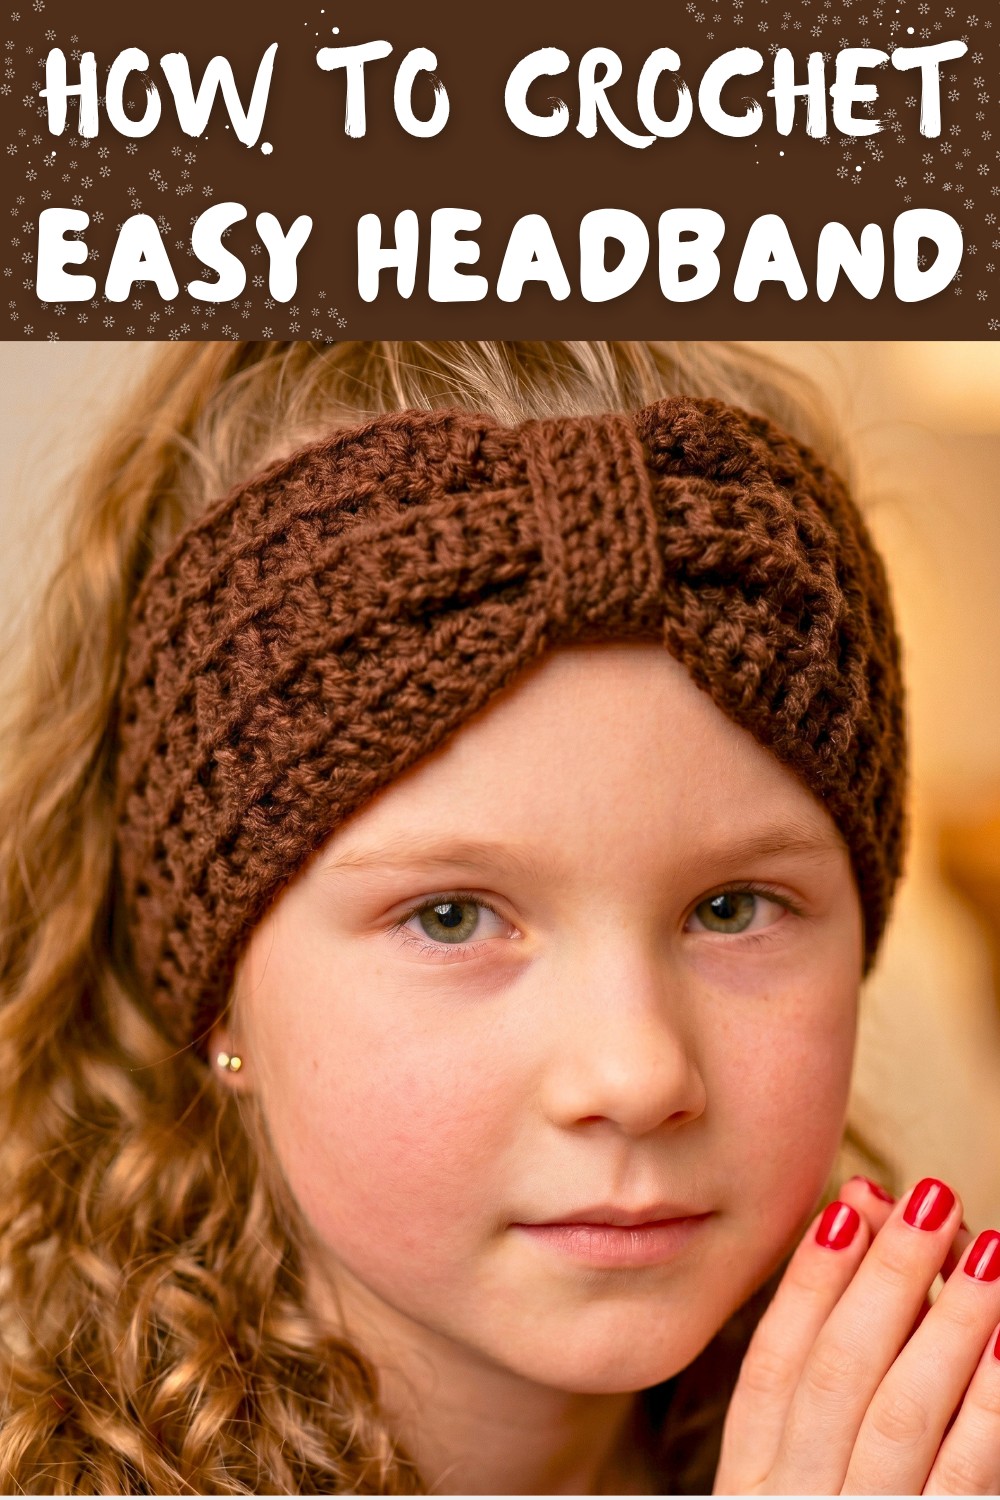
The appearance of the headband is one of its strongest points. The crossed double crochet stitches create a gentle crisscross texture, while the bobbles add a fun, 3D look. In the middle, a small wrapped piece pulls the band together to look like a bow, which makes the headband look neat and finished. It looks nice in light colors like white, cream, or pink, but also stands out in bold colors like red, yellow, or blue.
This pattern is useful in many ways. You can use the headband for everyday wear, for pictures, for birthdays, or as a sweet handmade gift. It is also a good project to practice patience and focus while making something with love. The special mix of simple stitches, rich texture, and easy customization makes this free crochet baby headband pattern unique, practical, and full of charm.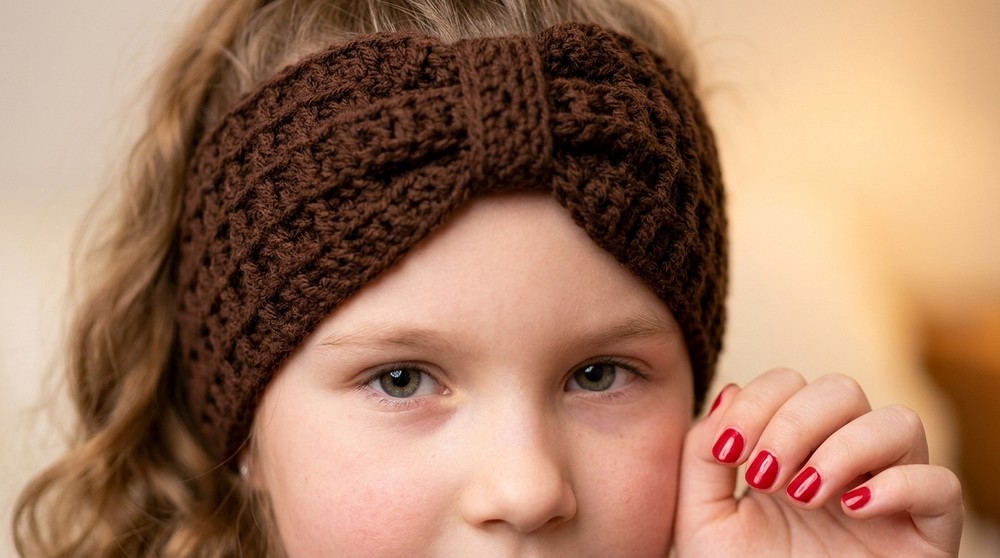
Materials Needed
- Yarn: Medium weight yarn. Choose yarn appropriate for headbands, such as soft cotton, acrylic, or a wool blend.
- Hook Size: 3mm crochet hook (or adjust based on your yarn thickness).
- Scissors
- Yarn needle (optional) for finishing ends and attaching pieces.
- Tape measure to ensure accurate sizing.
Gauge
Gauge swatch: 4 double crochets (dc) = 1 inch (2.5 cm). Gauge is important, especially when adjusting for size and using different yarns. Ensure your stitches are neat and even.
Finished Size
The circumference of the finished headband will vary:
- Baby: ~13 inches (33 cm)
- Toddler: ~16 inches (40 cm)
- Adult: ~19 to 22 inches (48 to 55 cm)
Length adjustments are necessary for personalized fits.
Tips & Customization Ideas
- Sizing adjustments: Increase or decrease the number of foundation chains to match the head circumference. Ensure the chain loops aren't stretched taut but sit comfortably.
- Unique touches: Experiment with different yarn colors to add stripes, gradients, or speckles. Add decorative buttons, flowers, or bows for extra charm.
- Fit adjustment: Test the circumference of your foundation chain before continuing.
Pattern Instructions
Step 1: Create the Foundation Chain
- Begin with a slip knot on your hook.
- Chain the desired number of stitches based on the intended size:
- Baby: ~40 to 60 chains
- Toddler: ~60 to 80 chains
- Adult: ~80 to 100 chains
- Ensure your chain is neat and not twisted, then loop it around to form a foundation ring.
- Join the foundation chain into a circle by inserting your hook into the first chain. Yarn over and pull through to create a slip stitch.
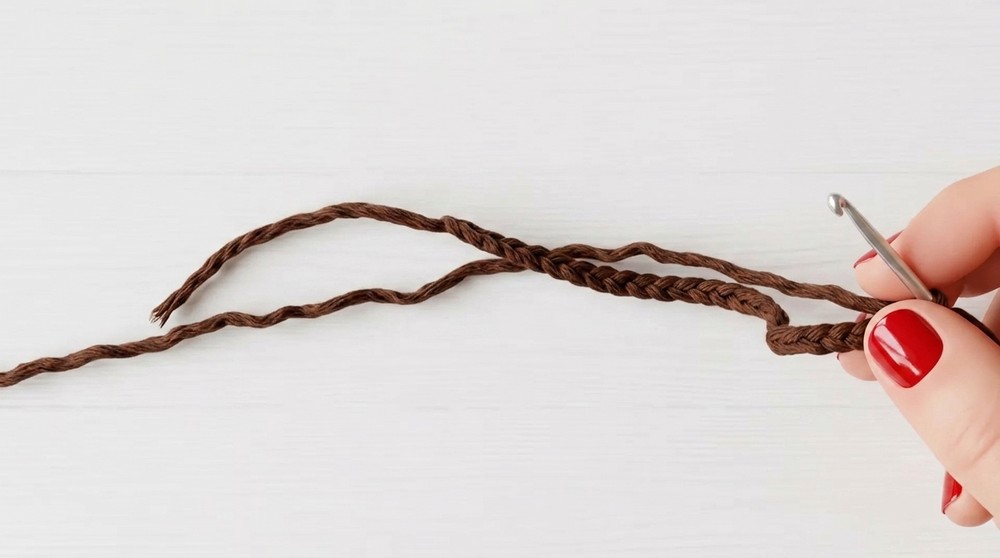
Note: The foundation chain determines the circumference of the headband. Adjust based on head size and yarn elasticity.
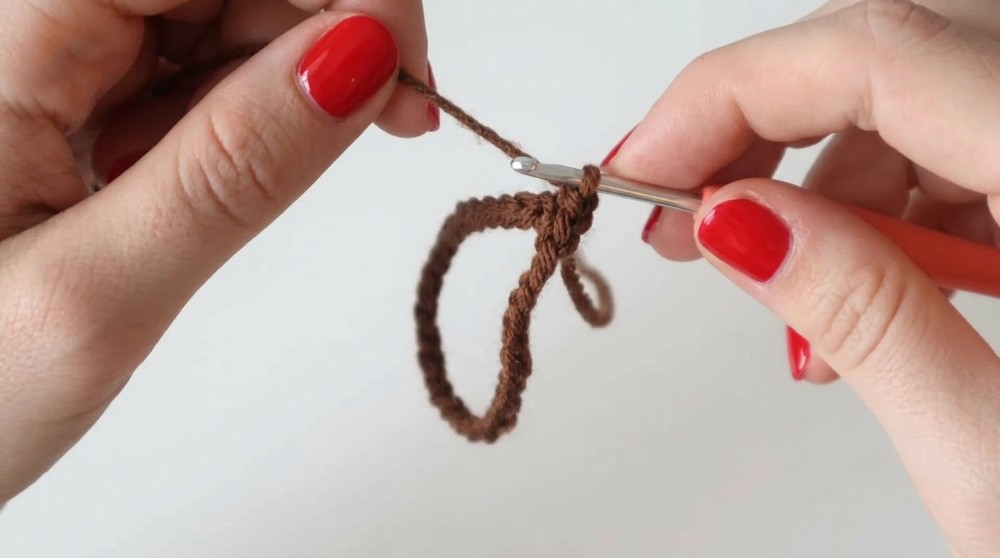
Step 2: Row 1 - Double Crochet
- Begin the row with either a:
- Chained Double Crochet: Chain 2, which counts as the first double crochet; or
- Chainless Double Crochet: Pull the loop on your hook slightly upward, yarn over, and insert your hook into the first chain. Yarn over, pull through two loops, yarn over again, pull through the next two loops.
- Continue with standard double crochet (dc):
- Yarn over, insert the hook into the next chain, yarn over, and pull up a loop (three loops on the hook). Yarn over and pull through the first two loops. Yarn over again and pull through the remaining two loops.
- Place one double crochet into each chain around until you complete the row.
- Slip stitch into the first double crochet to join the round, completing Row 1.
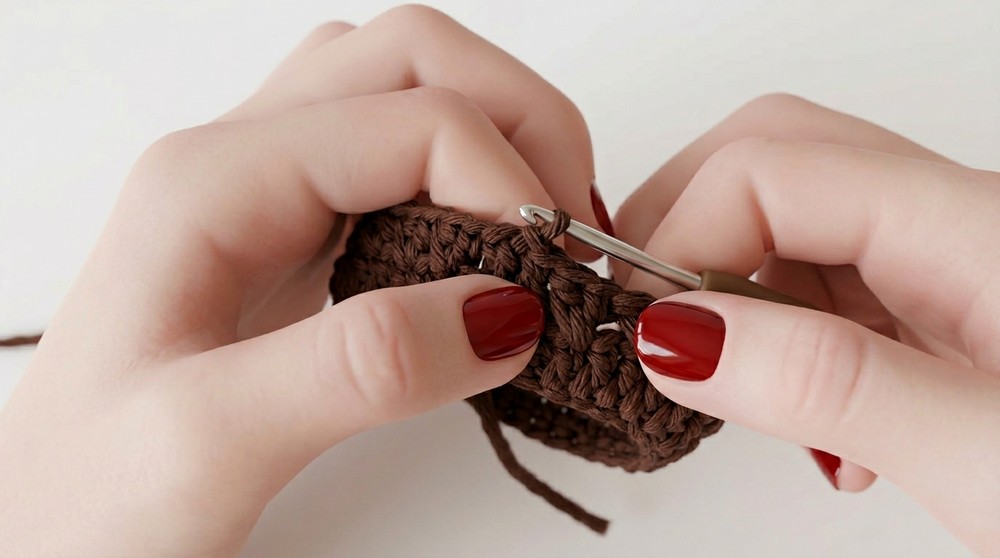
Step 3: Row 2 - Crossed Double Crochet
- Start with a chained or chainless double crochet to begin the row.
- Skip one stitch. Yarn over, insert your hook into the next stitch, and complete a regular double crochet.
- Yarn over again. Working backwards, insert your hook into the skipped stitch. Yarn over and pull up a loop, then complete a double crochet in this space. This forms a crossed pattern.
- Repeat this pattern (skip one stitch, double crochet in the next, double crochet backward into the skipped stitch) all the way around.
- Join with a slip stitch into the first double crochet.
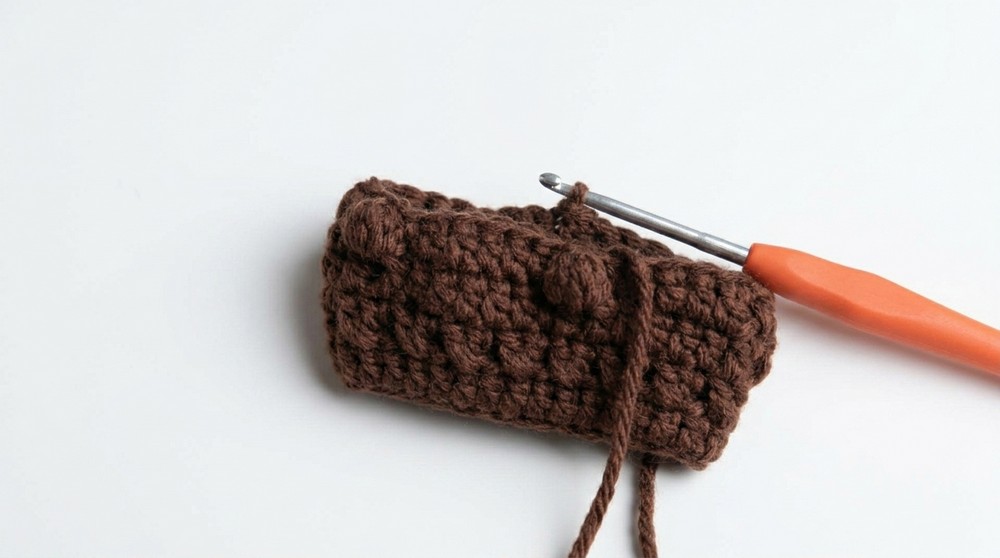
The crossed stitches give beautiful texture to the headband. Ensure they are neat and consistent.
Step 4: Row 3 - Regular Double Crochet
Repeat Row 1 with standard double crochet stitches across the entire row. This step balances the texture of the pattern while adding structural integrity.
Step 5: Row 4 - Bobble Stitch Row
- Begin with 5 double crochets.
- Place 1 slip stitch in the next stitch. The slip stitch creates a flat area for placing the bobble.
- Bobble Stitch:
- Yarn over and insert your hook into the next stitch.
- Yarn over and pull up a loop (three loops on the hook).
- Yarn over and pull through the first two loops; leave the remaining loops on the hook.
- Repeat the steps above into the same stitch five times until there are six loops on your hook.
- Yarn over and pull through all six loops at once to finish the bobble.
- Push the bobble forward to give it puffed texture.
- Place 1 slip stitch in the next stitch.
- Follow this sequence: 5 double crochets, slip stitch, bobble stitch, slip stitch. Repeat all the way around.
Step 6: Repeat Rows for Desired Width
- Repeat Rows 1 through 4 in alternating sequence to create a layered and textured design.
- Recommended sequence:
- Row 1: Double crochet
- Row 2: Crossed double crochet
- Row 3: Double crochet
- Row 4: Bobble stitch
- Row 5: Double crochet
Adjust the number of rows based on your desired width.
Step 7: Finishing the Main Band
- Once you have achieved your desired width, finish the final row with single crochet or slip stitches. This gives a clean edge. Fasten off and weave in loose ends.
Step 8: Decorative Center Wrap
- Create a new foundation chain measuring 2-3 inches (length depends on headband width and thickness).
- Work 2 rows of double crochet:
- Begin with either chained or chainless double crochet and place one double crochet in each chain across the row.
- Turn and repeat for the second row.
- Fasten off, leaving a long tail for sewing.
- Wrap this piece around the middle of the headband, folding it to hide join areas. Use the tail yarn to sew or weave the wrap into place securely.
Special Techniques
- Chainless Double Crochets: Create cleaner row starts. Practice loops to make them neat and consistent.
- Bobble Placement: Ensure the bobbles sit on the side intended for display. Adjust and push forward if needed.
Conclusion
This Baby, Toddler, and Adult Headband with Bobble and Crossed Stitches provides both style and function. By alternating textured rows with simple ones, it combines beauty with practicality. Whether crocheted as a baby gift or a cozy cold weather accessory for yourself, this headband is fun to make and lovely to wear.
Important Remarks
- Use soft yarn to ensure the headband is comfortable for sensitive skin.
- Personalize the fit for recipients by testing the circumference as you crochet.
- Experiment with colors and embellishments to complement outfits or occasions.
With just a few materials and basic stitches, you'll have a delightful handmade project to gift or cherish.