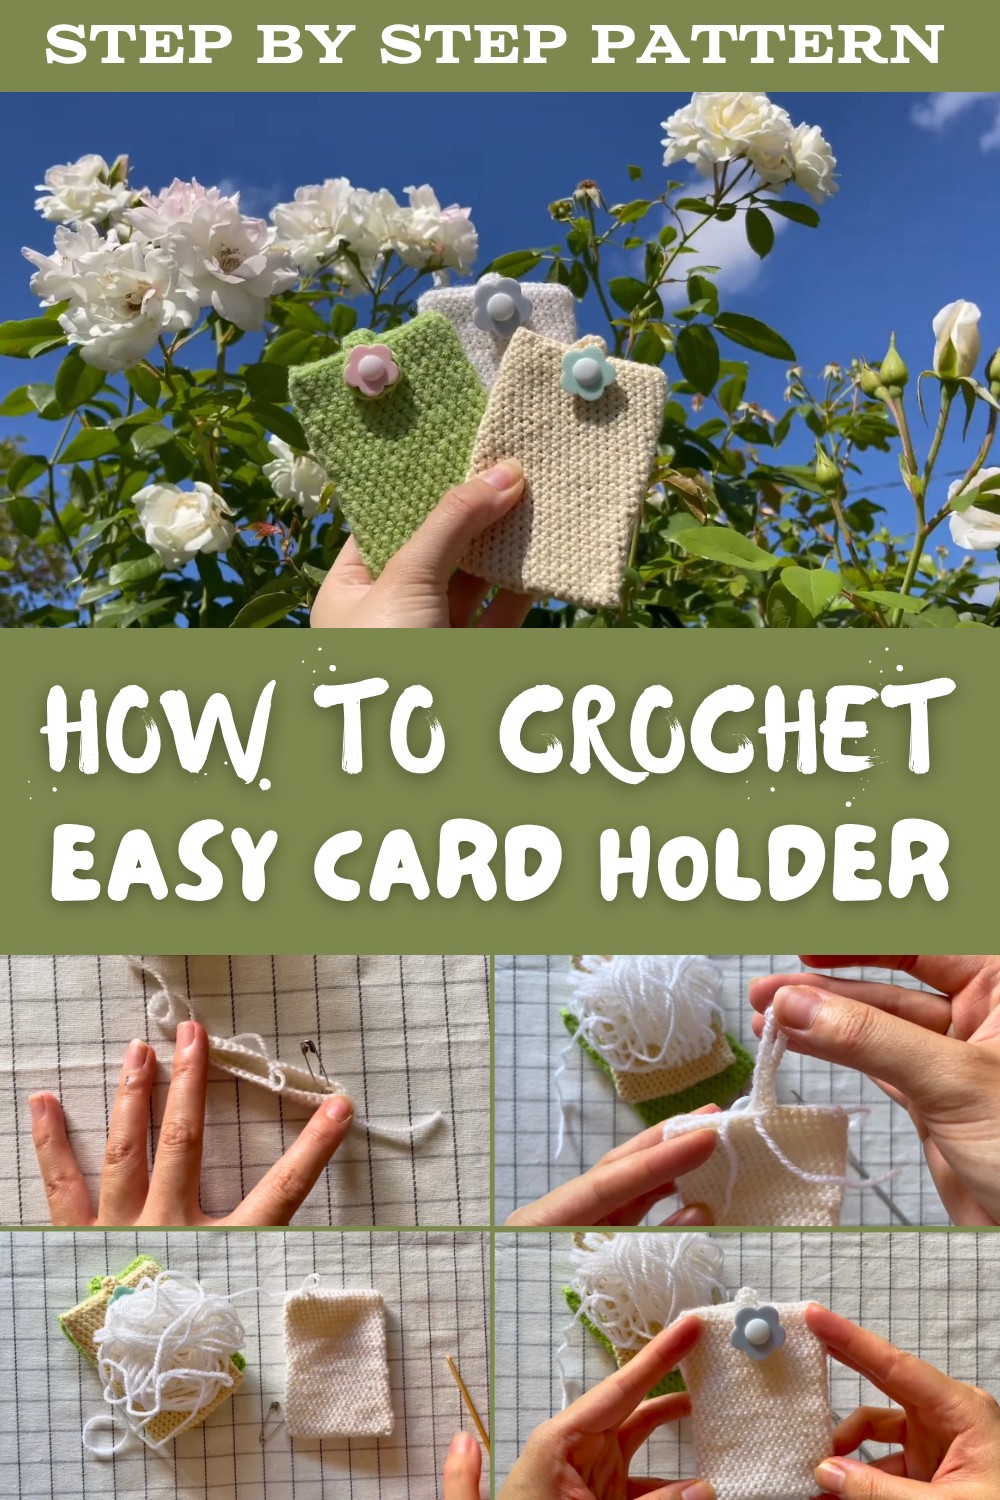
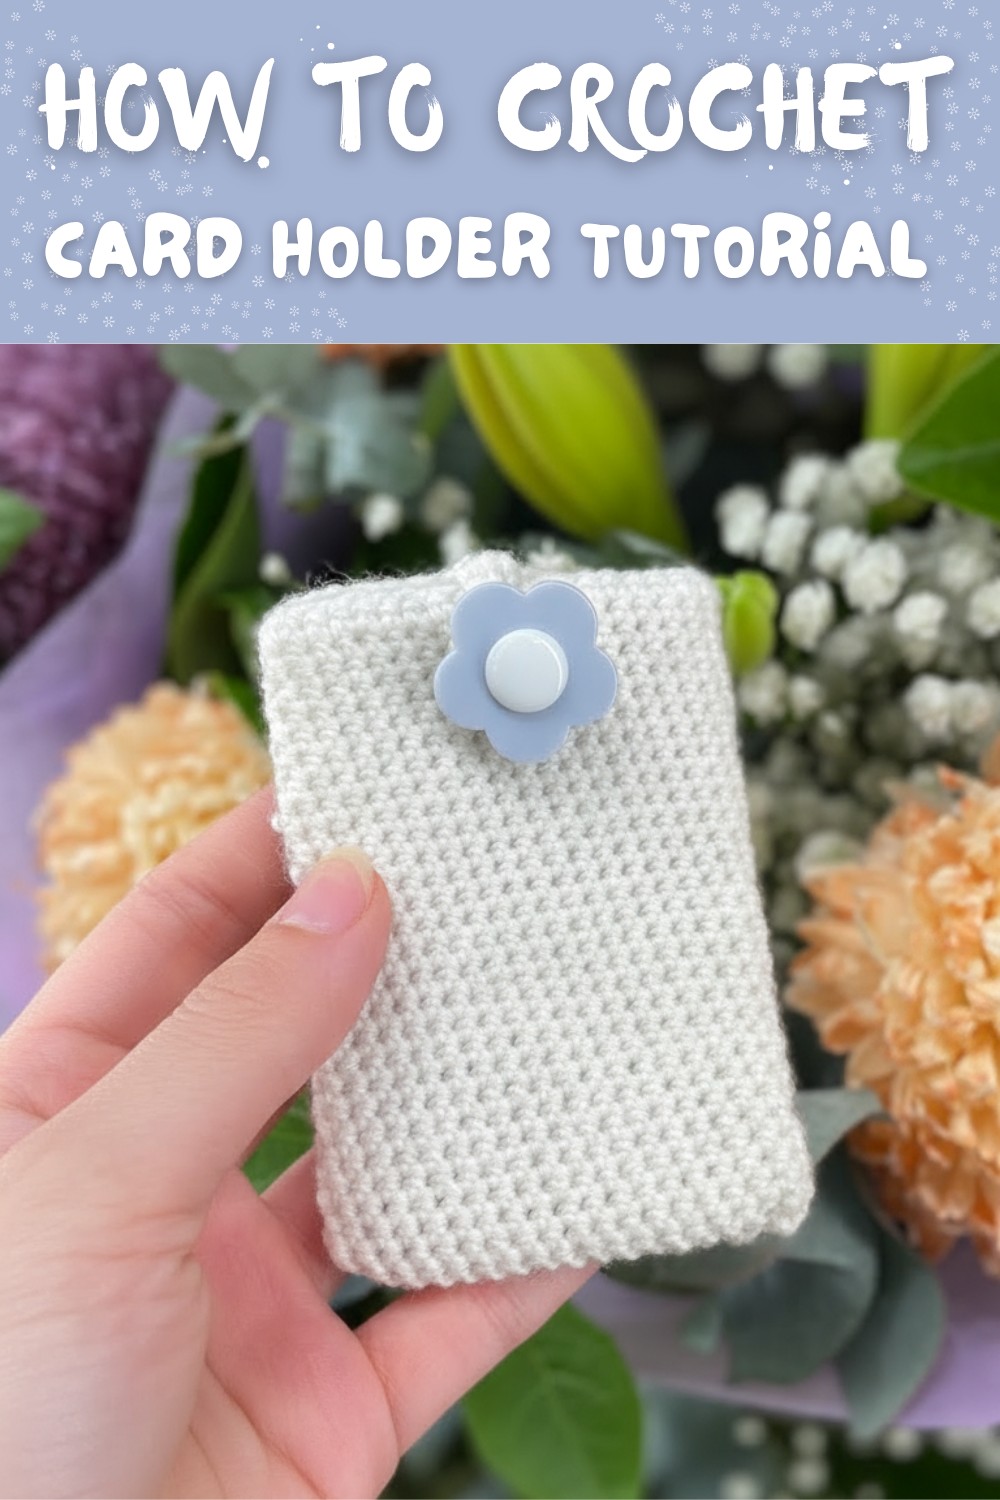
Free Crochet Card Holder Pattern – Quick Project
The compact size also makes it easy to carry in a pocket or small bag without adding bulk. One creative idea is to add a button flap or snap closure for extra security, while another option is to experiment with color blocking or textured stitches for a personalized look. An interesting detail is that these holders help improve stitch consistency since even tension is key to keeping the shape firm. This pattern offers a simple yet satisfying way to combine creativity with everyday usefulness.
Crochet Card Holder with Button Latch - Pattern Instructions
Materials Needed
- Yarn: Any durable fiber yarn is suitable, as this accessory will see frequent handling. (Suggestion: Use 4-ply yarn for a sturdy and elegant look.)
- Crochet Hook: 3 mm or any size appropriate for your yarn.
- Scissors: For cutting excess yarn after weaving in.
- Stitch Marker: To help mark the start of your rounds.
- Darning Needle: For weaving in the tail ends after completing the project.
- Statement Button: A button of your choice, preferably decorative, and large enough to secure the latch.
- Measuring Tape: For accurate measurements.
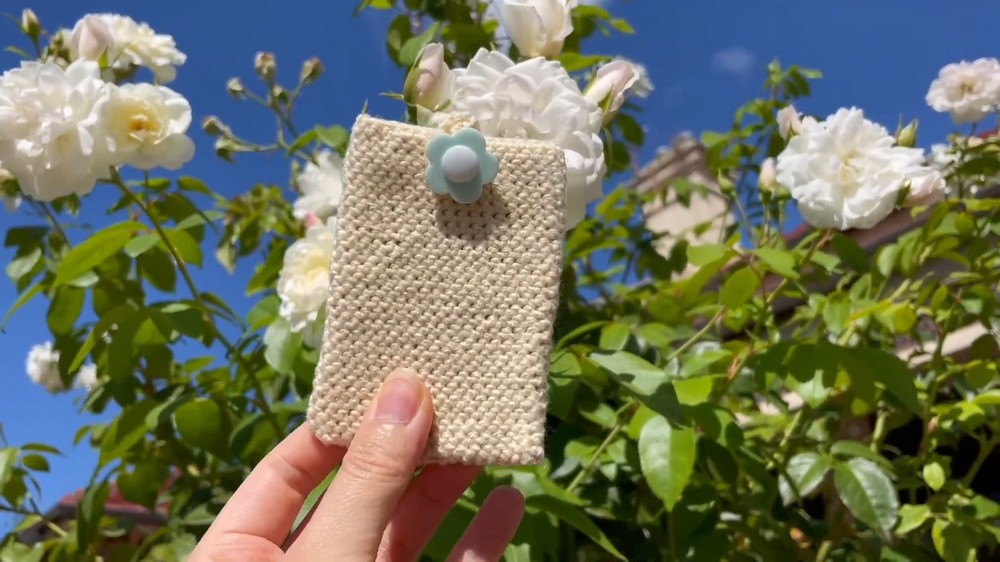
Finished Size
- Width: ~70 mm (2.75 inches).
- Height: ~95 mm (3.74 inches).
- Latch Length: Adjustable; the tutorial suggests chaining 20 for a standard size to fit the button.
Pattern Instructions
Part 1: Creating the Card Holder Body
- Foundation Chain:
- Begin with a slipknot to start.
- Chain 17 for the width. Add three more chains at the end (making a total of 20 chains). These additional chains will act as the turning chain.
- First Row:
- Working in the opposite direction, insert your hook into the fourth chain from the hook.
- Single crochet (SC) into every chain until you reach the end of the foundation chain.
- End of Row:
- In the last chain, work three single crochets. This will allow you to turn and begin working along the opposite side of the starting foundation chain.
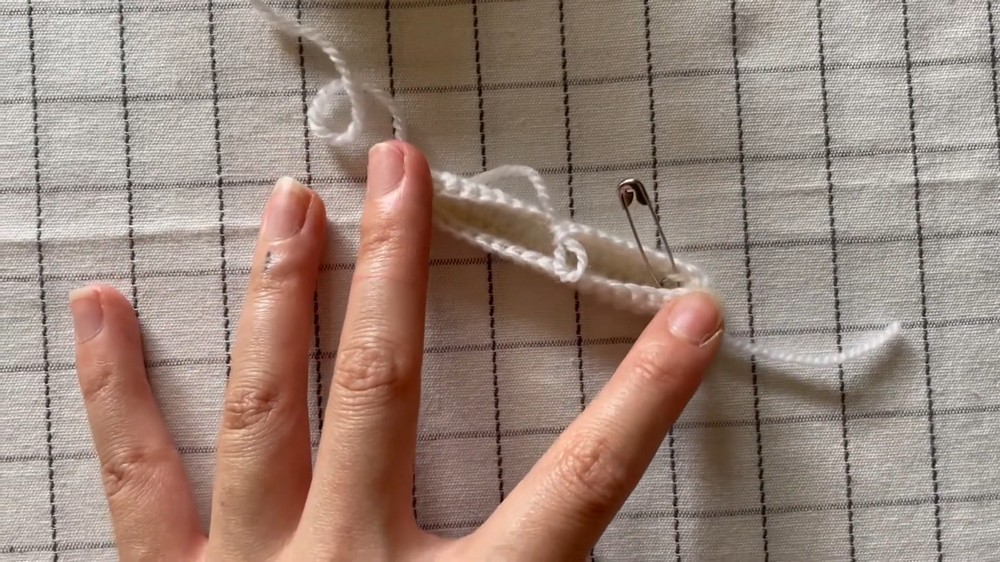
- Mark the Beginning of the Round:
- Place a stitch marker at this point to indicate the start of your continuous rounds.
- Work in Rounds:
- Crochet single crochet (SC) stitches in every stitch around, working continuously in the round until the card holder reaches a height of 95 mm (3.74 inches).
- Move the stitch marker to the last stitch of each round as you progress to indicate the new starting point.
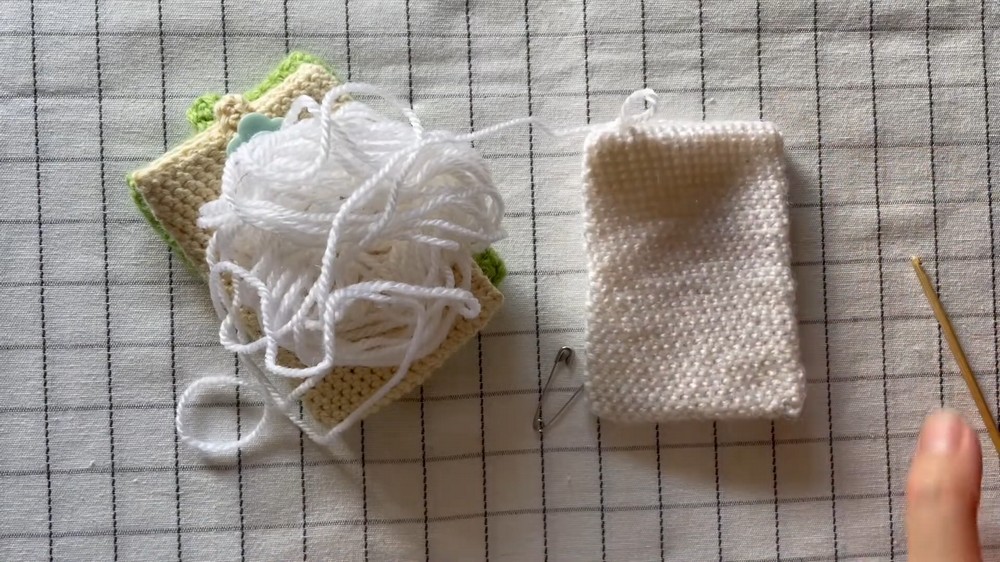
- Finishing the Card Holder Body:
- Once the desired height is reached, remove the stitch marker.
- Join the last round with a slip stitch into the first stitch.
- Cut the yarn, leaving a short tail to weave in later.
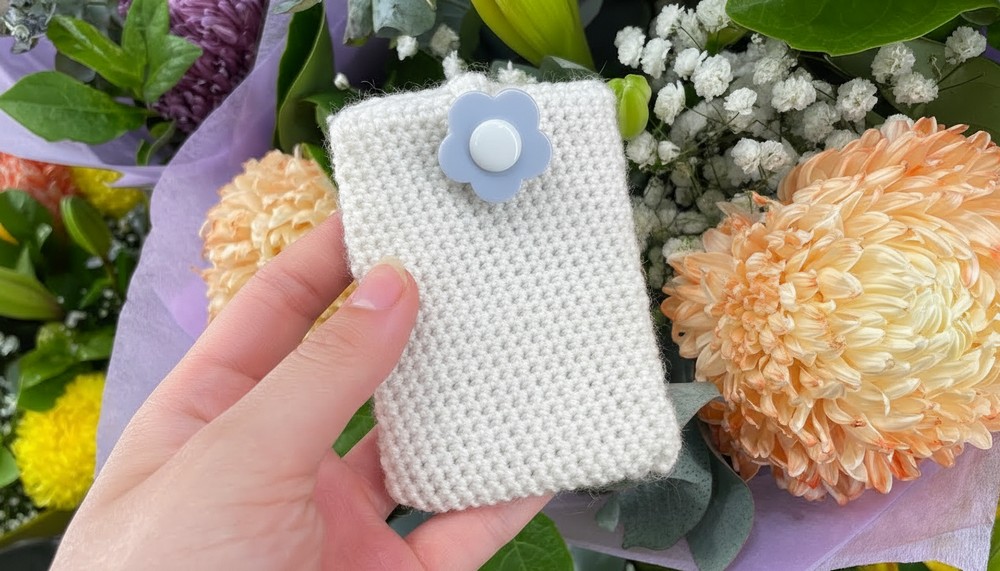
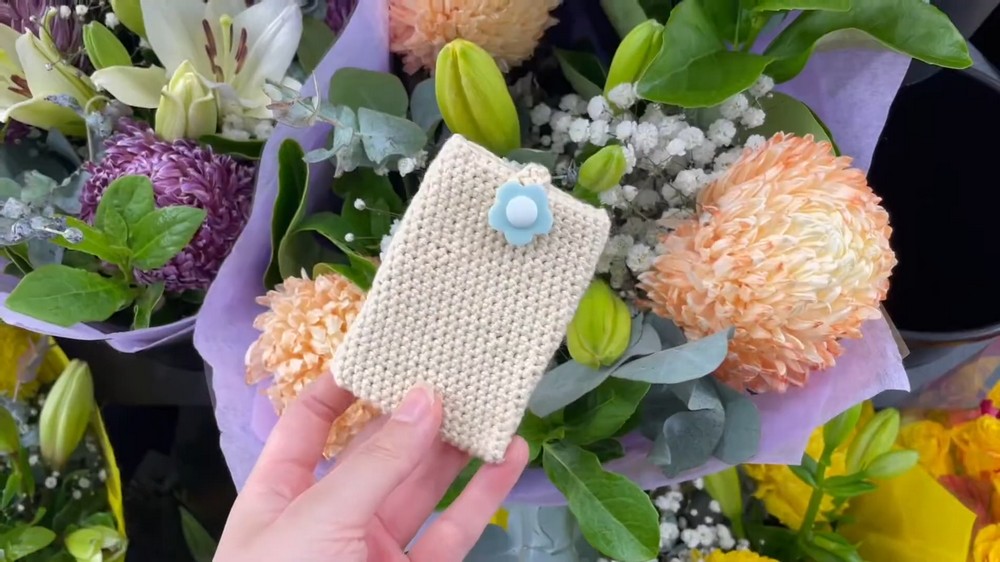
Part 2: Attaching the Button
- Choose a button that complements your yarn color and fits the purpose of the strap's loop.
- Using a needle and thread or yarn (if the buttonhole is large enough), sew the button to the front center of the card holder.
- Ensure the button is securely fastened, as it will face regular use.
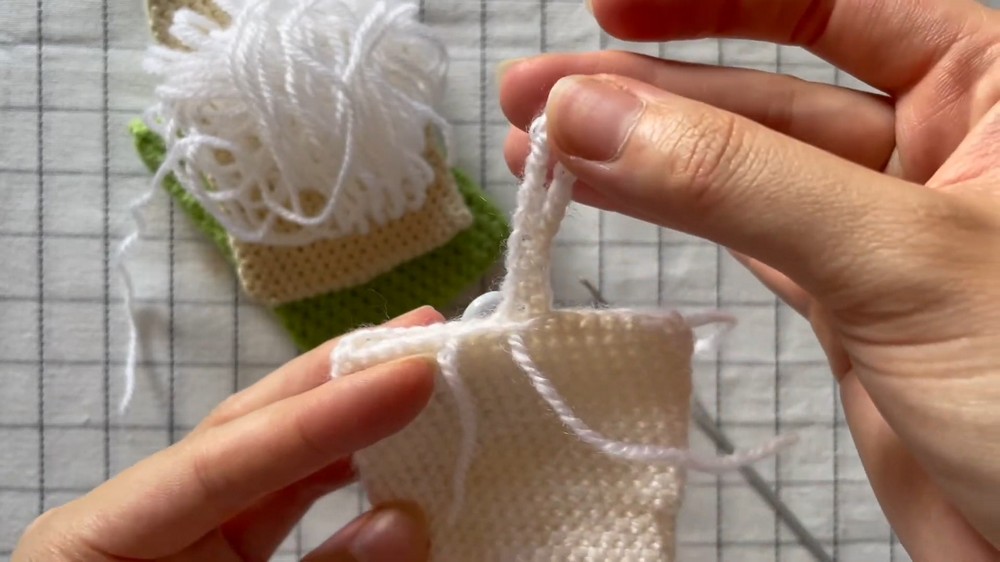
Part 3: Crocheting the Latch
- Foundation Chain for the Latch:
- Create a slipknot to start.
- Chain 20 for a standard latch length if using 4-ply yarn and a 3 mm hook. Adjust the chain length depending on the size of your button; the loop should comfortably go around the button.
- Check the Fit:
- Extend the chain length around the button to ensure that the latch will fit snugly. Add or subtract chains if needed.
- Form the Latch:
- Insert your hook into the fourth chain from the hook.
- Work single crochets (SC) into every chain.
- On your last stitch, work a slip stitch to secure the end, leaving a tail for sewing. Cut the yarn, ensuring the tail is long enough for weaving the latch onto the main body.
Part 4: Attaching the Latch
- Hold the latch in its desired position on the back of the card holder (centered along the top edge).
- Use the yarn tail from the latch to sew it onto the back of the card holder. Ensure it is securely fastened.
- Once attached, verify that the latch can comfortably stretch over the button to secure your cardholder.
Part 5: Finishing
- Weave in all tail ends using a darning needle.
- Tip: Weave the ends multiple times through the stitches to prevent them from unraveling.
- Trim any excess yarn neatly.
Final Words
Congratulations! Your crochet card holder with a button latch is complete. This elegant, functional, and compact design can be customized with different yarn colors, button styles, or even embellishments like embroidered initials. Its durable structure makes it ideal for everyday use, and its compact size fits neatly in any pocket or bag.
Tips for Success
- Ensure Consistent Tension: Even tension is crucial to achieving a smooth and professional-looking finish. Practice your single crochet stitches to maintain uniformity.
- Yarn Choice: Durable fibers like cotton or acrylic are ideal for this project. They hold their shape well and can withstand regular handling.
- Latch Adjustment: If the latch seems too loose or tight after attaching, your stitch count or chain length can be adjusted. Test-fit the latch before permanently weaving in the ends.
- Personalization:
- Use novelty buttons for a touch of whimsy.
- Experiment with multicolored or variegated yarn for a unique look.
- Add tassels, charms, or embroidery for additional embellishments.
Maintenance Tips
- Cleaning: Hand wash the cardholder gently in cold water if needed, and allow it to air dry flat. Avoid excessive washing to maintain its integrity.
- Handle with Care: While the yarn is durable, try not to overload the cardholder with too many items to prevent stretching.