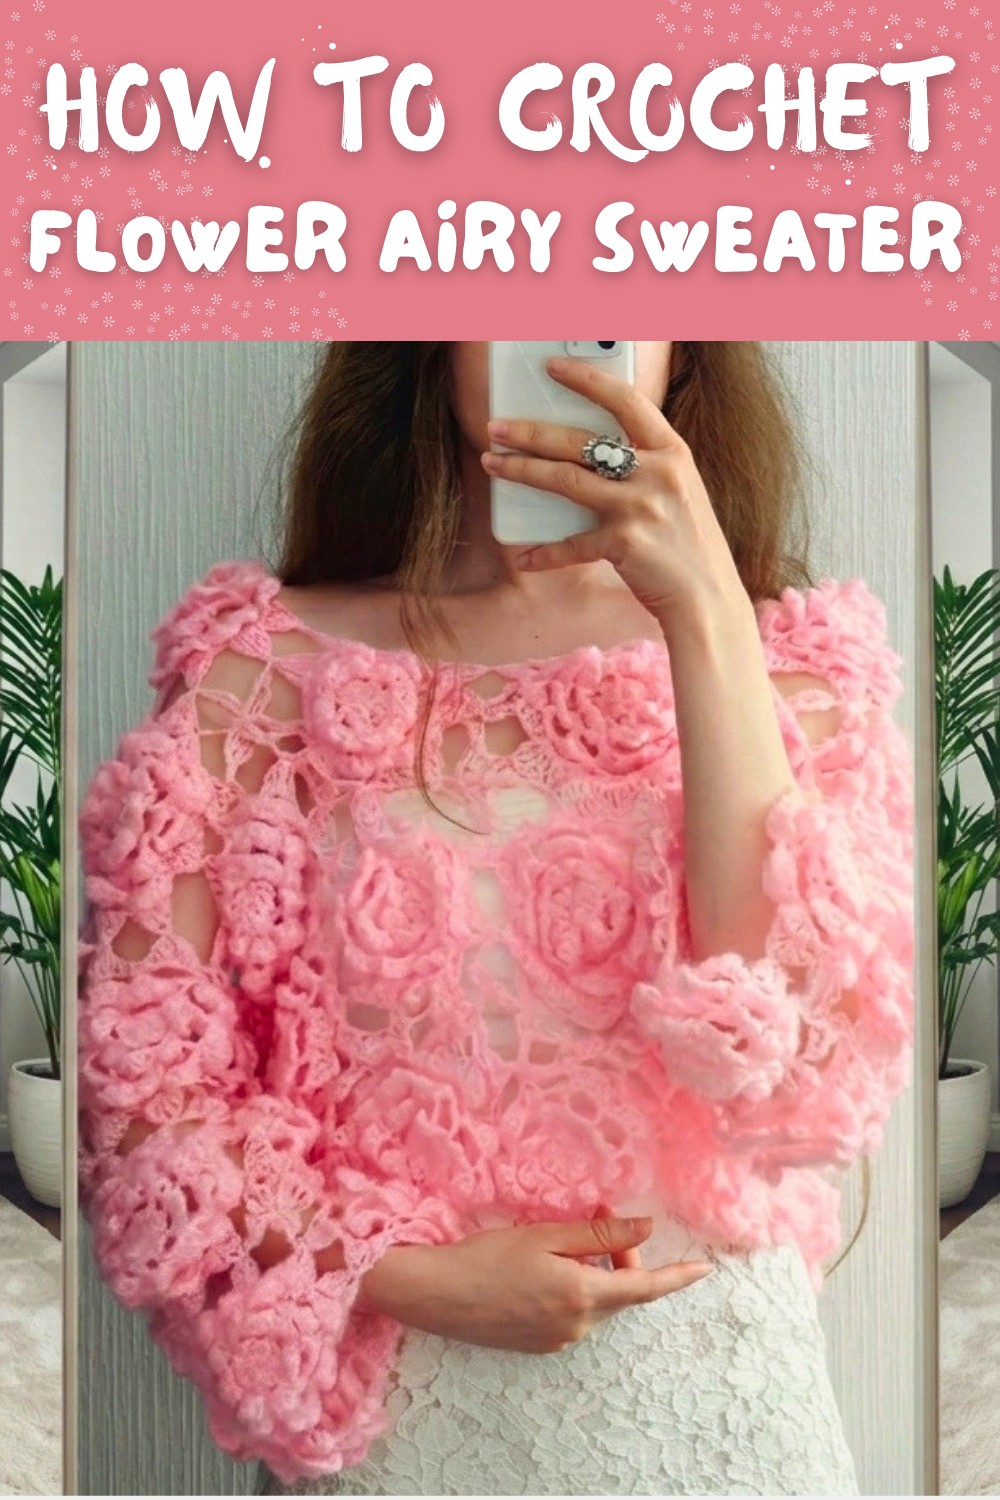
Free Crochet Flower Sweater Pattern with Breezy Summer Style
Make a beautiful and lightweight crochet sweater with flower motifs that's perfect for layering, easy to customize, and great for any season or occasion.
Let me tell you about one of my favorite crochet sweaters, a breezy, lightweight garment made entirely of delicate flower motifs. The Free Crochet Flower Airy Sweater Pattern combines lacy petals with a relaxed, flowy fit to create a piece that's as feminine as it is versatile. Whether thrown over a casual outfit or paired with something dressy, this sweater brings a touch of charm to every look.
Free Crochet Flower Sweater Pattern to Style Denim Jeans
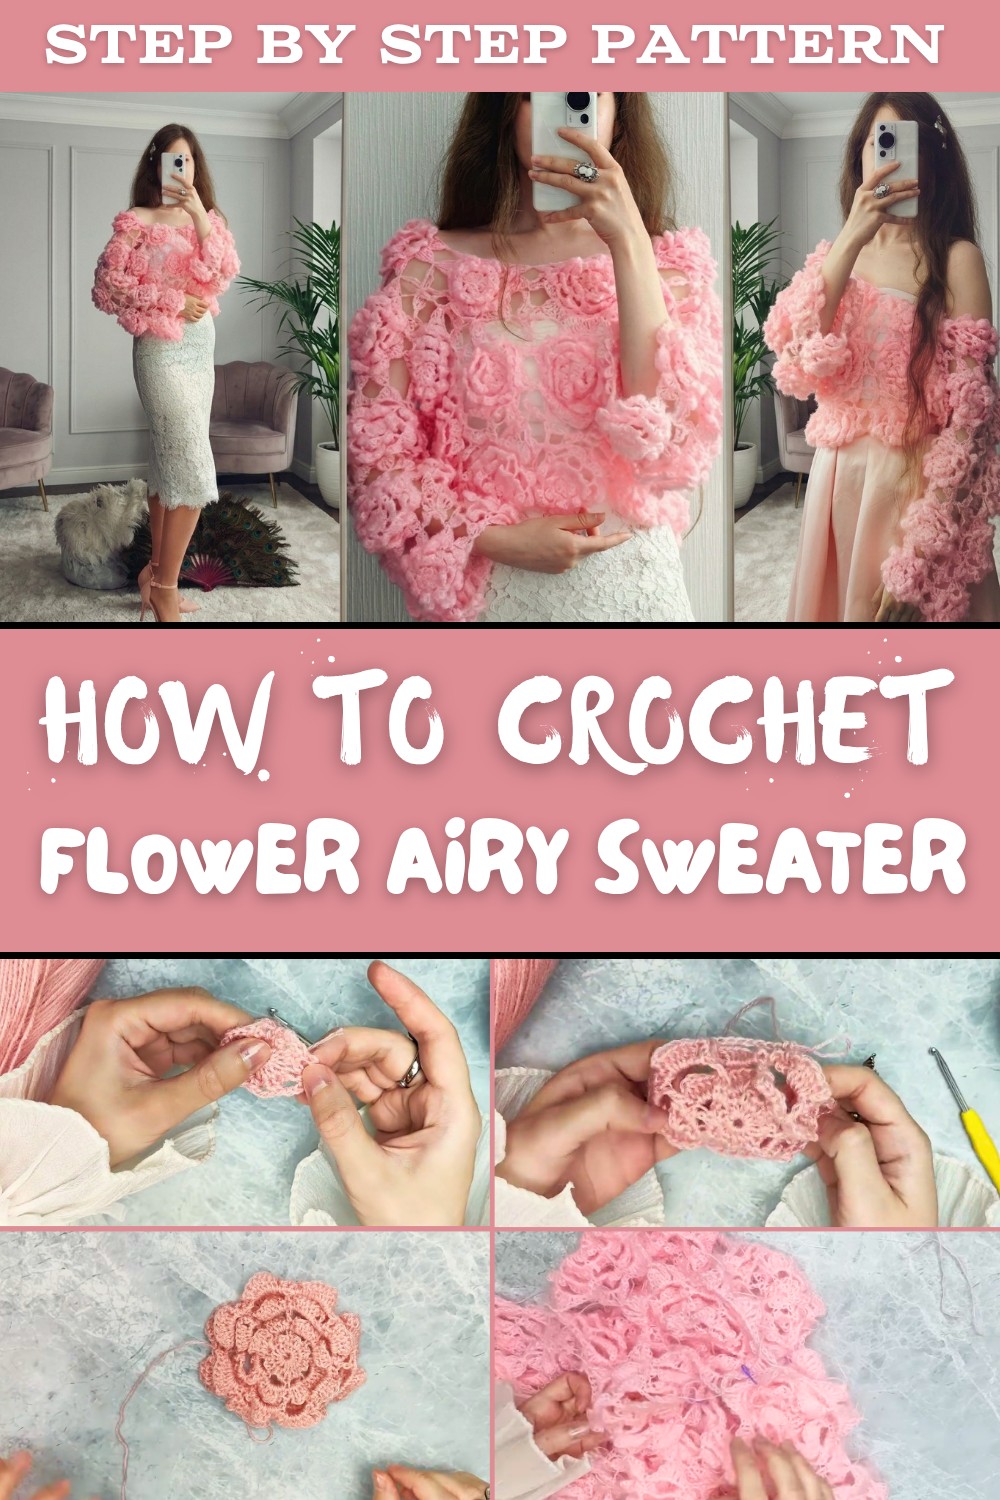
The construction is as delightful as the final result. Individual floral pieces are worked one at a time, forming soft, airy motifs that come together beautifully. These flowers are assembled into a flattering sweater shape, one you can adjust effortlessly to fit your preferred size or style.
Of course, any lightweight yarn can work, allowing you to make it uniquely yours. Vibrant colors for a playful vibe, or soft pastels for a romantic feel, the choices are endless. It works wonderfully as a thoughtful gift or a timeless addition to your wardrobe. Dress it up for brunch, wear it over a swimsuit at the beach, or layer it on cool evenings, it's as practical as it is pretty.

Skill Level
Intermediate
Materials
- Main Yarn: Kid mohair 50%, acrylic 50% (or similar airy yarn)
- Quantity: enough to make 40-60 large flower motifs and fillers (varies by size)
- Hook:
- 3.5 mm crochet hook
- Optional: 3.0 mm or 2.5 mm if you want smaller flowers
- Stitch Marker:
- For marking the first stitch of rounds if desired
- Tapestry / Yarn Needle:
- For weaving in ends and securing knots
- Scissors
Measurements / Sizing
Example from the pattern:
- Flower Diameter: approx. 10 cm (using mohair yarn and 3.5 mm hook)
- Body Layout (XS-S example):
- 4 flowers in width
- 8 flowers in length
- Sleeves:
- 3 flowers in width
- 3 flowers in length (a "flower tube")
Gauge
Because this sweater is made from motifs, gauge is based on the flower size:
- Approximate gauge:
- 1 flower = about 10 cm diameter (in mohair with 3.5 mm hook, worked loosely).
Stitch Abbreviations
- ch - chain
- sc - single crochet
- dc - double crochet
- hdc - half double crochet
- tr - treble crochet (triple crochet)
- sl st - slip stitch
- MR - magic ring
- RS - right side
All instructions are written in US crochet terminology.
Special Stitches
- Magic Ring (MR):
- Treble Crochet (tr):
- Half Double Crochet (hdc):.
The Crochet Pattern
Large Flower Motif
Work loosely for an airy result.
Round 1 - Magic Ring Base
- Make a magic ring (MR).
- Work 16 sc into the MR.
- Place a stitch marker in the first sc to keep track.
- Pull the ring tight to close the center.
- Join with sl st into the first sc.
You now have a tight center with 16 sc.
Round 2 - Creating 8 arches
- Ch 1 for row rise.
- Ch 2, 2 sc (one sc in each of the next 2 stitches).
- Repeat from * to * around: ch 2, then 2 sc in the next 2 sts.
- At the end of the round you should have 8 small arches formed by the chain 2 spaces.
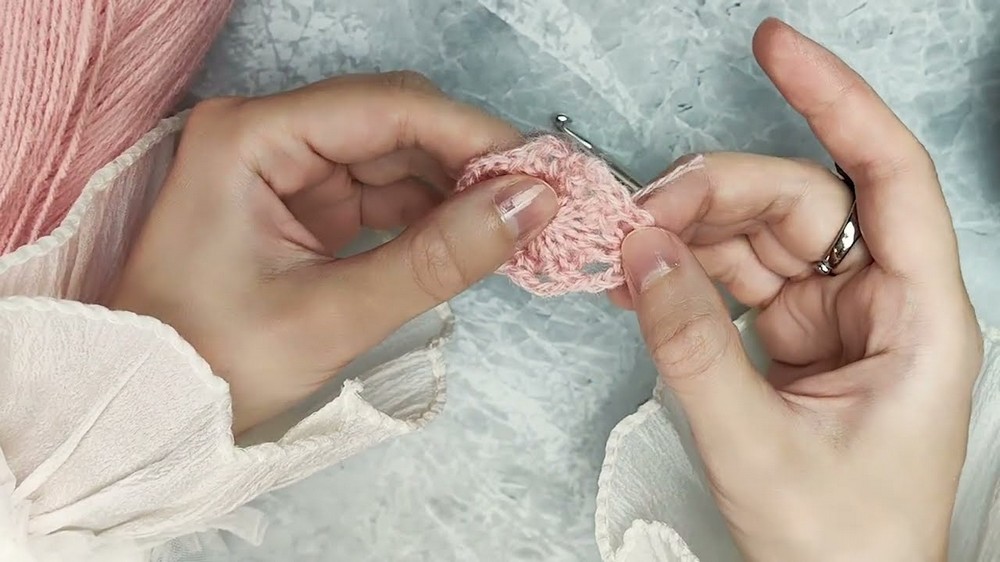
Round 3 - Arches between arches
- Ch 3.
- Sc in the stitch between two arches, ch 3.
- Repeat this sequence around: work 3 ch, then 1 sc in the stitch between the two arches.
- At the end you should again have 8 small arches made of chain 3 spaces.
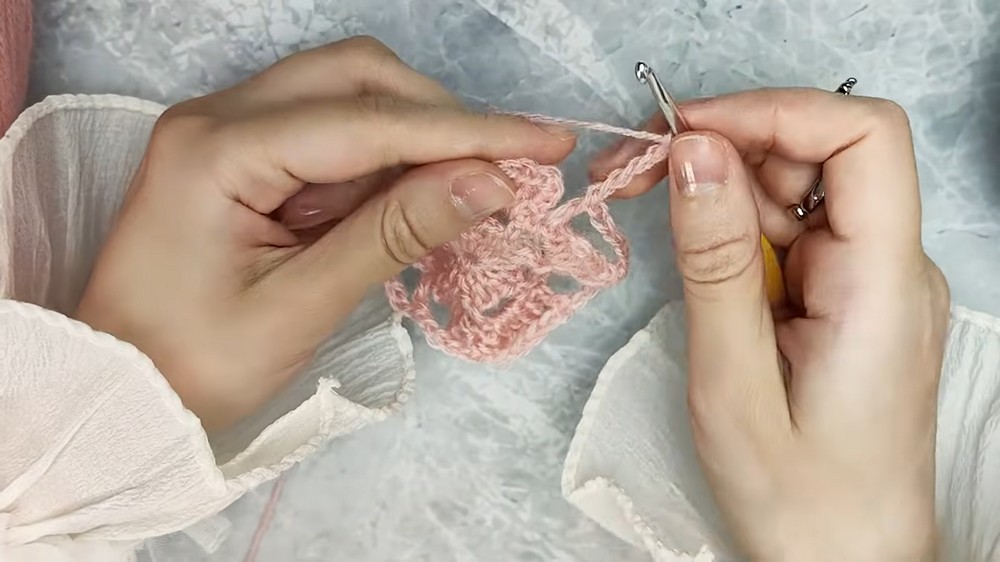
Round 4 - First petal round (small petals)
Work into each chain 3 arch.
For each petal:
- Insert the hook into the first arch and make 1 sc to join the yarn to the arch.
- Ch 3.
- Work 3 dc into the same arch.
- Ch 3.
- Work 1 sc into the same arch to complete the petal.
- Then sc in the stitch between the two arches.
- Insert hook into the next arch and repeat the same petal sequence.
Continue around:
- Each arch gets: sc (join), ch 3, 3 dc, ch 3, sc (into arch), then sc between arches.
- At the end of the round, finishing with a sc between arches, you will have 8 petals.
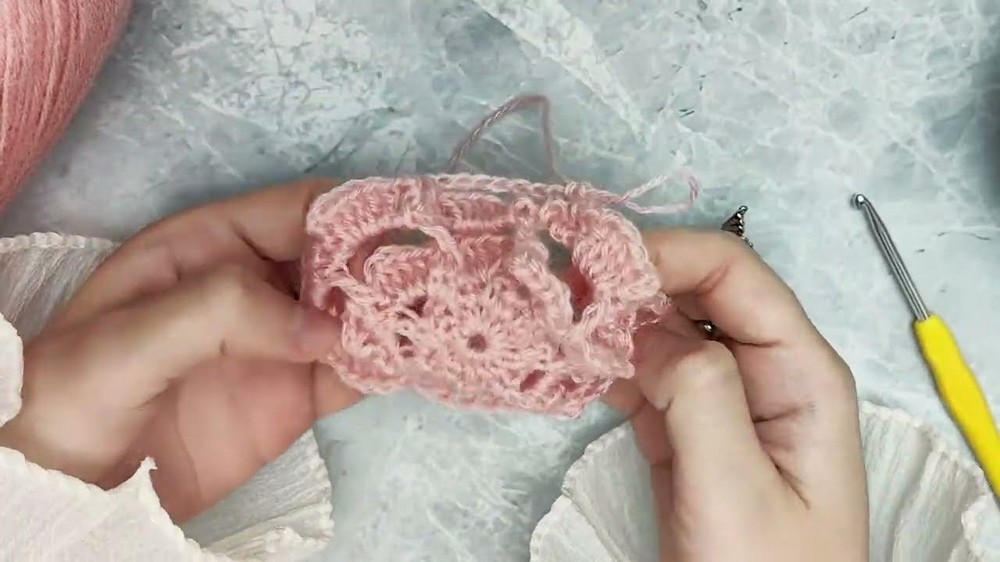
Your flower now looks more like a flower.
Round 5 - Arches for the second petal tier
- Ch 2 (this imitates a dc for the start of the round).
- Ch 5, dc into the stitch between two petal elements.
- Repeat: ch 5, dc into the stitch between elements.
- Continue this sequence to the end of the round.
- For the last time, insert the hook into the second stitch of the second arch and make 1 sc to visually connect all elements harmoniously.
You now have chain 5 arches around the flower.
Round 6 - Second petal round (medium petals)
Work into each chain 5 arch:
For each petal:
- Insert the hook into an arch and make 1 sc (joining yarn to arch).
- Ch 3.
- Work 5 dc into the same arch.
- Ch 3.
- Make 1 sc into the same arch.
- Make 1 sc in the stitch between two arches.
- Insert hook into the next arch and start the next petal: sc, ch 3, 5 dc, ch 3, sc in arch, then sc between arches.
Repeat this sequence around.
For the last time, end with 1 sc into the stitch between elements.
Round 7 - Arches for the third petal tier
- Ch 2 (imitates a dc).
- Ch 5, dc into the stitch between the two elements.
- Repeat ch 5 + dc into the stitch between elements to the end of the round.
- Join the last chain arch to the first arch by making 1 sc into the second stitch of the first arch.
- This finishes the round.
Round 8 - Third petal round (large petals)
Work into each chain 5 arch:
For each petal:
- Insert hook into the arch, sc.
- Ch 3.
- Work 7 dc into the same arch.
- Ch 3.
- Sc into the same arch.
- Sc into the stitch between the two elements.
Repeat around:
- sc in arch, ch 3, 7 dc, ch 3, sc in arch, sc between elements.
At the end of the round, you have large petals all around the flower.
Round 9 - Chain arches without dc (spacing round)
- Ch 5, sc between each element.
- Repeat this sequence: ch 5, sc between elements, all around the flower.
The pattern briefly repeats instructions here; simply follow:
- Ch 5
- Sc between elements
until the end of the round.
Round 10 - Final petal round (mixed-height petals)
Each final petal uses multiple stitch heights:
For each petal:
- Yarn over, insert hook into the arch, make 1 hdc, pulling through all loops at once.
- Make 1 dc into the same arch.
- Make 2 tr into the same arch (yarn over twice for each tr).
- Ch 1.
- Work the sequence in reverse order in the same arch:
- 2 tr
- 1 dc
- 1 hdc
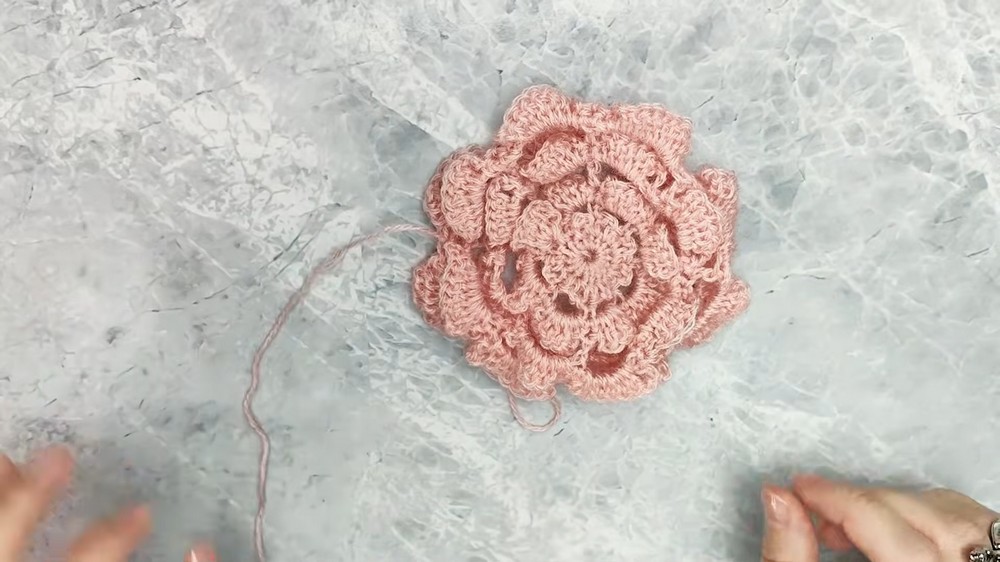
This completes one full, tall petal.
Repeat this petal construction in each arch around the flower.
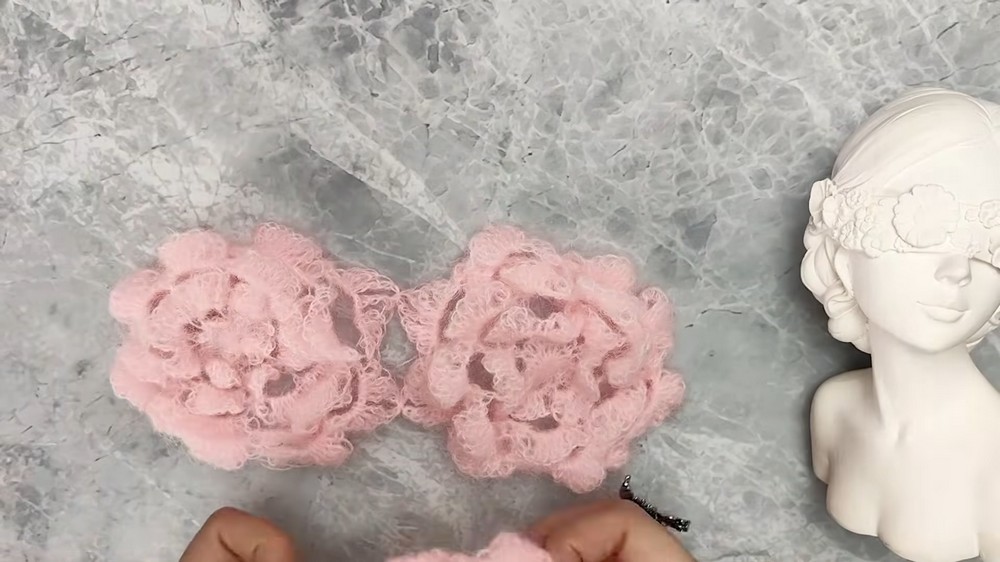
When all petals are completed, fasten off and weave in ends at the back.
You now have one finished large flower motif.
Number of Flowers
- Example sweater (XS-S): 46 flowers
- Each flower approx. 10 cm in diameter.
- Adjust quantity according to your size and desired fit (wider, longer, more oversized, etc.).
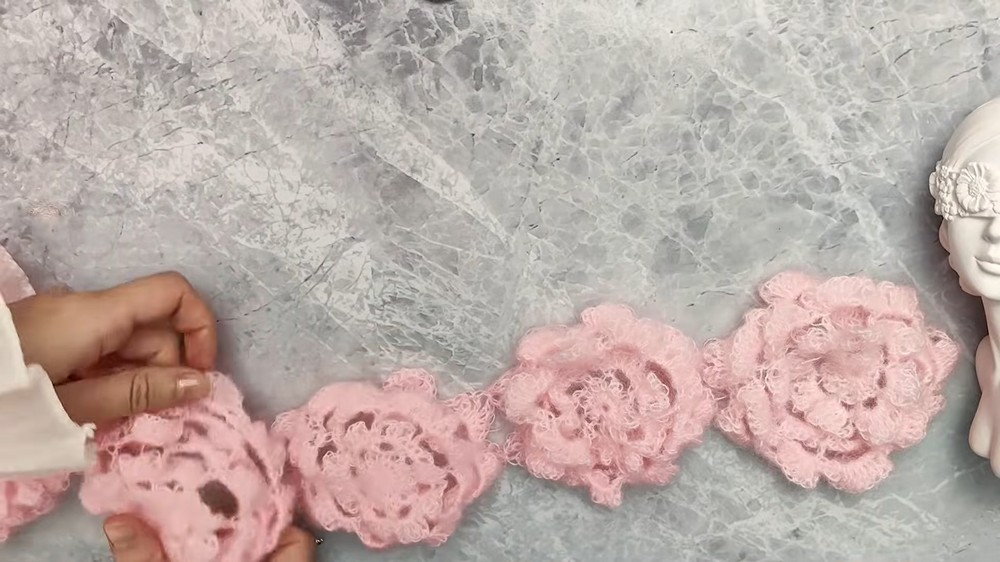
Assembly - Joining the Flowers
1. Joining Flowers into Strips
- Lay out your flowers according to your plan.
- Take two petals from adjacent flowers and connect them using a separate piece of yarn.
- Tie a secure knot in the very middle of those petals.
- The designer prefers tying 4 times for security.
- Hide the thread ends by weaving into the crochet fabric from the back side.
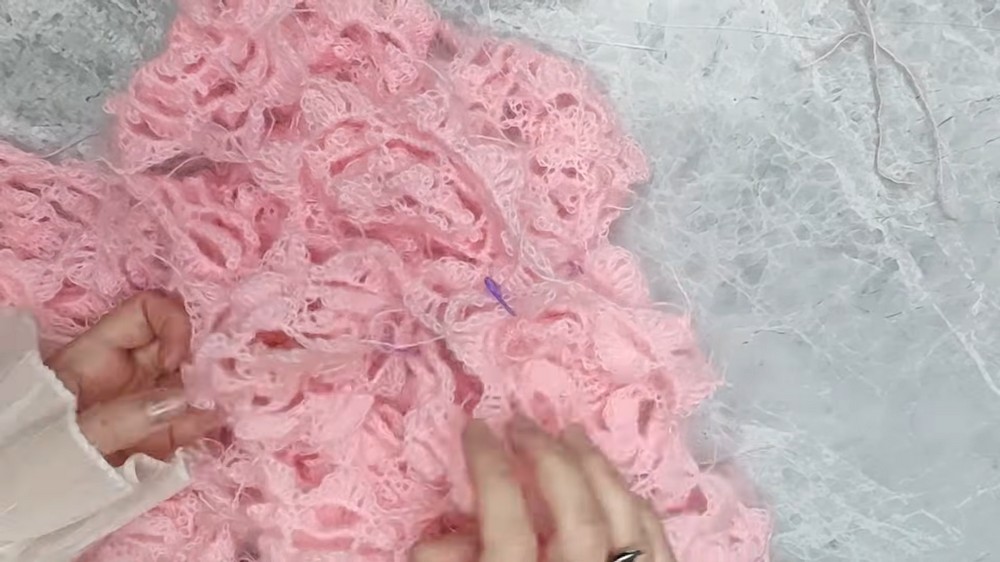
Each flower should connect to its neighbors through 2 petals, meaning each flower is joined to 4 neighboring flowers in a grid.
First, join flowers into strips (rows).
2. Joining Strips into a Rectangle (Body)
- Join the strips together in the same way: two petals from adjacent flowers, tied securely in the middle.
- Keep checking the fit against your body:
- For the example: 4 flowers in width, 8 flowers in length.
- Do not join the inner edges of the 4 central flowers at the top:
- This forms the opening for the head and shoulders.
Pro tip:
- Do not weave in all ends right away; you may need to adjust width, length, or openings.
3. Joining Side Seams
- When your large rectangle is formed (front and back), join the flowers at the sides of the rectangle.
- Again, each flower connects proportionally to its neighbor by two petals.
- After side joins, you will have a flowery vest without sleeves.
Sleeves
1. Sleeve Panels
- For the example: 3 flowers in width for each sleeve.
- Length: joined from 3 flowers to make a "flower tube".
- You can choose 2-4 flowers in width or length depending on how wide or long you want the sleeves.
2. Attaching Sleeves to Body
- Align the sleeve tube with the arm opening on the body.
- Join the petals of the sleeve to the petals of the body using yarn pieces and secure knots, as before.
- Stitch markers can help you keep track of which petals should match.
If you have free petals left on the main body after joining:
- Join them to the main part of the sweater using other parts of the flower for connection.
- If the sleeve feels tight:
- Crochet one more flower and attach it to fill the gap, keeping the structure proportional.
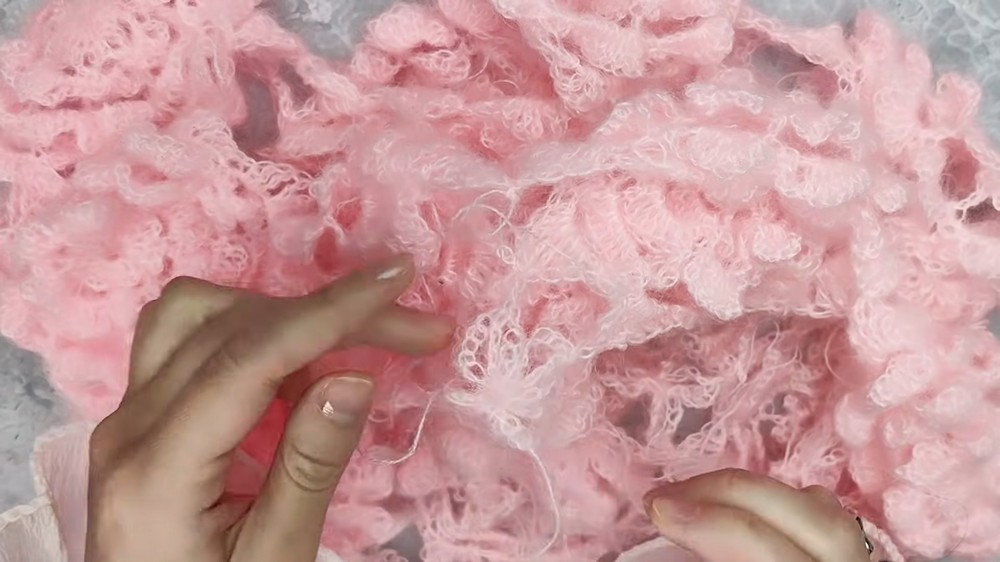
Repeat exactly the same process on the other side to attach the second sleeve.
Bow-Like Fillers for Gaps
These fillers look like small bows and are used to fill holes between flowers.
Bow Motif
- Start with a magic ring (MR).
- Ch 7, loosely (for an airy look).
- Make 3 yarn overs on the hook and work them off, pulling the yarn through two loops at a time (this forms a tall decorative element).
- Connect this element to the sweater between two petals already joined by yarn, using 1 sc into the two adjacent joining loops.
- Ch 7 again.
- Insert the hook back into the magic ring and make 1 sc.
You have one looped petal.
- Make three more such petals in the same magic ring, placing each one to correspond to a spot between connected flowers.
- In total you will have 4 petals around the magic ring.
- Pull the magic ring tight and secure the threads in the center with a knot if desired.
- Weave the ends into the work.
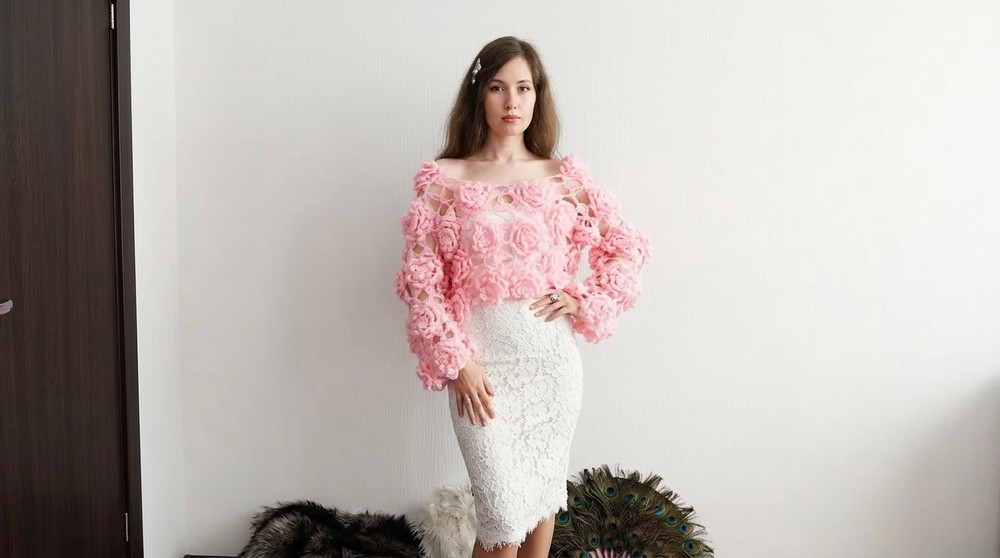
This creates a small motif that looks like a little bow or flower.
Optional Border
- You can add a crocheted border to the sweater by attaching yarn to the petals on the outer edge and working along from petal edge to petal edge.
- However, the designer found that a dense edge changed the overall look and made the flowers lose some of their wild, free-spirited charm.
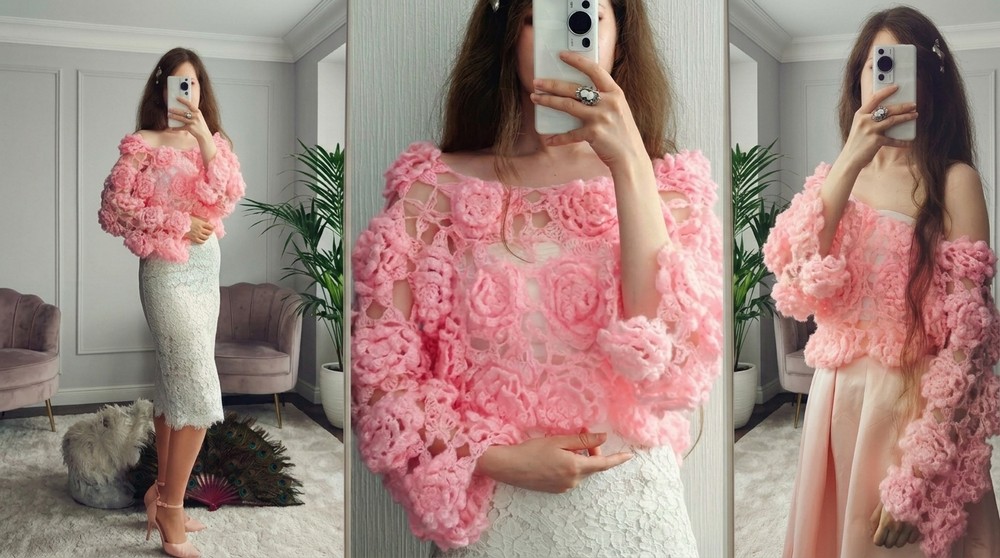
- The final sweater shown has no border, leaving the flower edges free.
Conclusion
You have now crocheted a light, airy floral sweater built from delicate flower motifs and finished with small bow like fillers in the gaps. It is a time consuming piece, but the result is romantic, inspiring, and unique. You can style it with many outfits, and you can always adjust the number of flowers to create your own perfect fit.